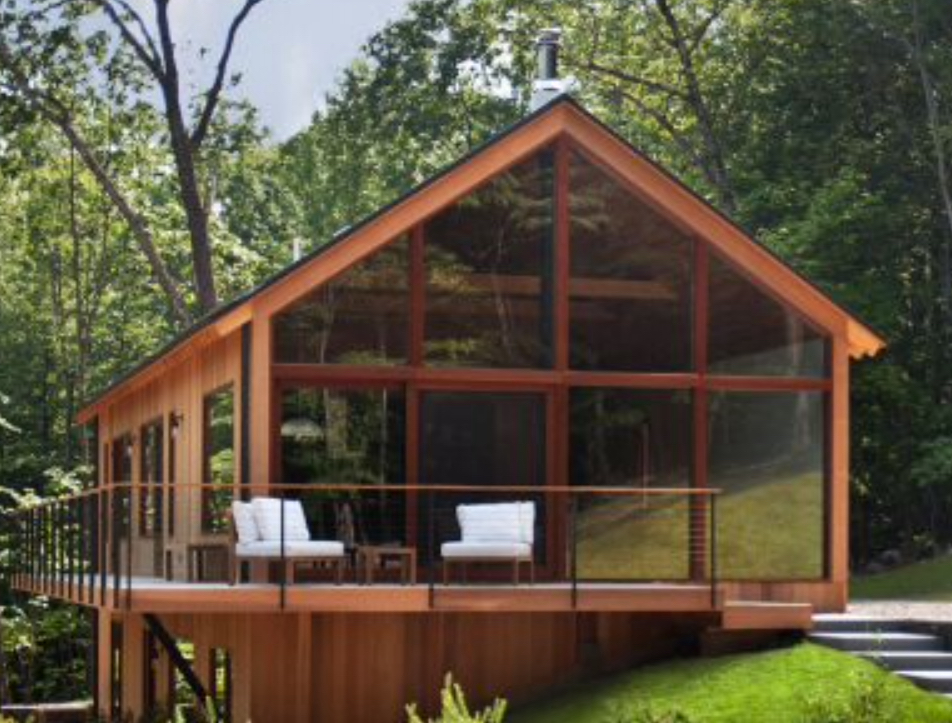
Looking for a Place for a New Barndominium
Reader PATTI in MINNESOTA writes:
“My husband and I are knocking around the idea of doing a Barndominium.
We need a 4-5 car garage space and we can barely afford a traditional preloved home that has a 3-car garage which will require us to add another stall or two onto an already taxing home price!
I’m optimistic that we can pull off everything that’s needed and hopefully within the budget!
I’m doing the bulk of the research and found your site to be so packed with worthwhile information. I want to see what you’d be able to do for us to make this as seamless and headache free as possible?
I started looking for property and messaged the City Halls for the locations we want to see if they’d allow such a structure. Not sure how to handle the siding issue.
Inver Grove Heights, MN
Will consider it a single family home. Needs to meet setback, height and doesn’t exceed allowed impervious surface for the lot.
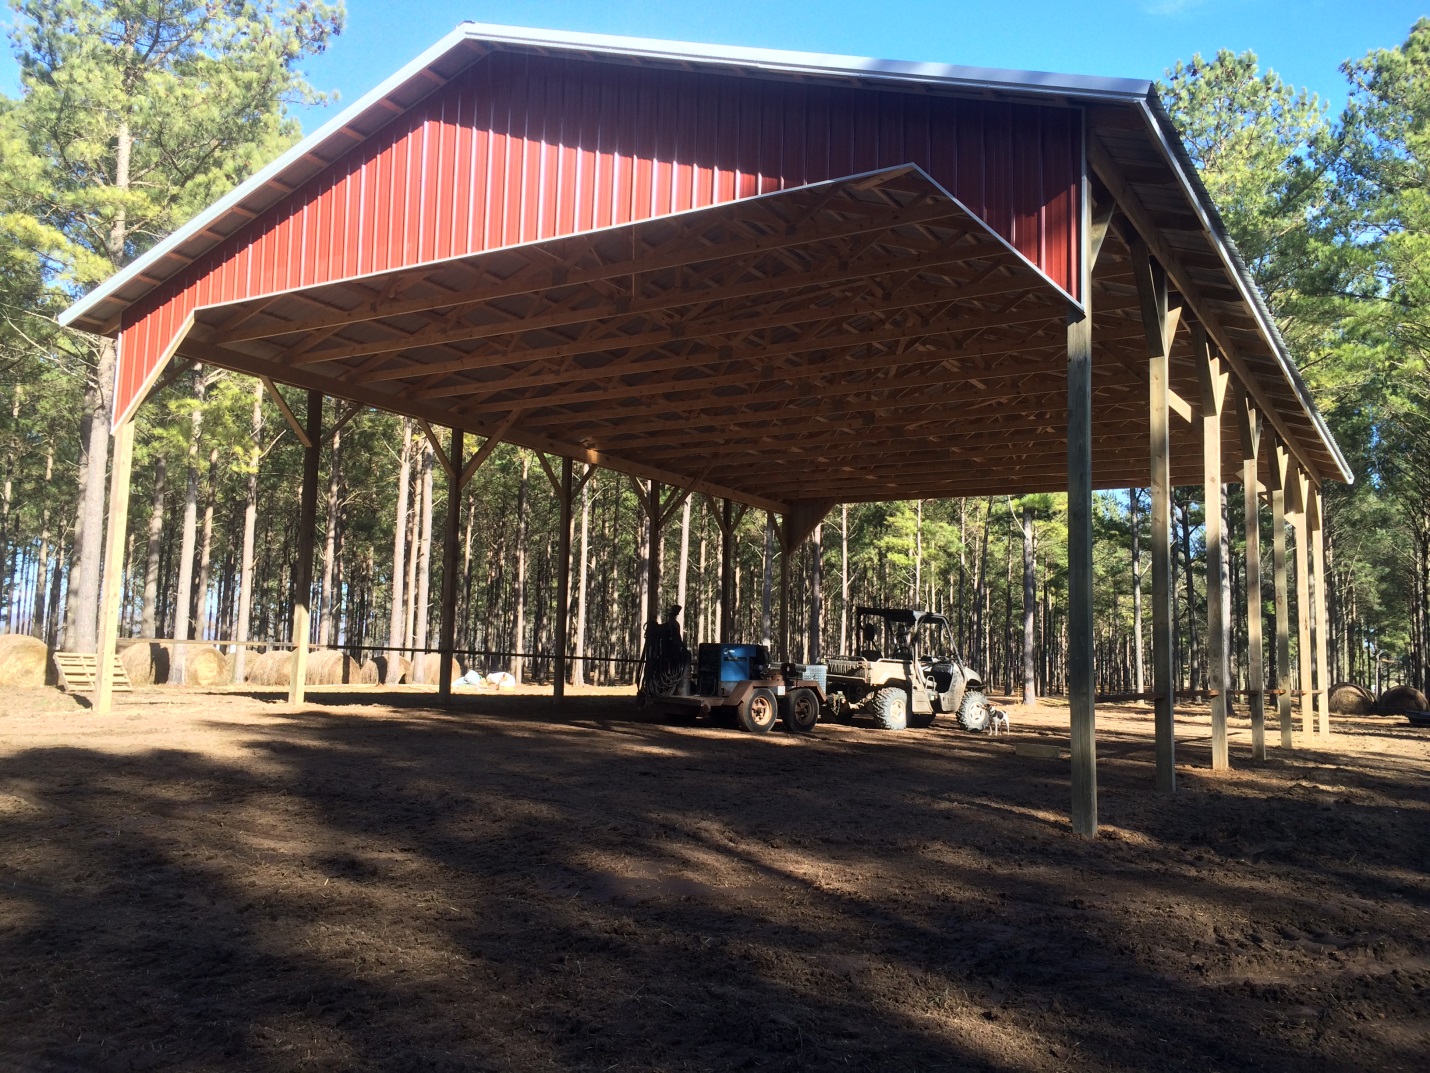
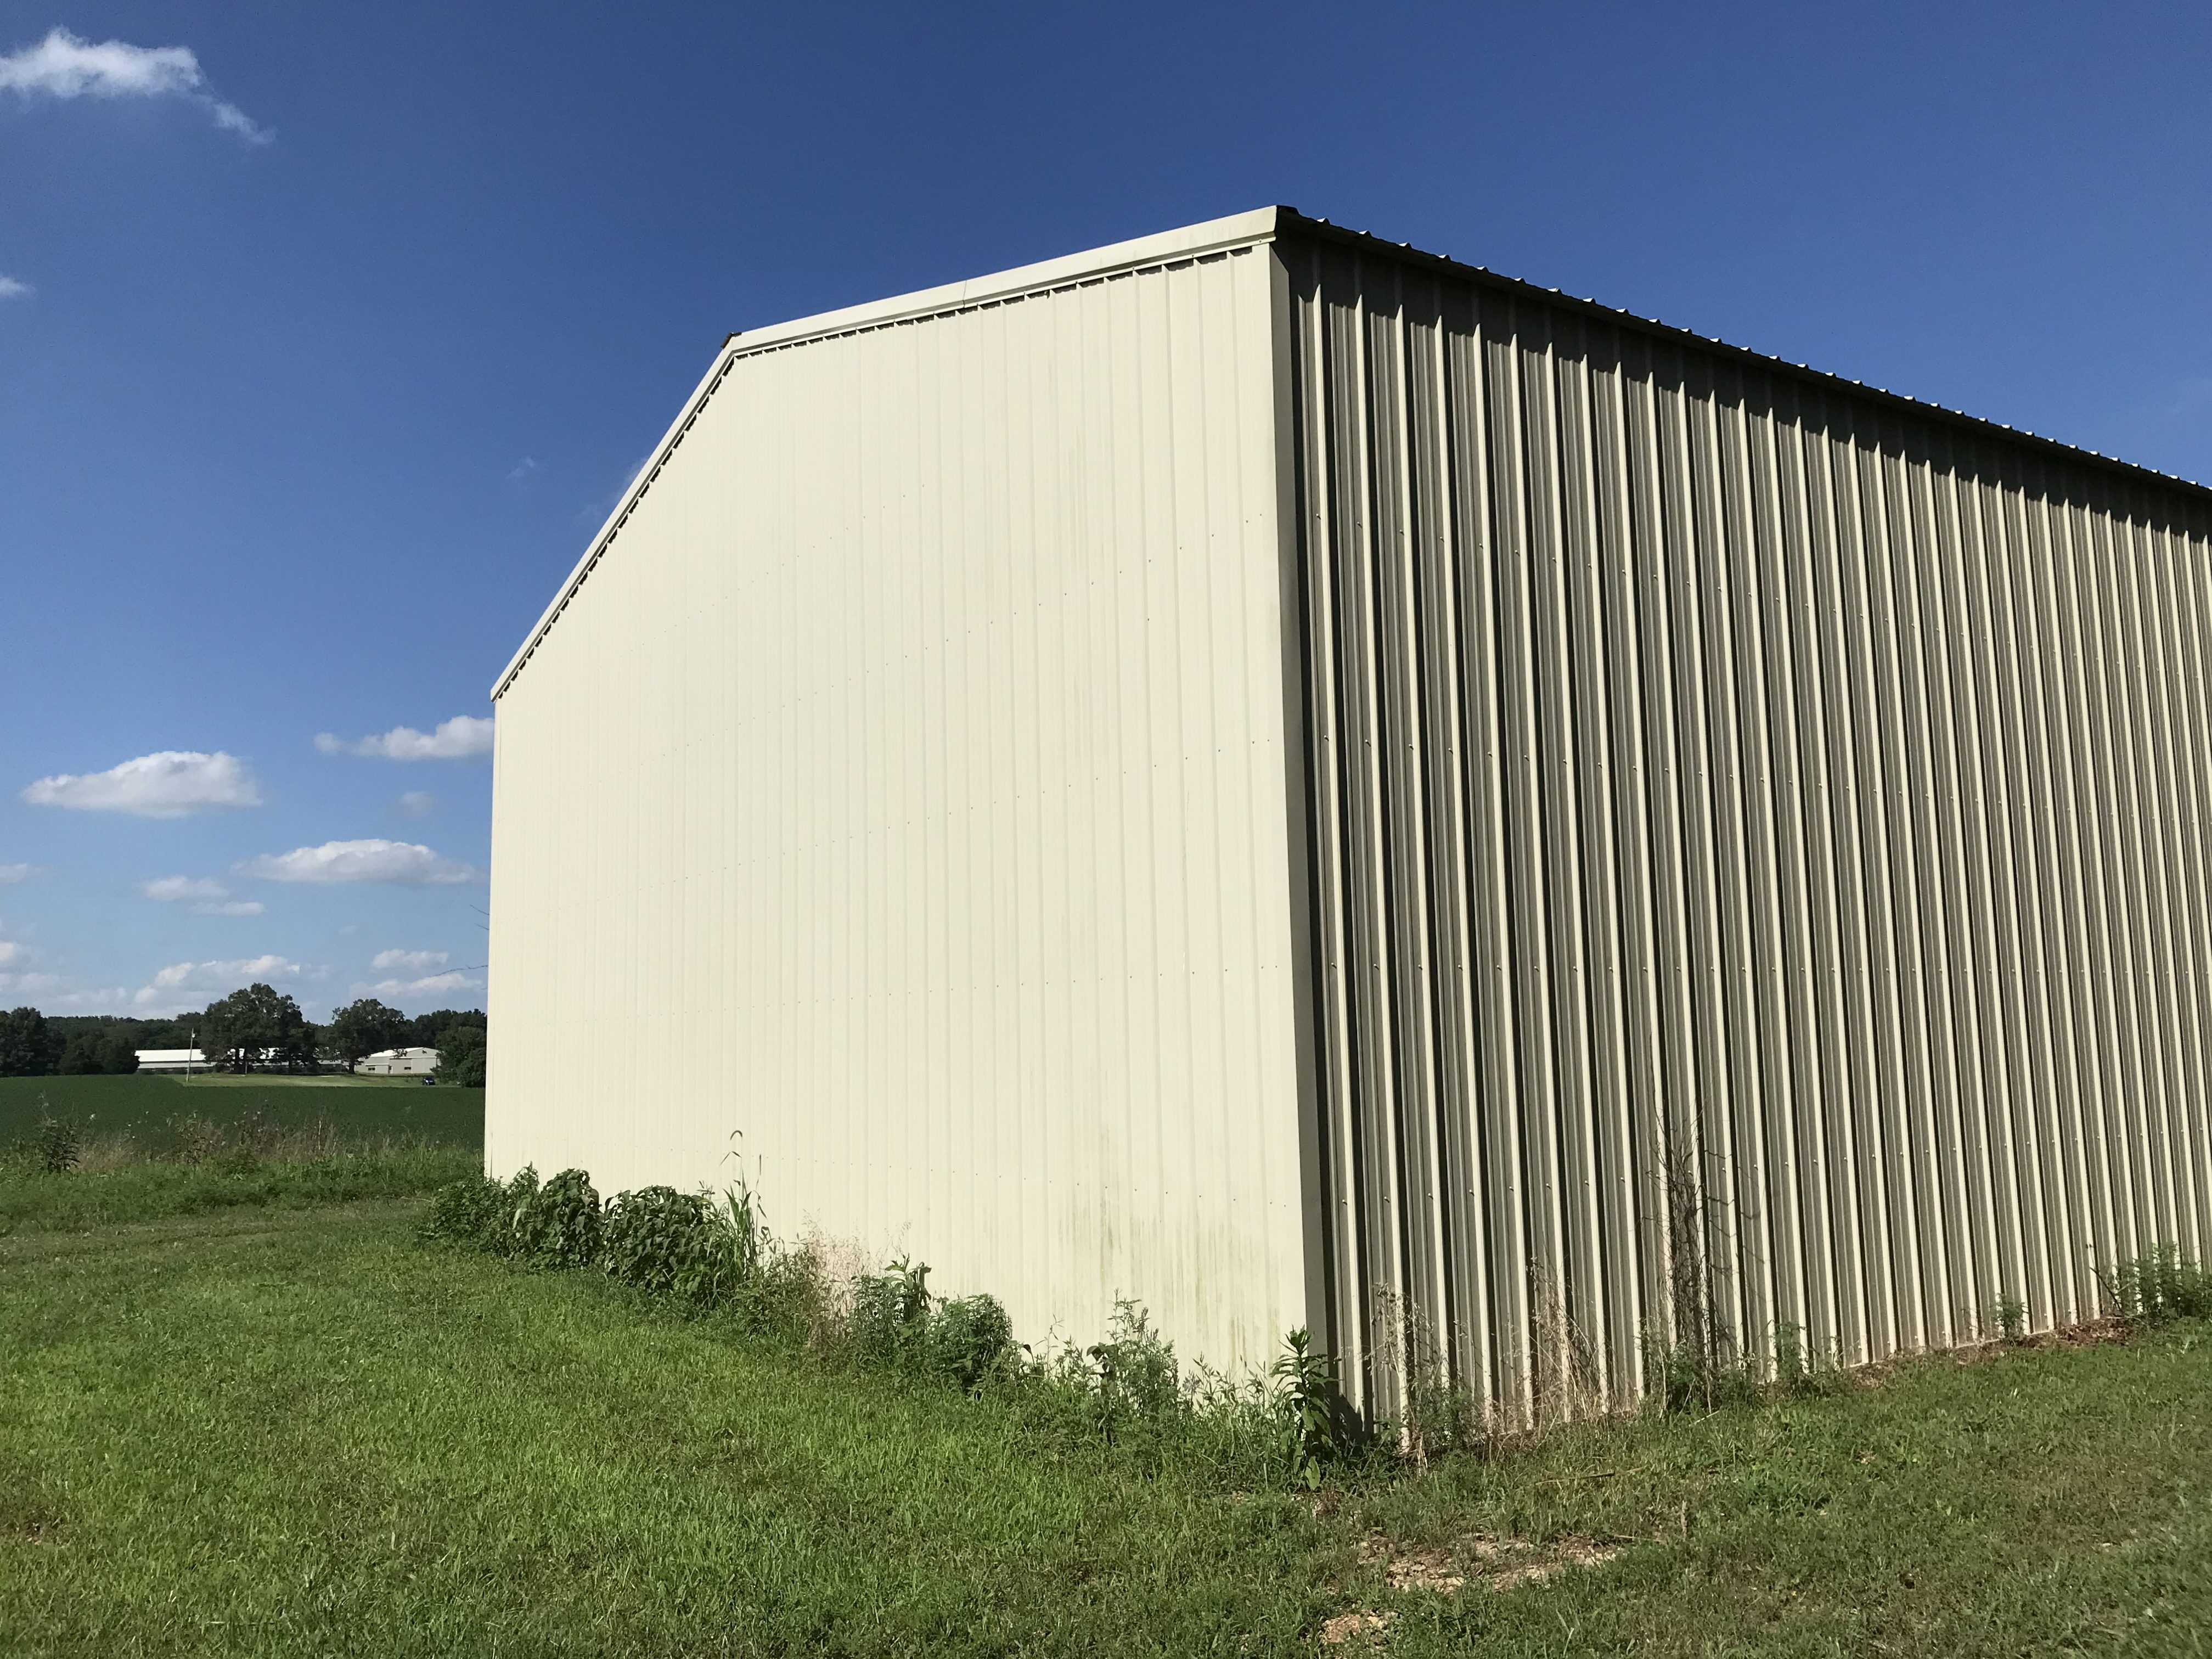
Exterior siding regulations require horizontal lap type siding or similar. Vertical siding like a pole barn is not acceptable material.
**** Is this even possible to meet this request or is there a way we can argue against it. Any knowledge you can offer would be so helpful****
Rosemount, MN
“The structure would function as a single family home, and therefore the exterior materials would need to be complementary to a residential structure (no metal siding, etc.). Additionally, the foundation would need to meet the building code requirements for frost footings. Also, the zoning code regulates the size of attached garages as follows: The footprint of an attached garage is a maximum of 1,000 square feet but can be increased up to a maximum of 1,500 square feet so long as the garage does not exceed 50 percent of the gross floor area of the principal building (garage and living area combined).”
Farmington, MN
*Considers this Agricultural that would need a minimum of 40 acres, what!!!
****Is this common and is there anything we can do to fight this so we get this under a single family home that we could put on a .25 acre plot?****”
Mike the Pole Barn Guru responds:
Thank you for reaching out to us and for your kind words.
Planning Departments are an extension of a jurisdiction’s ruling body (city council, county commissioners) and have basically power of life and death. They can dictate footprints, heights, setbacks, type of cladding (roofing and/or siding), and even colors. They ARE limited to ordinances written by their ruling body, so if you do not hear an answer you like, ask for a copy of their written ordinance. If they cannot produce one, then it does not exist and can be disregarded.
One beauty of fully engineered post frame construction is a broad variety of siding and/or roofing options are readily available.
Inver Grove Heights – exterior siding is within their realm of control. At www ighmn.gov go to “City Code” in the left hand menu list and click on it. Scroll down to Chapter 15, then 10-15-17. B.2 gives your options with steel being none of them.
Rosemont – you do not have to pour a concrete foundation to meet Code requirements for frost. You will have to insulate the perimeter of your building to at least four feet below grade, not a big deal and can be done with rigid insulation (this insulation is typical for any type of structure). If you erect a 3000 square foot (sft) building, as much as 1500 sft can be garage.
Farmington – you threw them off at “pole barn house”. You are building a fully engineered custom designed wood frame home. This should be allowable anywhere zoned for single family residences. You may have exterior appearance and footprint issues once they have gotten this into their heads as being a SFR (Single Family Residence).
You will find as you get farther away from Minneapolis and into county rather than city controlled areas, things tend to become more property owner friendly. You also might consider South Dakota as an option, as our Planning and Zoning restrictions are few and far between.
 DEAR POLE BARN GURU: In Arkansas, I want to build a pole barn (or similar) on an existing 40×45 concrete 4” slab. I want the building to be tall enough for 14’ garage doors. Building will be used to store a motor home and tractors and trailers. What is the most cost efficient (but safe and lasting) way to build it- dig holes outside of the existing slab, saw cut the slab and dig holes for the poles, or do stick frame on top of the existing slab? STEVEN in EAGLE CREEK
 DEAR MICHAEL: We can create your ideal dream floor plan whether you order your building from us or not. Every barndominium Hansen Pole Buildings provides is 100% custom designed to best meet the wants and needs of our clients and their loved ones, please see #3 here to assist in determining needed spaces and approximate sizes, and to have professional floor plans and elevation drawings produced affordably.
  DEAR POLE BARN GURU: Hello Guru! I’m currently researching the building of a post frame home/workshop/garage. I was looking at getting a construction loan. The bank will finance the purchase of a building kit but they want it to have a foundation footing and wall. I’ve looked at the Sturdi Wall brackets for an anchor system and the laminated 2×6 posts. My question is do you design buildings with foundation walls? Or do you have a better recommendation? Thanks for your help.- JEFF in PORT ORCHARD
 Now we do have a fair number of clients using wet set brackets, keeping their building columns above ground (
 Commonly (when addressed at all during construction) solutions to this problem have often involved creating a thermal break. A thermal break reduces contact between a structure’s warm interior air and cooler metal roofing, thereby reducing or eliminating overall condensation. Installing a reflective radiant barrier, often termed Vapor Barrier, involves laying rolls of faced ‘bubble wrap’ across your building’s purlins prior to roof steel installation. Ideal weather conditions are required for this as even a slight wind can make this a challenging or altogether impossible task. This can cause jobsite delays and may bring progress to a halt while a structure remains unprotected to weather. Even when ideal weather conditions are present, installing a reflective radiant barrier can be a very dangerous task, requiring builders to expose themselves to awkward material handling on a building’s bare roof framing. These risks and delays often generate additional costs for both owners and builders, but have often been necessary with reflective radiant barrier being the only relatively affordable option to prevent interior dripping.
  DEAR TAMARRA: While every building we provide is customized to best meet our client’s wants and needs, we do have numerous representative floor plans available:
  DEAR TAYLOR: VA loans can be challenging and they typically force you to hire only an approved General Contractor – meaning you will pay a premium.
 As nails are used from each outer ply, into center ply, center ply ends up with double number of nails, as well as then carrying twice as much load as each individual ply. When we tested these in a university wood products lab center ply failed in over 96% of tested members!
 DEAR RYAN: My gut and your gut are in agreement here. Unless this kit came complete with steel trusses as part of a system designed to support your 40 pounds-per-square foot snow load I think your buddy has a white elephant on his hands. Our clients wanting round pens would typically erect a 60 foot square post frame building and use panels to create an interior ’round’ space. This assures them of an engineered structure capable of handling appropriately snow and wind loads. There might be a solution to what your buddy has, but it is not going to come cheap and should start with hiring a Registered Professional Engineer.
 DEAR POLE BARN GURU: Do these withstand the hot weather in Las Vegas NV. Have you sold one in this area or know of a contractor that you have worked with if so. PAUL in LAS VEGAS
 DEAR POLE BARN GURU: Cost to replace 2 sliding doors in pole shed. 16 wide 16 high 20 wide 16 high. DUANE in LESTER
  1) Why would you want to use your own posts, when we have available and affordable stronger glulaminated columns than anywhere else in America?
  DEAR POLE BARN GURU: I am getting ready to pour a concrete slab in my 24’x30′ pole barn. I calculated the thermal contraction along the 30′ length to be just over 1/8″. Would it be a good idea to install a foam sill sealer type material onto the inside of the grade boards to accommodate any thermal movement of the slab? DAVID in WESTFIELD
  DEAR POLE BARN GURU: O great pole barn genius, what would I want to store an RV, also be at least a 2 car garage, and workshop, with a couple finished rooms for living quarters? What’s that beast called, and what should I budget for it low/high in KY? KIM in PAYNEVILLE
  DEAR JONI: One 4th of July we downhill snow skied Mount Bachelor’s summit before lunch, then hit The Deschutes River for white water rafting. We have provided hundreds of engineered post frame buildings to our clients in Oregon, so we know your area well.
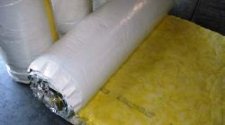 DEAR POLE BARN GURU: I work in commercial buildings a lot, that have similarities to pole barn design. Some are wood and steel, some are all steel framed. But none of them have spray foam, they’re either rockwool or fiberglass insulation. And ALL of their roofs are closed dead spaced with no venting at all. In lieu of your reply, how do they get away with this? Why can’t I emulate what they’re doing to some extent? Thanks again! DAVE in GALES CREEK
 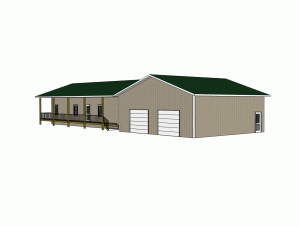 DEAR TERRI: Fully engineered post frame, modest tastes, totally DIY, move in ready, budget roughly $70-80 per sft of floor space for living areas, $35 for all others. Does not include land, site prep, utilities, permits. Your new Hansen Pole Building kit is designed for an average physically capable person, who can and will read and follow instructions, to successfully construct your own beautiful building shell, without extensive prior construction knowledge (and most of our clients do DIY – saving tens of thousands of dollars). We’ve had clients ranging from septuagenarians to fathers bonding with their teenage daughters erect their own buildings, so chances are – you can as well! Your new building investment includes full multi-page 24” x 36” structural blueprints detailing location and attachment of every piece (as well as suitable for obtaining Building Permits), our industry’s best, fully illustrated, step-by-step installation manual, and unlimited technical support from people who have actually built post frame buildings. Even better – it includes our industry leading Limited Lifetime Structural warranty! If hiring it done turnkey, expect to pay two to three times as much. This is why so many of our clients do some or all work themselves.
 DEAR POLE BARN GURU: My question is that i want one pole barn to house at least 4 vehicles, an RV as large as 45 ft. and a small home around 500 sq feet. Is this possible? JASON in OWENSBORO
 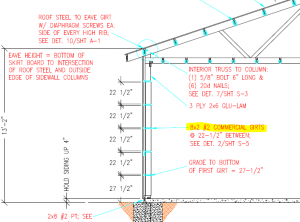 DEAR MATT: While it would certainly make for a larger screw target, when wall steel panels are predrilled, keeping screw lines straight and hitting commercial girts really is not an issue. Outside of extra materials and more labor, there are a couple of areas of possible concern: 6×6 columns vary in dimension. With a 2×8 commercial girt, extending 1-1/2″ outside of columns, a 6×6 up to 5-3/4″ can easily be hidden. If your idea is to use a 2×6 commercial girt, behind a 2×4 external girt, if columns run over dimension they will leave an uneven surface for internal finish. Of course, should you mount a 2×4 external girt above or below a 2×8 commercial girt (forming an “L”), then this concern goes away. Your other possible challenge would be in connecting these two members. Greatest force on wall girts is outward suction, so your 2×4 external girt and 2×6 bookshelf commercial girt will need to be adequately connected so as to not have external girt pull away and fail. This connection should be analyzed by an engineer.
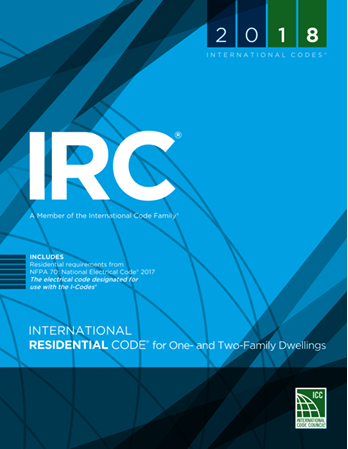 IRC
IRC When I first began selling pole barn kits in Oregon, back in 1980, they were almost universally no permit required farm buildings. As our service area expanded into states such as California and Nevada, engineering was required in most instances, however there was never a concern about a pole building not being approved for use in any jurisdiction.
 DEAR MARK: You can easily check your concrete slab for a vapor barrier – place a wrench on floor overnight, next morning remove wrench and if a dark spot is seen where wrench was placed, you have no vapor barrier. If so, seal slab with a high quality sealant (here is an example
 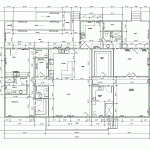 DEAR POLE BARN GURU: Do you do 6 bedroom Barndo’s? I’m looking for a 6 bed, 4 bath barndominum floor plan. I have an idea of what I like in my head but 6 bedrooms one story are difficult. HEATHER in CLEBURNE
 DEAR POLE BARN GURU: I would like to build a 20 foot wide x 40 foot long pole barn house in Fredericktown, Ohio. Do you know if the local building department would give a permit for a residential pole barn house, & what are the steps to obtaining that permit, who to call, & etc.? I’m at the beginning of that building process & would like to begin this summer. Thanks. RENEE in MOUNT VERNON
 DEAR DIANE: Absolutely we can provide your barndominium with a walkout (daylight) basement:
  DEAR GEOFF: This can totally be done – my own personal shouse (shop/house) has a 16′ ceiling downstairs, and upper level clearspans 48′ across so there are no columns to negotiate. Storage and wood working can be heavy, plus you have the efforts of having to move materials in and out far above ground. Provided you have space on your property, you would be far ahead to put all of this space on one level – access will be easier, you won’t burn up space to stairs, etc.
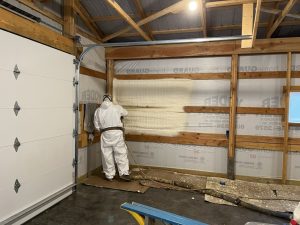 is a great product and is best applied when sprayed directly onto steel roofing and siding.
 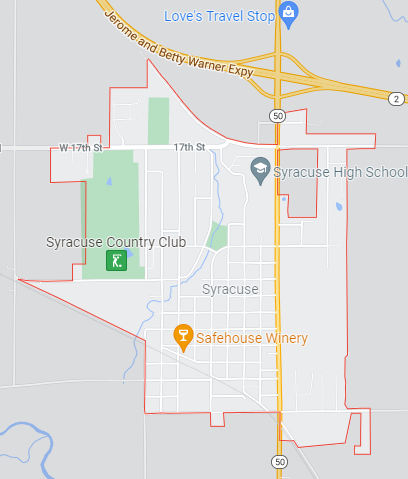 Syracuse, Nebraska was laid out in 1869 when it was certain railroads would be extended to it. With a population of roughly 2000, Syracuse is pretty well smack dab centered in Nebraska, in Otoe county.
 DEAR BOB: Thank you so much, we are looking forward to assisting you throughout your building journey! This excerpt from our Hansen Pole Buildings’ Construction Manual should get you heading forward:
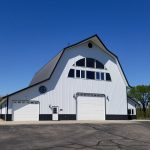 DEAR POLE BARN GURU: Can I build one big room with insulated roof? TONYA in MONTGOMERY
 DEAR BILL: While it can be done, it is going to take adding quite a bit to your roof slope (for practical purposes, whatever slope you gain inside, has to be added to exterior). In order to fit in your door, you will need to have roughly 15’6″ from grade at edge of door. This is going to entail a bottom chord slope of roughly 2.5/12 with an exterior slope of 6/12.
 Mike the Pole Barn Guru writes: Thank you for your interest in a new Hansen Pole Building post frame (pole barn) barndominium.
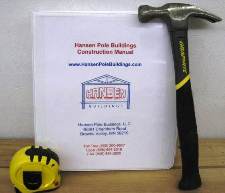 Your new building will be designed for an average physically capable person who can and will read instructions to successfully construct your own beautiful buildings (and many of our clients do DIY). Your building will come with full 24” x 36” structural blueprints detailing the location and attachment of every piece (suitable for obtaining Building Permits), a 500 page fully illustrated step-by-step installation manual, as well as unlimited technical support from people who have actually built buildings.
 DEAR POLE BARN GURU:
 “Please be aware that the Land Development Code and adopted Building Codes
  2000
2000 Planning Departments are an extension of a jurisdiction’s ruling body (city council, county commissioners) and have basically power of life and death. They can dictate footprints, heights, setbacks, type of cladding (roofing and/or siding), and even colors. They ARE limited to ordinances written by their ruling body, so if you do not hear an answer you like, ask for a copy of their written ordinance. If they cannot produce one, then it does not exist and can be disregarded.
 #3 Have professional floor plans
 DEAR POLE BARN GURU:
 Commonly (when addressed at all during construction) solutions to this problem have often involved creating a thermal break. A thermal break reduces contact between a structure’s warm interior air and cooler metal roofing, thereby reducing or eliminating overall condensation. Installing a reflective radiant barrier, often termed Vapor Barrier, involves laying rolls of faced ‘bubble wrap’ across your building’s purlins prior to roof steel installation. Ideal weather conditions are required for this as even a slight wind can make this a challenging or altogether impossible task. This can cause jobsite delays and may bring progress to a halt while a structure remains unprotected to weather. Even when ideal weather conditions are present, installing a reflective radiant barrier can be a very dangerous task, requiring builders to expose themselves to awkward material handling on a building’s bare roof framing. These risks and delays often generate additional costs for both owners and builders, but have often been necessary with reflective radiant barrier being the only relatively affordable option to prevent interior dripping.
  The topic was brought up at the Aug. 6 meeting after Szokola reported he had seen more than one house come through requesting permits in which the house didn’t quite fit with what a typical house in the area might look like.
 Ultimately, Planning Departments have every right to enforce aesthetic ordinances – as long as they are applied universally to all types of structural systems within a given occupancy classification (such as R-3 residential). What they cannot do is to regulate whether a Code conforming structural system may or may not be used. Should your jurisdiction try to prevent you from constructing a fully engineered post frame home – send me a copy of their written ordinance (not just anecdotal evidence) and I will go wage war for you.
 DEAR STEPHANIE:
  DEAR POLE BARN GURU:
  DEAR POLE BARN GURU:
 DEAR POLE BARN GURU: How do I get drawings quickly for a large pole barn, post frame? JAMES in LITTLE SILVER
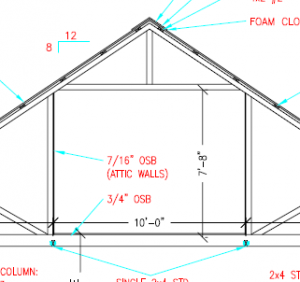 In order to have your greatest possible resale value, you should have any lofted space designed so as to be considered as habitable space. International Residential Code (IRC)
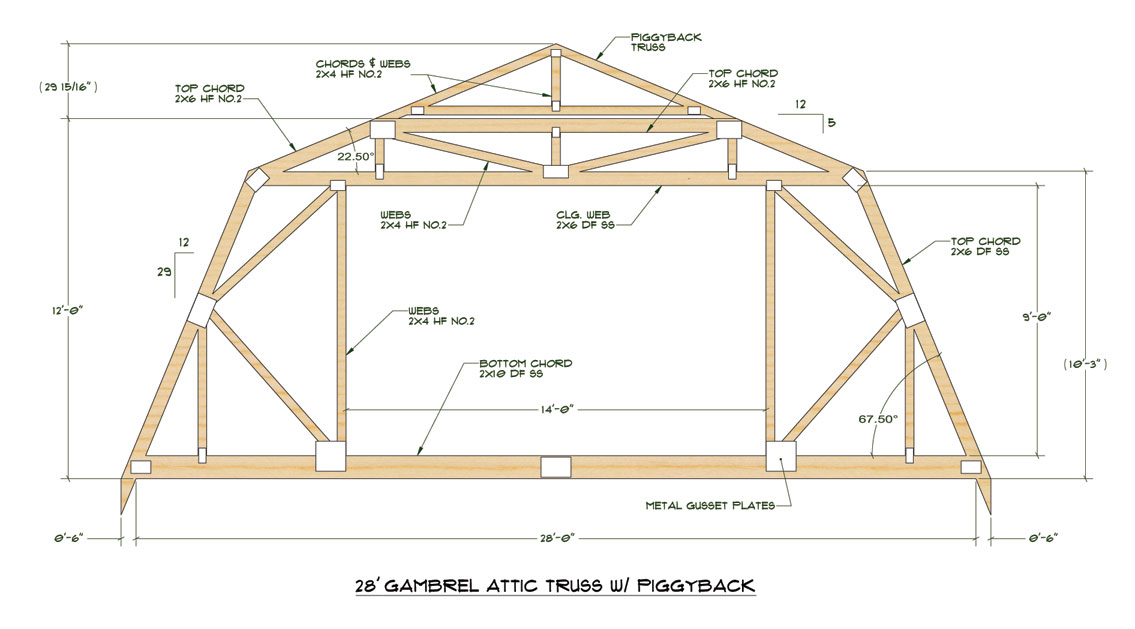
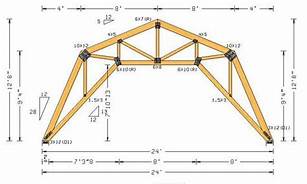
 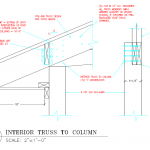 DEAR MARK: By “top boards” I will guess you are placing ‘truss carriers’ (headers) between columns in order to support trusses. In my humble opinion it would be best to utilize a two-ply ganged prefabricated wood roof truss at each column (notched in) and eliminate carriers entirely. It is far cleaner structurally as you eliminate numerous connections and if a failure is going to occur, it is most often at a connection.
 Seemingly millions of canned house plans are available (for a small to large fee) across a plethora of internet websites. 99.9% of these plans have a similar problem – they were designed for a flat lot in suburbia! Yep, they look stunning on a website. Considering spending your hard earned money on one thinking you will save money by using cheap house plans? This would be an equivalent to everyone buying 34 inch waist 36 inch inseam Levi’s. They fit me just fine, but what if you are not 6’5”? Or maybe you do not even like Levi’s?
 DEAR MARK:
  DEAR MARY: Most of our buildings have steel roofing (although any roofing type can be used – shingles, tile, etc.). We recommend using some method of controlling possible condensation on underside of steel roofing – either a Reflective Radiant Barrier (
 DEAR RICHARD: Comments/reviews posted on The Home Depot® website for our buildings are literally nothing short of hilarious. Obviously these are not from verified purchasers of our engineered post frame buildings kits. All lumber needed for this and any of our buildings is sawn to size. Dimensional lumber has been planed (surfaced), dried to 19% moisture content or less and grade stamped to verify adequacy for structural usage.
 DEAR POLE BARN GURU:
 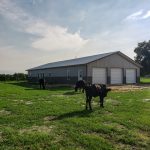 DEAR POLE BARN GURU:
  DEAR POLE BARN GURU:
  DEAR CHRIS: Any raised wood floors, whether over a crawl space, second or third floor, loft or mezzanine should be included in your engineer sealed plans. This accounts for proper weight distribution to columns and footings as well as connections of components. These materials are typically included with your investment in your new Hansen Pole Building (as well as instructions for assembly). Here is some extended reading for you:

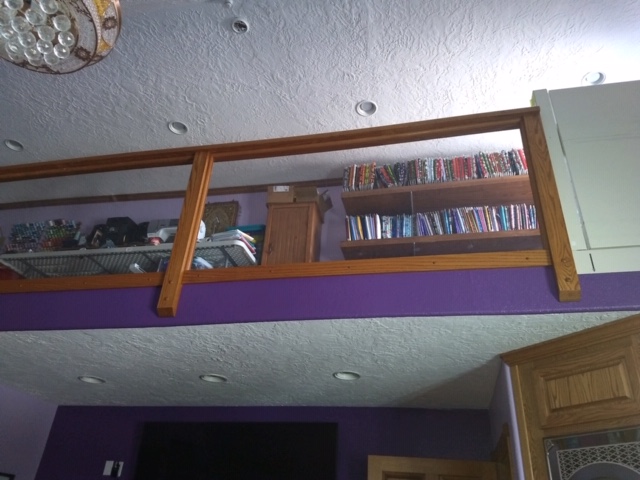

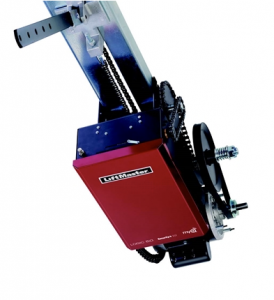 DEAR POLE BARN GURU: I’m considering purchasing a home that has a pole building with two overhead garage doors that never had openers installed. One of the doors is very high- for RV clearance. There doesn’t look like much structure above to hang them from. What would be the best way to do that or is there other opener alternatives? DAVID in WESTMINSTER
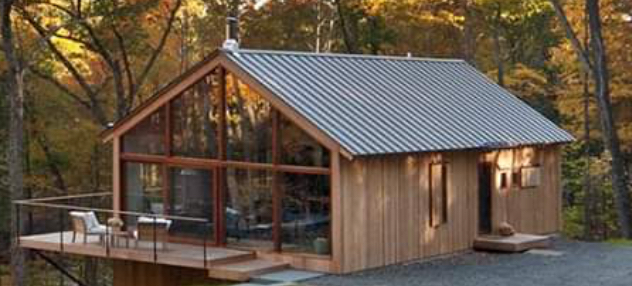

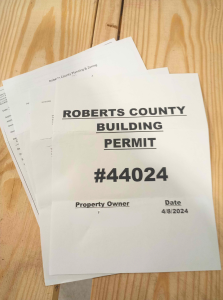 In most parts of our country (and probably most other developed countries), it will be a necessity to acquire a building permit in order to construct a new barndominium, shouse (shop/house) or post frame home. Easiest way to find out is to contact your local authorities to find out if indeed this is your case.
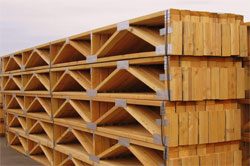 A few years ago, our oldest son Jake needed a new post frame garage at their home near Knoxville, Tennessee. His mom convinced him this plan would be so much better with a mother-in-law apartment upstairs. We used 4×2 (2x4s turned flat) floor trusses to span a 24 foot width!
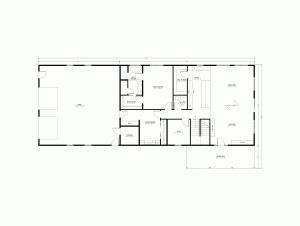 DEAR THERON: Thank you for your inquiry.
 DEAR DAN: You should have some sort of barrier between wall framing and wall steel to prevent condensation within the wall cavity. Wall cavity moisture can lead to a plethora of challenges – premature rusting of steel siding, rot, mold and mildew on wood framing and lack of performance of fiberglass insulation.
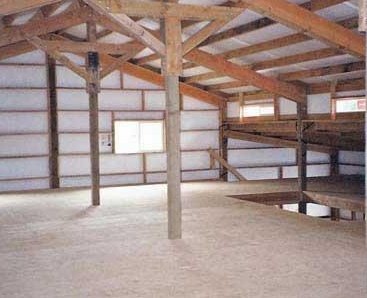 Barndominium buyers naturally take for granted a wood floor system in a new home will be safe and building code compliant – and rightly so. But buyers also have expectations for their floors unrelated to safety or building code. In particular, many clients are aware of their floor’s “vibration” in response to foot traffic and some people find annoying or disturbing.
 For those who have been following along, I have covered preliminary steps leading to actually designing a functional and affordable floor plan.
 Thank you for your interest in a new Hansen Pole Building. We have wholesale relationships all across America and will ship bulkiest items, in most cases lumber and trusses, from your locale – freight costs will be no more for you, than they would be to any other location.
 Yes we can provide plans with a third-party engineered design for bracket set columns, as well as brackets.
 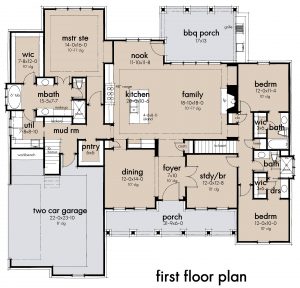 Home sizes can be split up into three groups – small (under 2000 square feet), medium (2000-2999 square feet) and large (over 3000 square feet). In discussions about possible rooms and sizes average square footage (sft) for each size will be indicated.
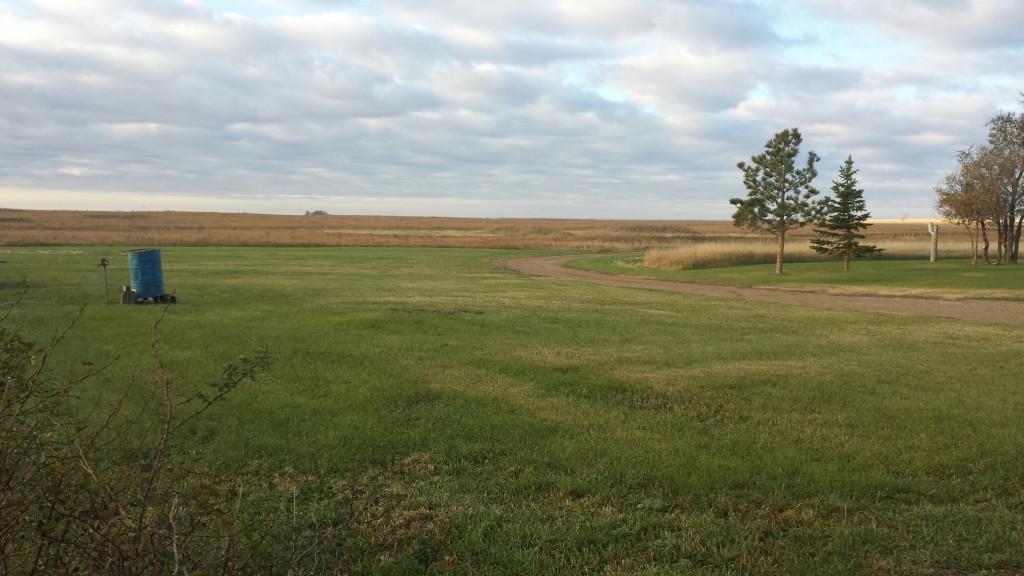 Avoid a site within a flood zone, unless you are prepared to invest extra to build above flood levels. Same goes for hurricane prone areas.
 This building is entirely clearspan – no interior columns to have to work around. Second floor has a 10 foot wide step-down by four feet. This area has its own vaulted ceiling at a 7/12 slope and is used for exercise equipment. With a series of nine windows overlooking a beautiful lake, it takes one’s mind off the agonies of treadmilling and lifting weights.