This week readers “Ask the Guru” about the use of utility poles for post frame “equipment cover,” an Estimated Cost for a 50X80X16 pole barn, and if our kits come with Floor Plans.
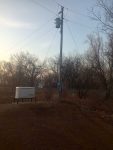 DEAR POLE BARN GURU: I have 3 hi-cube 40′ shipping containers configured in a “U” shape ( open on one end). These are located near Amarillo in the Texas panhandle. I would like to build a open span 40′ x 40′ x 14′ height pole barn “equipment cover” over the center of these shipping containers. These shipping containers have doors on one end and 4 doors down one side. The containers that form the sides of the “U” configuration will have their sides with 4 doors orientated so pointing to the inside of the “U” ( under cover ). I am planning on using six utility poles for columns (6′ deep), headers across the columns to support 40′ wood trusses & wood purlins to attach R-panel 26 gauge roofing panels to. The sides will be finished with R-panel siding to the top of the shipping containers. What recommendations would you have for my design or would you recommend I-beam rafters instead of trusses? SCOTT in AMARILLO
DEAR SCOTT: I would strongly recommend against use of utility poles (read more here: https://www.hansenpolebuildings.com/2012/11/used-utility-poles/).
My recommendation would be to invest in a fully engineered building using properly pressure preservative treated glulaminated columns, placed every 10 feet, to avoid your door openings. https://www.hansenpolebuildings.com/2024/11/new-hansen-pole-building-roof-supporting-columns/
Prefabricated wood roof trusses should be directly aligned with eave side columns https://www.hansenpolebuildings.com/2024/11/new-hansen-pole-buildings-prefabricated-roof-trusses/
29 gauge steel will likely do everything you need it to do https://www.hansenpolebuildings.com/2012/01/steel-thickness/
DEAR POLE BARN GURU: I’m just wondering an Estimated Cost for a 50X80X16 pole barn just wondering if it’s in my budget is it 15-20 grand? 30-50 grand? 60-100 grand? Thanks BOB in ENUMCLAW
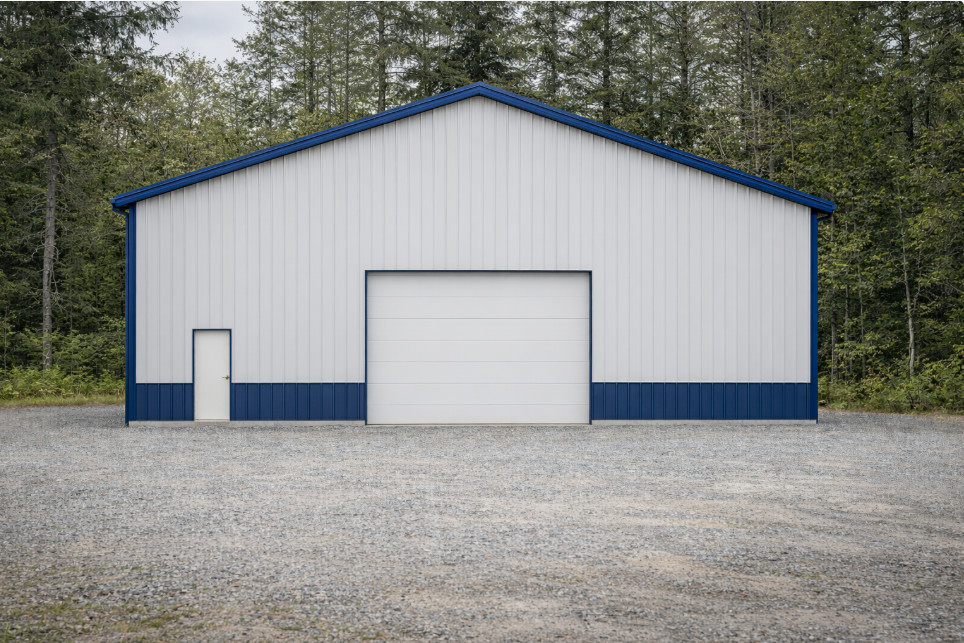
DEAR BOB: Thank you for your interest in a new Hansen Pole Building.
Hansen Pole Buildings has provided over 1000 affordable, fully engineered, custom designed post frame buildings to our clients in Washington. You are likely to find keeping with multiples of 12 feet in width and length will result in cost savings (e.g. 48′ x 84′ as an example). For an idea of potential investment please visit https://www.hansenpolebuildings.com/pole-barn-prices/ This should also prove helpful reading: https://www.hansenpolebuildings.com/2024/04/things-hansen-pole-buildings-does-better-than-any-other-post-frame-building-provider/
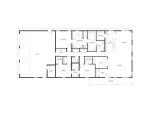 DEAR POLE BARN GURU: I am looking at a few of your barndo kits – my main question is do they come with floor plans? I don’t see the floor plan on the purchase page or are these just shells? LIZ in BARK RIVER
DEAR LIZ: We have an in-house team of floor plans specialists who can work with you to craft an ideal dream floor plan to best meet your family’s needs and budget. For more information, please visit: http://www.hansenpolebuildings.com/post-frame-floor-plans/
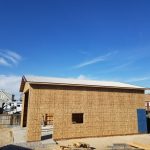 DEAR POLE BARN GURU: Do your pole barns get covered with plywood or OSB boards? MICHELE in WASHINGTON
  DEAR WILLIAM: Thank you for your interest in a new Hansen Pole Building barndominium. We do not have crews of our own, however we do have an extensive network of independent contractors available to select from:
 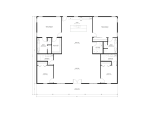 DEAR POLE BARN GURU: Can you build a home per our layout design and not one of yours? JAMES in FORT WORTH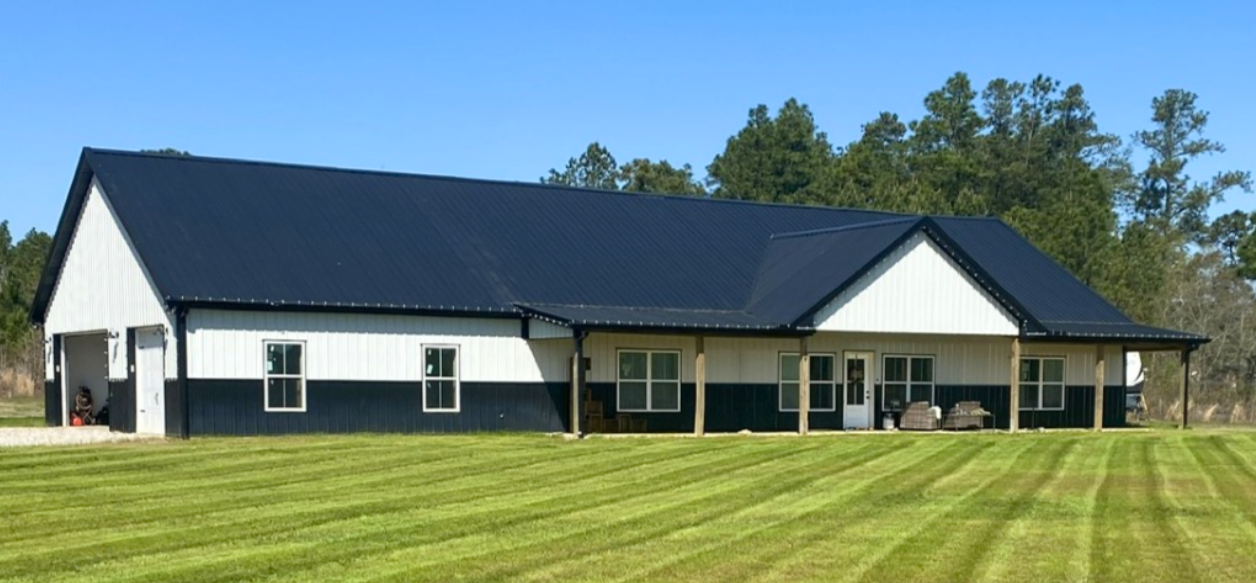
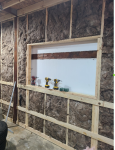 DEAR POLE BARN GURU: I currently have a 40x60x16 pole barn that I built with the walls insulated with standard Silvercote 2″ fiberglass/white vapor barrier lining on the inside portion of the building. I’m now looking to add Rockwool R-23 to the 2×8 bookshelf wall cavities over the existing 2″ insulation. Every conversation I’ve had with AI states to slit the vinyl backing with a razor vertically every 6″ or so before pressing the Rockwool in. This is to prevent a “moisture sandwich” between the rockwool and vinyl backing. Is this correct? I live in Colorado. The whole shop is 2×8 purlins and girts. The roof has been sprayed with 3″ closed cell foam. Looking to do this right. Walls will be covered with 3/4 plywood up to 12′ and a steel liner for the remaining 4′. I really appreciate any help you can provide. ERMELINDO in PEYTOM
 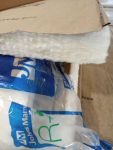 DEAR POLE BARN GURU: One last insulation question – there wouldn’t be a risk to packing it to the exterior metal siding (with no air gap)? TONY in BROCKPORT
  DEAR TAMARRA: While every building we provide is customized to best meet our client’s wants and needs, we do have numerous representative floor plans available:
  DEAR TAYLOR: VA loans can be challenging and they typically force you to hire only an approved General Contractor – meaning you will pay a premium.
 As nails are used from each outer ply, into center ply, center ply ends up with double number of nails, as well as then carrying twice as much load as each individual ply. When we tested these in a university wood products lab center ply failed in over 96% of tested members!
 DEAR ARIANA: Thank you for reaching out to us. Our building kits typically include all structural components needed to “dry in” your building – this would be framework, roofing, siding, doors, windows, any raised wood floors. Each of our buildings comes with site specific (your building and its openings, on your site) engineer sealed plans (with verifying engineer sealed plans). This is your assurance your barndominium will withstand appropriate climactic loads and perform admirably for generations. For fully engineered post-frame homes and barndominiums, modest tastes, total DIY, budget roughly $75-85 per square foot for conditioned spaces, $35 per square foot for other spaces. This does not include cost of land, site prep (including driveways and roads), utilities or permits. If you hire a General Contractor to “turn key” – expect to pay double to triple this amount. Act as your own General Contractor and hire out subcontractors, savings usually run 20-30% less than hiring a GC. Your building shell investment is roughly a third of your finished DIY investment.
 DEAR POLE BARN GURU: Skagit County Planning and Development Services says: “Is engineering required for a post frame building? Yes, engineering is required. There is no provision in the International Residential Code (IRC) for prescriptive post frame construction. “Do the plans and kit come with an engineer’s stamp that I can submit to the Planning department for a building permit? Thanks, ED in BOW
  NAHB Chairman Carl Harris issued the following statement in response to the White House action on tariffs:
 Normally, you can expect to budget for fully engineered post frame homes and barndominiums, modest tastes, DIY, budget roughly $75-85 per sft (square foot) for conditioned spaces, $35 for all others. Does not include land, site prep, utilities, permits. Hiring a General Contractor (GC) to do everything, will typically double these costs. Acting as your own General Contractor, will put you about half-way between. These costs DO include any concrete slabs on grade.
 DEAR POLE BARN GURU: After purchasing large kit for residential home what cost can I expect to finish the house? I know a lot depends on finishes and stuff but I want to know if this is a realistic option. We will be purchasing land and we will be installing well and septic but I am just trying to figure building and finishing of house. LAURA in PEARLAND
 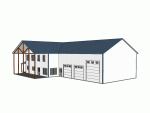 DEAR JEFF: Oftentimes it becomes far more practical to tear down and start from a clean slate. Structural upgrades need to be accounted for in making a barn capable of withstanding higher loads and deflection criteria for a residential structure. Should you decide to utilize this existing barn, you should engage a Registered Professional Engineer to physically evaluate this structure and do an analysis of needed upgrades. Combining a barn with a residence also results in fire separation issues, in some jurisdictions, this can mean up to two-hour fire walls, eliminating any ability to go directly from residence into barn.
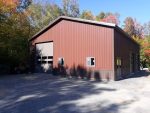 DEAR POLE BARN GURU: My license is for between 2,501 square feet to 7,500 square feet of canopy. What size pole building would I need which would leave me room for drying, packaging, etc? DAVID in MAGNOLIA
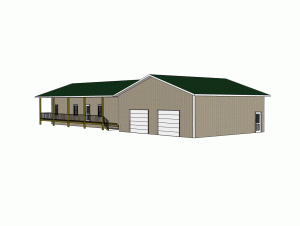 DEAR TERRI: Fully engineered post frame, modest tastes, totally DIY, move in ready, budget roughly $70-80 per sft of floor space for living areas, $35 for all others. Does not include land, site prep, utilities, permits. Your new Hansen Pole Building kit is designed for an average physically capable person, who can and will read and follow instructions, to successfully construct your own beautiful building shell, without extensive prior construction knowledge (and most of our clients do DIY – saving tens of thousands of dollars). We’ve had clients ranging from septuagenarians to fathers bonding with their teenage daughters erect their own buildings, so chances are – you can as well! Your new building investment includes full multi-page 24” x 36” structural blueprints detailing location and attachment of every piece (as well as suitable for obtaining Building Permits), our industry’s best, fully illustrated, step-by-step installation manual, and unlimited technical support from people who have actually built post frame buildings. Even better – it includes our industry leading Limited Lifetime Structural warranty! If hiring it done turnkey, expect to pay two to three times as much. This is why so many of our clients do some or all work themselves.
 DEAR POLE BARN GURU: My question is that i want one pole barn to house at least 4 vehicles, an RV as large as 45 ft. and a small home around 500 sq feet. Is this possible? JASON in OWENSBORO
 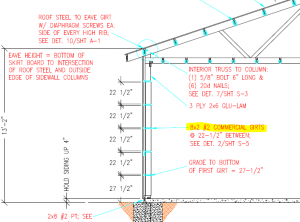 DEAR MATT: While it would certainly make for a larger screw target, when wall steel panels are predrilled, keeping screw lines straight and hitting commercial girts really is not an issue. Outside of extra materials and more labor, there are a couple of areas of possible concern: 6×6 columns vary in dimension. With a 2×8 commercial girt, extending 1-1/2″ outside of columns, a 6×6 up to 5-3/4″ can easily be hidden. If your idea is to use a 2×6 commercial girt, behind a 2×4 external girt, if columns run over dimension they will leave an uneven surface for internal finish. Of course, should you mount a 2×4 external girt above or below a 2×8 commercial girt (forming an “L”), then this concern goes away. Your other possible challenge would be in connecting these two members. Greatest force on wall girts is outward suction, so your 2×4 external girt and 2×6 bookshelf commercial girt will need to be adequately connected so as to not have external girt pull away and fail. This connection should be analyzed by an engineer.
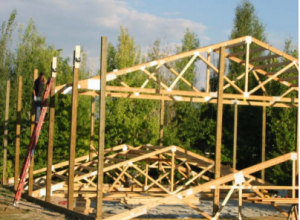 DEAR POLE BARN GURU: I’m curious of the stability of wet set brackets during raising our roof sections. We build our roof bays on the ground with purlins installed then use hand winches mounted to our columns with a pulley at the top. All our columns are embedded in the ground. Would wet-set brackets be stable enough for us to still winch up our truss bays with purlins attached? BRANDON in SNEEDVILLE
 DEAR POLE BARN GURU: I am separating full trusses, 26 ft., 5/12, and making 10 mono trusses. I am using them to make a lean-to to my pole barn. I plan to attach them to the poles/posts, what hardware would you use to hang the bottom cord and top cord (and anything in between) to the side of the pole barn? Thank you! TOM in HASTINGS
 DEAR POLE BARN GURU: I am interested in a smaller pole barn house…around 1200 sq. ft. I would prefer to have a two-story or at least a good sized loft. i wanted a concrete slab…the floors acid washed. Is this possible with a $50,000 budget? DYANN I THEODOSIA