Recommendations for Grading
Reader ISAAC in BURLINGTON writes:
“Do you have any instructions or recommendations on the grading side of things before i buy a post in ground house kit on how much of a pad to build up and how far away from house to slope it to keep water away and post rot?”
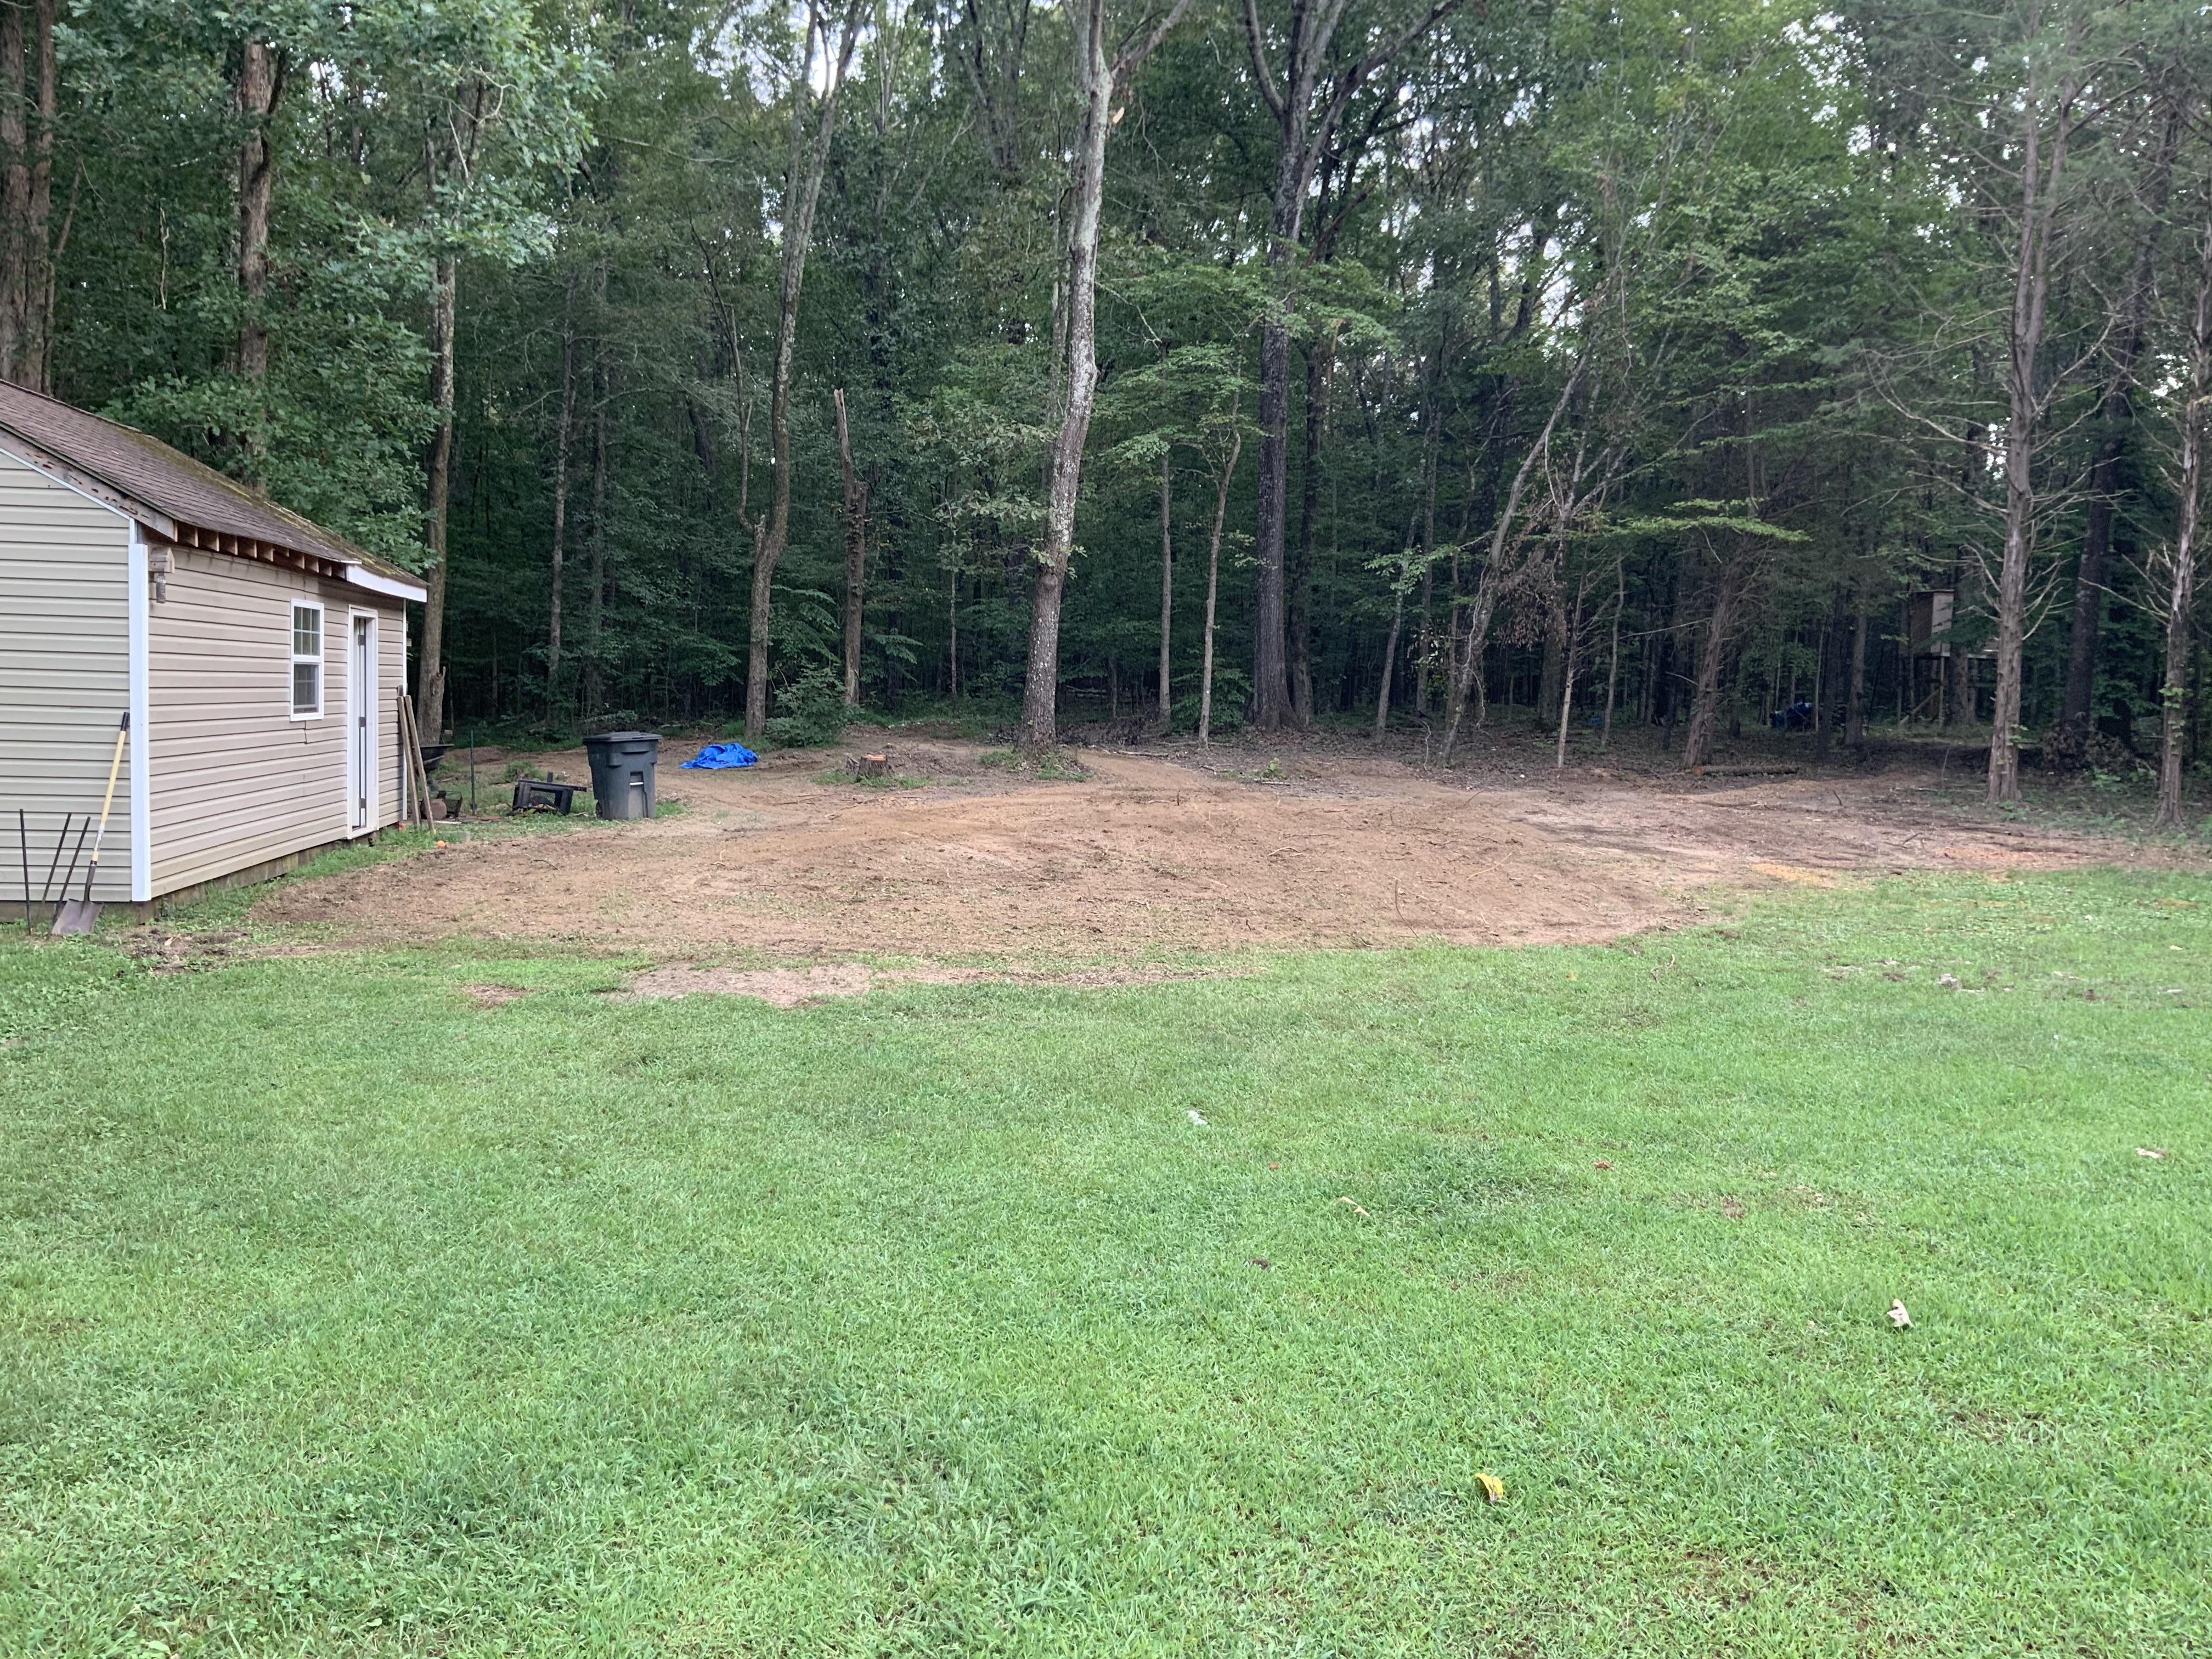
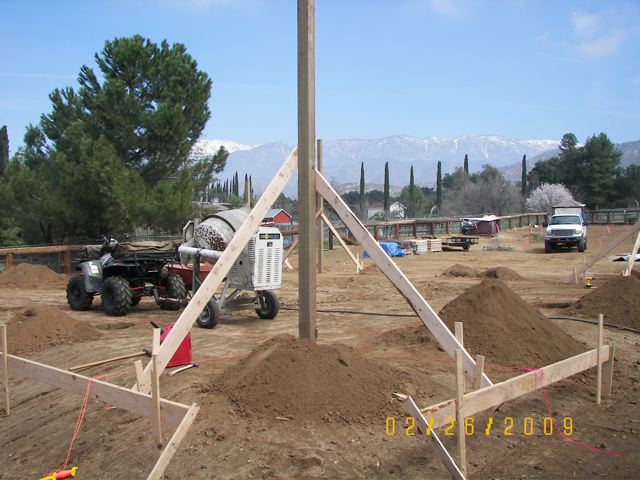
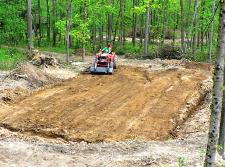 Ideally a prepared site will be 10 feet beyond building footprint in all directions. From highest point, ten feet away from building, grade should slope up to actual “pad” no less than six inches.
To allow proper drainage plan to keep building grade higher than surrounding site. On an ideal site, water drains naturally away from building. Since few sites are ideal, in most cases, grade work will be required to keep surface water away from building. Keeping finished building floor higher than surrounding site reduces flooding chances during heavy rainfall or rapid snowmelt.
In flood plains, consult first with your building department to determine their requirements. Typical recommendation is to establish grade level at finished floor top higher than flood level. This may require importing fill to raise grade. A surveyor can be hired to expertly determine these heights. In some cases, code approved flood vents may be installed, below flood level, to equalize interior and exterior pressures.
Many sites can be graded with a skid steer or backhoe. Some cases will require heavy equipment to properly grade site to allow water to drain away from building. If engaging a professional for site grading, make certain finished grade was adequately prepared before making final payment. In far too many cases supposedly “flat” sites being out of level have been experienced by disappointed owners.
At a minimum, site preparation includes:
Remove all sod and vegetation.
For ideal site preparation, remove topsoil and stockpile for later use in finish grading. In frost prone areas, remove any clay or silty soil from within future building “footprint”.
Replace subsoil removed from around building with granulated fill to help drain subsurface water from building.
Distribute all fill, large debris free (no pit run), uniformly around site in layers no deeper than six inches. Compact each layer to a minimum 90% Modified Proctor Density before adding next layer. It is recommended to invest in a Geotechnical (soils) Engineer to test to confirm correct compaction. Adequate compaction takes more than driving over fill with a dump truck, or earth moving equipment. Properly compacted fill can be treated as if it was undisturbed native soil.
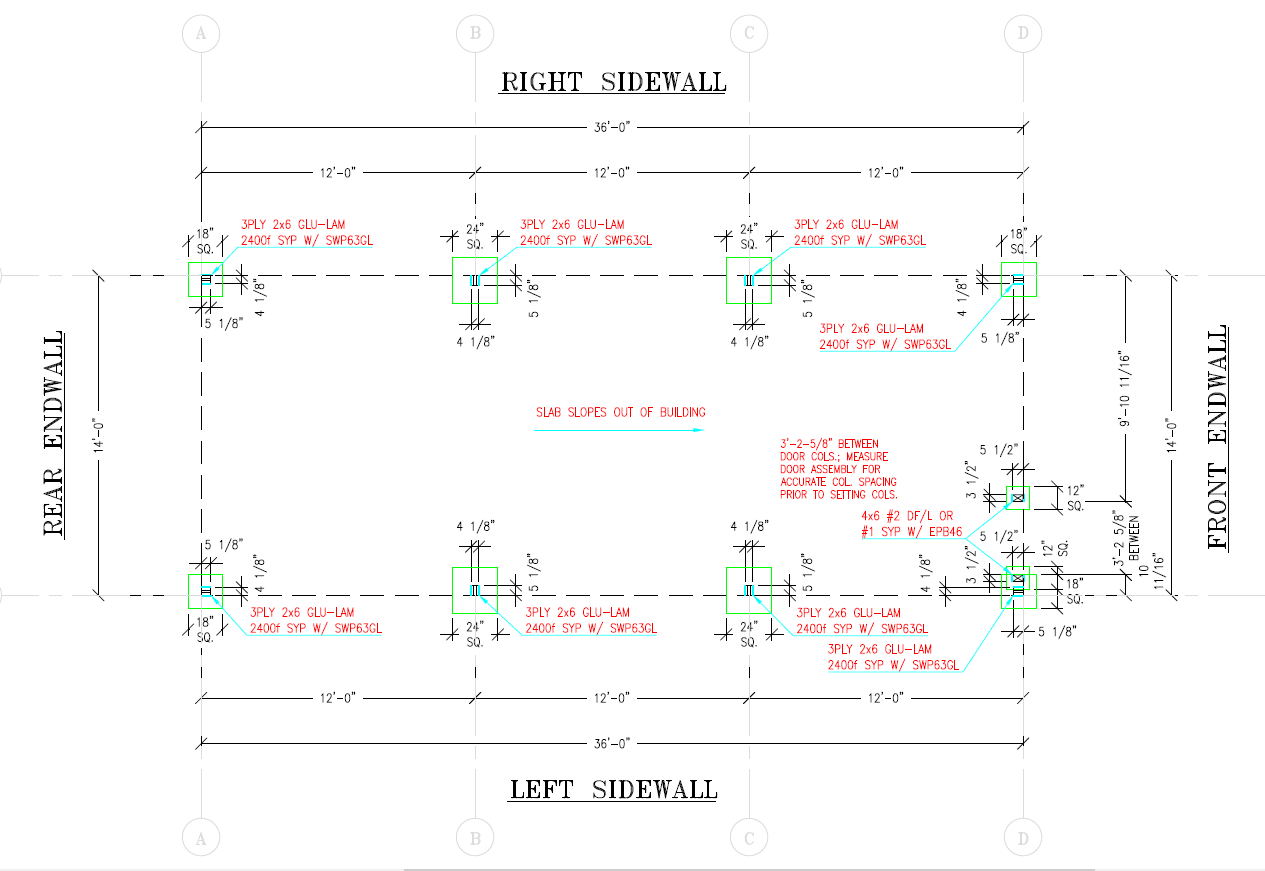
If building on expansive soils (such as clay) it is recommended to increase hole depth to at least six (6) times hole diameter (ex. 9’ deep for 18” hole, 12’ deep for 24” hole). Added hole depth should be back-filled with concrete.
When any building portion sits on non-compacted fill, rest columns, as well as any concrete encasement, on or in undisturbed soil. In many cases, building inspectors will require a Geotechnical Engineer to confirm compaction adequacy on filled sites. Geotechnical Engineers can be expensive, but are even more costly when called in to do analysis “after the fact”. Your building’s E.O.R. is, as a practicality matter, unable to visit sites; therefore will be unable to perform or provide any soils or other similar reports, design retaining walls or any other work beyond building shell.
Soil compaction is defined as a method of mechanically increasing soil density. In construction, this is a significant part of your building process. If performed improperly, soil settlement could occur and result in unnecessary maintenance costs or structure failure. Almost all building site types and construction projects utilize mechanical compaction techniques.
So what actually is soil? Soil is formed in place or deposited by various natural forces – such as glaciers, wind, lakes and rivers – residual or organically. Important elements in soil compaction are soil type, soil moisture content and compaction effort required.
There are five principle reasons to compact soil: to increase load-bearing capacity, prevent soil settlement and frost damage, provide stability, reduce water seepage, swelling and contraction and reduce soil settling.
Soil can be compacted by vibration, impact, kneading or pressure. These different compaction efforts can be accomplished by main types of compaction force, static or vibratory.
Static force is simply machine dead weight, applying downward force on soil surface, compressing soil particles. Only way to change effective compaction force is by adding or subtracting machine weight. Static compaction is confined to upper soil layers and is limited to any appreciable depth. Kneading and pressure are two static compaction examples.
Vibratory force uses a mechanism, usually engine-driven, to create a downward force in addition to machine’s static weight. This vibrating mechanism is usually a rotating eccentric weight or piston/spring combination (in rammers). These compactors deliver a rapid sequence of blows (impacts) to soil surface, thereby affecting top layers as well as deeper layers. Vibration moves through material, setting particles in motion and moving them closer together for highest density possible. Based on materials being compacted, a certain force must be used to overcome cohesive nature of particular particles.
Poor, improper or no compaction can result in concrete slab cracks or frost heaves, foundation erosion and/or building settling. Proper compaction can ensure a longer structural life.
Every soil type behaves differently with respect to maximum density and optimum moisture. Therefore, each soil type has its own unique requirements and controls both in field and for testing purposes. Soil types are commonly classified by grain size, determined by passing soil through a series of sieves to screen or separate different grain sizes. Soils found in nature are almost always a combination of soil types. A well-graded soil consists of a wide range of particle sizes with smaller particles filling voids between larger particles. Result is a dense structure lending itself well to compaction. A soil’s makeup determines best compaction method to use. There are three basic soil groups: cohesive, granular and organic. Organic soils are not suitable for compaction.
Cohesive soils, such as clay or silts have smallest particles. Cohesive soils are dense and tightly bound together by molecular attraction. They are plastic when wet and can be molded, but become very hard when dry. Cohesive soils feel smooth and greasy when rubbed between fingers. Clay soils are less than ideal to construct your new post frame building upon and should be removed and replaced.
Granular soils range in particle size from .003″ to .08″ (sand) and .08″ to 1.0″ (fine to medium gravel). Granular soils are known for their water-draining properties. Sand and gravel obtain maximum density in either a fully dry or saturated state. Granular soils feel gritty when rubbed between fingers. When water and granular soils are shaken in palm of your hand, they will mix, when shaking stops, they will separate. When dry, a soil sample will crumble.
Gravel and sand can be compacted either by vibration (using a vibrating plate compactor, vibrating roller or vibrating sheepsfoot) or kneading with pressure (using a scraper, rubber tired roller, loader or grid roller). Both are good to excellent in terms of foundation support and as a subgrade. They are easy to compact and are not expansive (expansive soils tend to be prone to frost heave issues).
Response of soil to moisture is very important, as soil must carry loads year-round. Rain, for example, may transform soil into a plastic state or even into a liquid. In this state, soil has very little or no load-bearing ability.
Soil moisture content is vital to proper compaction. Moisture acts as a lubricant within soil, sliding particles together. Too little moisture means inadequate compaction – particles cannot move past each other to achieve density. Too much moisture leaves water-filled voids and subsequently weakens load-bearing ability. Highest density for most soils is at a certain water content for a given compaction effort. Drier soil is more resistant to compaction. In a water-saturated state voids between particles are partially filled with water, creating an apparent cohesion binding them together. This cohesion increases as particle size decreases (as in clay-type soils).
To determine if proper soil compaction is achieved for any specific construction application, several methods were developed. Most prominent by far is soil density.
Soil testing accomplishes the following: measures density of soil for comparing degree of compaction vs. specifications for structure to be built; measures effect of moisture on soil density vs. specifications; and provides a moisture density curve identifying optimum moisture content.
Tests to determine optimum soil moisture content are done in a laboratory. Most common is a Proctor Test, or Modified Proctor Test. A particular soil needs to have an ideal (or optimum) amount of moisture to achieve maximum density. This is important not only for durability, but will save money because less compaction effort is needed to achieve desired results.
A quick method of determining moisture is known as a “Hand Test”.
Pick up a handful of soil. Squeeze it in your hand. Open your hand. If soil is powdery and will not retain shape made by your hand, it is too dry. If it shatters when dropped, it is too dry. If soil is moldable and breaks into only a couple of pieces when dropped, it has right amount of moisture for proper compaction. If soil is plastic in your hand, leaves traces of moisture on your fingers and stays in one piece when dropped, it has too much moisture for compaction.
Proctor, or Modified Proctor Test, determines maximum density of a soil needed for a specific job site. This test first determines maximum density achievable for materials and uses this figure as a reference. Secondly, it tests effects of moisture on soil density. This soil reference value is expressed as a percentage of density. These values are determined before any compaction takes place to develop compaction specifications. Modified Proctor values are higher because they take into account higher densities needed for certain types of construction projects. Test methods are similar for both tests.
When hired, a soils engineer will probably perform either a sand cone or a nuclear density test. In sand cone, a small hole (6″ x 6″ deep) is dug in compacted material to be tested. Soil is removed and weighed, then dried and weighed again to determine its moisture content. A soil’s moisture is figured as a percentage. Hole’s specific volume is determined by filling it with calibrated dry sand from a jar and cone device. Dry weight of soil removed is divided by volume of sand needed to fill hole. This gives us density of compacted soil in pounds per cubic foot. This density is compared to maximum Proctor density obtained earlier, giving us relative density of just compacted soil.
Nuclear Density meters are a quick and fairly accurate way of determining density and moisture content. Meter uses a radioactive isotope source (Cesium 137) at soil surface (backscatter) or from a probe placed into soil (direct transmission). Isotope source gives off photons (usually Gamma rays) radiating back to meter’s detectors on unit bottom. Dense soil absorbs more radiation than loose soil and readings reflect overall density. Water content can also be read, all within a few minutes. A relative Proctor density with compaction results from this test.
Soil modulus or soil stiffness test is a field-test method is a very recent development replacing soil density testing. Soil stiffness is a ratio of force-to-displacement. Testing is done by a machine sending vibrations into soil and then measuring deflection of soil from vibrations. This is a very fast, safe method of testing soil stiffness. Soil stiffness is desired engineering property, not just dry density and water content.
Be certain to know local Building Department requirements before starting to move dirt.
In many jurisdictions, a separate grading permit may be required. In some cases a building permit must be issued prior to moving soil. Get started on right foot with permit authorities – ask first before digging!
Also, prior to doing any excavation call 811. This is a free service to mark underground utilities. Property owners and contractors can be held financially liable if they fail to locate underground utilities (like gas, electric, telephone, cable, water) and damage them in any way (besides a potential for causing severe injury or death).
Grade and compact actual building “footprint” area as level as reasonably possible prior to beginning construction.
Create an adequate work area. At a minimum clear at least ten feet beyond each building side. Building Codes (IRC R401.3 and IBC 1804.4) require non-impervious areas beyond building perimeter be graded away from building with a minimum 5% slope to drain surface water away in all directions. A 5% slope is a 6 inch drop in 10 feet.
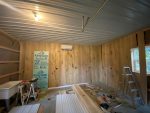 DEAR JOSEPH: If it has a steel ceiling liner, chances are good truss bottom chords are capable of also supporting blown in fiberglass insulation – even as great as R-60. You want to avoid cellulose, as it is far heavier and fire retardant chemicals in it can react negatively with steel liner panels, should moisture be induced. Make sure to have adequate ventilation above your insulation (both intake and exhaust in correct proportions).
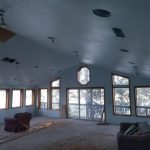 DEAR POLE BARN GURU: Is there an option for vaulted ceilings and perhaps even exposed beams in a larger home footprint? This would be a single level approximately 2500 square feet for the living space. KENNETH in RIO VERDE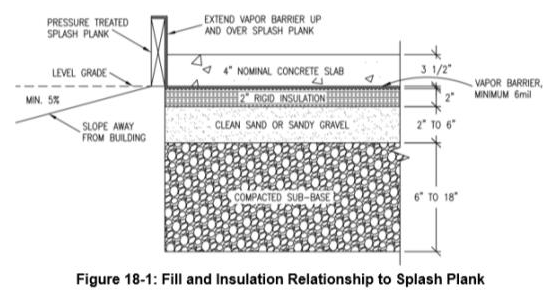
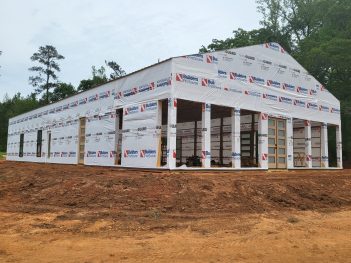 DEAR HECTOR: In “frost country” a sub-base 6” or thicker should be first placed across site. To maintain frost-free soils sub-base should be such as no more than 5% (by weight) will pass through a No. 200 sieve, and it is further desired no more than 2% be finer than .02 mm.
 DEAR POLE BARN GURU: I have a tiny home that’s being built. 18x20x10h. It is built in East Texas on slab with moisture barrier. Has steel frame and metal walls and roof panels. It also has 1.5″ of closed cell spray foam on the interior walls and 2″ on the interior roof. I am planning to condition the entire space and not have an attic space. Several builders told me I have to use the spray foam or I would have terrible condensation problems. So I did. And now I’m building the interior a little at a time. I don’t open the door more than once or twice a week. Every time I do I can feel the humidity when I walk in. There are no windows and only one door and everything is sprayed really good. It has been a about 2.5 yrs since the building was built and a couple of years since the spray foam was installed. There is a vapor barrier under the concrete. Can’t figure out where the moisture is coming from. Only thing I can think of is the area where the shower plumbing will be installed is an open in the concrete. What should be done to stop this from continuing? I’m afraid that if I keep working to finish the house I’m just sealing in what will later be mold/mildew. Since I’m still building I don’t have power to the building, just using extension cords. Meaning I don’t have air conditioning installed yet. Could this be all that’s needed to solve the problem? CINDY in TYLER
 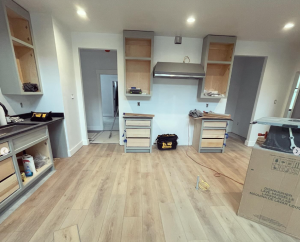 DEAR MICHAEL: When installing drywall panels between walls and ceilings, it’s generally recommended to butt them tightly against each other without leaving a gap. This approach minimizes the amount of joint compound (mud) needed and helps create a smoother finish. Leaving gaps can lead to issues such as cracking, as the mud may shrink and not adhere properly. I spent a summer taping drywall as a teenager, and this is exactly how we were trained. Here is some extended reading:
  DEAR CLEO: Grade change is ideally checked before placing building order, however this is not often feasible as a practical matter. If grade has not been checked before order placement, do so within 24 hours. Longer posts are far more economical when provided with original lumber delivery. In some instances, building posts have been specially ordered (due to dimension, length, treating specifications or a combination) and cannot be returned.
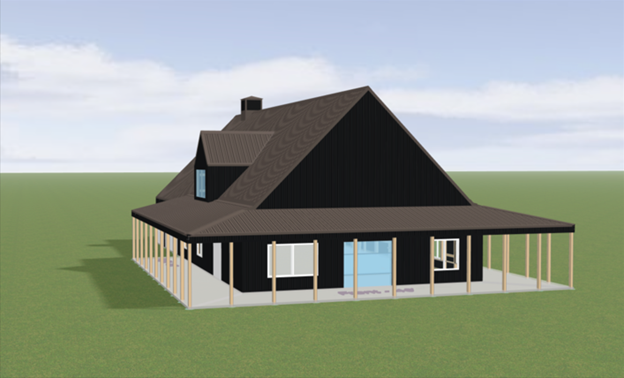
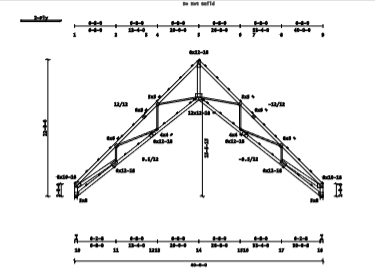
 Normally, you can expect to budget for fully engineered post frame homes and barndominiums, modest tastes, DIY, budget roughly $75-85 per sft (square foot) for conditioned spaces, $35 for all others. Does not include land, site prep, utilities, permits. Hiring a General Contractor (GC) to do everything, will typically double these costs. Acting as your own General Contractor, will put you about half-way between. These costs DO include any concrete slabs on grade.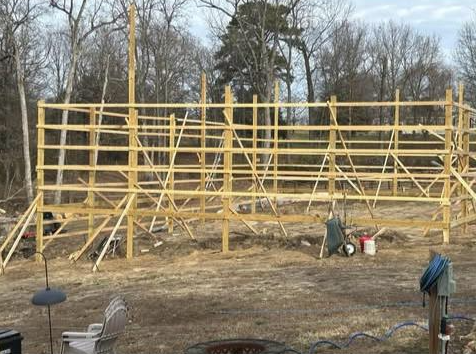
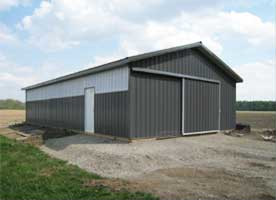
 DEAR DALE: Thank you for your interest in a new Hansen Pole Building. We have provided over 1000 fully engineered post frame buildings to our clients in Washington State, more than any other state!
 DEAR POLE BARN GURU: Going to build 2 pole barns on my property in Wewahitchka Florida about 15 miles from Mexico Beach. Water table on property is high and in a three foot post hole the water will seep and maintain 2 foot of water. Besides having a potential of hurricane winds what do you feel is best to withstand the water and winds over time for the supporting posts? Some I have read say wet set anchors are a pivot point not good for hurricane situations? Some posts in the ground not to weaken the post when blown by hurricane winds. Please inform best way and I am putting in for a quote from your company. ED in WEWAHITCHKA
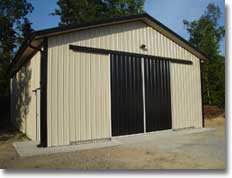
  DEAR ROB: After roughly 20,000 buildings, I have yet to have any client wish they would have installed sliding doors, rather than sectional steel overhead doors.
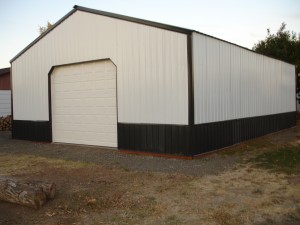 Starting with your door end (which I will assume is uphill), I would add enough fill so this end could have holes dug to 40″, filling balance of site accordingly. All fill should be compacted in no less than six-inch lifts to a minimum of 90% of Modified Proctor Density (you may need to invest in a Geotechnical Engineer to verify compaction).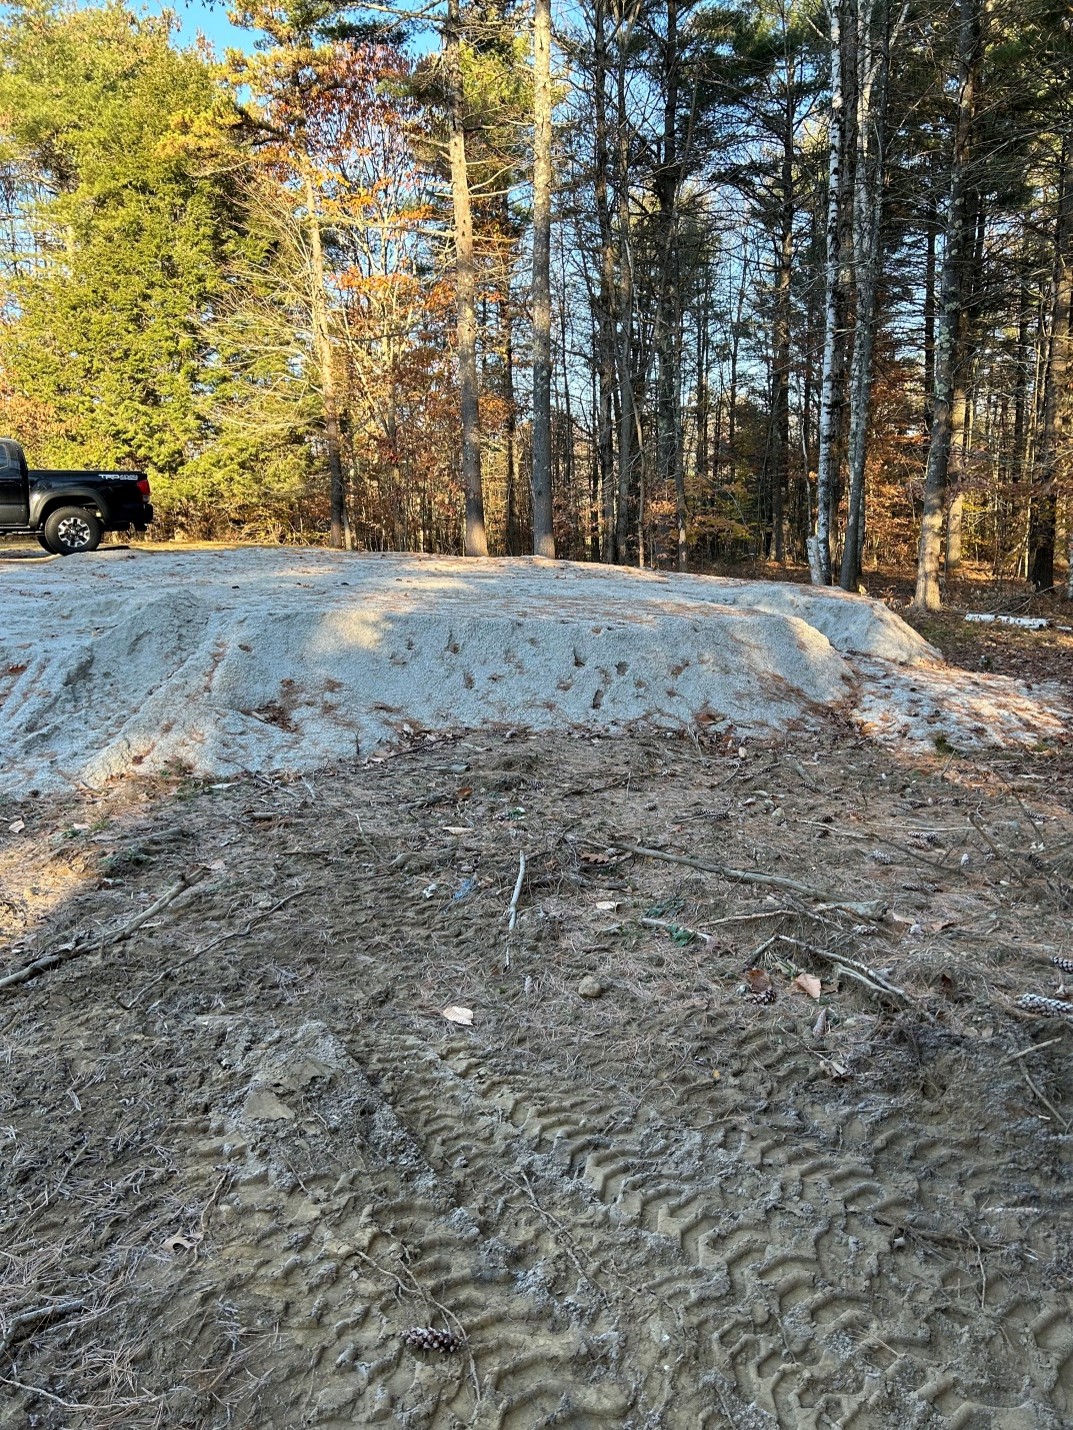
 DEAR BJ: Absolutely a bad idea. Pole barns “work” (e.g. stay standing) due to shear strength of steel sheeting (or OSB, plywood, etc., if used). When you place insulation boards between steel and framing, you are severely impacting ability of steel to carry those loads, as steel can shift slightly under wind loads. Eventually this will cause screw shank deformation (would take some very long screws), as well as slotting under screw gaskets, creating leaking (provided building doesn’t just fail first). If you really want to use XPS sheets, cut them to fit snugly between purlins and girts, taping all edges to achieve a tight seal.
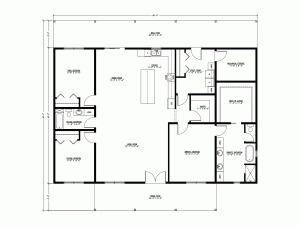 DEAR POLE BARN GURU: I would like to think of something for my 2 boys and I. One story 3 bed 2 bath. Living room dining room kitchen, laundry room with walk in closets. About what size would you recommend? SHANNON in KIPTON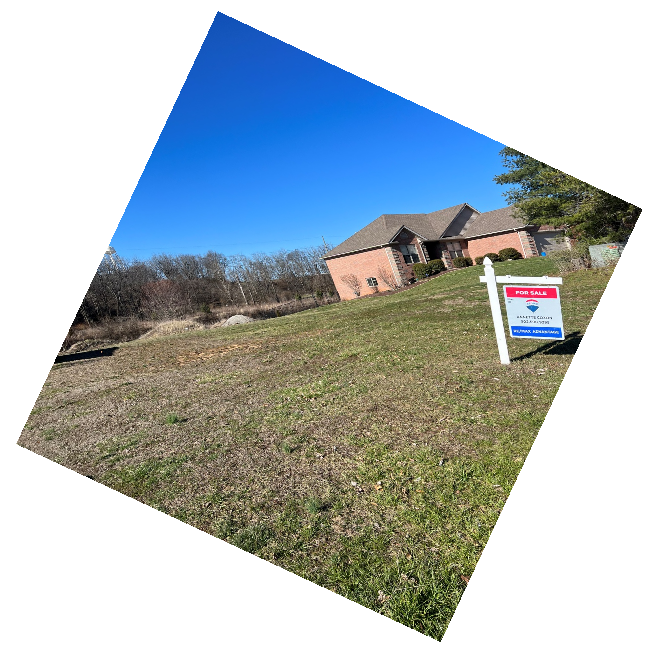
 DEAR OWEN: Metal Building Insulation (MBI) is not my favorite design solution for post frame insulation (read more here:
 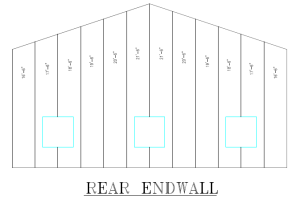 DEAR MATT: Our buildings (as are most Pacific Northwest Buildings) measure 36 feet from outside of column to outside of column. This allows for 12 sheets of steel plus the lap on the 12th piece (covering 36′ 1-1/2″ roughly) to be installed without having to rip the last steel panel lengthwise. Pressure preservative treated splash planks, headers, etc. will be applied to exterior faces of columns, giving a framed finished width of 36’3″.
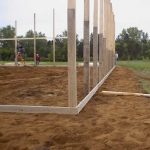 DEAR KEVIN: #1 reason to not use pit run is it is difficult to auger holes through.
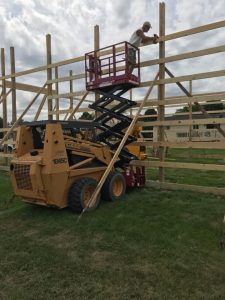 DEAR POLE BARN GURU: I plan on putting up a 60′ x 120′ post frame shed. I’m going to run my 6×6 posts at 8′ o.c. can I use all 8′ 2×6 material for the girts or should I have some 16′ material staggered in with the 8′ material? Will that increase the strength or do you think it would be similar? Thanks guru! JASON in NEW HOLSTEIN
 DEAR MATTHEW: Having built for myself an elevated floor post frame building (I had 14 feet of grade change in 24 feet), I feel as though they are a great solution. Unless you had enough grade change to practically utilize space below, I would use interior columns to reduce spans of beams and joists – little, short columns being far less expensive than large multiple ply beams and large dimension floor joists. My knees also prefer to live on wood, rather than concrete – making this a double win.
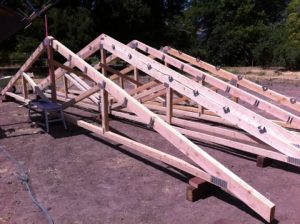 DEAR SHARKBITE: In order to determine if your trusses can handle weight of this unit, you would need to look at your engineer sealed roof truss drawings. If Bottom Chord Dead Load (often shown as BCDL) is less than five (5) psf (pounds per square foot) then probably not. Ideally, reach out to whomever fabricated your trusses. Give them weight of your unit, where you propose to hang it, as well as if you have a ceiling and insulation and they can give you a definitive thumbs up or down.
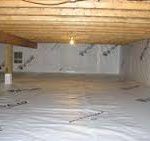 DEAR ROSS: You are correct about where moisture is coming from – and it is made even worse in Winter, when ground outside of your building is frozen and inside your building is where all ground moisture is trying to escape (basically think of your building as being a cork pulled out of a genie’s bottle). While pouring a concrete slab on grade of a vapor barrier would be your best (and permanent) solution, concrete is costly. With this said, my best recommendation would be to remove top two inches of dirt inside of your building, making sure there are no sharp rocks projecting up above surface. Place a 15mil black vapor barrier across entire floor, overlapping seams by 12 inches and taping them tightly shut. Run vapor barrier up onto splash planks on walls (if possible) as well as sealing to each column. Cover vapor barrier with two inches of clean sand. You may need to mechanically dehumidify, in order to fully resolve your challenges.
 DEAR WESLEY: Post frame buildings “work” due to their skin. Placing openings, without approval from your building’s engineer, could result in catastrophic structural failure.
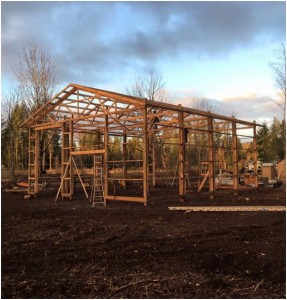
 DEAR TONY: Most important for avoiding frost heave is having a properly prepared building site:
  DEAR TIM: Thank you for reaching out to us.
 DEAR MATTIE: Solar Guard is a Reflective Radiant Barrier, it is truly not insulation. Provided you have taped all of the seams, it should work well as a condensation control between your building’s roof purlins and roof steel. It is the absolute wrong product to use in your building’s walls. You should use a Weather Resistant Barrier (think Tyvek or similar) between framing and steel siding (unless you are planning on closed cell spray foam insulation – it should be sprayed directly to inside of wall steel).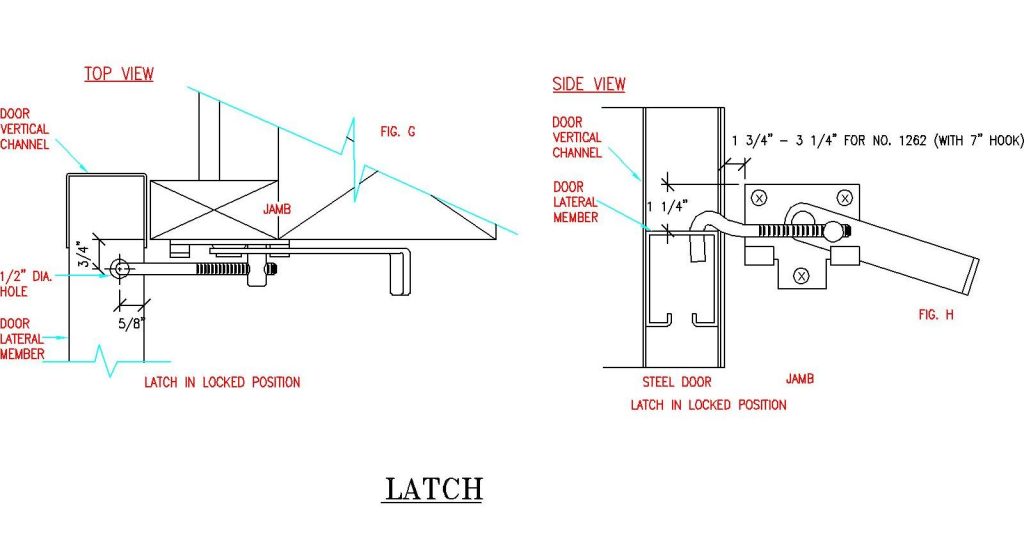
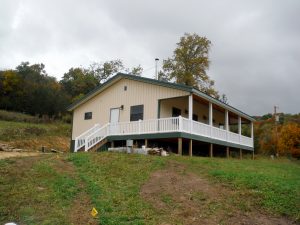 DEAR POLE BARN GURU: I’m building a pole barn on an uneven build site and am trying to figure out the best material to level the site with. I need as much as 3ft of material in some areas. I can get sand for cheap nearby but I didn’t know if it was the appropriate material for setting poles.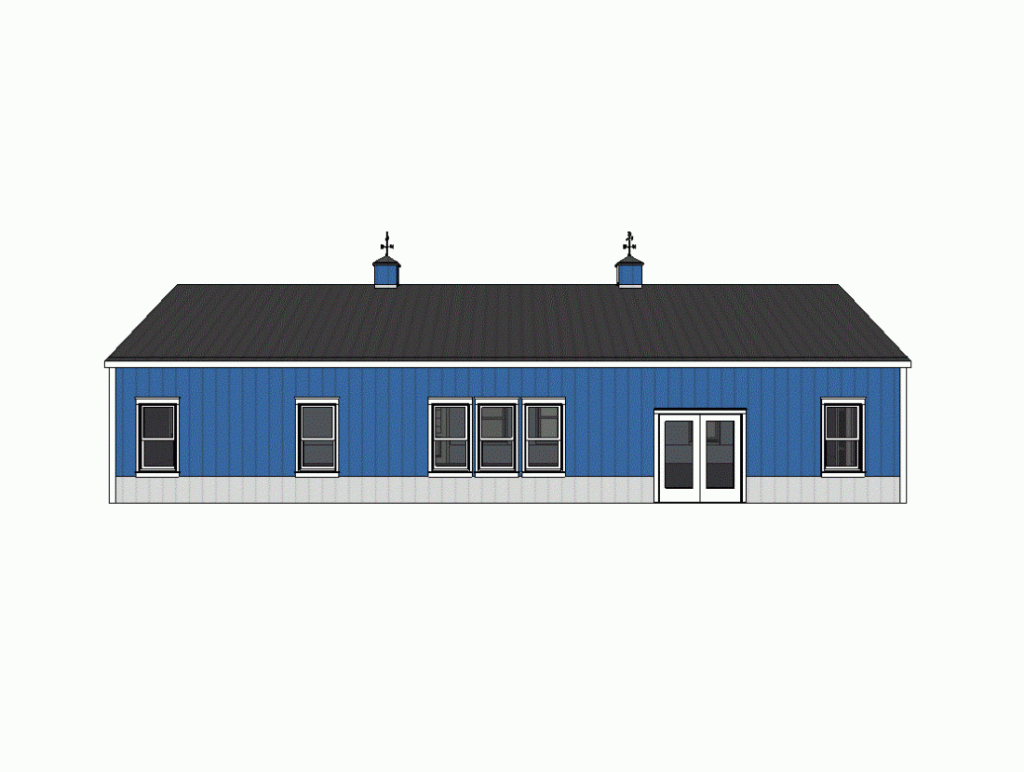
 DEAR KIMBERLY: This brought back childhood memories of my Dad taking me out on a Saturday to a site above Hayden Lake, Idaho where he and my uncles were going to be framing a custom home. Site had been cleared, and there were all sorts of roughly inch and one-half diameter holes drilled into solid rock – they had to blast in order to get a foundation in!
 DEAR POLE BARN GURU: I am in the planning stages for a pole barn build. The building will be 50 ft wide by 40 ft deep by 16 ft high at the eaves, posts spaced at 10 ft centers. This will go on a concrete pad and I am looking into using Sturdi-Wall Plus wet set brackets. My question is in regard to the height of the posts (roughly 16 ft) and the bending moment loads (wind loads) on the side of the building. Have you designed/installed posts with this height or higher before? If so, is there a place where I can point the planning officials to that shows the calcs and what not so they can make a decision as to whether or not this type of application with my situation will work or not?
 DEAR KRISTEN: Any roof supporting structural columns are pressure preservative treated to UC-4B per International Building Code requirements. This is a greater level of pressure treatment than you can usually find at big box stores or local lumberyards. Any other lumber used in ground contact will be treated to UC-4A and tags will reflect ‘ground contact’. Lumber in contact with steel roofing (roof purlins) are not exposed to the weather, would not typically be pressure preservative treated. We do always recommend a condensation control be used between roof steel and roof framing. The easiest, from an application standpoint, would be a factory applied to roof steel Integral Condensation Control (DripStop or CondenStop). Other alternatives would be a Radiant Reflective Barrier (we can provide this in six foot width rolls with an adhesive pull strip attached for ease of joining rolls together) or to use two inches of closed cell spray foam.
 DEAR POLE BARN GURU:
  DEAR RUTHIE: To begin with your site should have been graded prior to construction starting, obviously you did not know what you did not know. Fill should not be dirt, in any case. Up to within two to six inches of bottom of your building’s splash planks should be sub base – compacted no more than every six inches. On top of this should be two to six inches of sand or sandy gravel – also compacted. Seven truckloads of fill should amount to roughly 115 yards, so if this is for proper materials, compacted, price is probably not out of line.
 DEAR POLE BARN GURU:
  You have only a couple of realistic options – first one is ugly, remove roof steel and place a thermal break between conditioned space and roof steel. This could be as simple as adding a Reflective Radiant Barrier. It never comes back together as well as it did originally, and when all is said and done, option number two will be less expensive.
 DEAR POLE BARN GURU: Hey, I was wanting to see if I could get some more information on a steel house. My wife and I have 5 acres in Kings Mountain, NC and are wanting to start the home buying/ building process at the end of next year. Do you guys take care of the structure, concrete slab, flooring, electrical, grading, plumbing, well, etc? I am trying to find more information on the steel house process and how I can go about getting started. Looking forward to hearing back from you. SAWYER in KINGS MOUNTAIN
 DEAR POLE BARN GURU: I have seen your kits available other places so I decided to go to you directly. Where do I find pricing for 48 ft. x 60 ft. x 20 ft. Wood Garage Kit without Floor. LEAMARIE in NEW RICHMOND
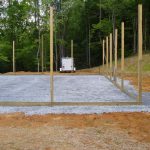 DEAR DEREK: Regardless of the type of construction used, the success or lack thereof for your slab is going to come from what you do underneath it, as well as grading the site properly to keep water from pooling below it.
 DEAR ROB: We offer any dimension of footprint you desire, not just 30 foot width by 40 feet long and would encourage you to look at what works best for you in an internal layout, then create the exterior dimensions which best fit your interior needs. Two and even three full or partial stories can easily be done with post frame construction and if your zoning allows the overall height and you are willing to add sprinklers, you could go four stories.
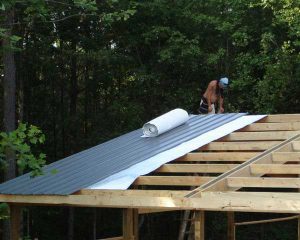 DEAR SCOTT: You actually have several things going on here. First, single bubble reflective radiant barrier will do everything double bubble will, at a far lesser investment. The difference in the minimal R value is a fraction of one! Your building ceiling should not have an additional vapor barrier, you want the moisture from inside the building to be able to migrate through into the ventilated attic space. Blowing in an appropriate thickness of fiberglass or cellulose insulation will be far more effective, probably less expensive and will allow the moisture through. Make sure to have adequate intake at the eaves and exhaust at the ridge to be able to properly vent the dead attic space.
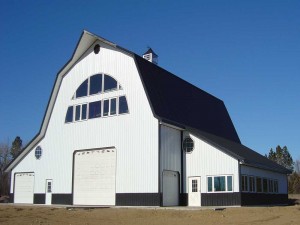 DEAR RICK: Most certainly you can. I have a post frame building on the back of our property outside of Spokane, Washington. The site has 12 feet of grade change across the 40 foot width. After excavating the area where the building would be placed to level, ICF blocks were placed 12 feet high along the southern wall, stepping down with the slope on the east wall, with the other two walls being “daylight” and utilizing traditional columns embedded in the ground. You can read more about my building here: