Closed Cell Spray Foam Adhesion to Dis-similar Materials
Reader GREG in ASHEVILLE writes:
“How long will closed cell foam maintain adhesion/air barrier function to dis-similar materials (sheet metal and lumber in the case of post frame)? I ask because my experience with foam is limited to what was sprayed beneath my floor/floor joists (estimating late 70s to early 80s). The bottom of the floor joists has a membrane to hold the foam in place. When the membrane is not present, the foam can be seen as laying on the membrane/no longer attached to the wood joists/sub-floor.
I love the concept of post framing w/ foam, seems like this saves on materials and labor needed for construction. We are currently looking to build our last/retirement house, and I believe the foam will outlast me, but when it’s time to sell will the next owner have a problem with the air sealing?
What are your thoughts?”
Mike the Pole Barn Guru responds:
In my humble opinion, engineered post frame construction is truly an answer for material, labor and energy efficient low-rise buildings (up to three stories and 40 foot tall walls or 4 stories and 50 foot with fire suppression systems).
https://hansenpolebuildings.com/2022/01/why-your-new-barndominium-should-be-post-frame/
I have researched your adhesion concern and have been unable to find any closed cell spray foam ‘coming loose’ instance.
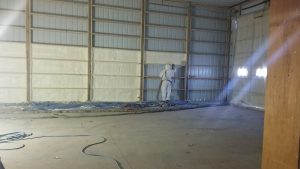
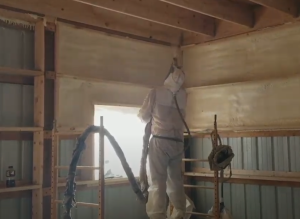
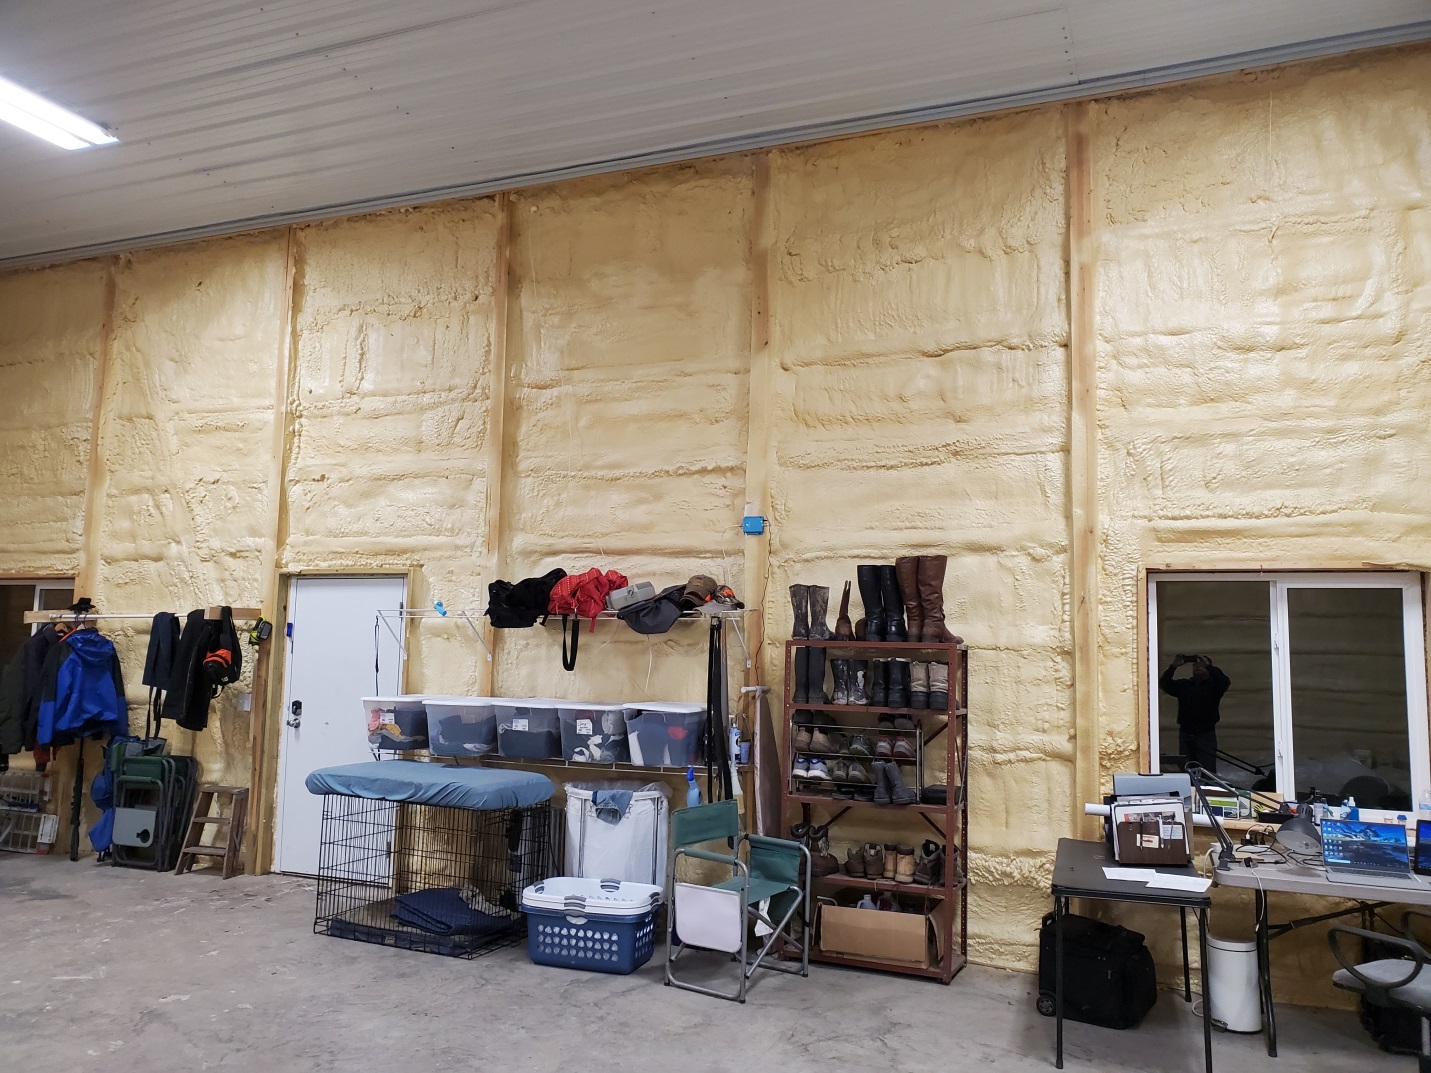
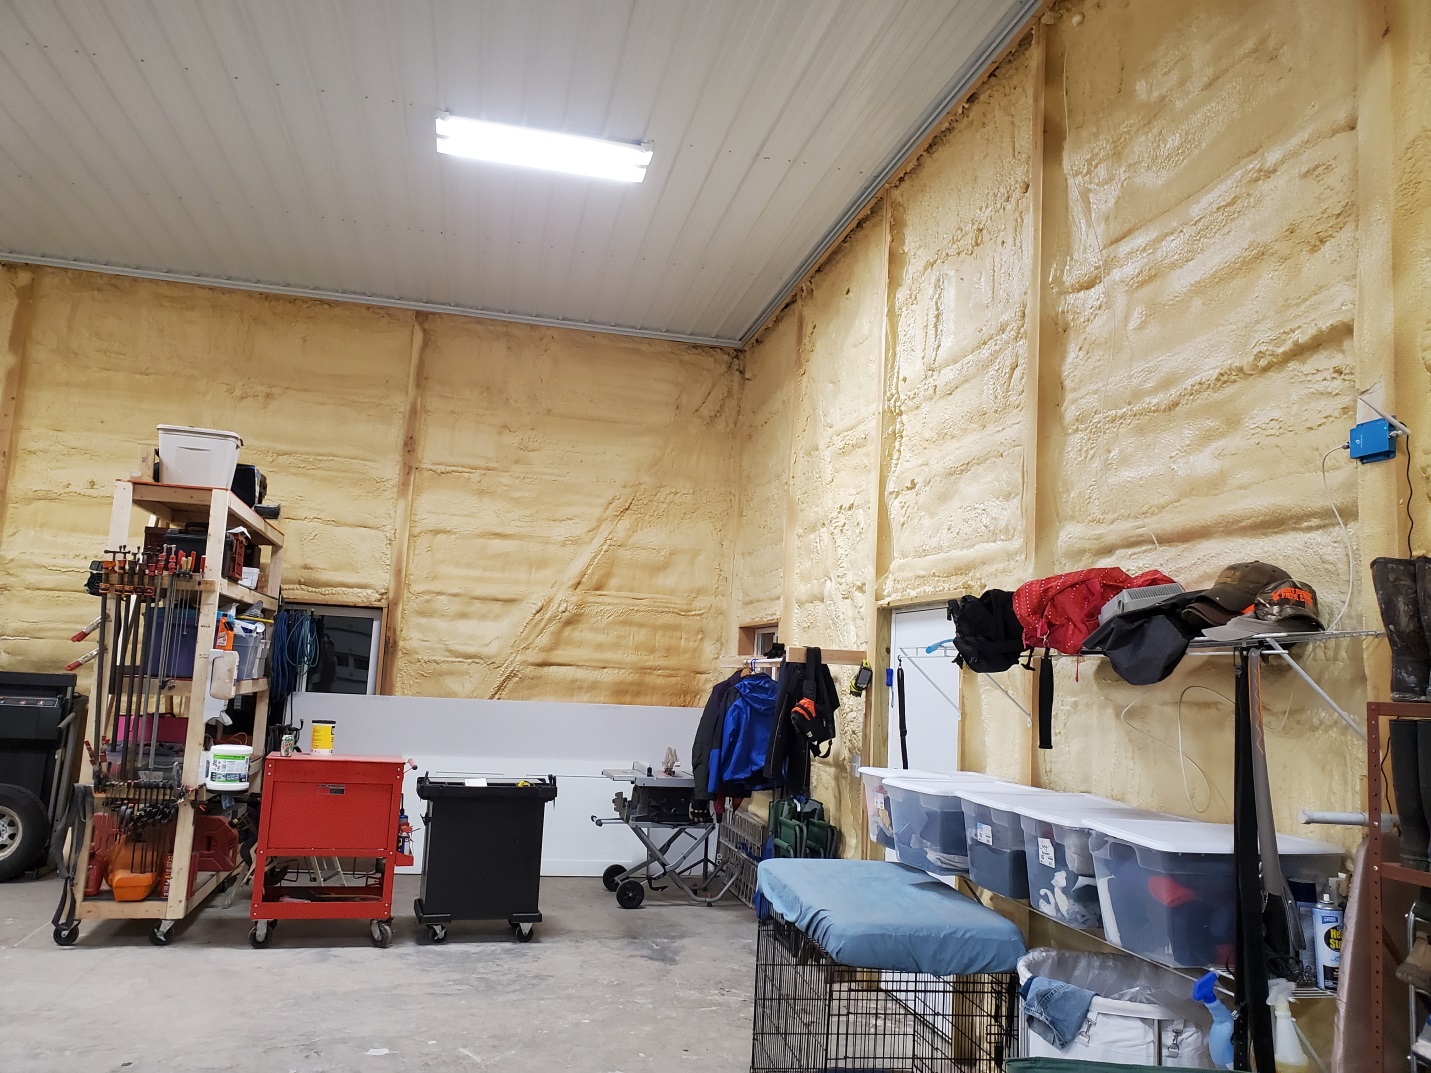
SPF adheres to various construction materials including metal, wood, and concrete very well. However, licensed installers must ensure surfaces are completely dry, and oils, grease, dirt, and debris free as outlined in code-referenced application standards.
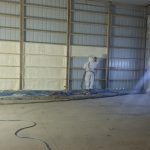 It is also important to assess weather when applying spray foam. While the product may be applied in various climatic conditions, it is important to follow manufacturer’s recommendations and its Evaluation Listing installation limitations. Sprayfoam and related coatings should not be installed when there is ice, frost, surface moisture, or visible dampness present on the surface to be covered. Surface moisture can react with SPF chemicals resulting in poor-quality foam and/or adhesion lacking.
SPF system adhesion is a key field test and licensed installers are required to conduct a field test series for adhesion and density on every project, every chemical lot change, and every eight hours. These tests are conducted using field test kits installing contractors must have on their spray rigs. Test Result must be recorded on daily worksheets and submitted to their third-party certification organization for review and retention.
In some SPF insulation installations, substrate surface priming may be required, especially when applying foam to large metal surfaces. Primers can greatly enhance adhesion between SPF and existing substrates. Primers can help seal porous substrates and improve adhesion to metal substrates.
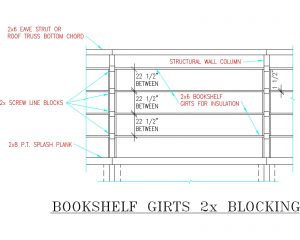
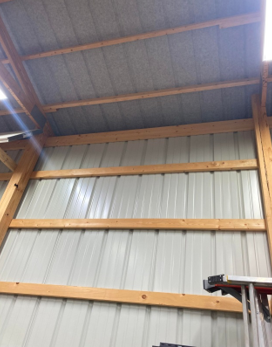
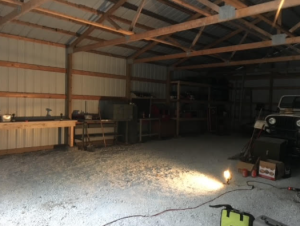
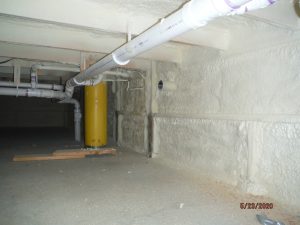
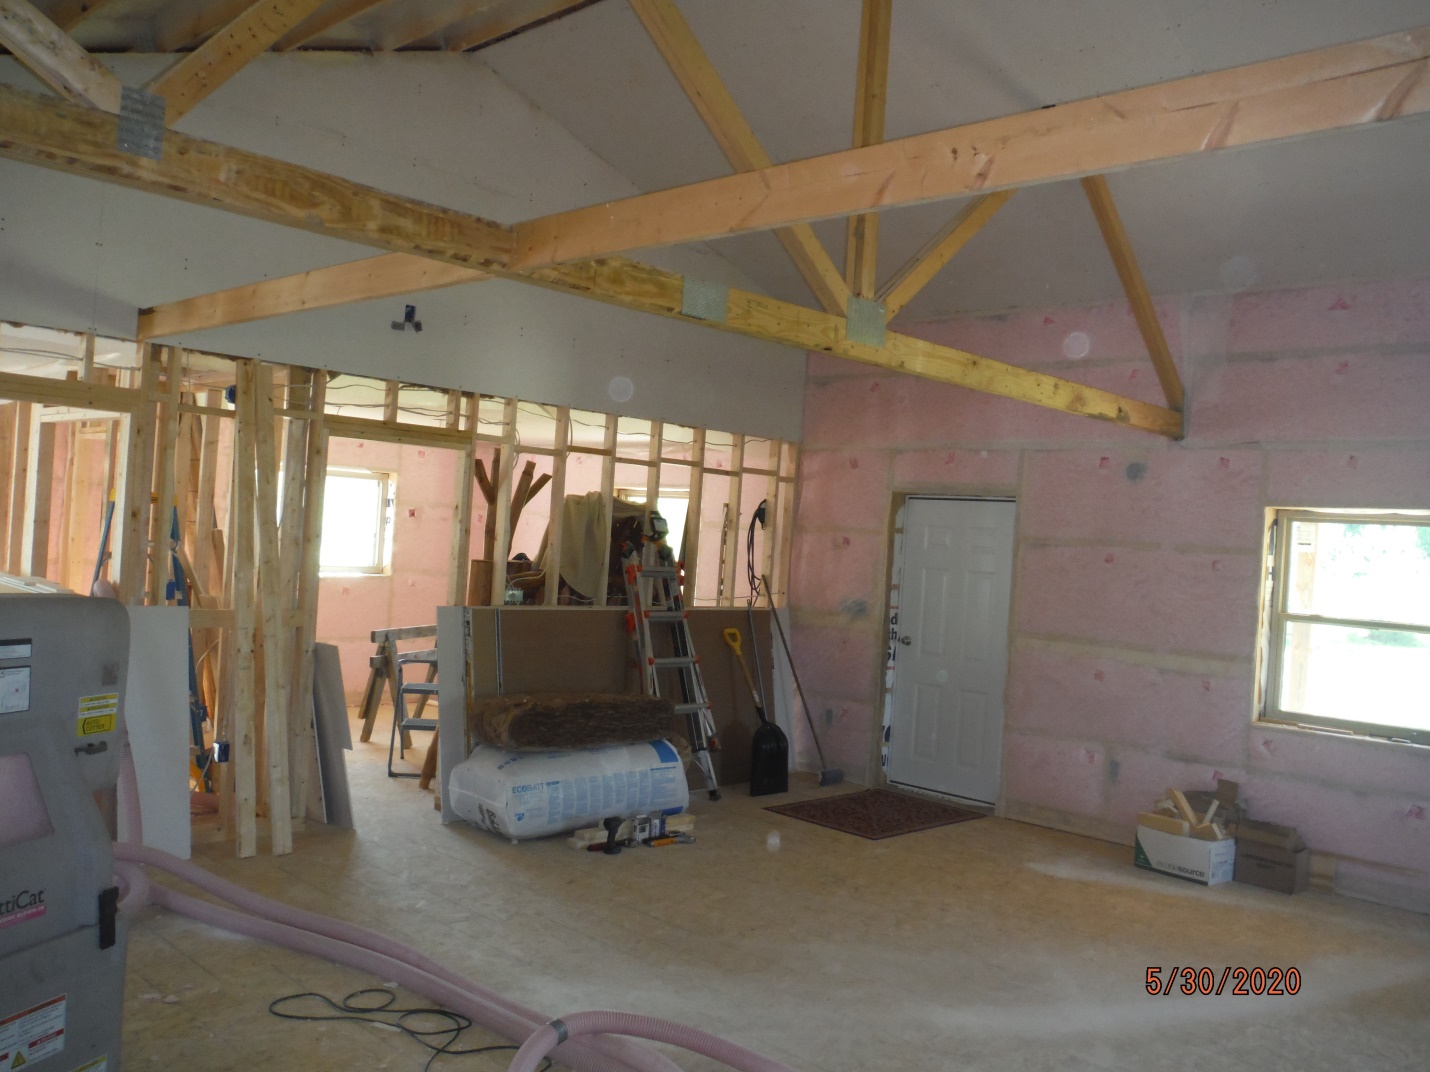
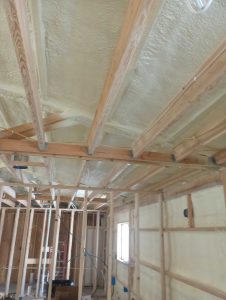
 Using two inches of closed cell spray foam directly inside steel siding panels not only air seals exterior walls, as it is an effective vapor barrier, but also provides approximately a R-14 level of insulation. Effective applications also require installing form fitted inside closure strips at top and bottom of every wall steel panel – including window and door openings. Closure strips keep spray foam in your walls rather than oozing out and keeps small crawling and flying critters out.
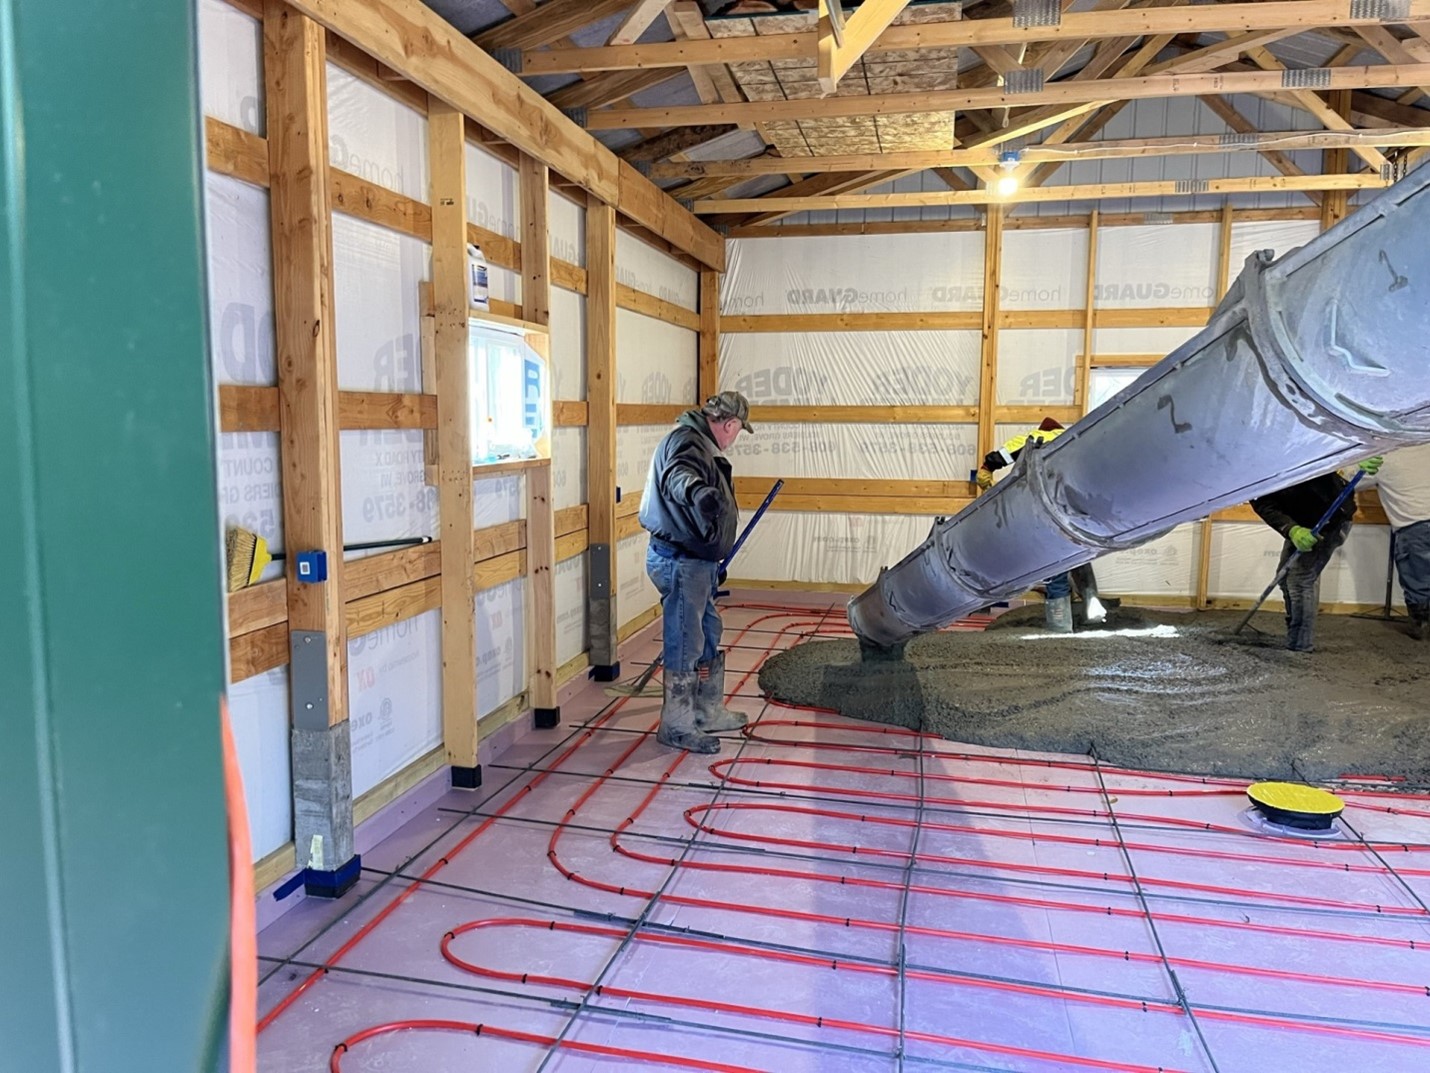
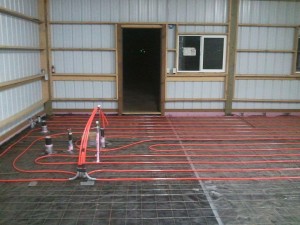 When placing under slab vapor barriers, run up inside of pressure preservative treated splash planks and sealing to top and around columns. Install seal gasket under pressure treated base plate (mud sill) and caulk inside edge to concrete slab.
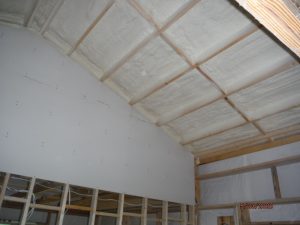
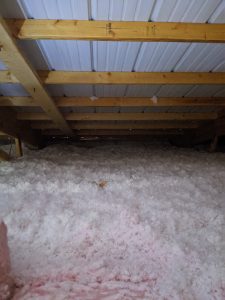
 For sake of discussion we will assume you have a dead attic space and will be insulating directly above a finished ceiling. I would ventilate your dead attic space at the eave (air intake) and the ridge (air exhaust). Make provisions for preventing condensation on the underside of roof steel by having some sort of a thermal break. My personal preference is by using an Integral Condensation Control (
 For walls – best results will be from two inches of closed cell sprayed to inside of wall steel, then fill balance of wall cavity with either open cell spray foam, or unfaced batts (ideally stone wool
 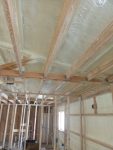 DEAR POLE BARN GURU: Hi I recently had a customer of mine tell me that you don’t approve of spray foam being applied to the roof line. My question is why? I’m trying to get him the best insulation for his building and doing over 1000 metal buildings myself , my curiosity is why you don’t approve! Thanks ~ ROB in ARIZONA
  DEAR POLE BARN GURU: I am curious whether your residential pole buildings come with everything including plumbing and electrical, or are they just the structure? ELI
 DEAR POLE BARN GURU: Years ago I had Morton design a four plex apartment building using poles and trusses. Does Hansen offer this type of design service? RICHARD in ROCHESTER
 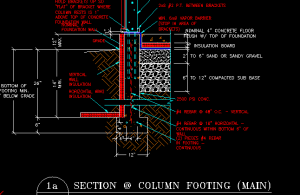 Mike the Pole Barn Guru responds:
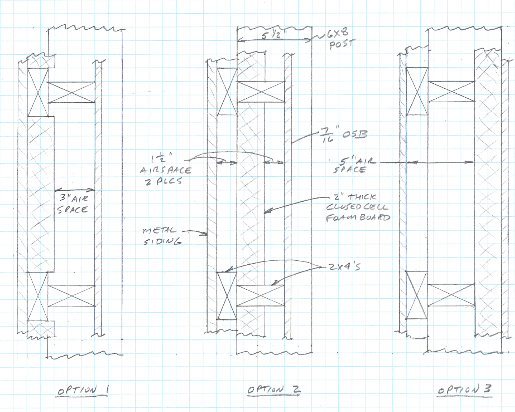
 DEAR POLE BARN GURU: I live on an acre within the city limits of Victoria, MN does the code allow pole barns as a detached garage? MARK in VICTORIA
 DEAR RON: Only articles I have read in regards to possible premature steel degradation have been on websites selling other types of insulation, so I take them with a block of salt. I have closed cell spray foam in my own post frame barndominium and we used it when we added onto our warehouse, can’t say we have experienced any negative challenges. We have also had hundreds of clients successfully use closed cell spray foam applied directly to steel roofing and siding.
 DEAR POLE BARN GURU: I need a 3 1/4″ x 7 1/4″ x 12′ beam. Is this something you can help me with? JAMES in TUCSON
 DEAR POLE BARN GURU: Hello Mike, our building lot is pretty much flat. I’m using the elevation of our street at the curb as a zero reference point for our build. We are in a coastal area with occasional very minor flooding, so I would like to have the finished floor level of our radiant slab at sixteen inches above that elevation. The frost depth at this site is twenty four inches as per our building department. I’m wondering if a monolithic frost protected slab would be practical for our 56 x 48 monitor style house? I’m open to any suggestions that will allow me to use the radiant in floor heat. We’ll be requesting a design and quote soon as we still have a few more details to figure out on our floor plan. Thanks RUSS in TILGHMAN
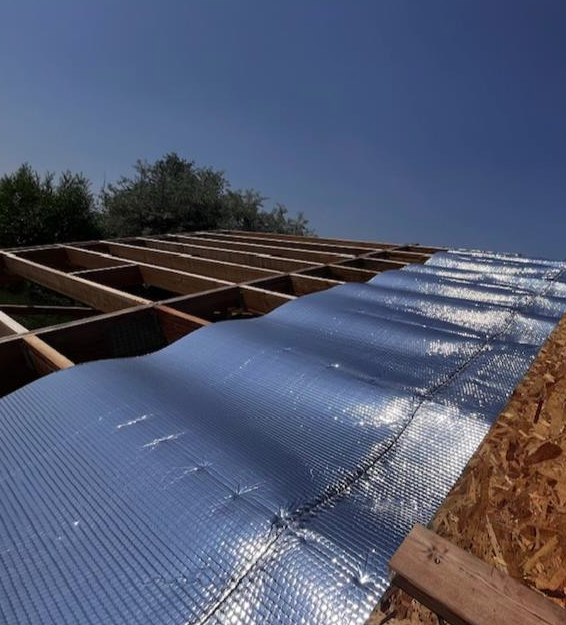
 I am a bit geographically inconvenient to be able to come and see your building. However, based upon experience and what I would do if it was my own building, I will give you some free advice. You are welcome to use it, or discard it as best you see fit.
 pray foam insulation is an all-in-one solution that can effectively regulate temperature, reduce noise, and prevent moisture in your pole barn. Although all types of insulation minimize heat transfer, spray foam is the only material that can also seal against air leaks, potentially resulting in energy savings of up to 20%. Spray foam insulation is a liquid foam that hardens to form an air and vapor barrier made up of numerous tightly-packed air pockets or “cells” that are resistant to heat, sound, and moisture transfer. The foam also expands up to 30-60 times its original volume before it cures, so it can fill air gaps that traditional insulation materials can’t so easily reach. Spray foam insulation can therefore lower your heating and cooling bills and transform your pole barn into a comfortable and functional living space.
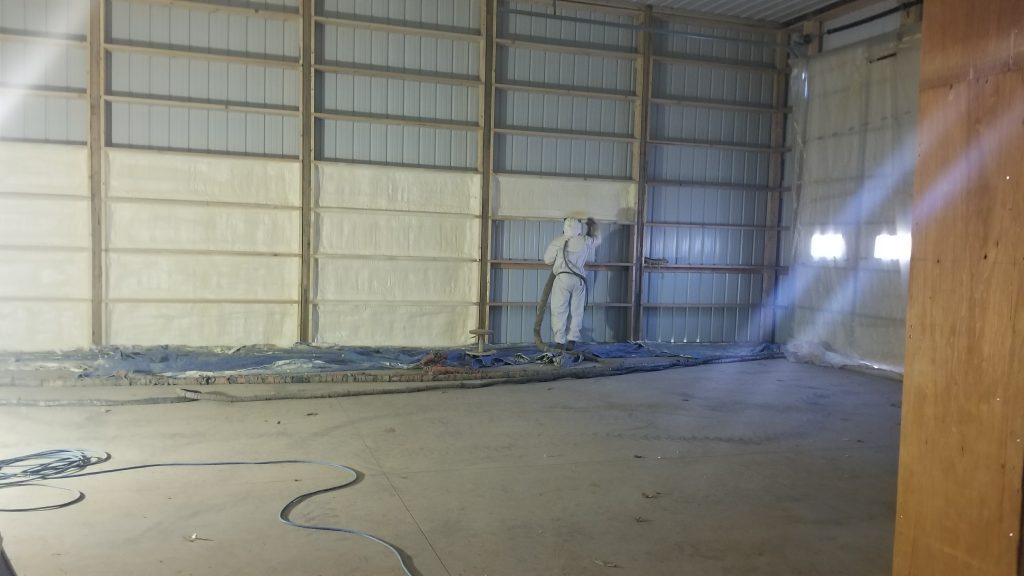
 Mike the Pole Barn Guru writes:
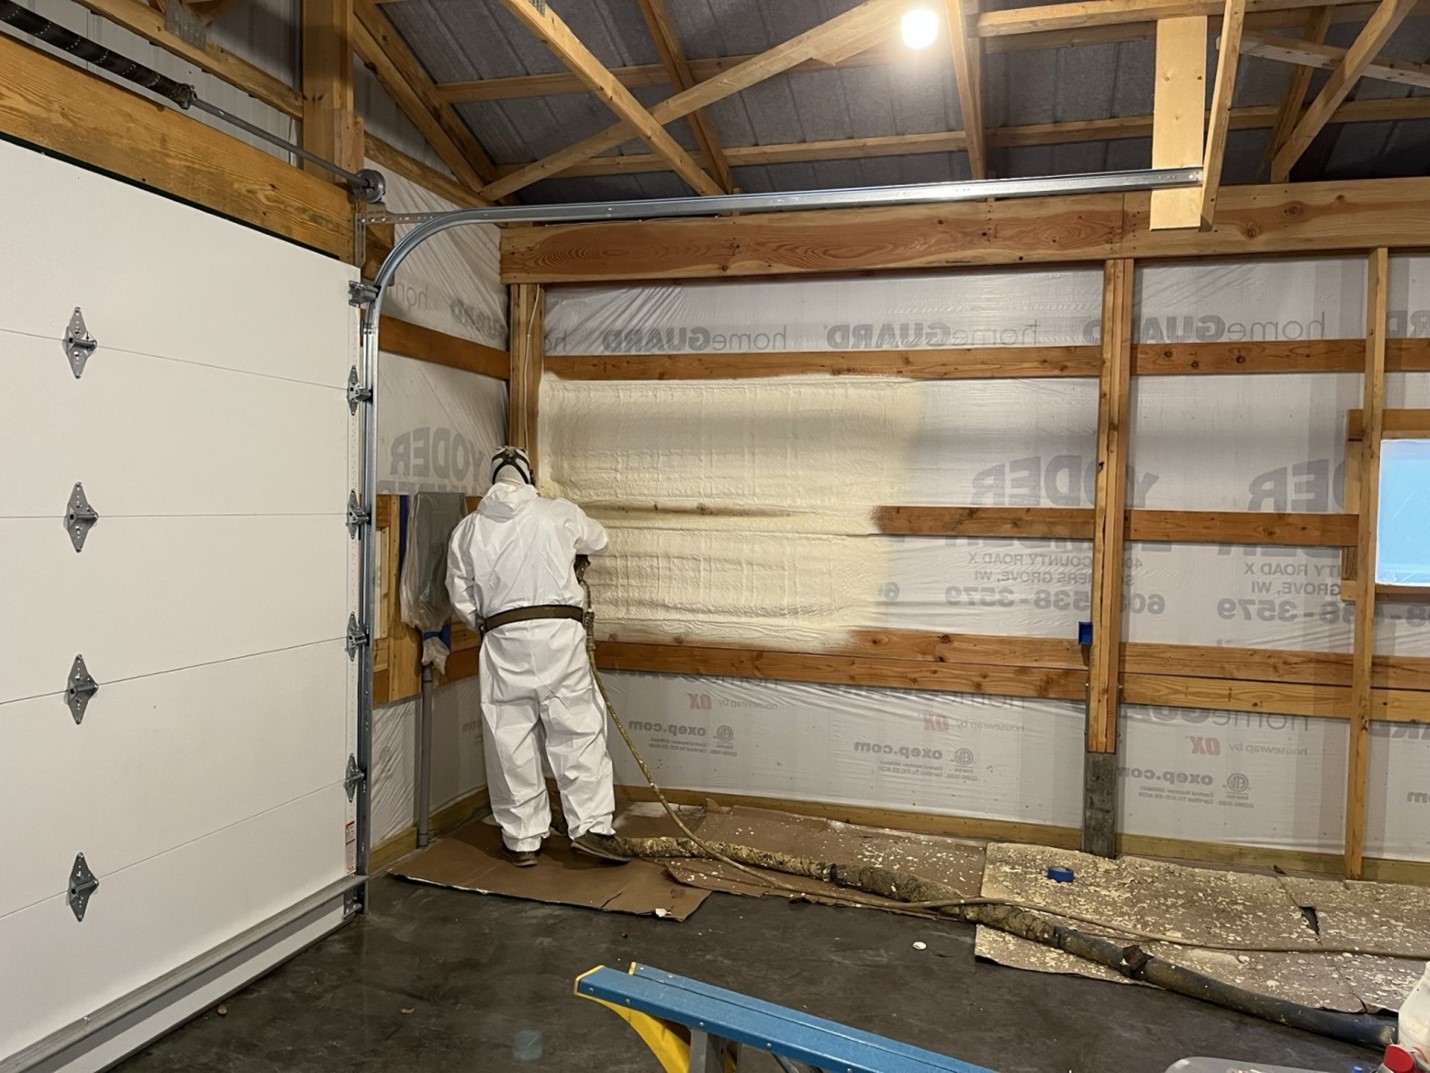
 My concerns for your workshop area are going to be ones of moisture – although your slab on grade has been sealed, it has no vapor barrier underneath, so you are probably yet going to have moisture passing through. Heating with either propane or kerosene will be adding even more moisture into this area.
  I would look at design solutions allowing moisture to pass out of your workshop, and not in. For those interior walls, unfaced Rockwool batts, with a housewrap on the cold storage side of studs. Ceiling, if you can find it, use blown granulated Rockwool, as it is unaffected by moisture. Otherwise use Rockwool batts, overlaying layers 90 degrees to each other.
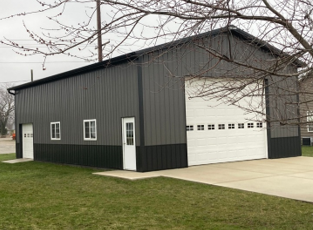
 DEAR RON: Unless you are going to mechanically dehumidify, expect to see condensation challenges.
 DEAR POLE BARN GURU: Can you add a 16 ft wide garage door to an existing pole barn? It would be on a gable end of a 30×50 building. ALEC in TOLEDO
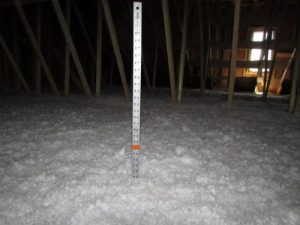 I have been scouring insulation, vapor barrier and building envelope sources for months now, trying to get to truthful data I can rely upon. Let me tell you – it has been a task, and there are moments when I felt blood would squirt from my eyeballs!
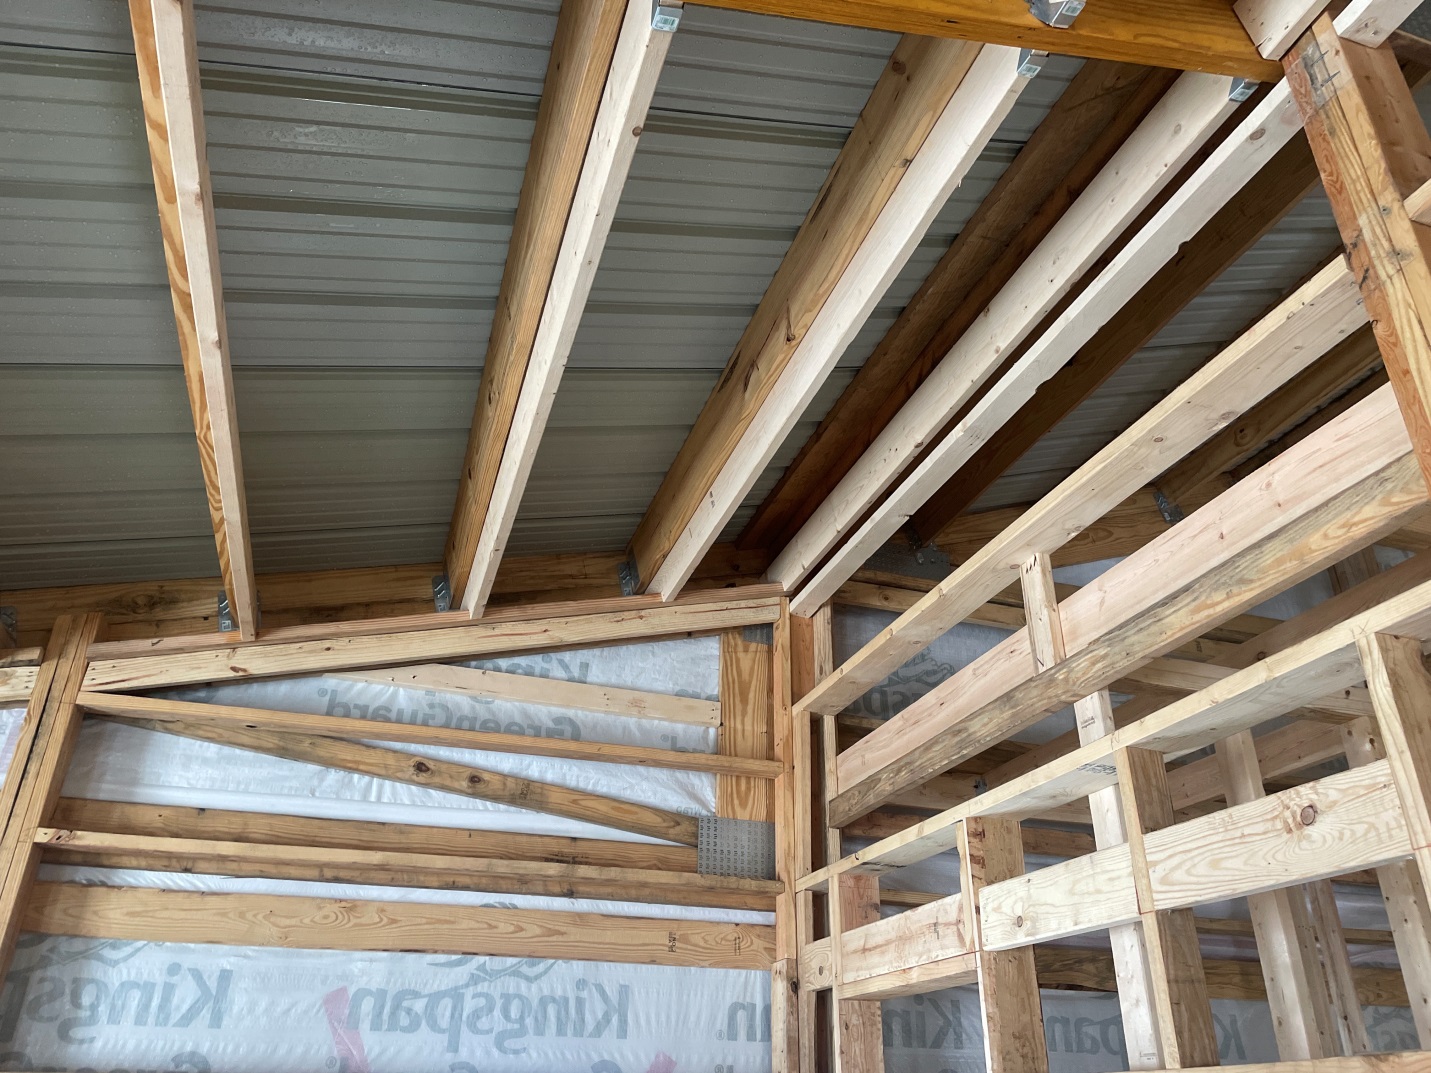
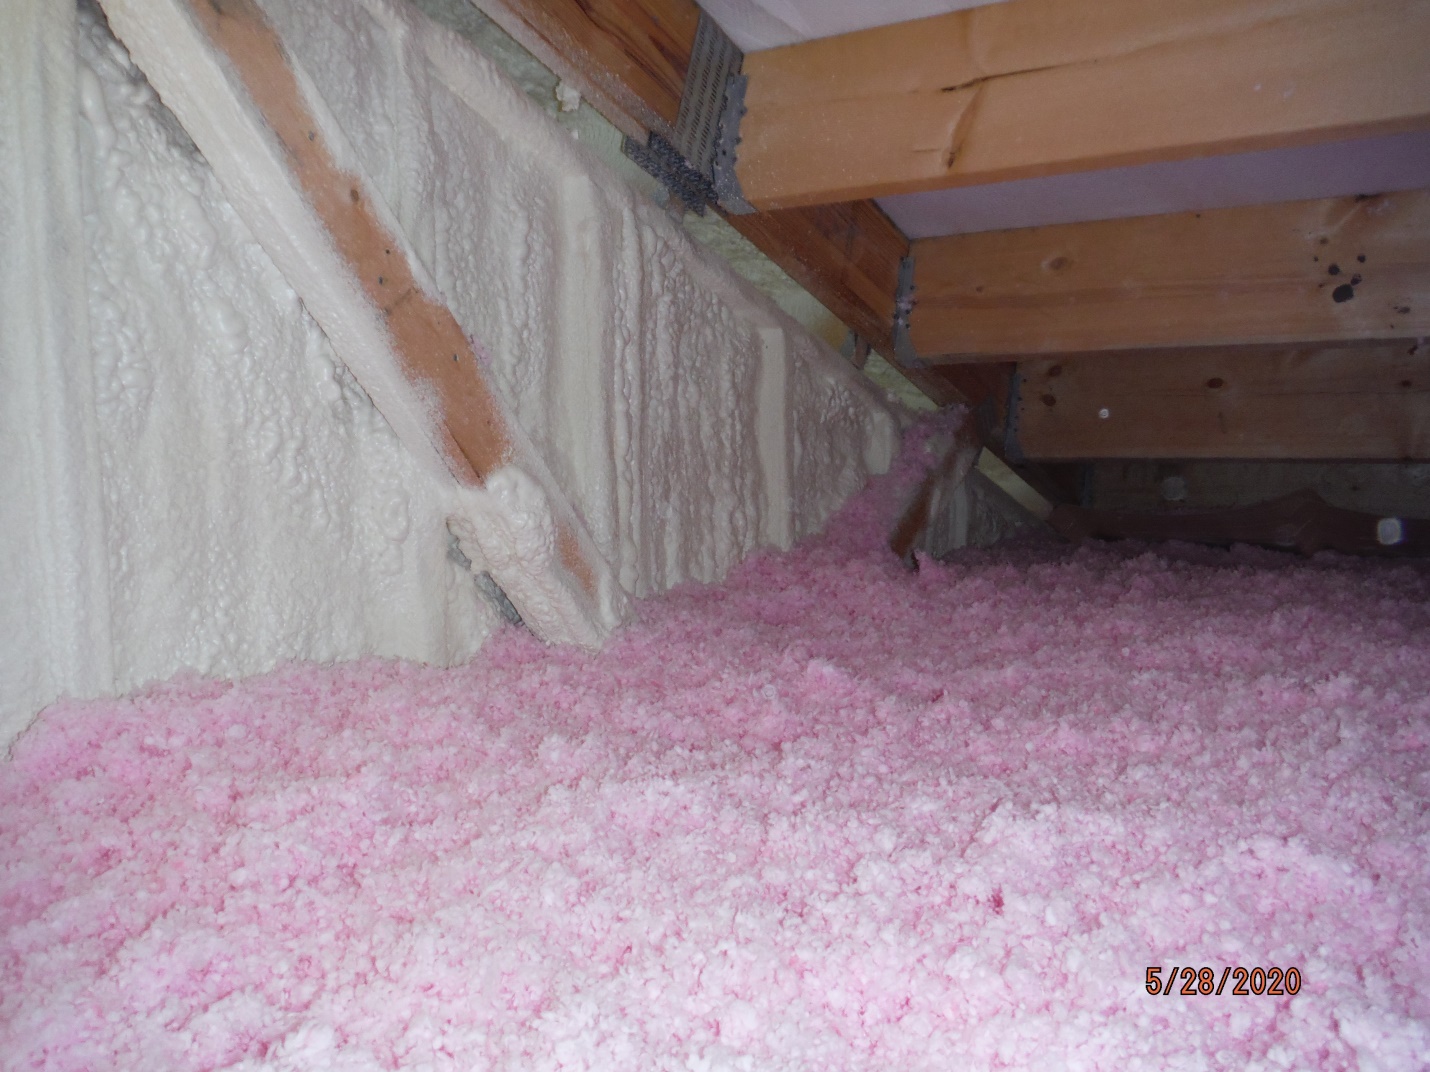
 If it was my own roof – I would remove all fiberglass roof plane insulation, increase thickness of closed cell spray foam to at least two inches, then fill balance of 2×8 cavity with either open cell spray foam or rock wool batts (rock wool is not affected by moisture and does not lose R value during cold temperatures).
 Most pole barn trusses are designed for a one psf (pounds per square foot) bottom chord dead load (BDCL) – inadequate for any type of ceiling. On truss spans of up to and including 40 feet, we include a five psf BCDL as a matter of practice (too many clients decide later on they want a ceiling) and if we know in advance a ceiling is to be installed, we use 10 psf BCDL. You have been fortunate to have at least a five psf BCDL. Your 10 psf bottom chord live load is a non-concurrent (assumes no other live loads are being applied such as snow) one and basically is there to provide a minimum degree of structural integrity allowing for occasional access to an attic space for maintenance purposes.
 Welcome to challenges of trying to get adequate insulation when finishing the underside of roof purlins.
 You could condition your crawl space – this would require a 6mil or thicker, well-sealed vapor barrier to cover underlying soil and up perimeter walls to floor joists. There would be no vents with this method, however an air-circulating device must be provided. Perimeter walls should be insulated using either closed cell spray foam or rock wool batts.
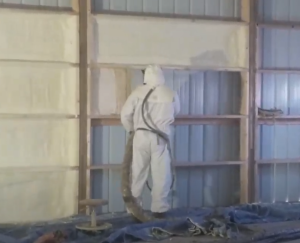
 Is there a form fitted closure strip under each side of your ridge cap? If you have light coming through the ridge during daylight, then no. Easiest fix, if none, would be Emseal
 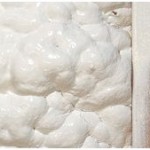 3) Once the above two have been either ruled out or repaired, your problem is condensation. Stains on trusses and purlins are typically a giveaway to this being an issue, especially if they seem relatively consistent from eave to ridge and along length of building. Short of replacing roof steel with a product with an Integral Condensation Control factory applied (read more here:
 Closed cell spray foam applied directly to steel roofing and siding can be a great product for controlling condensation, achieving an air tight barndominium and at R-7 per inch is a great insulation solution. So good, I strongly encourage its use, especially for those buildings in Climate Zones one and two (deep South).
 For walls – best results will be from two inches of closed cell sprayed to inside of wall steel, then fill balance of wall cavity with either open cell spray foam, or unfaced batts (ideally stone wool
  DEAR ERIK: Yes, our structural plans, sealed by our independent third-party engineers are designed to meet or exceed loading requirements for each individual building’s jurisdiction. We have provided several buildings in Clark County, including the giraffe barn at your Lion Habitat Ranch in Henderson. We do always have our clients verify load conditions with their Building Department prior to ordering. This will give you an idea of what will be on form to be completed:
  When you create an encapsulated building (spray foam to all interior surfaces), you do not want to ventilate it, as you would then lose your air seal. With your OSB’s underside sealed by closed cell spray foam and upper side protected with 30# felt or ice and water shield, there is no way for your OSB to become moist. If this is still a concern, an upgrade to plywood could be done.
 We do have sample building plans available on our website for your builder to review and get a feel for
  Use two inches of closed cell spray foam against your wall and roof steel – if not, you run a high risk of condensation troubles. If you are going to blow insulation into your walls, use a product such as BIBs.
 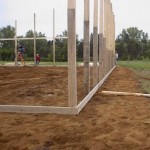 DEAR POLE BARN GURU:
  You have only a couple of realistic options – first one is ugly, remove roof steel and place a thermal break between conditioned space and roof steel. This could be as simple as adding a Reflective Radiant Barrier. It never comes back together as well as it did originally, and when all is said and done, option number two will be less expensive.
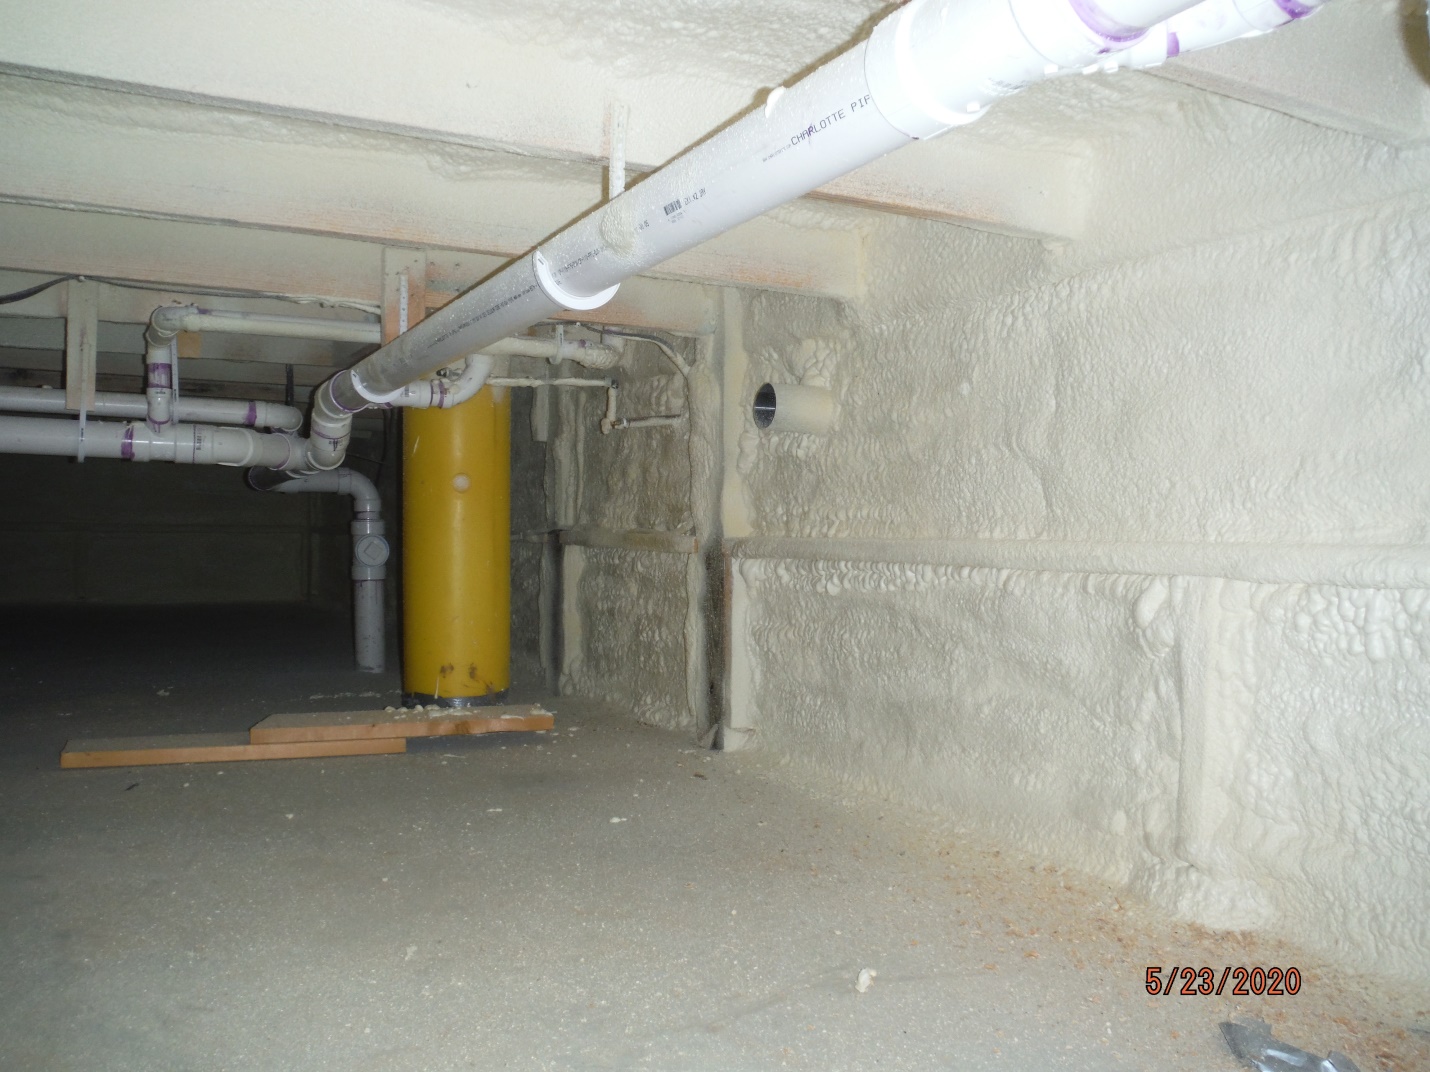


 True doubled trusses (not two single trusses spaced apart by blocking) afford many structural advantages (
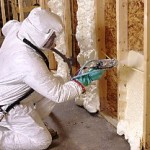 Again, according to their website, “We offer retails sales for small projects and wholesale, bulk pricing for bigger jobs. Our expert customer service team is always available to answer questions and help plan projects. Whether you’re trying to save money on your monthly energy bills or working to satisfy your customers. Tiger Foam can help. Most of all, our products provide high performance and great value. Become a customer today and get you the tools you need to start saving energy dollars!”
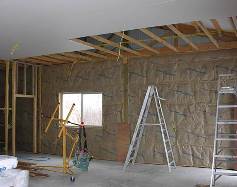
 Energy efficiency concerns have literally become a “hot” (pun intended) topic in new construction, and post frame construction methods are no exception to inclusion. Traditionally buildings have had insulation placed or blown into dead attic spaces, directly above a ceiling. Unvented attics have entered fray as an alternative.
 Thank you for your kind words. Sadly, most post frame home clients are just not savvy enough to be willing to make an extra upfront investment to super insulate their buildings. I have designed several post frame residential buildings for my own use, so I have learned from mistakes. Also, technologies have improved greatly in recent years, making energy efficient designs more practical.
 “I am having some condensation issues. And I was curious about insulating the building. Also wanted to ask if my building is able to have a ceiling installed. Thanks for the fast reply.”
 If you poured a slab without a well-sealed vapor barrier underneath, it will contribute to excessive moisture challenges. If no vapor barrier, top of slab should be sealed:
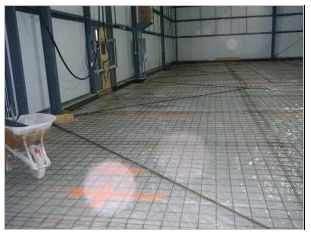
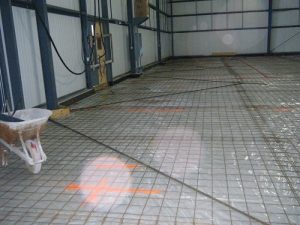


