11 Ways Post Frame Commercial Girted Walls are Best for Drywall
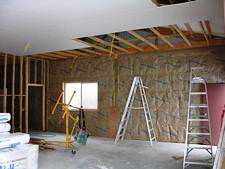
Call it what you want, drywall, gypsum wallboard even Sheetrock® (registered brand of www.usg.com) and most English speaking adults know what you are talking about. In post frame (pole) building construction, wall girts (horizontal version of studs) are placed in bookshelf fashion, resisting wind loads and providing framework to attach sheathing and/or siding to exterior and a material like drywall on interior. Learn more about commercial bookshelf girts here: https://www.hansenpolebuildings.com/2011/09/commercial-girts-what-are-they/.
 It turns out horizontal framing lends itself well to vertical application of Sheetrock® and here is why (horizontal being used to describe drywall run long direction left and right):
1 – Defective Seam – Horizontal rows needing more than one drywall panel creates (instead of avoids) butt-joint humps, which are not flat and are a twice (minimum) effort defect. Outlet and switch cover-plates, window and door trim, baseboards, pictures, mirrors and cabinets don’t sit flat. Using any “butt-joint product” erases all “claimed” benefits of Horizontal!
2 – Unsupported Seam –Light switch and countertop electrical boxes within a horizontal seam equals more weakness and butt-joint doubled, minimum, efforts.
3 – Structural Defect – Horizontal only reinforces a vertical studwall height of 4’ or less, a full-height studwall’s top-plate is never connected to the bottom plate. As in and due to #2 above, Frictional Contact is minimized (instead of maximized by Vertical).
4 – Seam Deception…4’x8′ Panels – Example 1: 48” tall by 102” long wall, Horizontal = 48” (technically) and it’s a 24” wide butt-joint or a minimum of doubling 48″ (Vertical = the same, generously, 96” but they’re easy 6” wide joints). Example 2: 96” tall by 102” long wall, Horizontal = 222” with 50% being 24” wide butts (Vertical = 192” of 6” wide easy joints, yes less)…in a Kitchen Horizontal = 100% of 24” wide butts (Vertical = 0%). Yes, Horizontal does taper area twice (minimum) in order to hide its butts, so very minimally just another 24” was added and #5 below was not factored into Horizontal’s monumental fraud.
5 – Self-Defeating Angles – Horizontal only uses one of a panel’s tapered edges and puts other taper at ceiling corner and baseboard creating (instead of avoiding like Vertical) a twisted angle having to be shimmed or additionally mudded. This too, instantly erases all “claimed” benefits of Horizontal by doubling seam amount, patching itself to equal Vertical!
6 – Unfriendly Seams – Horizontal celebrates chest height seams and pretends there’s no 24”-wide floor to ceiling butt-joint and ever present baseboard bevel of unfinished work. (Vertical has easy joints and top is screwed, taped and mudded later with ceiling corner and baseboard spots can also be done separately).
7 – Unsafe Installation – Horizontal needs two people for a safe installation and panel is airborne, literally creating chances to cause injury (Vertical easily tilts-up with just one person). Using a panel lifter is not even as easy and safe as Vertical’s tilt-up.
8 – Additional Waste – When correctly covering a knee wall, half wall, tub front, column or soffit by first removing both tapered edges, Horizontal can’t use these tapers elsewhere (Vertical can and does). And, Horizontal wastes four times as much mud on their completely unnecessary butt-joints and baseboard bevels…if ever done.
9 – Destructive Ignorance – Foundation and Framing crews go to great pains to make everything flat, level, plumb and square. Horizontal destroys those efforts with their defective humps and baseboard bevels (Vertical keeps this perfection).
10 – Costly Slow Complication – Horizontals depend upon pricey special muds and even messy tape or taping tools wasting mud. Taping tools still require a second step of knifing tape and muds require a mixing step. This is more expense, more time, more tools and equipment and more water…for an inferior job! Vertical’s superior with cheapest ready-mix bucket muds and dry self-adhesive tape. Again, Vertical’s seam treatment is just for looks.
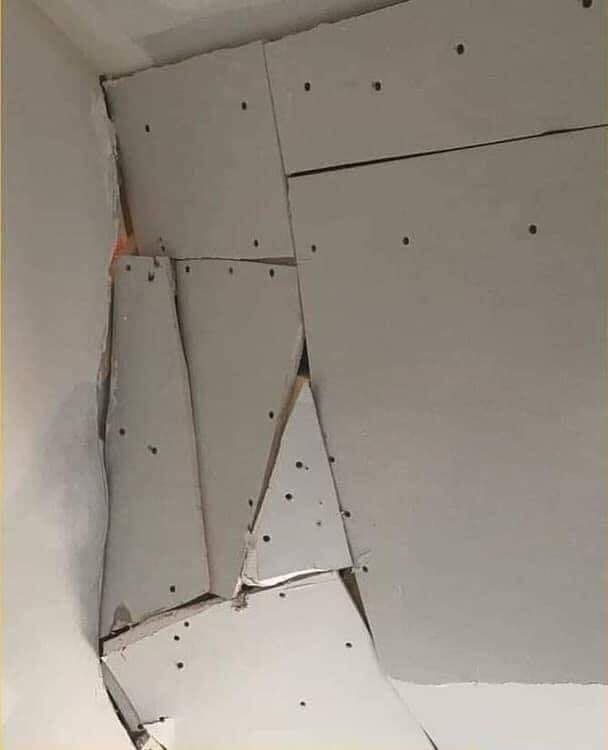
11 – Fire Rating Fail – Most Single-ply or Single-layer drywall for Commercial Work is required to be installed vertically, to obtain drywall’s actual fire rating.
Post frame construction and vertical application of drywall – faster overall and immensely better in every way.
 Basic Stats for Post-Frame
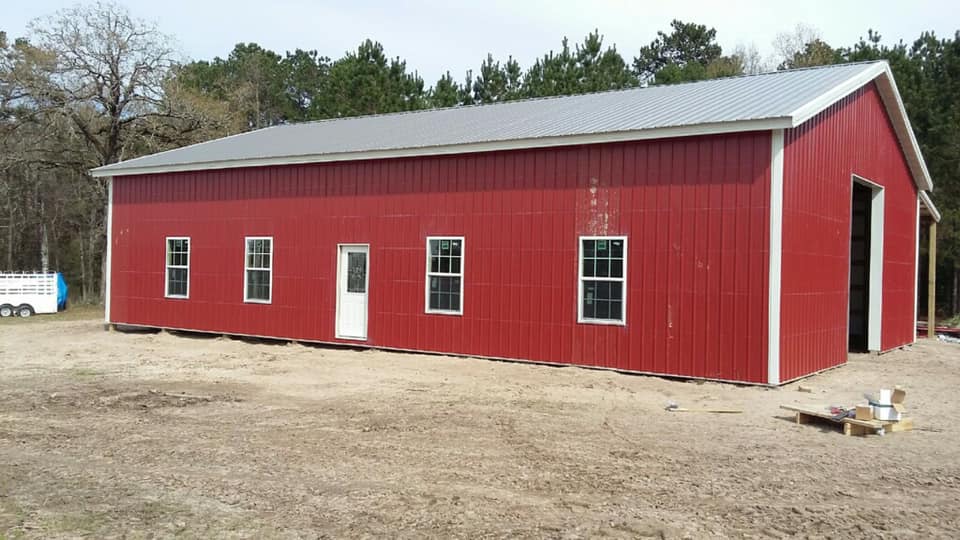
 First I want to say I love your web site, the information I’ve been reading is invaluable! I am located in Spokane County. I have a 24x24x10 post frame garage that was here when I purchased the house. The walls have commercial girts R19 insulation. I would like to heat this garage and use it as a woodworking shop. Right now the ceiling is open and there is no insulation. The roof is sheeted with OSB, then felt then steel roofing panels. There is no ventilation or overhangs to install soffit vents. The roof has 4:12 pitch.
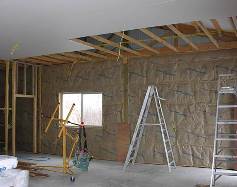
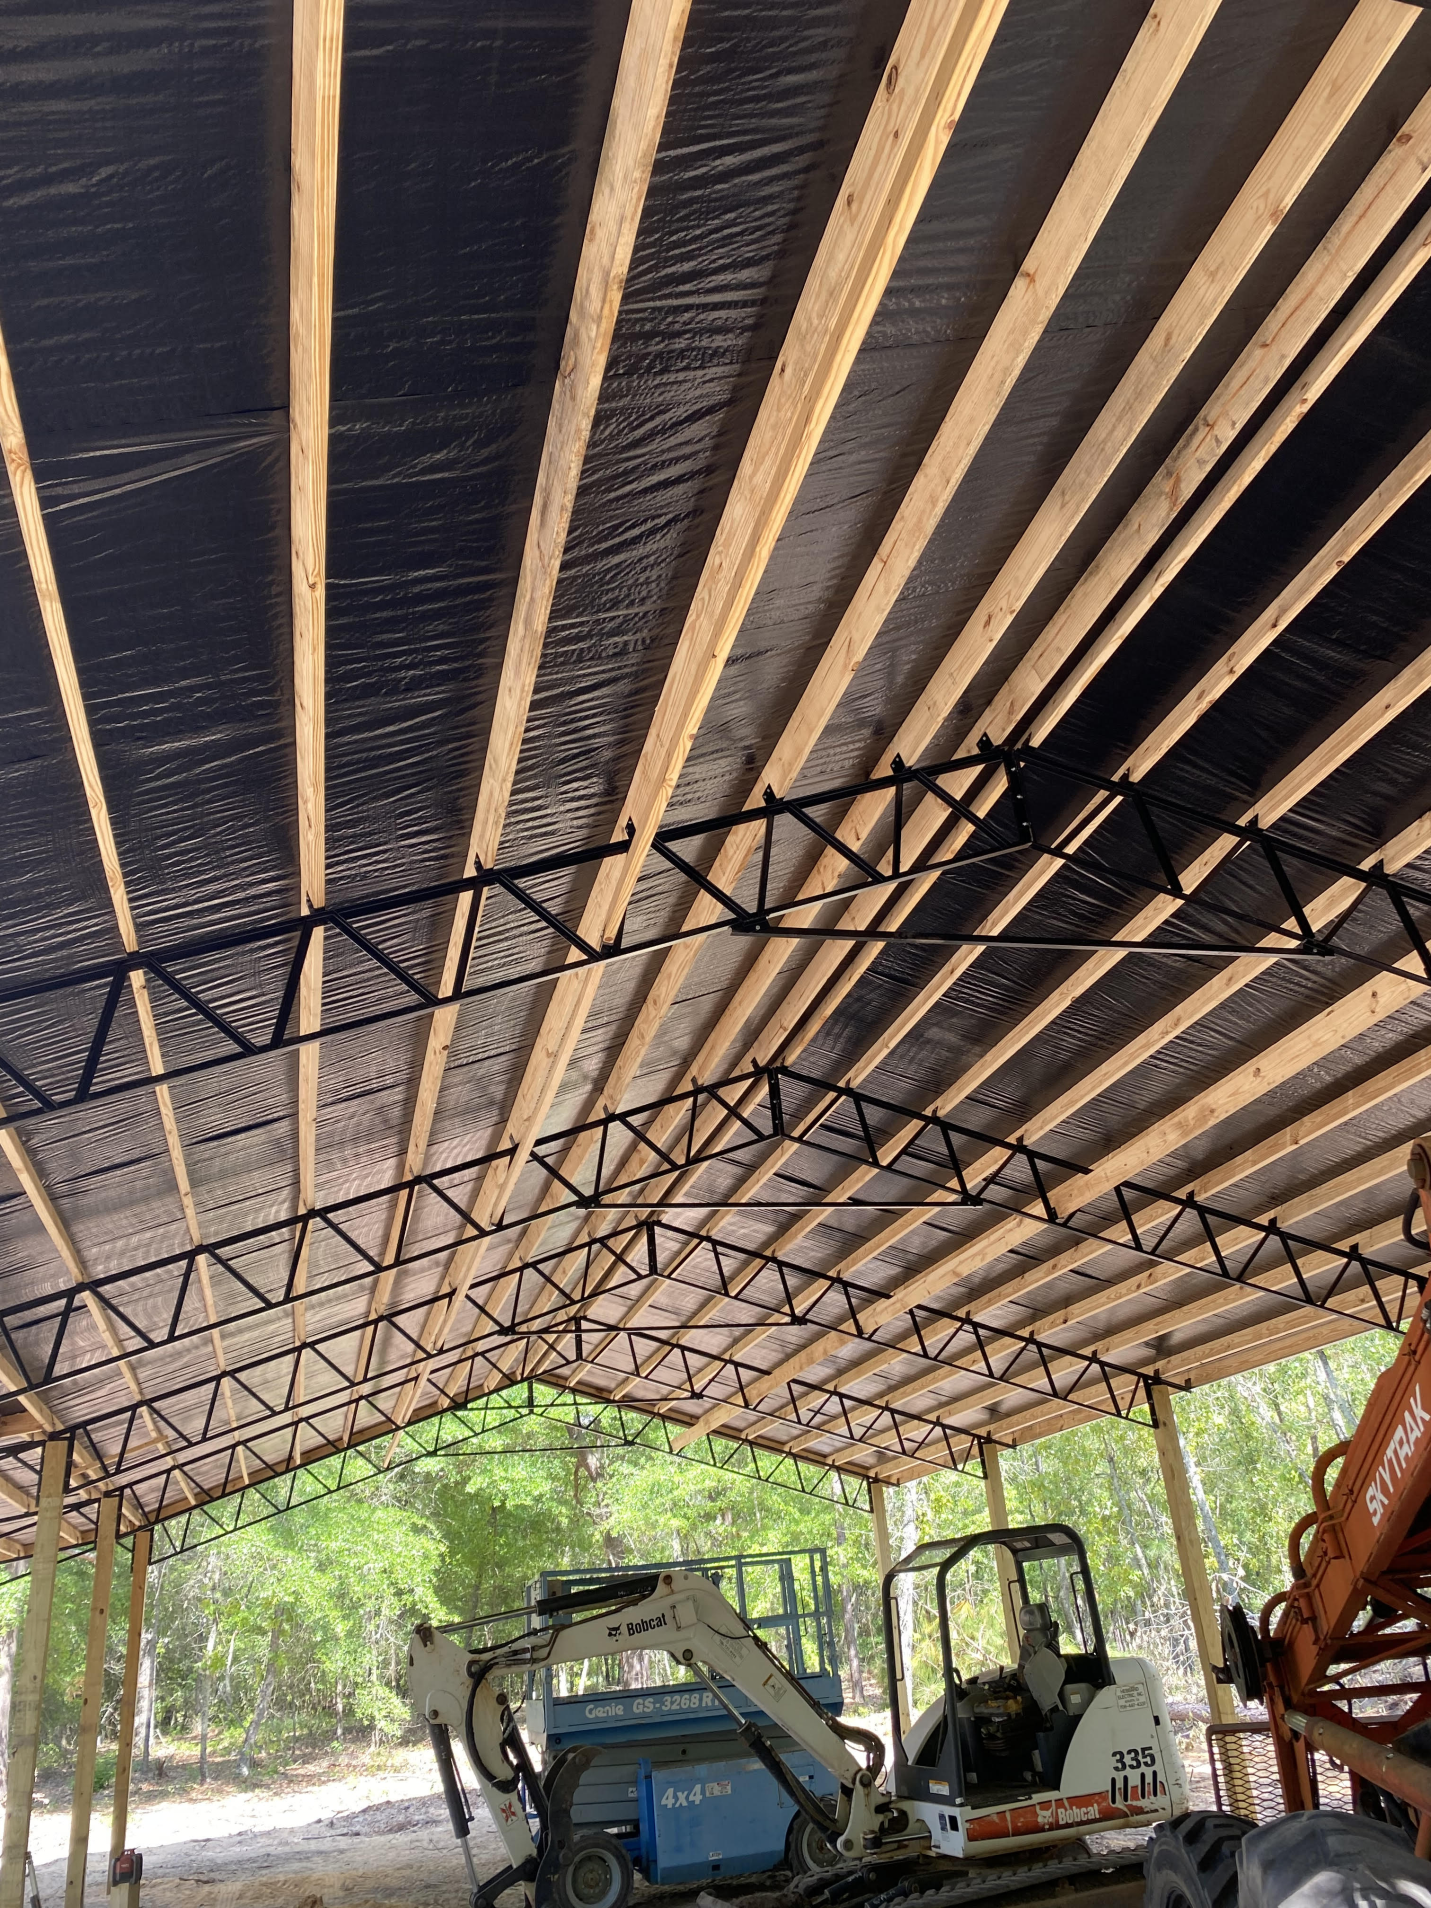
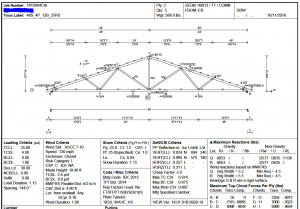 Hansen Pole Buildings has taken it upon ourselves to use a minimum of FIVE (5) psf for roof truss bottom chord design load on all spans up to and including 40 feet. This decision results in a capacity of 500 to 1000% more than most other post frame building kit providers, as well as post frame contractors!
 IBC TABLE 1604.3 DEFLECTION LIMITS addresses the allowable deflection as “l” – the distance being spanned divided by a given unit of acceptable deflection. For exterior walls with flexible finish (such as gypsum drywall) under a wind load, this limitation is l/120. And from Footnote “f” of the table, “The wind load is permitted to be taken as 0.42 times the “component and cladding” loads for the purpose of determining deflection limits herein.


