This Wednesday readers “ask the Guru” for advise regarding the adequacy of ceiling joists and hangers, if Hansen Buildings will “actually build the structure” you buy, and the use of I-beams for a raised wooden floor.
DEAR POLE BARN GURU: Good morning,
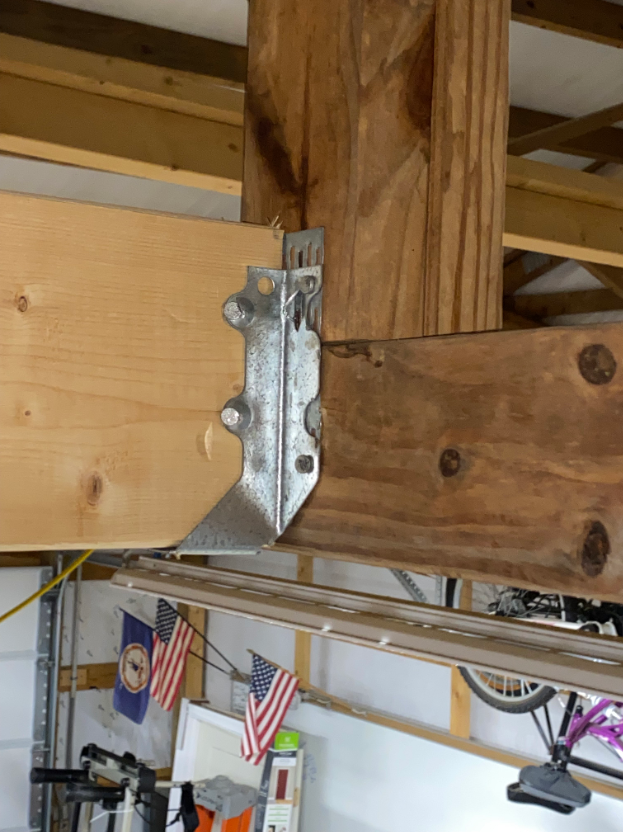
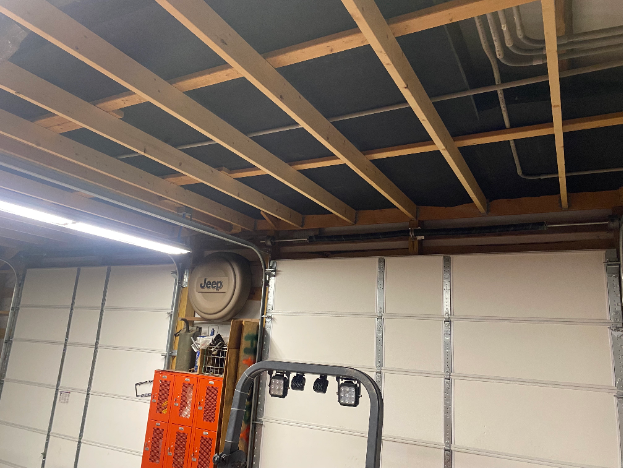
I have been installing ceiling joists. I am using 2 x 6 SPF and 2 x 6 joist hangers. I have also installed 2 x 4 bracing perpendicular and on top of the joists. The joist hangers are taller than the bottom cord of the trusses. I used 10d x 3” nails to attach the hanger to the truss and the joist to joist hangers. The joist to hanger nails are at a 45 degree angle per the installation instructions of the joist hanger. There are 4 nails in the lower half of the attachments. There are up to 8 nails in the hangers
( 4 joists per bay ) where there is a connector or vertical brace.
Should I be adding doubled 2 x lumber behind and sitting on top of the bottom cord at all hangers that are not nailed thru all the holes? AARON in LOCUST GROVE
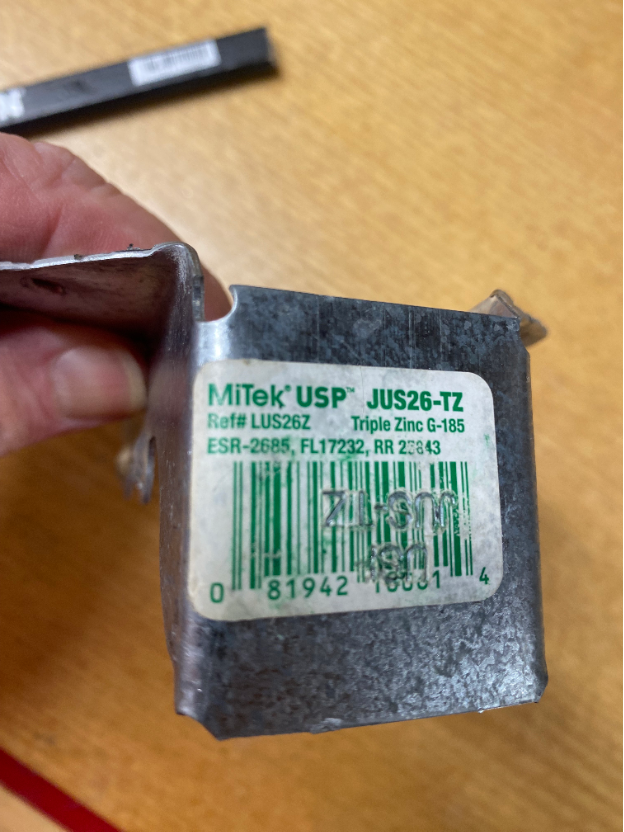
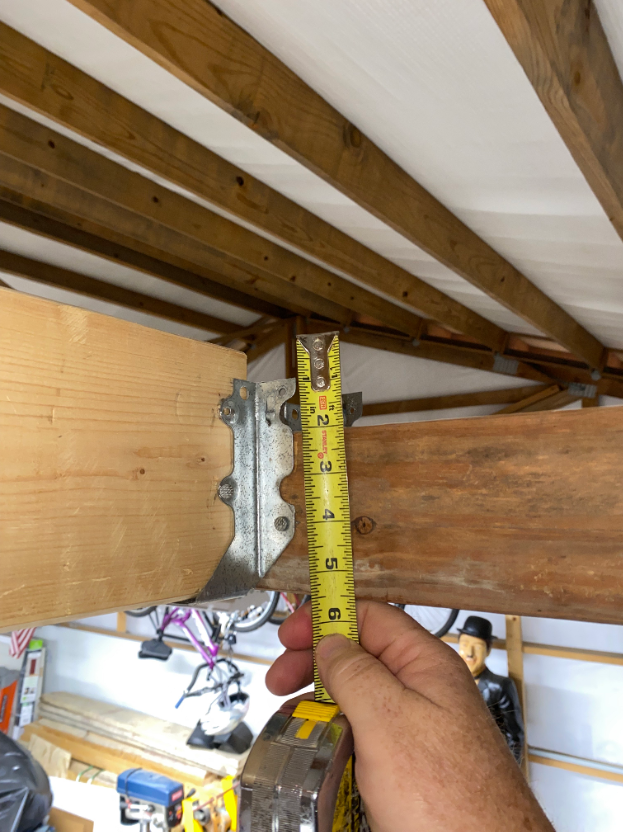
DEAR AARON: Your worst case scenario is a 15′ ceiling joist span. With ceiling joists at 24″ on center and a 10 psf (pounds per square foot) ceiling load, end of each ceiling joist has a downward (gravitational) load of 150 pounds. Your Mitek JUS26 hanger is comparable to a Simpson LUS26. An LU26 is rated to carry 865 pounds with a connection of (4) 0.148″ x 3″ nails (10d common) from hanger to a header (or, in your case a double truss) provided truss chord is Douglas Fir or Southern Pine. In your building, truss bottom chords are indeed Southern Pine. Half this nail quantity and your hanger should yet be good for 432.5 pounds of load at each end, well beyond actual loads being applied.
DEAR POLE BARN GURU: Will Hansen Buildings actually build the building I choose? RICHARD in HICKORY
 DEAR RICHARD: Hansen Pole Buildings is America’s leader in providing fully engineered, 100% custom designed, post frame building and barndominium kits, with multiple buildings in all 50 states. Your new building kit is designed for the average physically capable person, who can and will read and follow instructions, to successfully construct your own beautiful building shell (and most of our clients do DIY – saving tens of thousands of dollars – need a builder, we can probably help you there too). We’ve had clients ranging from septuagenarians to fathers bonding with their teenage daughters erect their own buildings, so chances are – you can as well! Your new building investment includes full multi-page 24” x 36” structural blueprints detailing the location and attachment of every piece (as well as suitable for obtaining Building Permits), the industry’s best, fully illustrated, step-by-step installation manual, and unlimited technical support from people who have actually built post frame buildings. Even better – it includes our industry leading Limited Lifetime Structural warranty! We would appreciate the opportunity to participate in your new pole building. Please email your building specifics, site address and best contact number to our Design Studio Manager Caleb@HansenPoleBuildings.com 1.866.200.9657 Thank you. https://www.hansenpolebuildings.com/2024/04/things-hansen-pole-buildings-does-better-than-any-other-post-frame-building-provider/
DEAR POLE BARN GURU: Hello, I recently sent my drawings to Wayde for pricing. I am building a 32 x 60 post frame house with attached garage, L shaped. For the house only I am considering a wood framed floor with TGIs. Main reason is that I am able to build this, I am not able to pour a slab of this size. It will also provide a softer floor but unfortunately, I believe it will make it more costly to have in floor heat. Wondering if you have seen this done and also what your opinion is? I see it like this: earth, R26 EPS, vapor barrier, 2″ air gap, TGI joist filled with R19 batts, T&G sturdi floor or similar subfloor. The rim joist would attach to the posts. Thoughts and opinions appreciated. Thank you, TROY in PINE CITY
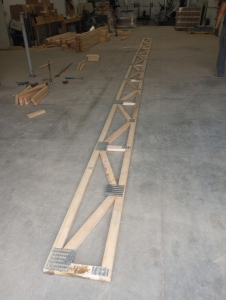 DEAR TROY: We would typically never recommend use of I joists for a floor system. Our experience is they result in an overly spongy floor. If you do opt for a wood floor, we would recommend either dimensional lumber floor joists (using 2400f MSR lumber, as it is stiffer) or engineered wood floor trusses. We do like “feel” of a wood floor, however if you do opt to go this route we would suggest building over a crawl space to take advantage of accessibility to under floor utilities. We have never before seen a system done as you would propose. We have had clients successfully do “plywood” slabs, this would be far less costly than your proposal: https://www.hansenpolebuildings.com/2022/03/post-frame-plywood-slab-on-grade/
We are proponents of radiant in floor heat.
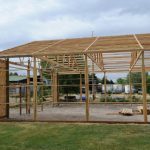
 When buildings have no endwall overhangs, all roof trusses are placed with bottom chords at same height. Ceiling joists can be placed with bottom of joists and bottom of trusses at same height and connected with joist hangers.
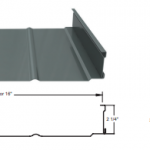 DEAR JAVO: Clip lock standing seam panels have no ability to transfer wind shear loads and should only be installed over 5/8″ CDX plywood sheathing. If not, your building is likely to rack (or even fail) due to wind loads. There are other reasons to use sheathing:
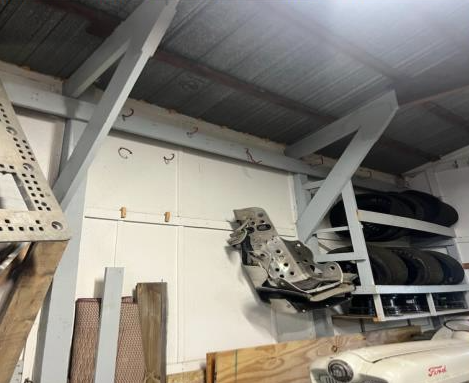
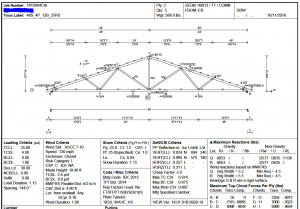 Most pole barn trusses are designed for a one psf (pounds per square foot) bottom chord dead load (BDCL) – inadequate for any type of ceiling. On truss spans of up to and including 40 feet, we include a five psf BCDL as a matter of practice (too many clients decide later on they want a ceiling) and if we know in advance a ceiling is to be installed, we use 10 psf BCDL. You have been fortunate to have at least a five psf BCDL. Your 10 psf bottom chord live load is a non-concurrent (assumes no other live loads are being applied such as snow) one and basically is there to provide a minimum degree of structural integrity allowing for occasional access to an attic space for maintenance purposes.
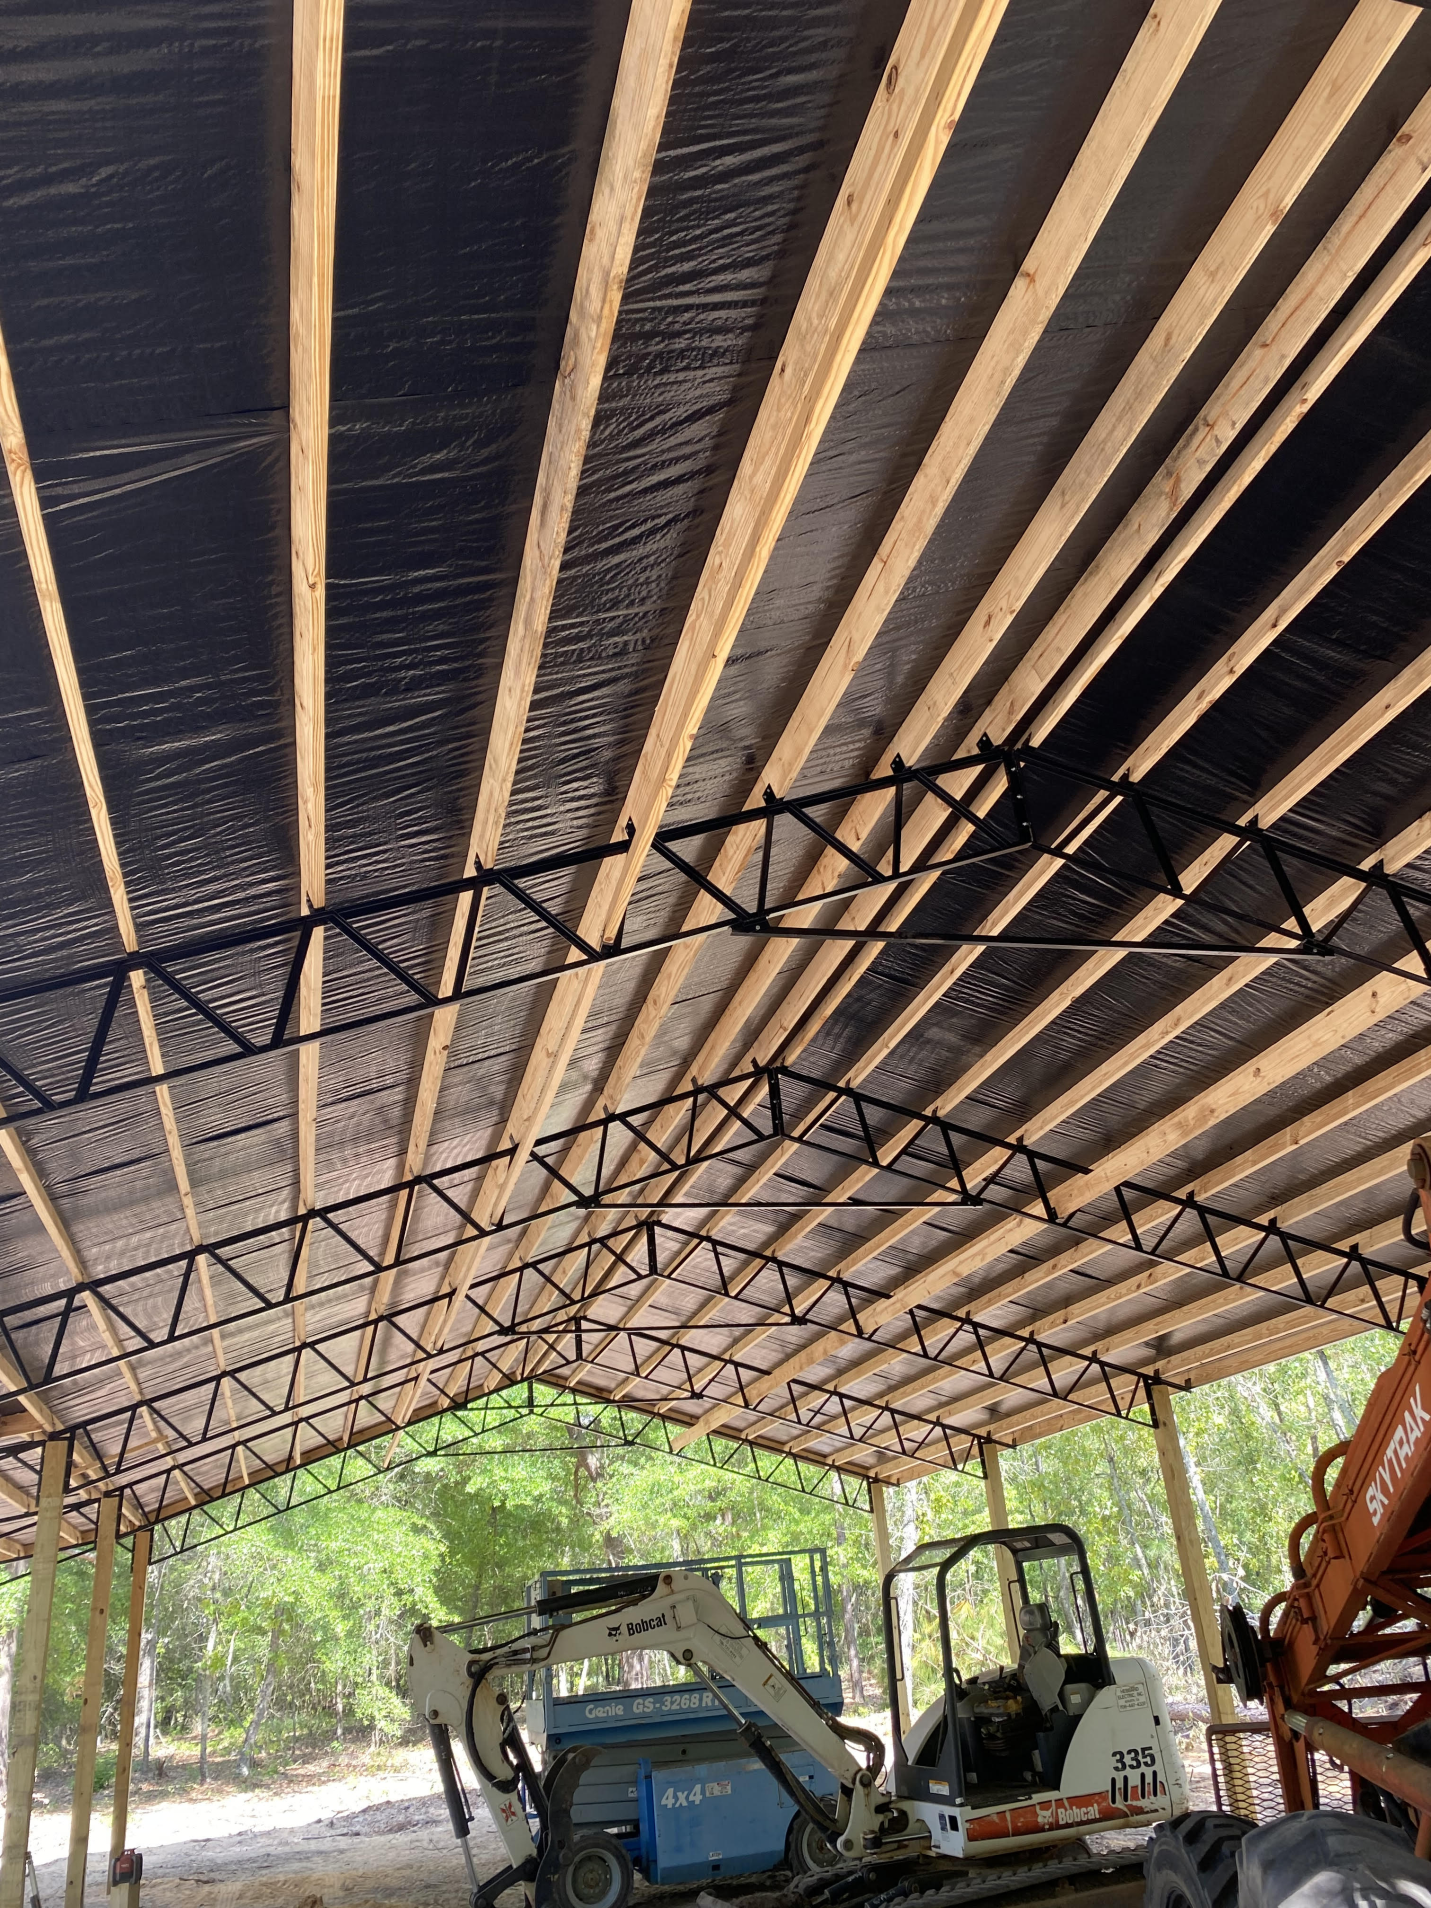


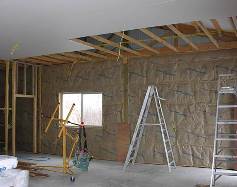
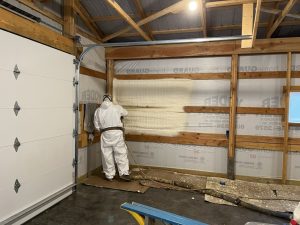 DEAR ED: Provided you are including your building’s attic area in your conditioned space (not insulating directly above ceiling) then closing off your vented ridge would be correct. I have not been able to find anything printed to verify adequacy of R-14 for roof insulation with closed cell spray foam in Climate Zone 3 (South Carolina), indeed 2009’s IECC (International Energy Conservation Code) used by South Carolina would seem to lead one to believe ceilings require a minimum of R-30 (Please see Table 402.1.1
 DEAR JASON: While I have heard of builders installing ceiling steel liner panels on trusses spaced even 12 feet apart without any additional support, my personal comfort zone is five feet – meaning, in your case, I would be adding 2×4 ceiling joists between my trusses. Make sure your trusses are designed for at least a three psf (pounds per square foot) ceiling load (truss drawings will show this as BCDL – bottom chord dead load) otherwise they will not be adequate to support weight of a steel ceiling.
 International Residential Code (IRC) Table R8702.4.1(1) provides rafter spans for common lumber species with a roof live load of 20 psf (this happens to be Code minimum whether snow is present or not). Being as you are in Arkansas, we will assume the minimum load as well as no ceiling being attached to rafters. With rafters 24 inches on center your rafters would need to be 2×8 #2 Southern Pine at a minimum. You would also need to provide ceiling joists or rafter ties to resist outward push of rafters on bearing walls. In order to get full value from rafters, ratio of rafter ties measured vertically above the top of stud walls to the height of roof ridge would need to be 1/7.5 or less. At a 4/12 slope ridge height would be 55.64″ meaning rafter ties could be located no more than 7-3/8″ above top of stud wall, so plan on then being at least 20 feet in length. A ridge board must also be provided as well as a collar tie, gusset plate or ridge strap (please refer to IRC R802.4.2).
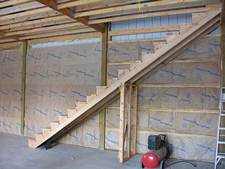 I did not include materials for a bearing wall at the floor truss center. Features listed above ran roughly $6000 more to go two floors. Also, with the two floor version, you will lose 50 square feet of usable floor on each level due to stairs.
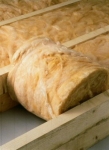 The necessary R-value for the attic will depend upon the manufacturer and style of insulation chosen. Check with the manufacturer’s instructions on the packaging to determine how much insulation thickness is needed to achieve the desired R-value.
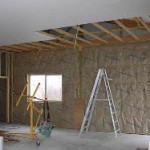
 Faced insulation is the absolute wrong product to use for insulating your ceiling. Any insulation placed at the truss bottom chord level should be unfaced. The best bet would be to blow insulation in above the finished ceiling.