Reader KIMBERLY in LINDEN writes:
“We are building a 52x40x10 post frame home in East Texas. The entire thing will be living space. I have been researching as much as possible on the best way to insulate a post frame home with metal siding and roof. The information is overwhelming and you get a completely different answer depending on who you talk to. I know not to skimp on insulation, but the consensus on most “barndominium” FaceBook groups is that spray foam is the only way to go. I have reservations about that, because it may be a superior way to insulate, but it depends almost exclusively on who is doing the actual foam application. On top of that you need to spend more money on your HVAC system to add the proper ventilation/air exchange.
I want a well insulated home that is specific to the type of building material and location we live in. To me, “not skimping” on insulation doesn’t mean that it has to be the most expensive insulation either.
I also know the insulation world is constantly changing and evolving, but what would your recommendation be to insulate our home in East Texas?
Thank you so much for your time!”
Mike the Pole Barn Guru responds:
Your insulation requirements will vary depending upon where you are in East Texas. Climates zone 1 (closest to Gulf) require R-30 ceilings, R-13 walls. Zone 2 requires ceilings to be R-49 and zone 3 (farthest north) goes to R-20 walls. You can look up you county’s climate zone here: https://codes.iccsafe.org/content/IECC2021P1/chapter-3-re-general-requirements#IECC2021P1_RE_Ch03_SecR301. I will cheat for you and tell you Cass County is Climate zone 3A.
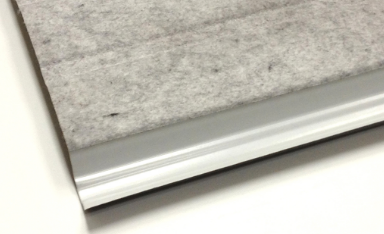
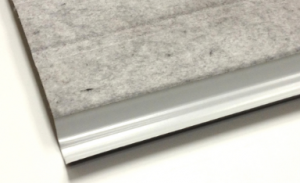 For sake of discussion we will assume you have a dead attic space and will be insulating directly above a finished ceiling. I would ventilate your dead attic space at the eave (air intake) and the ridge (air exhaust). Make provisions for preventing condensation on the underside of roof steel by having some sort of a thermal break. My personal preference is by using an Integral Condensation Control (https://www.hansenpolebuildings.com/2020/09/integral-condensation-control-2/). You will want to order roof trusses with raised heels (https://www.hansenpolebuildings.com/2012/07/raised-heel-trusses/), so you can get full insulation depth from wall-to-wall with blown in fiberglass. Heel height should be R value of insulation divided by three and add two inches so you can achieve adequate airflow above insulation.
Should you want to condition your attic – delete ventilation, raised heels and the Integral Condensation Control. I would apply closed cell spray foam two inches to the underside of roof steel, then add open cell spray foam to desired R value.
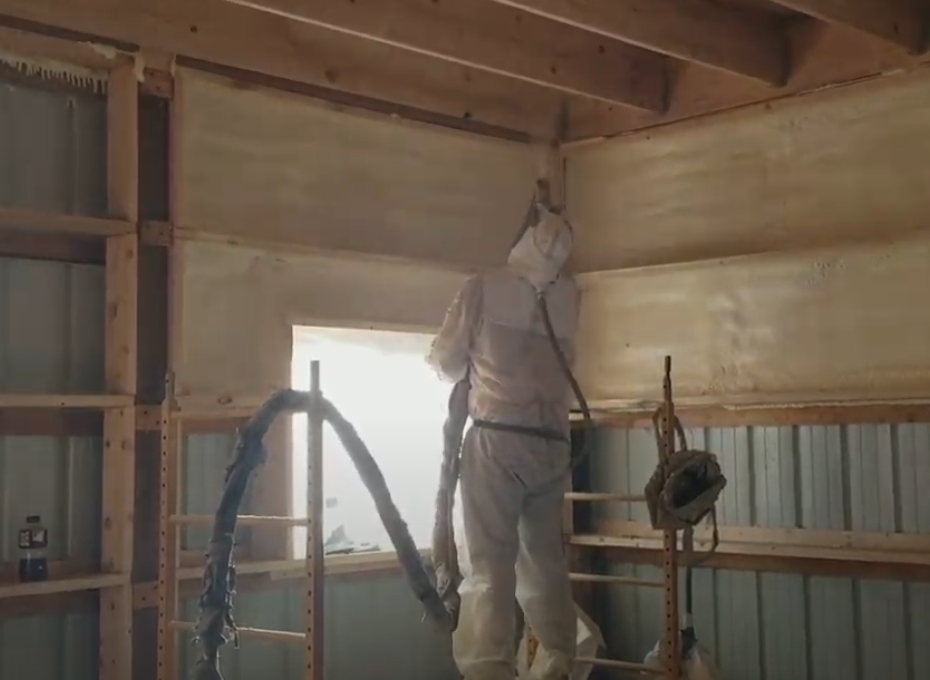 For walls – best results will be from two inches of closed cell sprayed to inside of wall steel, then fill balance of wall cavity with either open cell spray foam, or unfaced batts (ideally stone wool https://www.hansenpolebuildings.com/2013/03/roxul-insulation/). You could also use BIBs to fill (https://www.hansenpolebuildings.com/2011/11/bibs/). Do not place a Weather Resistant Barrier (WRB) under wall steel or a vapor barrier on inside of wall.
As an alternative to spray foam, you can use a WRB between framing and wall steel, then BIBs with an interior vapor barrier or faced batt insulation.
Energy costs are not going to go down, so I would encourage you to err towards more insulation rather than less – and (since most heat loss is upward) invest more into added ceiling insulation than walls.
In warmer, humid climates like yours, your HVAC system should include an Energy Recovery Ventilator (ERV) regardless of what your choice of insulation systems ends up being.
 There are days when I think what a joy it would be to be out building. I do truly love to build, smells of earth from freshly dug holes, lumber being taken out of a wrapped unit, sawdust – all of these give me warm, fuzzy nostalgic feelings.
 Kitchen – two dishwashers, two microwaves, two ovens, trash compactor. Separate side-by-side refrigerator and freezer units. A good sized pantry.
 “Greetings I’m writing to discuss the best practice for what to place under a metal roof. I am building a post frame, for shop use and will eventually be insulted. I had initially intended to install a WRB, like Tyvek, under the sheet metal roof. My thought was that the inside of the shop will have a vapor barrier and insulation, thus the warm air would not come in contact with the steel and create condensation. Is this thinking flawed?”
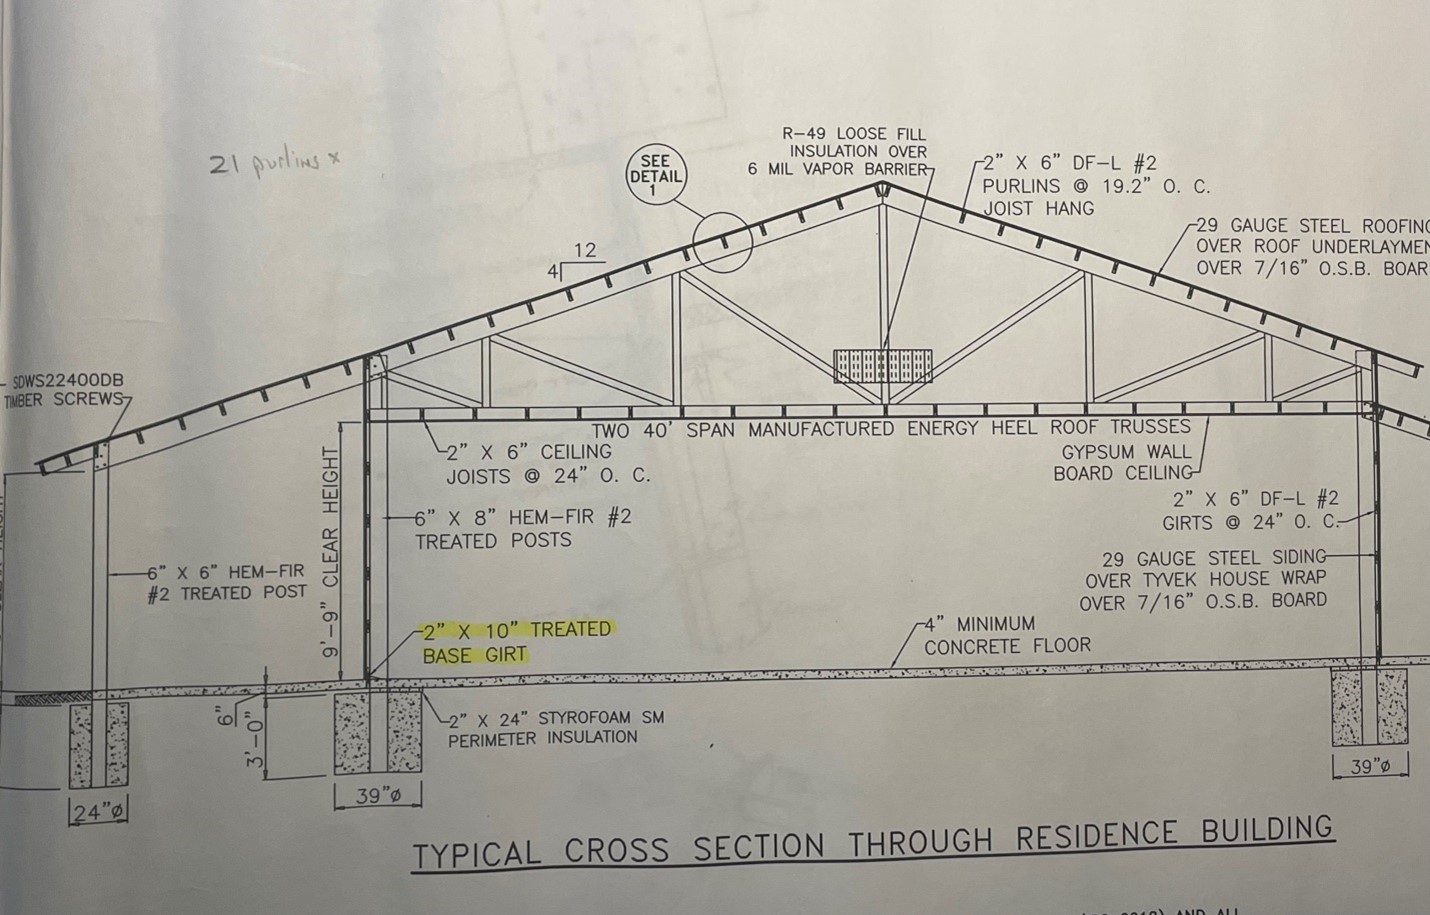

 “Greetings – I’ve got a pole barn style home that’s about 2.5 years old and I’m having moisture issues in the attic. Hoping I can talk with someone to get a consult or second opinion to resolve as quickly as possible. Let me know if it is something you can connect on. Attached is an image from the attic where you can see moisture on the underside of the metal roof. It freezes at night and then during the day when the sun is out, it melts and drips into the attic insulation.
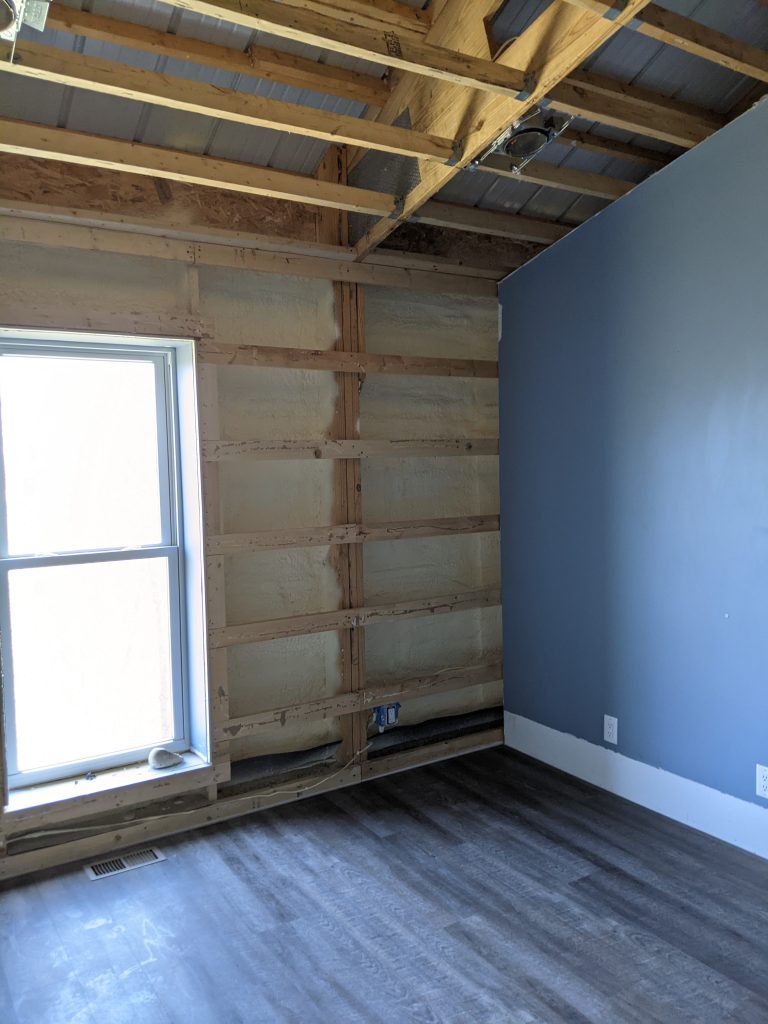
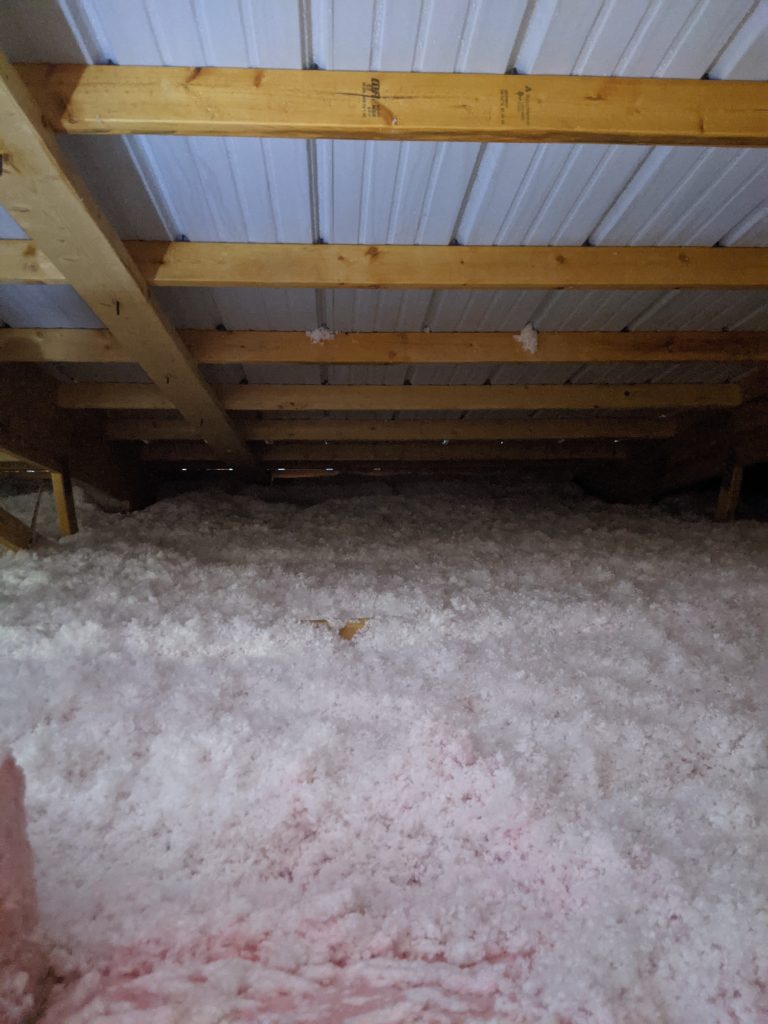
 Easiest solve is to have two inches of closed cell spray foam applied to underside of roof purlins. Any other solutions will take removal of roof steel panels, adding a thermal break, and then reinstalling roofing.
 For walls – best results will be from two inches of closed cell sprayed to inside of wall steel, then fill balance of wall cavity with either open cell spray foam, or unfaced batts (ideally stone wool
 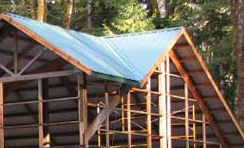 Main roof is framed up, including purlins across area where reverse gable will intersect. 2×12 blocking is then placed between main roof purlins, centered on what will eventually be the middle of the valley. This provides a landing point for intersecting roof purlins from reverse gable (next to be installed). Once these purlins are in place, any reflective radiant barrier (RRB) is installed (I prefer using roof steel with Integral Condensation Control to a RRB). Valley flashing is then installed. We furnish Emseal® self-expanding foam closures to seal between valley flashing and roof steel, following slope of valley flashing. Roof steel is then applied and you are buttoned up tight.
 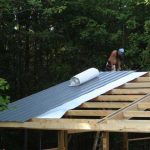 Least expensive financially, but does take some extra labor hours, especially if it is windy – a single air cell layer reflective radiant barrier. Six foot widths will install much quicker than four foot. Make sure to order with a six foot width NET COVERAGE and an adhesive tab along one edge with a pull strip. Without an adhesive tab all butt edges will require seam tape, not expensive, but adds lots of time. Do not waste your money on adding an extra approximate R 0.5 for double bubble (two layers of air cells).
 I have personally used BIBs (