This week the Pole Barn guru answers reader questions about an insulation retrofit for a 72×36 pole barn with no ridge or eave vents, if one can add soffit the an existing building with no overhangs, and if the Guru has any pricing knowledge for a fan and heater to hang from a ceiling.
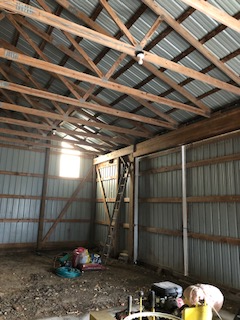
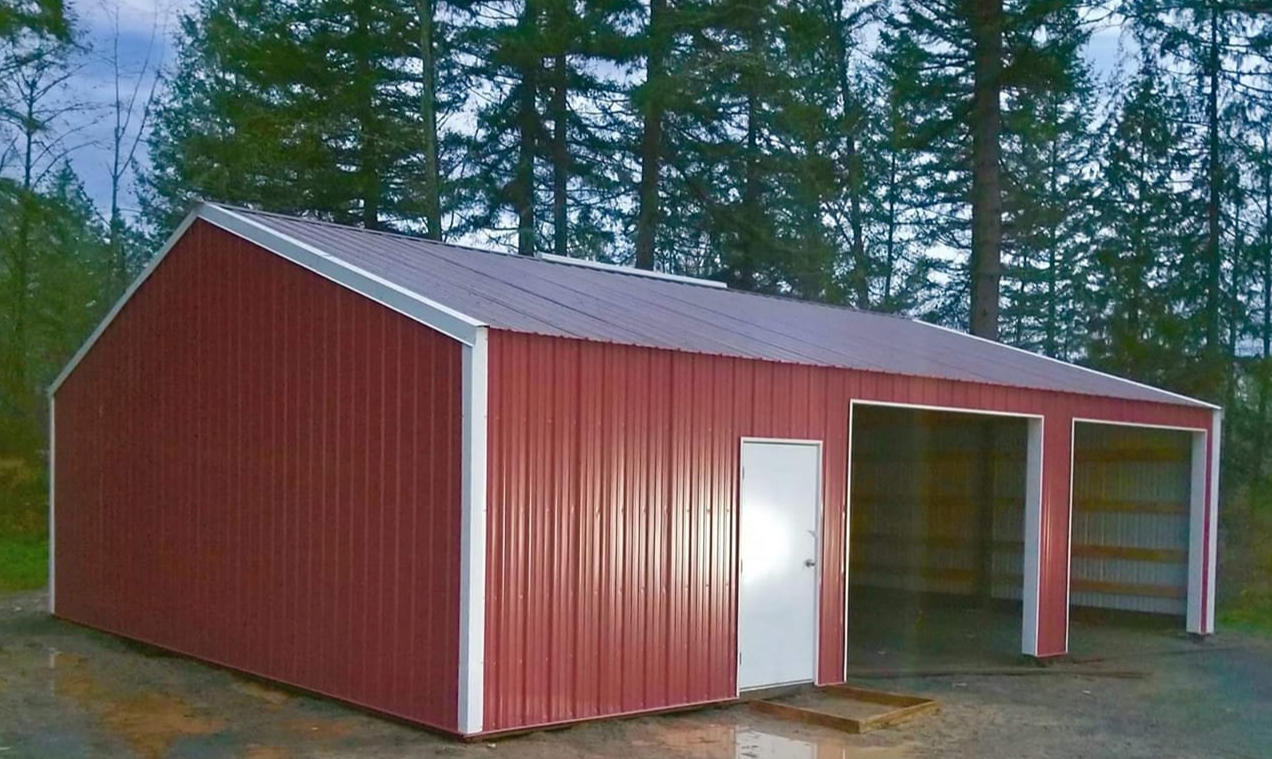
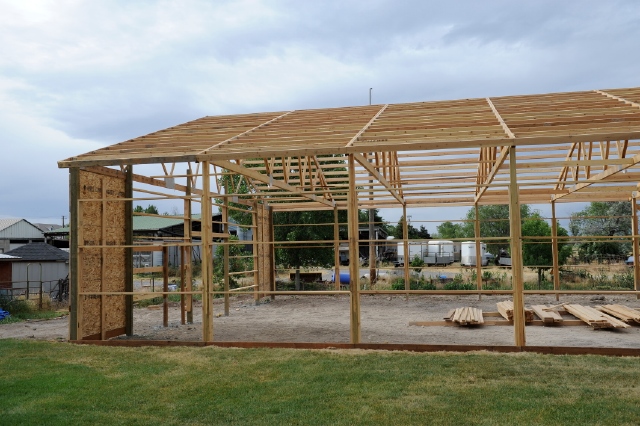
DEAR POLE BARN GURU: Hello, Thank you for all of your great content. I have a 72×36 pole barn that I want to insulate. I’ve attached some pictures of the interior so you can see what it looks like. The attic space doesn’t appear to have any ridge or eave vents. I’ve taken bits and pieces from everything I’ve read but I want to be sure before I move forward. I know spray foam is an option but for this size building, it’s quite expensive. My thoughts are to insulate the walls with rockwool with a vapor barrier on the warm side. No vapor barrier on the ceiling with blown in rockwool, and then vent the attic space through the side walls with both high and low vents. Would love your feedback. I live in Northern Utah. Thanks for your help! JARED in PLAIN CITY
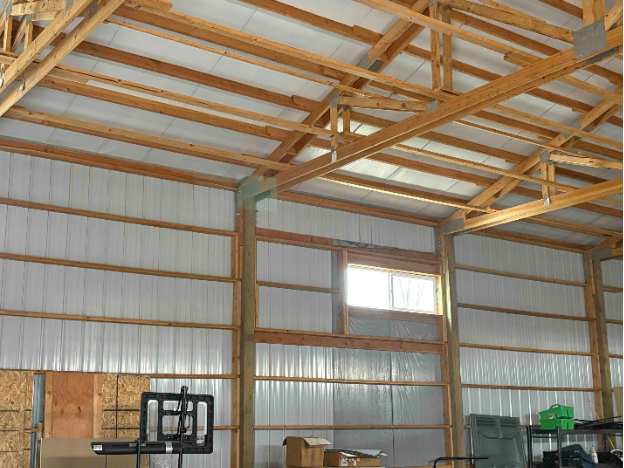
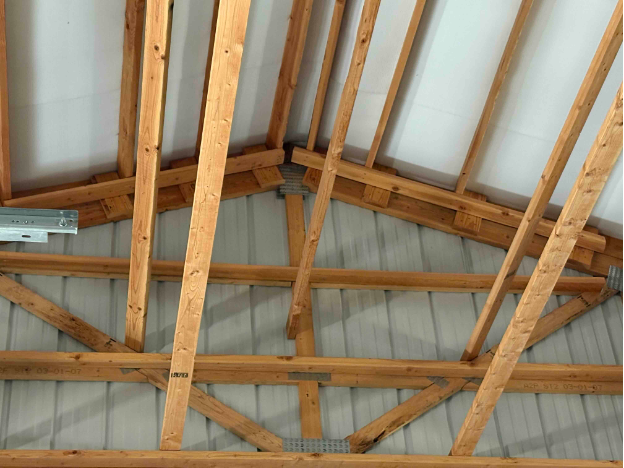
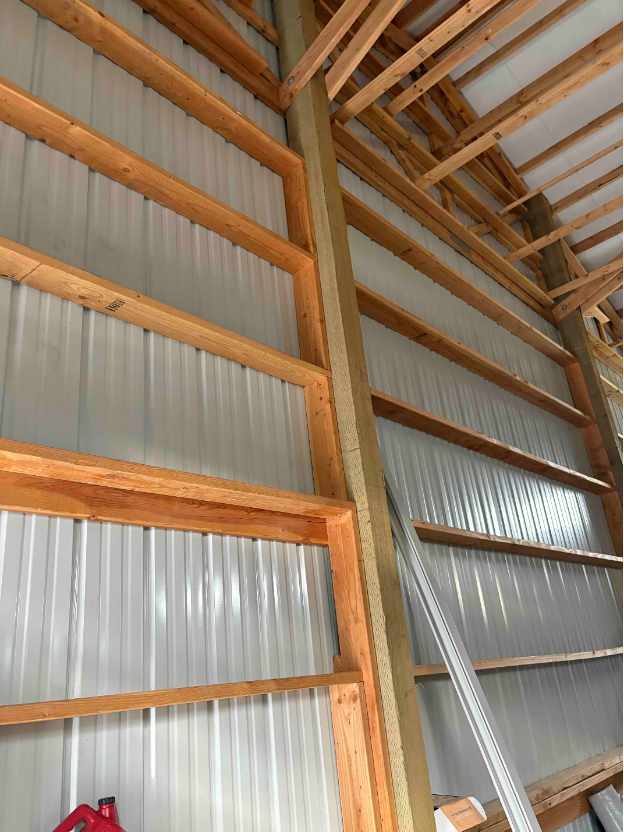
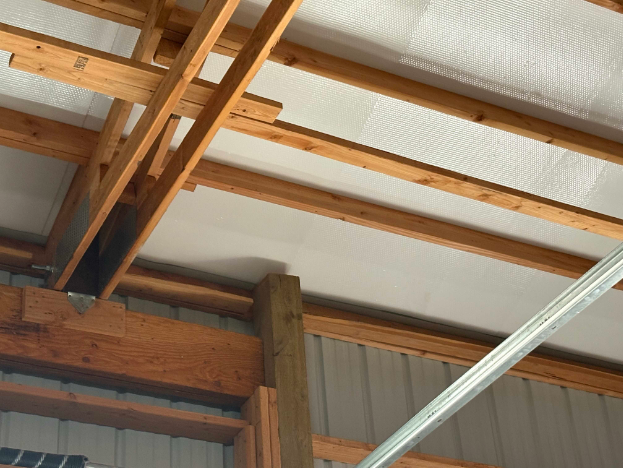
DEAR JARED: Provided your roof trusses are designed to support a ceiling load you are spot on with your approach to insulating. For venting – remove ridge cap, cut our condensation control at peak of roof, replace ridge cap adding vented closure strips. For air intake, add gable vents in lower half of each endwall. You will need to add no less than 312 square inches of net free ventilating area in each endwall.
DEAR POLE BARN GURU: Is there any way to add a soffit to an existing pole building? Thanks. PETE in FREMONT
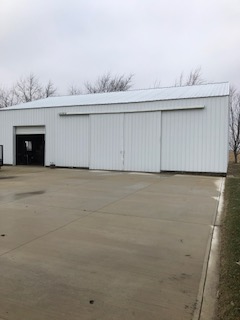
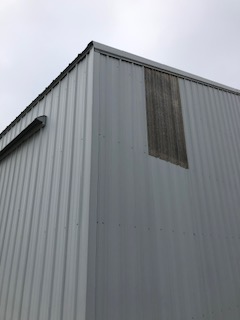
DEAR PETE: It would be extremely difficult to do it right from what you have. If it was my own and I was absolutely determined to have eave overhangs I would remove all of the roof steel and replace it with steel long enough to create an appropriate overhang (likely 18″). I would order it with an Integral Condensation Control factory applied, to avoid condensation challenges.
I would consult with a Registered Professional Engineer to evaluate if my column footings will be adequate to support loads on this now greater roof surface (not just dead weight, but also appropriate snow loads). This engineer could advise as to how to properly structurally add “tails” to trusses and confirm truss carriers (headers between columns) are properly sized, or if they need additional reinforcement.
Sidewall steel would be cut down and support for soffit added to columns. Besides new roof steel material investments include: ridge cap with vented closures, new rake trims, soffit, #12 x 1-1/2″ powder coated color matched diaphragm screws, fascia trim, soffit, J Channel below soffit at top of wall.
 DEAR POLE BARN GURU: What is practical priced good ceiling fan for a post frame 36 x 60 work shop, I plan on installing two. What height is good for a Modine hotdawg hanging natural gas heater with building with 14 ft walls? SCOTT in WISCONSIN RAPIDS
DEAR SCOTT: Having no personal experience with either, I frankly would not want to venture a guess. You might want to browse through “Pole Barns and Buildings” group on Facebook as yours are frequently discussed topics. Here is a link https://www.facebook.com/groups/2337434209870475
 There are days when I think what a joy it would be to be out building. I do truly love to build, smells of earth from freshly dug holes, lumber being taken out of a wrapped unit, sawdust – all of these give me warm, fuzzy nostalgic feelings.
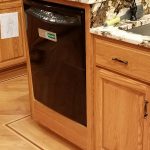 Kitchen – two dishwashers, two microwaves, two ovens, trash compactor. Separate side-by-side refrigerator and freezer units. A good sized pantry.
 DEAR POLE BARN GURU: I am in preliminary stages of designing a post-frame building, that will serve a multitude of functions such as a home gym, work-shop, and area to host family parties. It is a 30′ x 76′ x 20′ tall, with 2 fully enclosed leans 64′ long on each side that span out 16′. I really like Scandinavian style, which utilizes no overhang. My main concern is how to allow for proper air intake if I do zero over-hang since there will not any soffit. Curious for your thoughts. Would you recommend against ‘zero over-hang’? Or do you think there is some work-around for air intake and gutter attachment? Hoping for a quick answer! Thanks in advance : ) SHANE in HARTLAND
 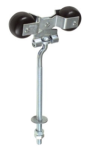 DEAR POLE BARN GURU: I have a quonset with (2) 15’x14′ sliding doors with 4 cannonball style rollers each that need to be replaced. I’m thinking I’ll have to remove the doors, but what is the best way to do this? CODY in MAYNARD
  DEAR ANGEL: Your strongest and most affordable foundation will be to use true glulaminated columns, embedded in ground. Regardless of what you pick, it will only be as good as ground it is placed upon. A well prepared site, where clays and organic materials have been removed and proper fill has been placed and compacted every six inches, will greatly improve your chances of having a solid foundation. I would encourage you to consider a steel roof, as shingles have a very short life span (read more here:
 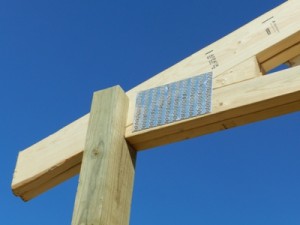 I spent two decades (in what I call a ‘past life’) in management and/or ownership of truss manufacturing facilities. For 22 years, we have outsourced our truss needs and it all worked well until Covid – where lead times for even obtaining preliminary truss designs stretched from days to weeks (and weeks), designs were not necessarily very efficient (due to out sourcing to people in third world countries who have never seen a 2×4), and lead times for production extended out sometimes as long as six months.
 DEAR GREG: In your climate zone I would typically not recommend using spray foam other than as two inch thickness applied directly to steel roofing and/or siding in order to control condensation. This does result in having to mechanically control humidity as your building will now “dry” to inside. As standing seam steel does not provide shear resistance, it must be installed over solid decking – and you can spray foam directly to this decking underside.
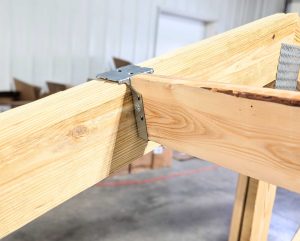 DEAR MIKE: Absolutely do not cut or notch into your end rafter. You need to lower end rafters to allow purlins to go over top of end rafters without any notching.
 In most instances, you are better served with sidewall columns spaced every 12 feet. Use a true two-ply truss, aligned with every sidewall column (
 Overhangs will keep your building from looking like an industrial warehouse. They will push ‘weather’ (rain runoff or snow slide off) away from your building walls – keeping your building cleaner and reducing potential for trapped water to build up and enter your building. With ventilated eave soffits, you have an air intake required for any dead attic spaces.
 DEAR JEREMY: With input from a Registered Professional Engineer you may be able to however you are talking about a fairly monumental undertaking, fraught with peril in trying to raise it up without destroying what you have. Besides coming up with a satisfactory column splice, you are going to have to slowly raise the building up at each column equally. Get one column too far ahead or behind and you risk ripping steel roofing around screws – then you have leaks. If a lift point slips off from jacks you could end up with a scrambled mess. Provided you are able to successfully lift and get columns spliced, you now have siding being too short to contend with.
 At Hansen Pole Buildings, we are literally “All About the Building” and we strive to provide “The Ultimate Post Frame Building Experience™”. Every single one of our fully engineered post frame buildings is custom designed to best fit our client’s wants and needs. Rarely will we be least expensive, however we will always provide a best value solution.
 There are so many variables involved in this question it is impossible to answer. And an answer for one given set of climactic loads (snow, design wind speed and exposure) would not translate to any different set of variables. Even as to where you are going to measure 17′ to is a huge impact. On a single slope – is this measure of low wall or high wall? Would it be clearspan or have interior columns? Is monitor measure to low side of wings, or raised center? If low side of wings, then how tall would center be? Gambrel, is your measure to eave side of steep slope or to pitch break? With a 17′ height, would there be an intention to have a full or partial second floor? Would this building be a garage/shop or a residence? It makes a difference as loading criteria are different and if drywall will be attached to walls or roof, a greater deflection stiffness is required. Even features such as overhangs can change your percentages as monitor style is going to have four eave sides.
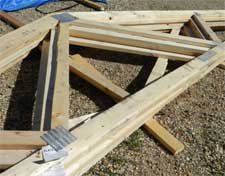 Unload trusses in bundles and store on level ground, but never in direct contact with ground (to avoid collecting moisture from the ground). Allow for good drainage at truss storage location in the event rain occurs before installation. Protect trusses from damage resulting from on-site activities, environmental conditions or weather. Exercise care at all times to avoid damage to trusses due to careless handling during delivery, unloading, storage, and installation.
  There is no such thing as a “pole foundation engineering calculator” therefore, there is also no link to one. The design of post frame (pole) building foundations is one which is best left in the hands of RDPs (Registered Design Professionals – architects or engineers). When provided with all the pertinent information about your proposed building, they can design not only a structurally sound column embedment, but also your entire structure (which I whole heartedly recommend).
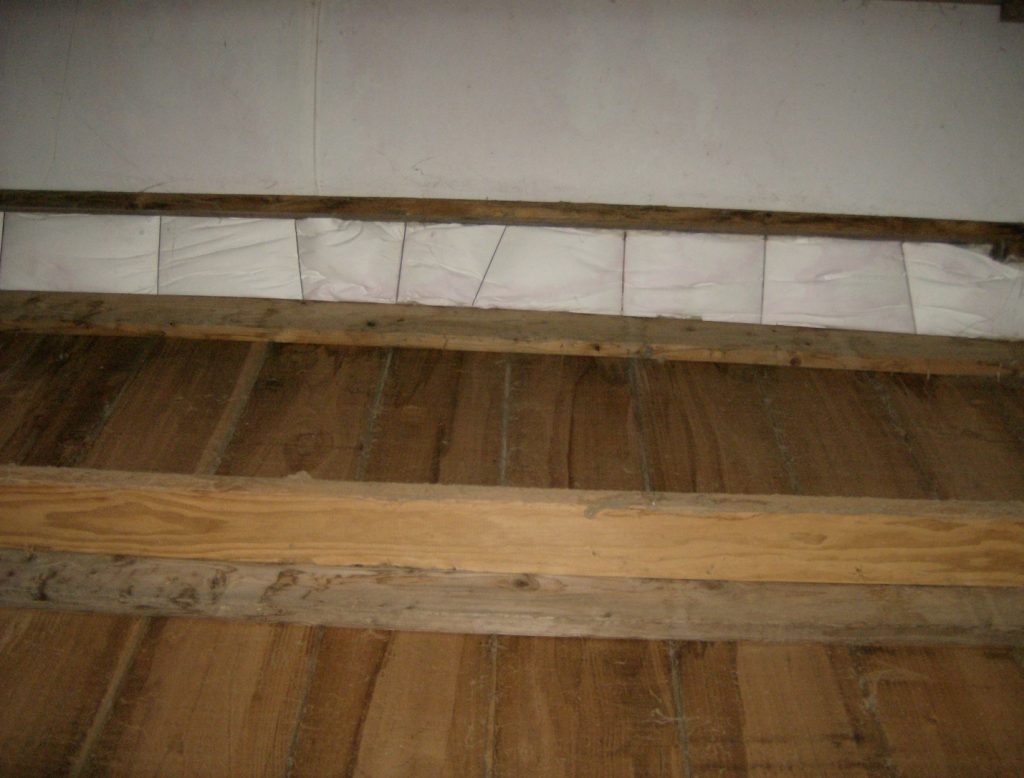
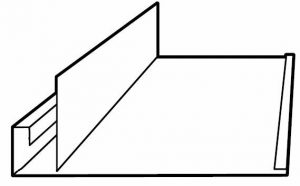 Picture an F channel with the downward leg being attached to a horizontal piece of wall framing, usually by nails. The horizontal “legs” of the F receive the soffit material – usually vinyl, steel or aluminum. From the end of the short (and lower) horizontal leg of the F channel, is another downward leg (envision an inverted J). The sidewall steel then slides up into the J from below.
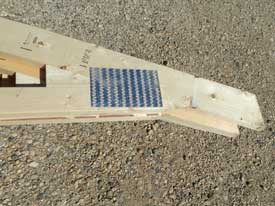 Most truss manufacturers now have the equipment which allows them to precession cut and trim most any truss member by using component saws. Strangely, some of them still leave the “tails” of the trusses square on the overhanging end, rather than plumb cutting. Plumb cutting means the cut on the end of the tail will be perpendicular to the ground.
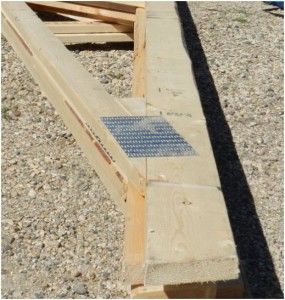 On a 30 foot wide building, the measure from outside of double plate, to outside of double plate was 30 feet and four inches. In order for the truss tails to clear the extra two inches on each wall, the butt cut was increased appropriately for the slope of the truss top chord. With a 4/12 slope, a ¾” butt cut was perfect.
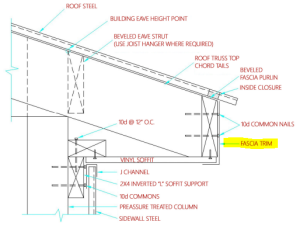 In most instances, fascia boards will be installed vertically, attaching to a plumb cut on the ends of the truss or rafter tails. This application allows for the easy installation of gutters, which are required in many jurisdictions.


