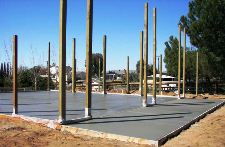
Thinking Stick Frame Rather Than Post Frame
Reader BRAD writes:“Real question…I’ve been doing lots of reading and love this site. I am building a 40x60x14 this spring. I originally thought I was going to go pole barn and now I am thinking stick frame. Reason….1. I am going to have insulated concrete foundation with in floor heating piping installed right away. (mono slab). 2. I am planning on fully finishing the inside insulation electrical, etc. in the future. What I’ve seen with post frame is that they are cheaper to build initially but if you are planning on finishing the inside there is substantial lumber and framing that needs to be done for interior walls and interior ceiling. It appears “at the end of the day” a finished pole barn is not much cheaper than a stick frame. I also question if it would be a lot more time trying to frame an interior post frame with 16” o/c studs and finishing a ceiling with 4’ or longer truss spacing vs 2’ with conventional stick frame. I am doing all metal exterior with 2’ o/c stud purlins on side walls vs osb sheathing. I know you can spray closed cell spray foam but again that is more than triple the price vs bats and vapor barrier that you can only do with 24”or16” o/c framing.
Am I way off base on this theory or is there any truth to my thinking?”
 Mike the Pole Barn Guru responds:
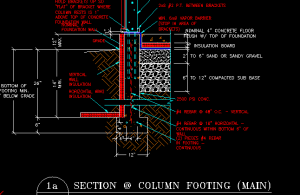
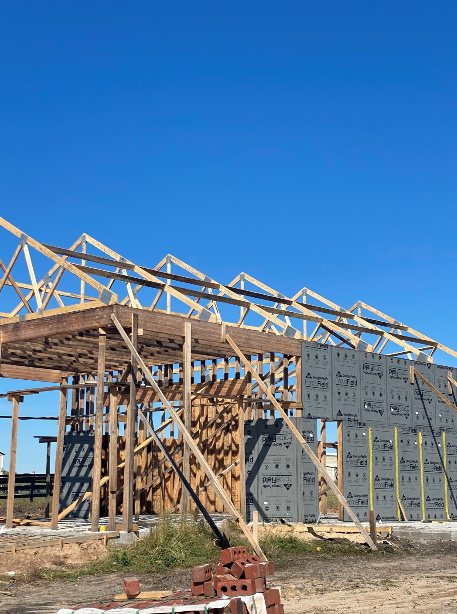
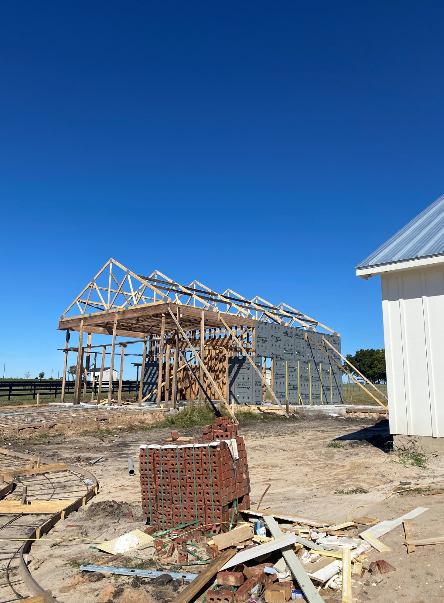
I just don’t see reason number one as a reason at all. A plethora of post frame buildings (my own included) utilize radiant in-floor heat. In order to stick frame, you are going to have to thicken your slab edges, or pour a continuous footing and stem wall, in order to provide adequate support for your now load bearing walls. This is going to result in added expenses for forming, regardless of your choice (before even considering extra concrete required). While anchor bolts for stud walls are relatively inexpensive, they do require some effort to be properly placed in order to avoid hitting studs and plates need to be drilled to account for them.
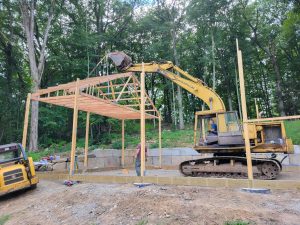
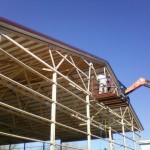
In order to stick frame without added engineering, your wall heights are going to be limited by Building Codes. To attach steel siding, you will need to add horizontal framing outside of your studs (scarily, I did see a builder post photos of vertical steel siding, screwed to vertical studs), resulting in two sets of framing, extra pieces to handle, cut and install. By using commercial style bookshelf wall girts in post frame, no extra framing is required in order to attach exterior steel siding and wall finish of your choice. As post frame buildings transfer gravity loads from roof-to-ground via columns, eliminating (in most instances) any need for structural headers.
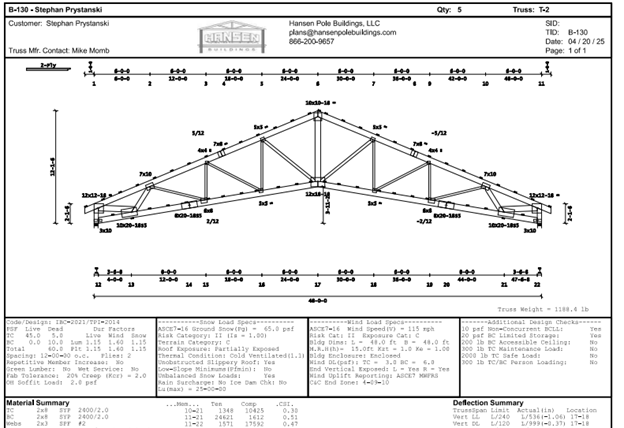
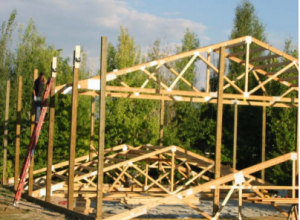
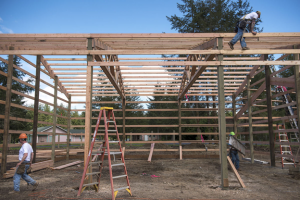
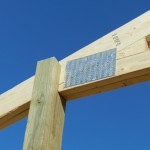
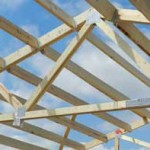
Using prefabricated metal connector plated wood trusses, in pairs, directly aligned with columns (most often placed every 12 feet), does require ceiling joists to be placed between truss pairs. This can all be done on the ground, then cranked into place using winch boxes, with no need for other heavy lifting equipment.
When all is said and done, fully engineered post frame construction will always be more cost effective than stick frame, more structurally sound and afford a greater ability to super insulate, regardless of one’s choice of insulation systems.
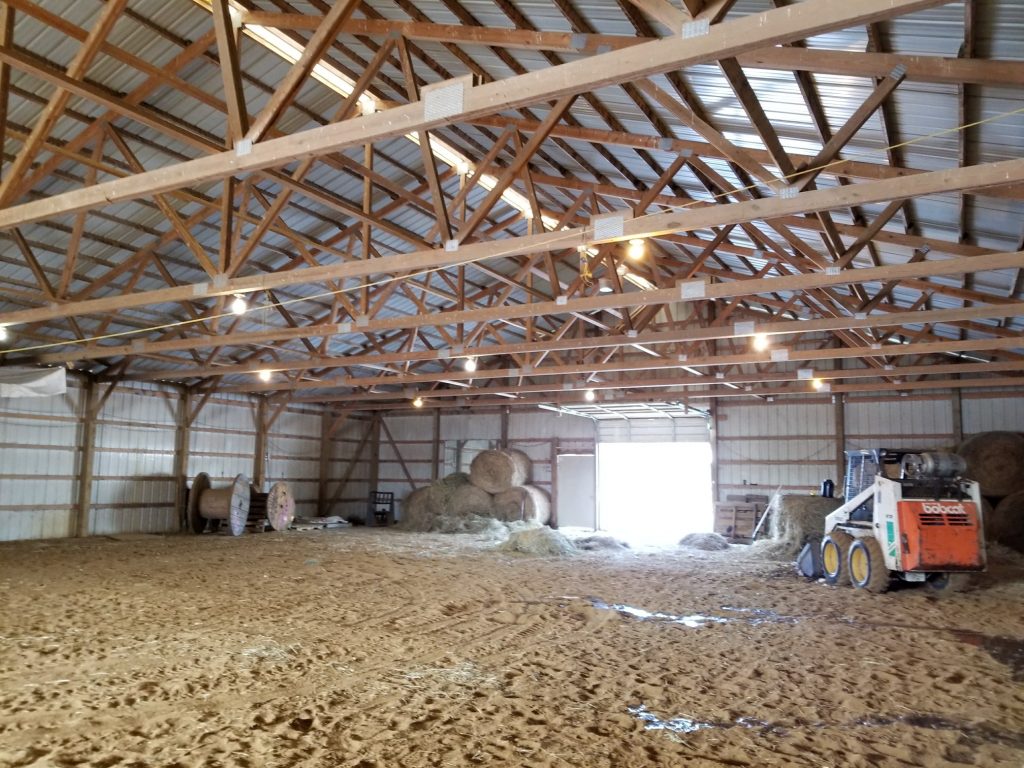
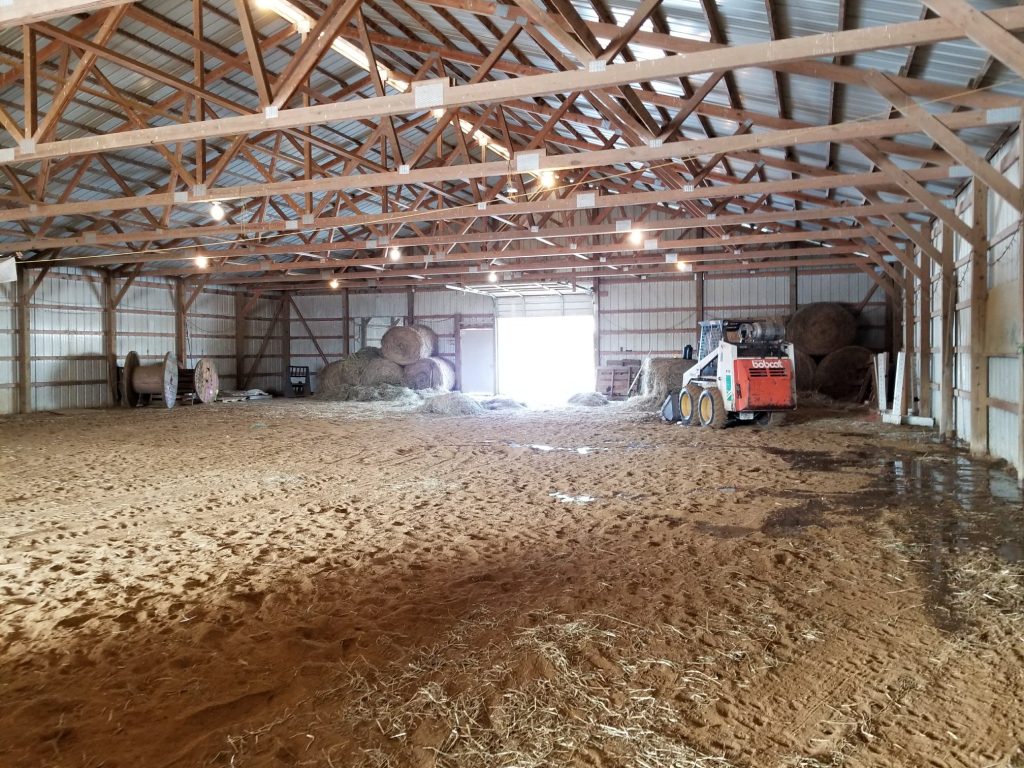
 DEAR POLE BARN GURU: Putting up a metal truss pole barn that calls for 12′ post centers and want to use 16′ centers for the truss using 16′ 2×6 for the purlins 30 cups per bay. Looking to get more length to barn this way. Minimum wind and snow load central Mississippi agriculture barn building housing mostly hay. Will this work or is 12′ max on metal truss bay width? 3 bays 16′ would garner me 50′ length with overhang or two 12′ bays on the end and 16 bay in middle would get me 42′ of length with foot overhang. Would either be sturdy enough for this application. TOMMY in ACKERMAN
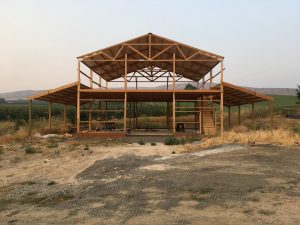 DEAR POLE BARN GURU: Monitor barns -is it crazy to think/have 14 foot “wings” and 24 wide center? Thinking 52 wide with 14-24-14 sizing. Seems most have narrower center. Is there a reason? STEVE in WEISER
 DEAR CHRIS: Saline County is located in Climate Zone 5A. As such conditioned buildings require R 60 attic insulation.
 DEAR MARK: Thank you for your kind words about our YouTube videos.
  DEAR POLE BARN GURU: Do you all have barns with living quarters? Not looking for a barndominium, per se, but a restroom with a shower and a living room in addition to 4 stalls and a tack room. we plan on staying there at first while we build the main house on the property, then use for guests or storage. SARAH in SARASOTA
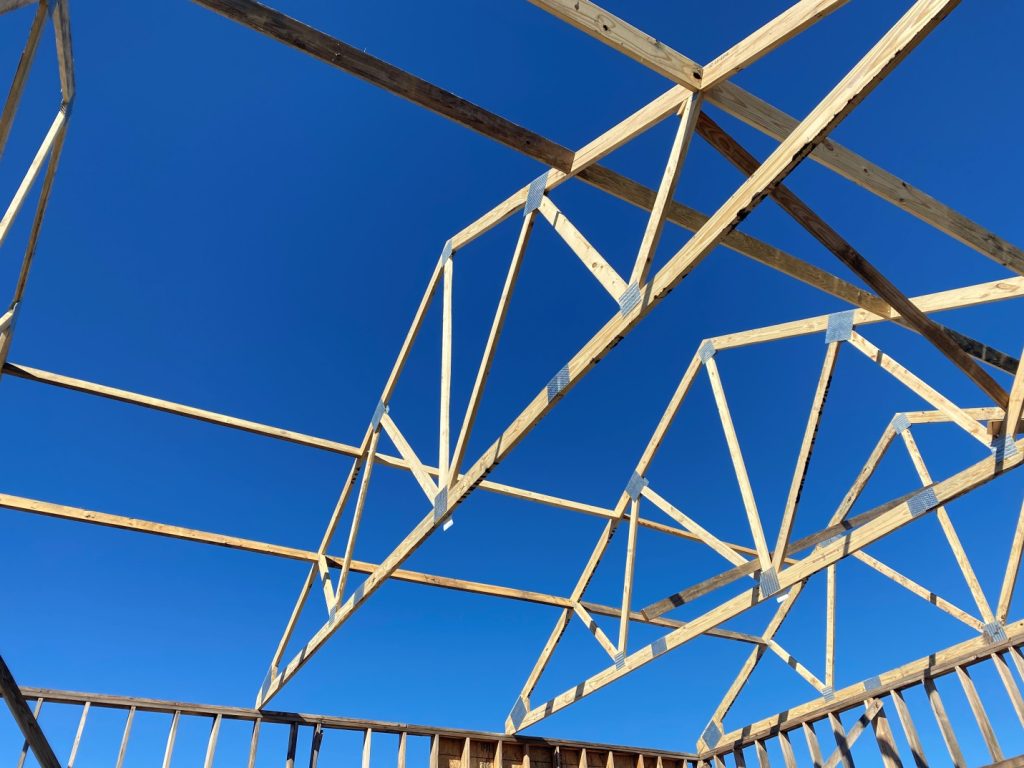
 DEAR GREG: In your climate zone I would typically not recommend using spray foam other than as two inch thickness applied directly to steel roofing and/or siding in order to control condensation. This does result in having to mechanically control humidity as your building will now “dry” to inside. As standing seam steel does not provide shear resistance, it must be installed over solid decking – and you can spray foam directly to this decking underside.
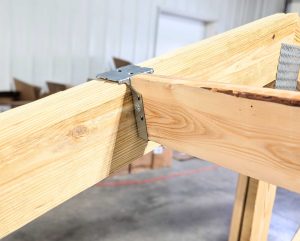 DEAR MIKE: Absolutely do not cut or notch into your end rafter. You need to lower end rafters to allow purlins to go over top of end rafters without any notching.
 In most instances, you are better served with sidewall columns spaced every 12 feet. Use a true two-ply truss, aligned with every sidewall column (
 DEAR POLE BARN GURU: What is your best guess at price per square foot range materials and labor to build a Hanson Pole Building these days? STEVE in MAPLE PLAIN
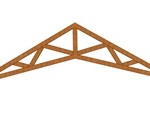 DEAR JOHN: These trusses may or may not be adequate for your needs, depending upon loads and spacing they were designed for.
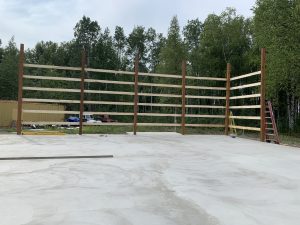 DEAR DAN: You would be incorrect. Poles (actually columns) are inanimate objects and can be spaced at whatever distance their size and grade is capable of supporting using sound engineering practice. Our engineers recently designed a building for one of our clients with columns every 18′ and many years ago, I did one with columns spaced 24 feet on center. In most instances (depending upon climactic loads and door/window locations) columns every 12 feet are most economical.
 DEAR POLE BARN GURU:
  DEAR JEFF: I would have ditched lumber frames for prepainted metal frames and been done with it, plus metal will never twist and warp like wood and your door frame would be significantly lighter (not too late to regroup). Still not convinced? Any steel roofing and siding roll former can bend trim to match any dimensions, so you can have created exactly what you are looking for.
 DEAR GREG: As long as you are measuring from a level point and top of your concrete slab will be below bottom of your base trim you will be all good with measuring down 3-1/2″ from splash board tops. While I have not done it personally, I know more than one person who has used a pressure preservative treated 2×4 to screed against as you describe. At a minimum it should be rated UC-4A (ground contact) for treatment.
 DEAR POLE BARN GURU:
  DEAR ERIC: Without knowing how far you intend to span with your trusses it is difficult to provide a definitive answer. Boundary County does not require building inspections, so even though you are in an area of extremely high snow loads – risks end up being upon you as a new building owner.
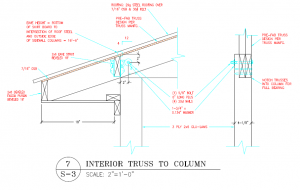 Provided you have adequate available space, you may want to tweak your footprint dimensions in order to optimize your return for your investment. As steel comes in three foot widths and lumber in two foot lengths, your most cost effective dimensions of length and width will be multiples of six feet. In your instance, I would recommend 36 feet wide and 84 feet long.
 I have talked to several builders and truss makers who insist that trusses must be spaced every two feet so for a 100 X 60 pole barn I would need 51 at a cost of $30,000; factoring in all of the other costs it is simply out of our reach. I have read that you suggest trusses can be spread further apart and one of the builders I have spoken to said I should ask for some plans and he would see what he could do, however is very skeptical.
 DEAR NATE: Thank you for your interest in a new Hansen Pole Building. Prices listed at
 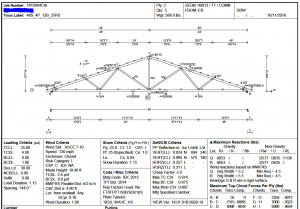 Overhangs on eave sides (measured parallel to ground), as well as beyond endwalls. Why is beyond endwalls important? For sake of discussion assume single trusses placed every two feet, unless specified and designed otherwise and end truss in this scenario can only support a foot of overhang past an end. Single trusses placed every four feet can support a maximum two foot end overhang.
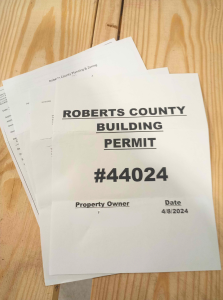 DEAR DANIEL: Many jurisdictions nationwide exempt true agricultural buildings, on agriculturally zoned land from building permits. A practice I disagree with entirely – as it places these buildings at risk of failure due to under design of critical structural components.
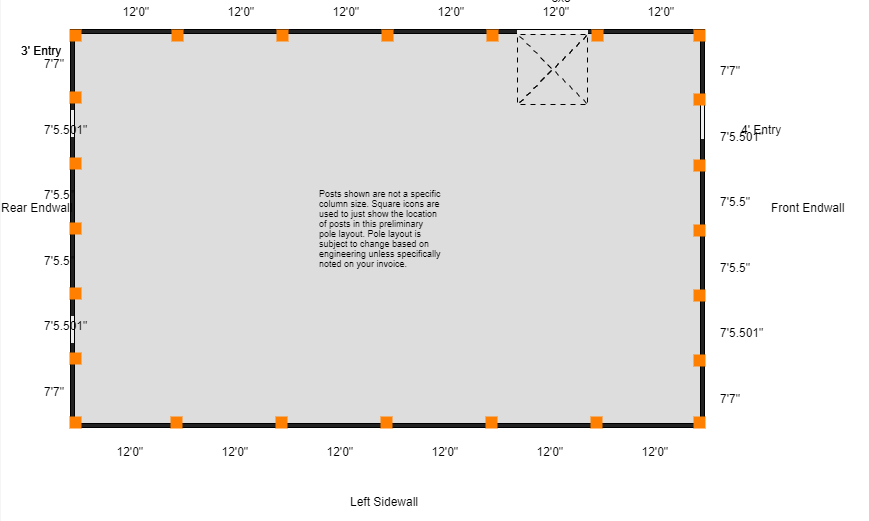
 DEAR POLE BARN GURU: Does the vapor barrier under the concrete slab of a pole barn need to cover the poles and splash boards at the perimeter of the concrete? Or do I just lay the vapor barrier on the ground and not up the sides? I am using 10 mil Stego. Thanks for any help! JARROD
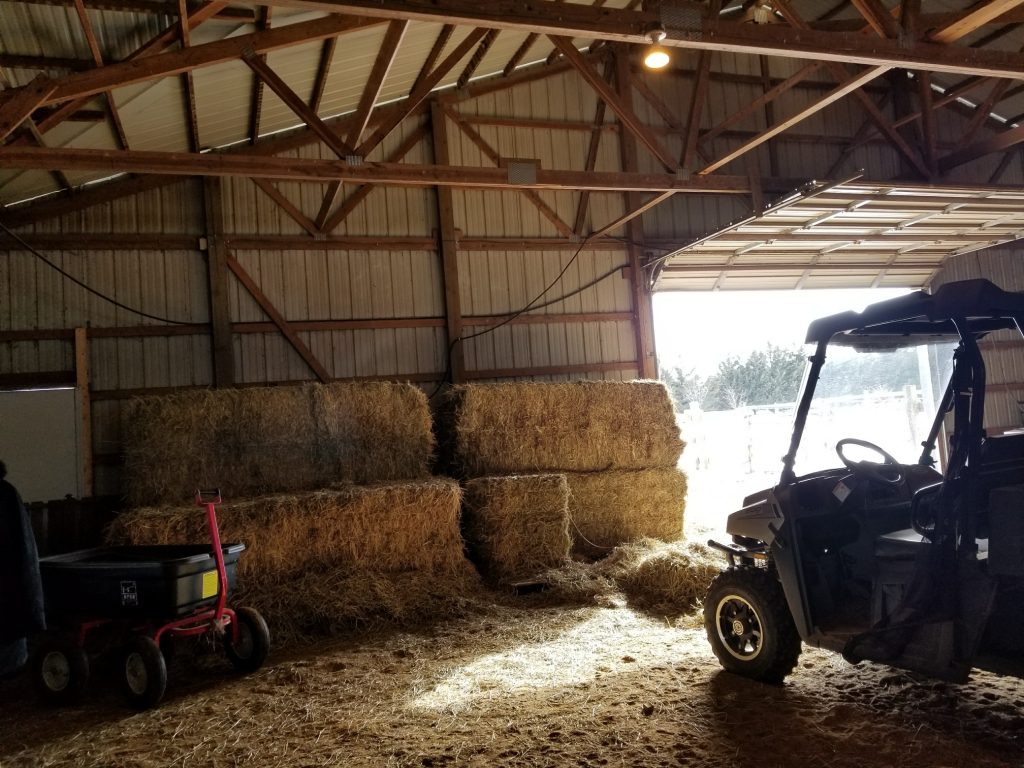 Mike the Pole Barn Guru responds:
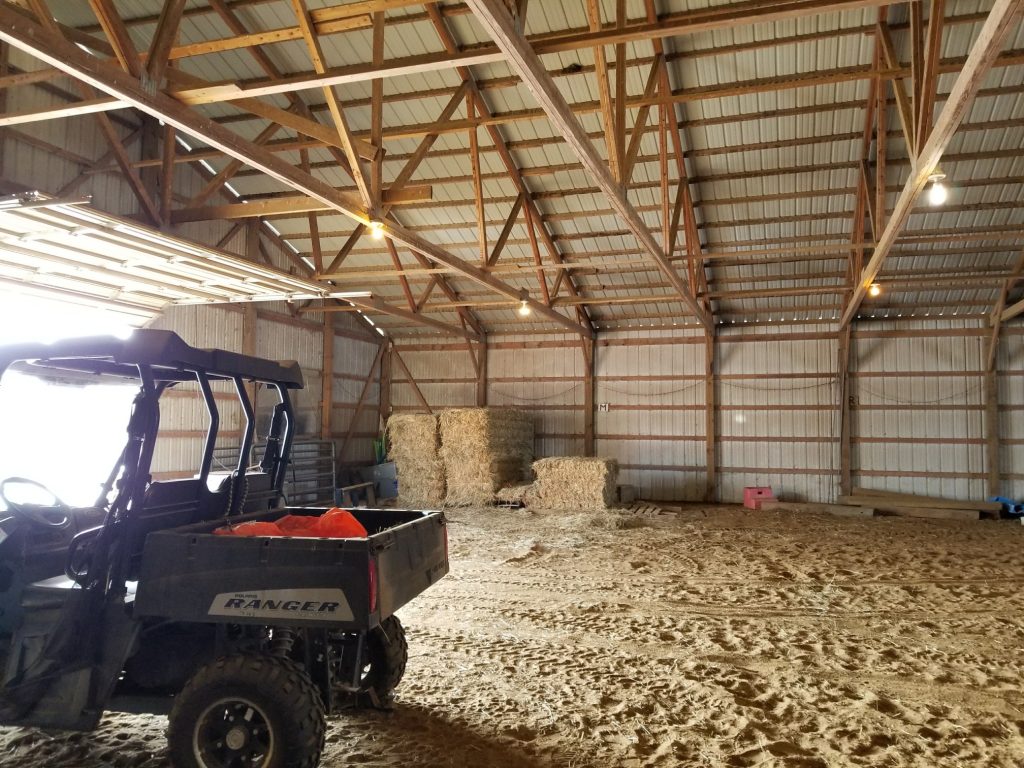
 No snow yet, but we will get to it. Here is the response:
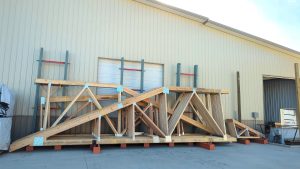 The originally patented post frame (pole building) design concept utilized columns spaced every 12 feet. Even the unimpeachable source of all knowledge (Wikipedia) references columns spaced every 12 feet (
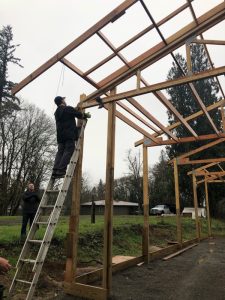
 benefit is there will be fewer holes to dig. Unless one would happen to be part gopher, most are like me – we hate digging holes. With a passion. In many cases, the “more posts” are smaller in size or lower strength posts…..in which case, what was the point?