Today’s blog is a bonus Ask the Guru, where the PBG answers reader questions from a repeat client about converting a stick frame plan to post and beam, a multiple tenant building built on a ledge site using wet-set brackets, and the need for knee braces on a “stick built pole barn.”
DEAR POLE BARN GURU:
 Good Morning Mike, You may remember that I purchased a 30×36 pole barn kit in 2022, and had a really good experience with Hansen. We’re planning to build our house on the same property, and I have questions: We plan to modify this house plan to fit the site: https://www.houseplans.net/floorplans/96300579/lake-front-plan-3017-square-feet-2-4-bedrooms-2-bathrooms. Our site has over 6 feet of slope from front to rear with great views out the back windows. The site cries out for at least the back of the house to have a walk-out basement, but we don’t want a full basement, so most of the house would be on conventional crawl space foundation. The plans call for stick-built, but I see potential for post-beam construction using laminated columns. My question is, can we save enough money doing post-beam and commercial girts to overcome the other hurdles involved? The hurdles I see are finding a suitable contractor to build such a complicated post-beam since it’s limited to pole barns around here. And I expect to finance about half the cost, and I wonder if I’ll have skepticism at the bank. In any case, I’ll be needing some really long deck columns, and I wonder if you’d like to supply those?
Thanks, and I still love my Hansen building. ANDY in OXFORD
DEAR ANDY: You remain as one of my all-time favorite clients!
You would not have to pour a conventional crawl space, we can provide it in post frame and if you have enough grade change, can provide a permanent wood foundation, between columns, for portions with either a crawl space or a walkout basement.
Since you last built, we have added our own wholesale lumberyard and truss manufacturing facility, so we can provide some amazingly high quality materials, at competitive pricing. We can also provide glulaminated columns up to 52 feet long. We also are developing an extensive independent builder network, so we may be able to assist you with a contractor as well.
While post frame itself will run around 10% less than stick above ground, you will save thousands (if not tens) of dollars in concrete and forming costs. As to financing – you are building a custom designed, wood frame home. Lenders only seem to be baffled if you mention the term “barndominium”.
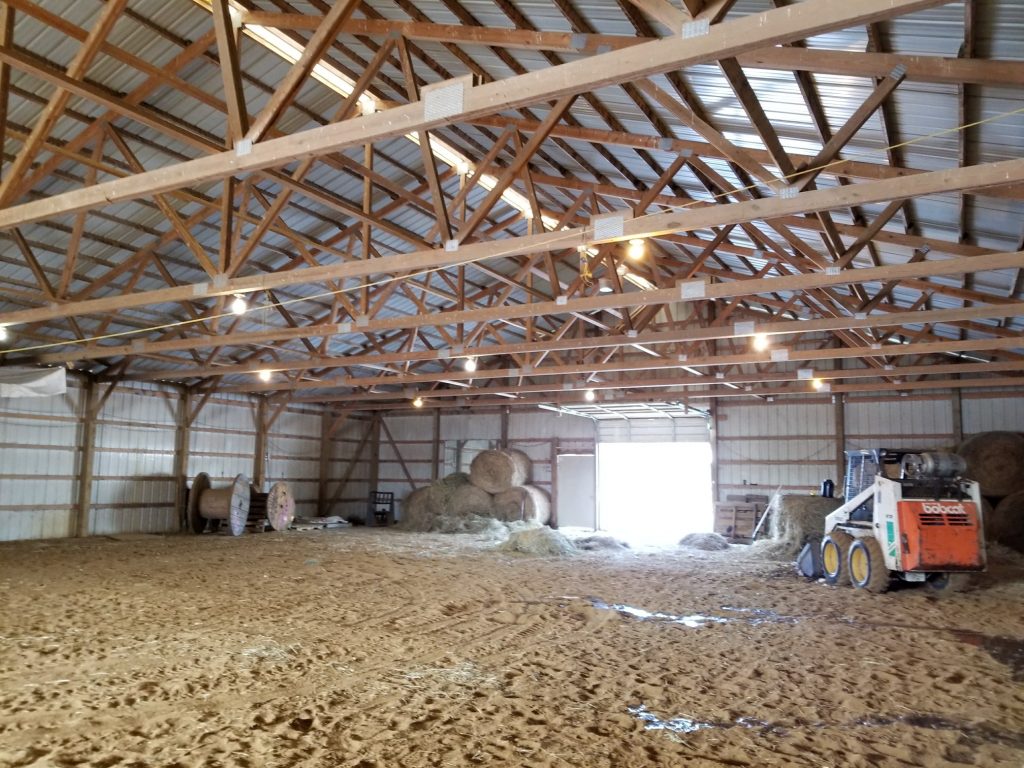
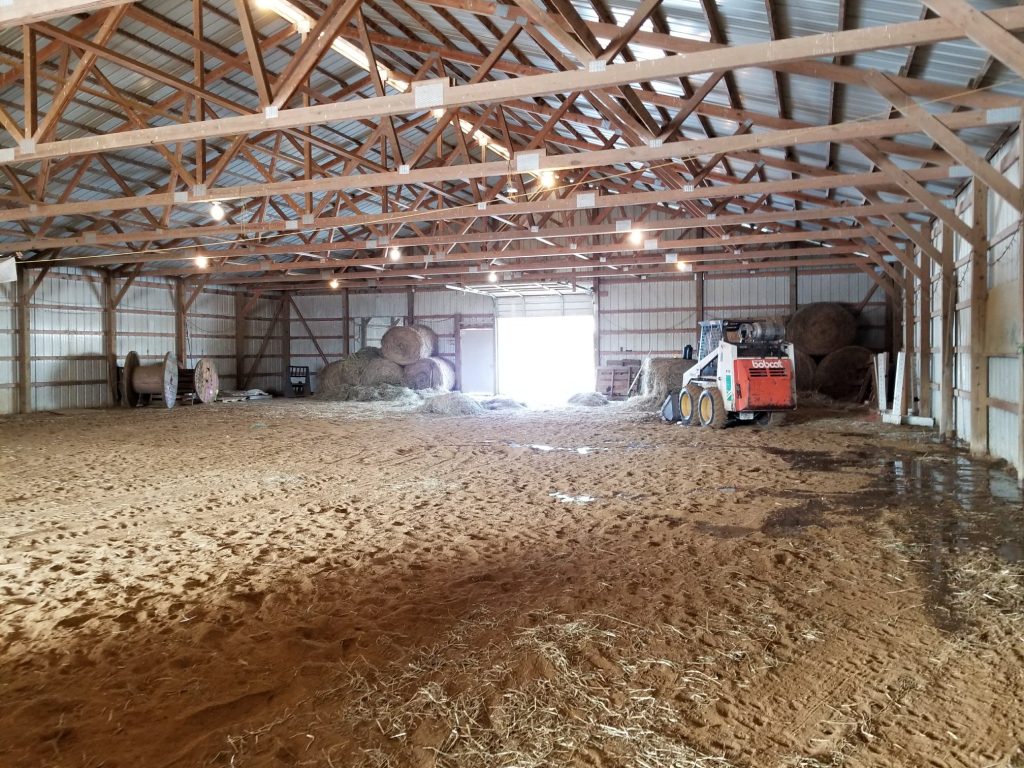
 DEAR POLE BARN GURU: We want to put up a commercial building with multiple tenant spaces approximately 50′ x 150′. Our improves will be completed the first week of March. We’re currently getting a price on a red iron building but are afraid it’s way out of our price range. My question is our side has a great deal of ledge, some will blasted to a depth of 4′ to allow us to install utilities. Can a post frame building be built on ledge? Thank you TED in HARWINTON
DEAR TED: Post frame buildings can be built upon ledge. By using a concrete pier foundation, with wet set brackets, piers unable to be dug to frost depth, can be pinned to your bedrock with epoxied in rebars (depending upon depth of soil to ledge, rebars may not even be needed). Without question, this has to be a much more affordable design solution than trying to engineer a foundation for a red iron building.
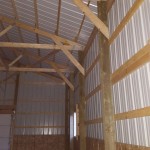 DEAR POLE BARN GURU: We are having a 42x80x18 stick built pole barn being built this summer and I was wondering about the knee braces are they or are they not needed? Especially if it is a stick built on a concrete foundation. The barn will be running in a east to west direction with a 24×16 overhead door on the west side. Does it matter if there is or is not a metal ceiling put into the barn? We will also have a 2 foot overhang on all sides. M in OLBERDING
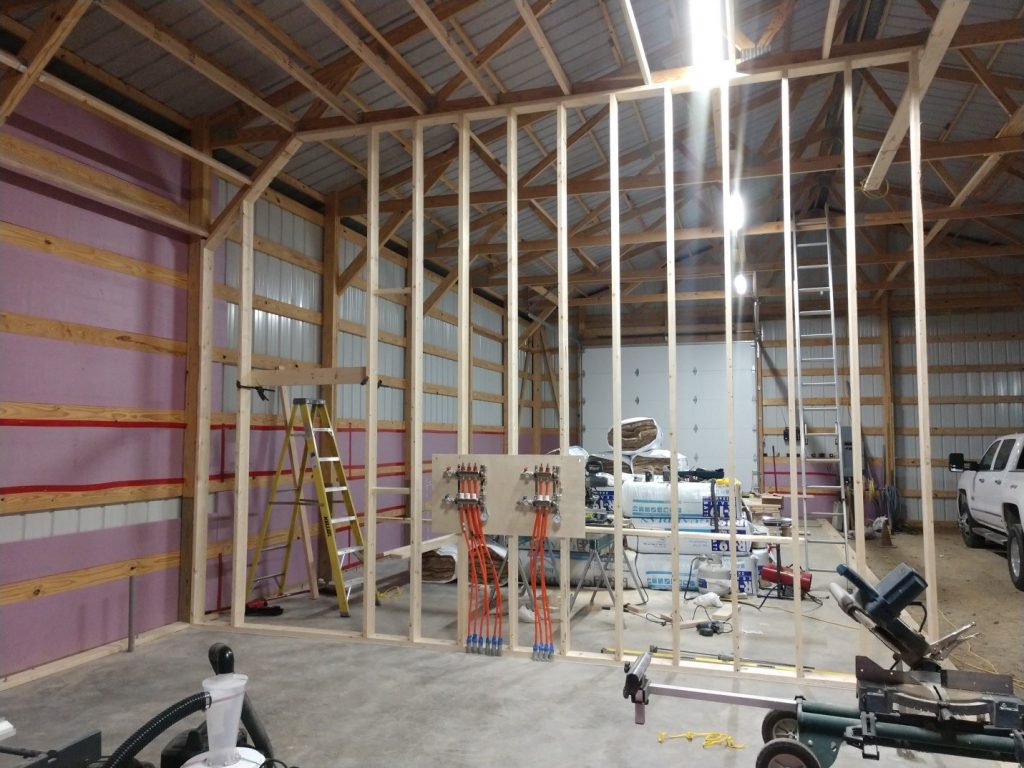
DEAR M: Stick built buildings are not pole barns. By Code, stick frame buildings with walls over 12′ high, truss spans over 36′ or lengths over 60′ must be designed by a Registered Professional Engineer. Your engineer will determine if knee braces are required or not. I would recommend you consider an actual post frame building, as it will be more economical.
 Here are their conclusions and recommendations:
 DEAR JAVO: Clip lock standing seam panels have no ability to transfer wind shear loads and should only be installed over 5/8″ CDX plywood sheathing. If not, your building is likely to rack (or even fail) due to wind loads. There are other reasons to use sheathing:
  DEAR CHAD: Unlike all Hansen Pole Buildings with spans of 40 foot or less (where we have our interior double trusses always designed to be able to support at least a minimal ceiling load of five pounds per square foot), most pole barn trusses are not ordered or designed to support any sort of a ceiling. Many times trusses will have a stamp on them stating truss spacing and loads, if so, you want a Bottom Chord Dead Load of 5 psf or greater. If nothing else, truss manufacturer’s stamp will tell you who fabricated those trusses and you can reach out to them to verify adequacy. If they do not have records available, or are no longer in business, you should engage a Registered Professional Engineer to perform a field inspection to verify adequacy, or to provide an engineered repair.
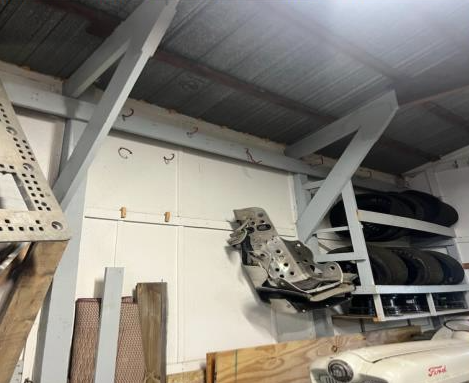
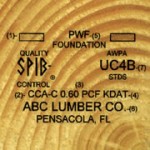 Unless there is some strong objection, embedded columns are probably going to provide your best design solution, as well as being easiest to construct. You will want to specify UC-4B for treatment, as this should assure a lifespan greater than our grandchildren’s grandchildren.
 Mike the Pole Barn Guru responds:
 The building is 26 feet wide by 40 feet long and 14 foot eave height. It has two 10 foot wide by 12 foot tall overhead doors in the front endwall – spaced two feet from each corner and two feet between.
 Since this building does not have the ability to adequately transfer the shear loads to the ground, the cantilever design could be an option, although the columns as specified are woefully inadequate to carry loads of this magnitude.
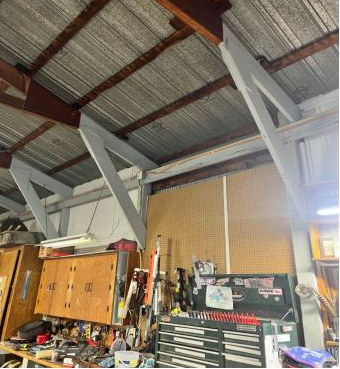
 From the sidewall columns is what would be termed as a “Y” brace. The client liked the looks of them, and the way they are fastened would cause them to fall off the building long before any negative structural issues would occur (other than them falling off the building and perhaps damaging something or injuring someone).


