Will My Purlin-To-Truss Connection be Adequate Against Uplift?
Reader CHRIS in RICHMOND writes:
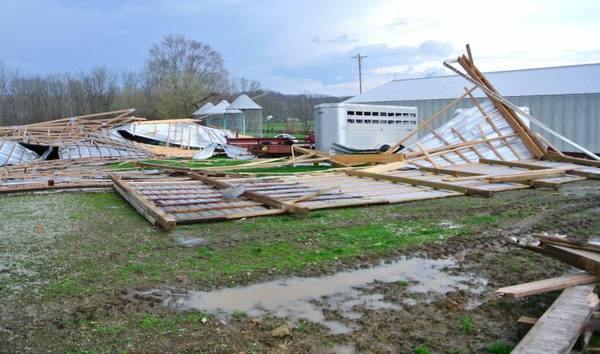
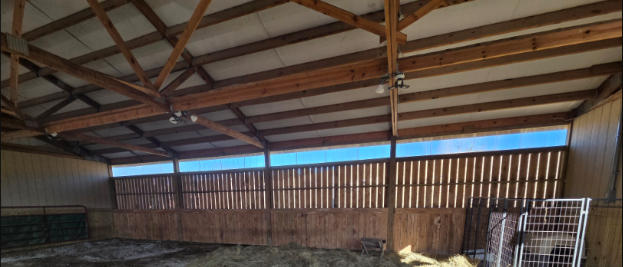
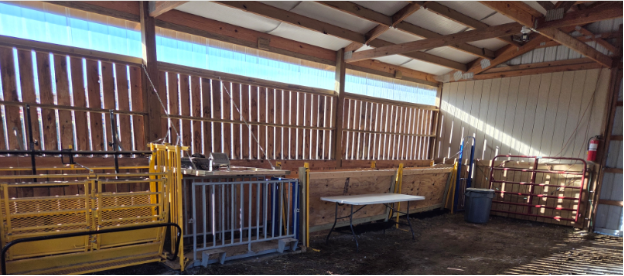
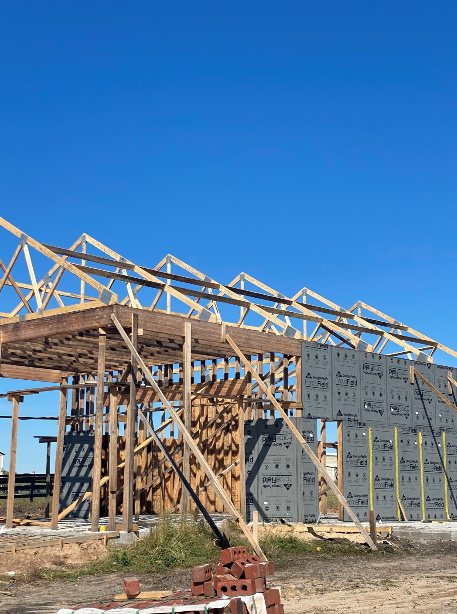
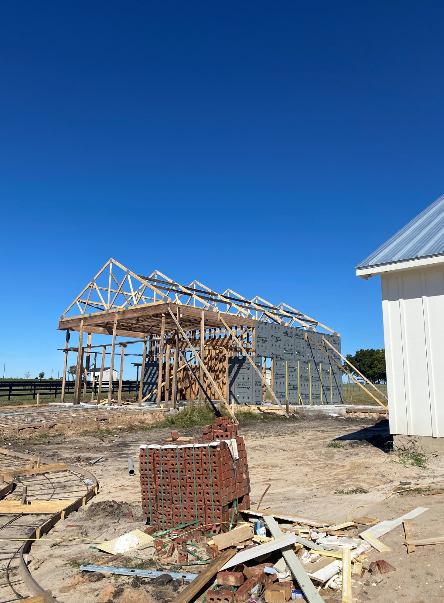
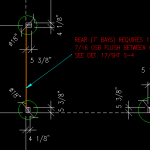
“Hi there. I’ve built a sheep barn leaning heavily on your methods and ideas. I absolutely love it. Our farm was struck by a tornado four years ago. We are now building a hay shed to store all of our feed. As the name implies, it’s a three sided shed with an open front. The double ply trusses are spaced 12′ with 2×6 purlins every two feet. My question is this, I am worried about keeping the roof sections tied together for uplift resistance. I’m not finding much information. But, it seems to me that the joist hangers alone would not be enough to keep the roof sections tied together as a single unit. True, the trusses will be sitting inside a notched post with engineered lag screws to hold them down tight. But, I still wonder if it would be beneficial to use LSTA straps across the trusses to the purlins to connect them a little more. What are your thoughts? For what it’s worth, the open front is facing opposite of the prevailing winds. Size is 36′ wide and 30′ deep. 15 foot eave in the back and 19 foot eave in the front.”
Here are Simpson’s load tables:
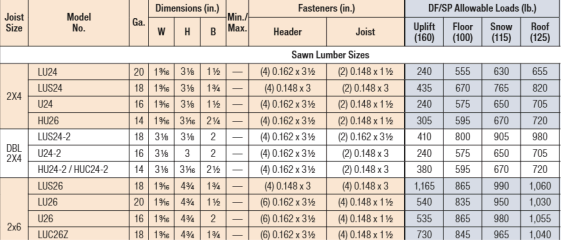
Assuming you have used LU26 hangers, they will support 535 pounds of uplift force. Checking for Ultimate Wind Speed (V) of 190 mph, with an Exposure C and Building Partially Enclosed
F: Maximum allowable uplift force on hanger
F = 535 lbf
R: Maximum reaction force exerted on hanger
R = (le / 2) × sf × D + Wu
R = (141″ / 2) × 12″ × -0.325 psi
R = -274.74 lbf |R / F| ≤ 1.0
|-274.74 lbf / 535 lbf| ≤ 1.0
0.514 ≤ 1.0
Your roof steel will buckle before purlin to truss connection.
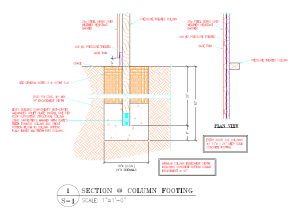 DEAR STEVE: Column embedments and encasements need to be engineered to adequately resist uplift, overturning and gravity and will be determined based upon design wind speed and wind exposure, roof dead loads (plus snow in more northern climates), whether building is enclosed, open or partially enclosed, etc., as well as soil bearing capacity. When columns are effectively constrained by a concrete slab on grade, it helps to potentially reduce depth, diameter and required amount of concrete needed for hole. Due to complexity of these factors, embedment and encasement, as well as any added uplift plates or cleats should only be determined by whatever engineer will be sealing your plans. He or she should also provide verifying sealed calculations to certify adequacy. A consideration – if this will be a roof only structure, Moment (bending) loads on columns are four times as great than on a fully enclosed structure – this results in more concrete being needed for holes.
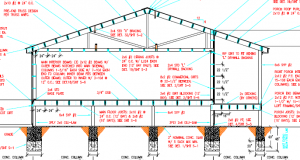 DEAR LONZY: Post frame buildings make for excellent homes! Great choice. My educated guess is your floor is going to be over a crawl space. If so, your top of floor will probably end up being more like two feet above grade, rather than 18 inches. This allows for better access to utilities as well as not requiring all supporting beams and joists to be pressure preservative treated. Concrete stem walls will need to be at least six inches thick and on top of a six inch deep by 12 inch wide concrete footing (for a single story), resulting in a far greater investment in forming and pour (both in materials and labor). Concrete piers are pretty low tech and then sides of your crawl space will consist of (usually) steel siding.
 DEAR NICHOLAS: In all reality, chances of a modern plumbing failure under a concrete slab are very, very small. Tens of thousands of homes and apartments are built every year in our country with plumbing under concrete floors, attesting to how rare a failure occurs. Older slab on grade buildings have had challenges from deterioration or perforation of copper pipes or joint issues. Your best prevention is a well-prepared site, as shifting soils are your most likely cause of a plumbing challenge. Remove any expansive soils and compact fill in no greater than six inch lifts. Keep water from being able to run under your home – by grading away from building perimeter at least 10 feet at a 5% slope. Build pad for building up above surrounding property. Use French drains if underground water is suspected. Drain gutters sufficiently away from home. Use PEX for all under slab water lines. All pipes need to be extensively tested for drainage and air pressure in supply lines multiple times during rough-in process prior to slab being poured. Testing should take place once after rough-in is completed and before backfill when dirt is pushed back into trenches to cover pipes. It should be tested once again after backfill has taken place to ensure no damage to pipes, then once again after concrete slab prep has been finished. I have heard of people running their under slab PEX through larger diameter sleeves, however this seems to be an unnecessary expense.
 Reader JOEL in GULLY writes:
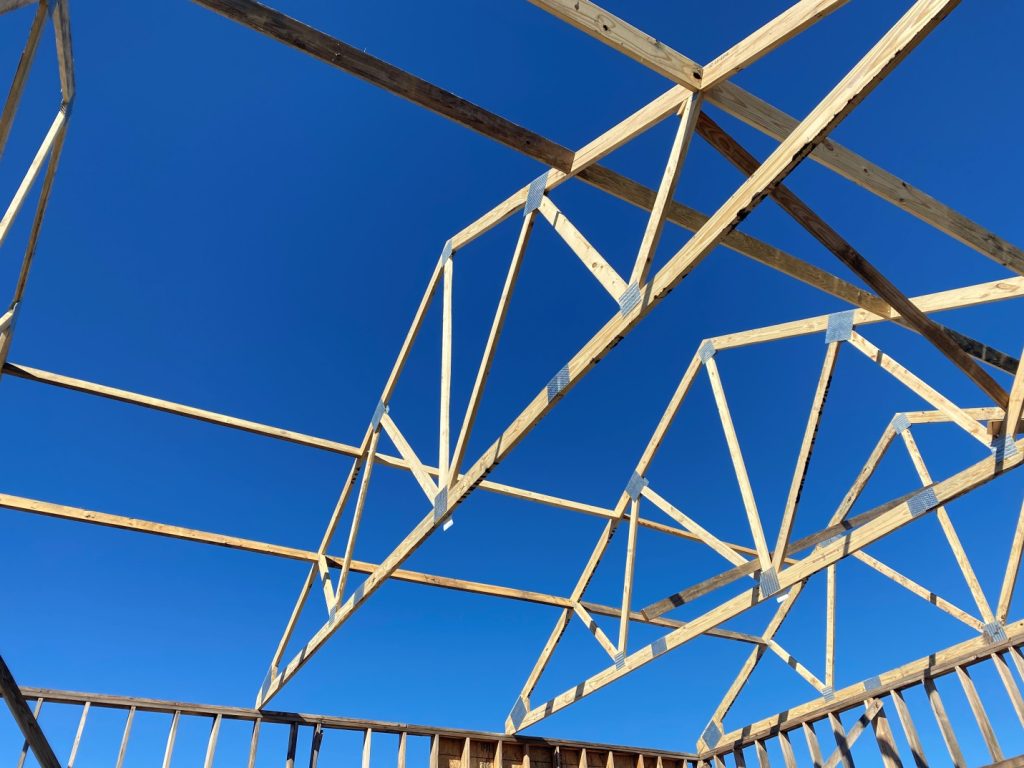
 Well John, you have left out a crucial part. One no proper pole barn should be without. Plans designed and sealed by a Registered Professional Engineer specific to your building at your site. To build without them is, in my humble opinion, fool hardy and I cannot endorse your plan of attack or methods of construction without them. Outside of this – attempting to field construct your own roof trusses is not a good choice. Prefabricated trusses are truly a bargain, especially when considering risks involved should your home made trusses collapse injuring or worse killing you or a loved one.
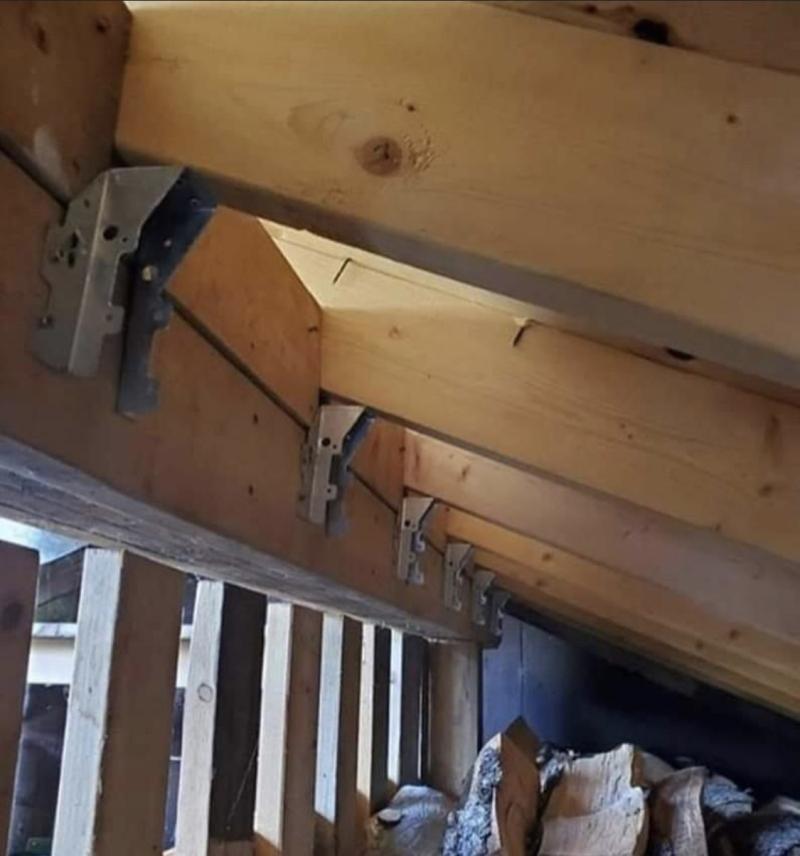
 DEAR SCOTT: Regardless of whether your addition will be open, enclosed, or somewhere in between uplift should always be a consideration. Ideally the original EOR (Engineer of Record) who designed your 40′ x 80′ building would be consulted, not only because of a potential uplift issue, but also due to what affect open carport will have upon existing building. You may be placing wind shear issues upon endwall closest to addition and these will need to be addressed, as well as if endwall column footings will be adequate to support added weight (not just dead load, but also potential weight of a snowfall). An issue of drifting needs to be reviewed also, as snow could build up upon carport roof against existing endwall.
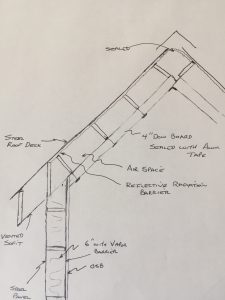 I love my two pole buildings I purchased from you guys. Just need some help on insulating the roof on my last building.
  DEAR PATRICK: Back when I was a contractor we would run into this situation occasionally. Our solution then was to stand columns in holes, brace them and then backfill with pre-mix concrete with very little water in it. Concrete weight would displace water in hole. It did take a significant amount of concrete, however it was only about $30 a yard then.
 While I appreciate your questions, we as a company and me as an individual do not provide free engineering services. In answer to your questions:
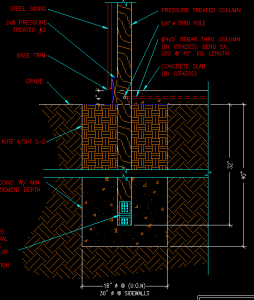 From the data given you came up with 8860 lbs/post, which is OK, but then you didn’t tell him that it results in just 292.9 PSI at the bottom of each center post, which is well under the 2100 psi given soil load. Instead you converted the 292 psi to 42,177 lbs/ft, which technically is correct, just to scare him. However, the post is only 0.21 ft^2, so the max load is still the 8860 lbs.