This Wednesday the Pole Barn Guru answers reader questions about filling some gaps in between concrete and columns, best insulation for a wall cavity and ceiling, and the best use of housewarp with 24″ spaced girts with insulation between.
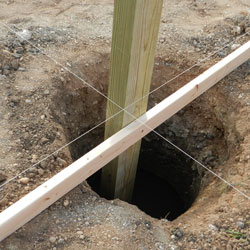
DEAR POLE BARN GURU: Hey boss! I have very recently purchased a home and it came with several pole barns. One of which has a dirt floor which a whole different project. My current dilemma is the interior edge of poured concrete floors of the other buildings. For the most part there are no gaps between the concrete, the plastic vapor barrier, and the siding. However, there are a few spaces where I can see daylight between the VB and siding – usually at a post. It appears as if the corner of the VB wasn’t formed to the post and siding before pouring the concrete. My current question: what is your recommendation for filling, fixing, ??? the gaps? I’ll hold on the best option for the dirt floor until later. Thank you Guru. NELSON in CANA
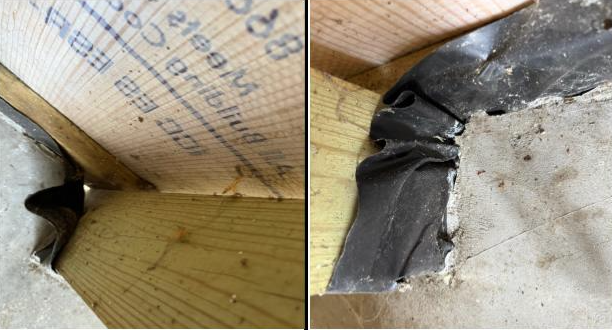
DEAR NELSON: Good news is, plastic should work to keep moisture from migrating from soil through your concrete slab. Bad news – it was sort of sloppy. I would likely put a couple of inches of stainless steel wool in the holes, pushing down to just above bottom edge of splash plank, then fill balance of hole with closed cell spray foam from a can.
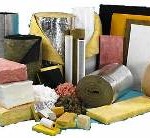
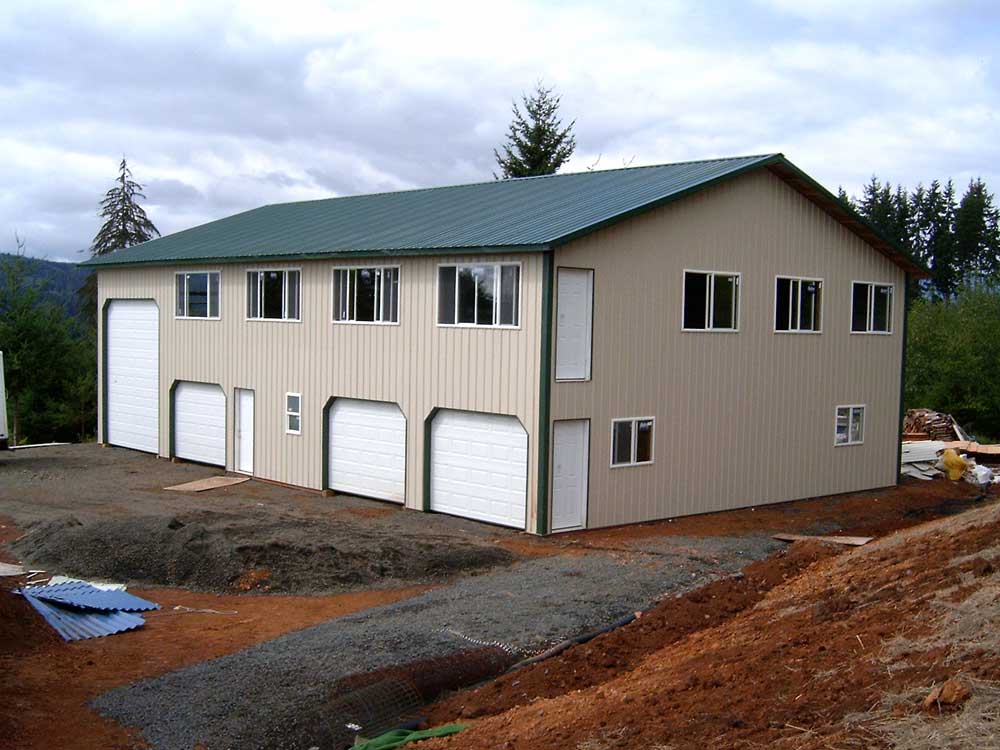
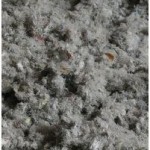 DEAR POLE BARN GURU: I have built a pole barn with a steel roof and ridge vent and large soffit vents in the eaves. I will be mounting steel roofing sheets as the ceiling and have installed LP smartside board and batten on the walls. I originally intended to have 3″ of closed cell foam sprayed on the interior and on top of the ceiling steel, with the attic open for airflow. Costs are over budget and I have decided to make some soffit protectors and blow in a few feet of cellulose insulation in the ceiling and still do the foam in the walls. Even lower cost, the thought has crossed my mind that since I am planning on sealing up the walls with sheathing and the tops to the rafters are open, it would be easy to blow cellulose insulation into the walls as well and save many thousands of dollars. I think I would have to staple in Tyvek on the exterior side and then apply a large sheet on the interior side before installing the sheathing, making a breathable pocket. The cellulose is treated with borate-based fire retardants and also boric acid so it should keep creatures out. It would save me $5k over foam. What do you think about this concept? JOHN in STOCKTON
DEAR JOHN: Blown in cellulose settles – so might not be your best design solution for walls. Look at using Rockwool batts, as they are unaffected by moisture and do not settle. Chemicals in cellulose insulation can react with steel ceiling liner panels, consider blowing in granulated Rockwool (first choice) or fiberglass.
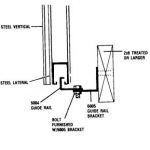
DEAR POLE BARN GURU: How do you feel about exterior pole barn steel over Tyvek. Then rockwool right agists the back of the Tyvek. No wood sheeting. Fill cavity completely with Rockwool then add smart membrane on the inside of the walls Then add wood girts and could add another layer of 1.5″ rockwool if needed then sheetrock. I am worried about potential water between the Tyvek and Rockwool. I would be installing 1.5″ Rockwool Comfort board between the exterior girts. Location mid WI. GAREN in CROSS PLAINS
 DEAR GAREN: I feel like you are going through a lot of extra efforts (and cost) here. If it were me…. I would frame walls with 2×8 bookshelf wall girts 24 inches on center, extending 1-1/2″ past exterior face of columns. Apply an Omnidirectional housewrap (not Tyvek) between steel siding and wall girts. Use 7-1/4″ Rockwool batts, smart membrane, then sheetrock. Any water vapor in your insulation cavity will pass through housewrap and drain out. Framing with bookshelf girts will limit deflection of sheetrock and should prevent joint cracking.
 DEAR POLE BARN GURU: I need to know how to calculate how much concrete would support this sign at 10ft with a 6 inch metal pole sign weighs 300lbs. BILL in TACOMA
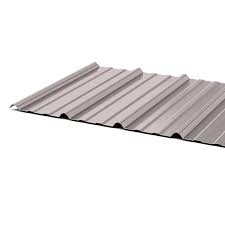 DEAR POLE BARN GURU: For steel roof panels and siding, what are the pros and cons of both 26 ga. and 29 ga. panels? Do the 29 ga. panels have a higher steel yield strength (80 ksi)? TOM in SMITHVILLE
 DEAR POLE BARN GURU: We need to replace some sky light panels on one of our older sheds. The roof and current panels are on 12″ center ribs. Do you have sky light panels that will fit my building DAN in ALMA
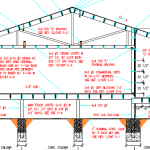 We have provided numerous post frame homes over crawl spaces. Almost universally, no excavation has been done other than to level the site. With a raised wood floor, you can either leave crawl space unconditioned and insulate between floor joists, or condition space and insulate the perimeter wall below floor.
 Building codes in many climate zones (3 or greater) require a minimum R-10 thermal break at concrete slab edges, where up to 60% of heat loss occurs. Compared to concrete, however, a plywood slab-on-grade has very little thermal loss at edges because it’s only 1-1⁄2 in. thick, and it’s wood. One could reasonably argue standard level of slab-edge insulation isn’t as necessary with a plywood slab-on grade. However, making this argument to your local building inspector might not be worth the accompanying headaches; as code has no guidance on anything other than concrete slabs.
 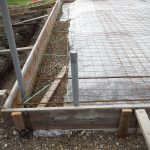 My educated guess is your building’s concrete slab on grade does not have a well sealed vapor barrier underneath. If this is indeed true, you need to start by removal (or minimization) of your moisture source – put a good sealant on your slab’s surface. There are other things to be done once ground thaws, we will get to them in a moment.
 Wire not placed on chairs will not be effective. But in a rush to get jobs done, some crews eliminate chairs and roll WWM directly out over Code required under slab plastic sheeting covering underlying properly compacted fill. And when installers do use chairs, they must take care not to knock WWM off the chairs during pour. If they do, then they need to reset WWM.
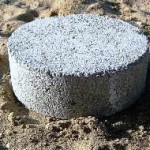
 It may be possible to use aircrete in lieu of steel roofing and siding, however it would need to be strong enough in bending to span from column-to-column on walls and between trusses on a roof. Product weight would need to be accounted for to adequately design supporting members and attachments could become problematic. All of these considerations could result in some significant investment into engineering costs, perhaps making this system unaffordable.
 DEAR POLE BARN GURU: What do you charge to take my floor plan and send me engineered drawings? SHANNON in JONESBOROUGH
 DEAR POLE BARN GURU: Hello! I have recently purchased a pole building that is not insulated & It does not have the vapor barrier/plastic installed between the wood framing and the sheet metal. We would like to insulate this building. We are thinking spray foam because I have heard you can apply it directly to the steel. Do we have any other options for insulating this? Any advice is greatly appreciated. Thank you!! KRYSTA in SPOKANE
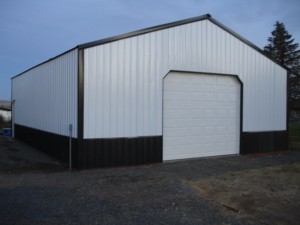 DEAR POLE BARN GURU: I need to pour a concrete sill at the 18’ wide entry to my pole shed in South central Wisconsin. The interior of shed is compacted crushed limestone, the apron leading up to it will be asphalt so a concrete sill seems like a good idea to protect asphalt edge. I can’t find any advice online so I hope you can help me out with your expert thoughts. First, good idea? Second, thickness. It would be about 12” wide. The base is 30 years old, thick and well compacted. Any help would be greatly appreciated. Thanks for your time. JAPH in WISCONSIN
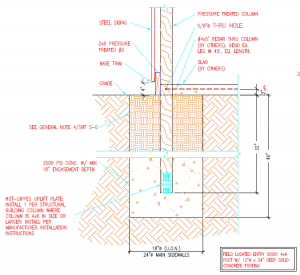 Sigh…..without an adequate footing beneath columns your building is going to sink. A minimum 6″ thick concrete footing needs to be poured under every column. There should also be a provision to prevent uplift. I would recommend no further payments to them until this issue is resolved. They should be providing an engineer certified solution to this.
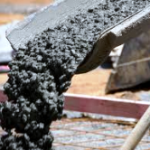
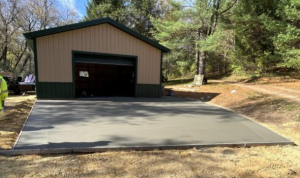 Cement comprises from 10 to 15 percent of concrete mix, by volume. Through a process called hydration, cement and water harden and bind aggregates into a rocklike mass. This hardening process continues for years meaning concrete gets stronger as it gets older.
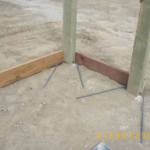 D
D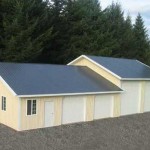 DEAR TJ: I know this is difficult to believe, but you are the first person to ever have this problem. No, not really, it is a common occurrence and I have been guilty of it personally. Whatever one constructs, it seems the possessions increase to fill the available space plus 10%.
 DEAR TALMADGE: It is aggravating when builders are in such a hurry they neglect to do simple thing such as using the adhesive, which is on the reflective radiant barrier tab already, to seal the barrier seams. All it would have taken was to peel off the pull strip! You can tape the seams from the bottom, which is going to be a lot of work and which your builder should offer to do for you at no charge. In order for the reflective radiant barrier to function properly, it needs to create an air tight barrier between warm moist air inside of your building and the cooler roof steel.