Rubble Trench Foundations for Post Frame Homes?
My social media friend and loyal reader TRENT in NAMPA writes:
“Hi Mike, Ii would like your thoughts on some foundation ideas I have for post frame homes. The main purpose I am trying to achieve is to have perimeter concrete at the base of the building while reducing the cost of a standard stem wall foundation. This would allow you to insulate slab edge at the interior side, giving the building the look of having a more standard foundation. The option of making a raised floor crawl space, think of an old craftsman home when they did not excavate crawl spaces down below grade. Not sure if this all makes sense or not. Idea#1 bore typical 48+ inch depth holes for column footings. Dig a perimeter trench for a rubble trench foundation footing, pour a concrete grade beam with rebar and fill column footings at the same time. Use wet set brackets or bolt down style. Idea #2: dig a rubble trench foundation footing, pour a concrete grade beam with enough size/width to take the load off columns, mount columns to grade beam with metal brackets.”
Mike the Pole Barn Guru says:
Other than for looks, I am unsure of why one would want to go through efforts of having a concrete perimeter. I am not seeing why your suggestions would not work (other than bolt down brackets as they do not resist moment loads), just not maybe a most economical design solution.
 We have provided numerous post frame homes over crawl spaces. Almost universally, no excavation has been done other than to level the site. With a raised wood floor, you can either leave crawl space unconditioned and insulate between floor joists, or condition space and insulate the perimeter wall below floor.
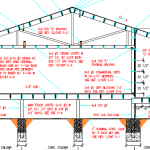
For slab on grade applications, a two foot deep trench can be dug around the perimeter, bore the balance of hole in the bottom of the trench (in our case, usually our total hole depth is 40″ with a 16-18″ deep concrete bottom collar). After columns are placed and splash planks are installed, R-10 EPS insulation can be attached to the inside of splash planks (not required in Climate Zones 2 or less), with top of insulation at top of slab, then down vertically two feet. At the base of vertical insulation (in Climate Zones 4 and greater), use the same insulation to go out horizontally two feet. Backfill trench with compactable material and call it a day. If concrete piers and wet set brackets are desired, square forms can be fabricated out of R-10 EPS to insulate piers.
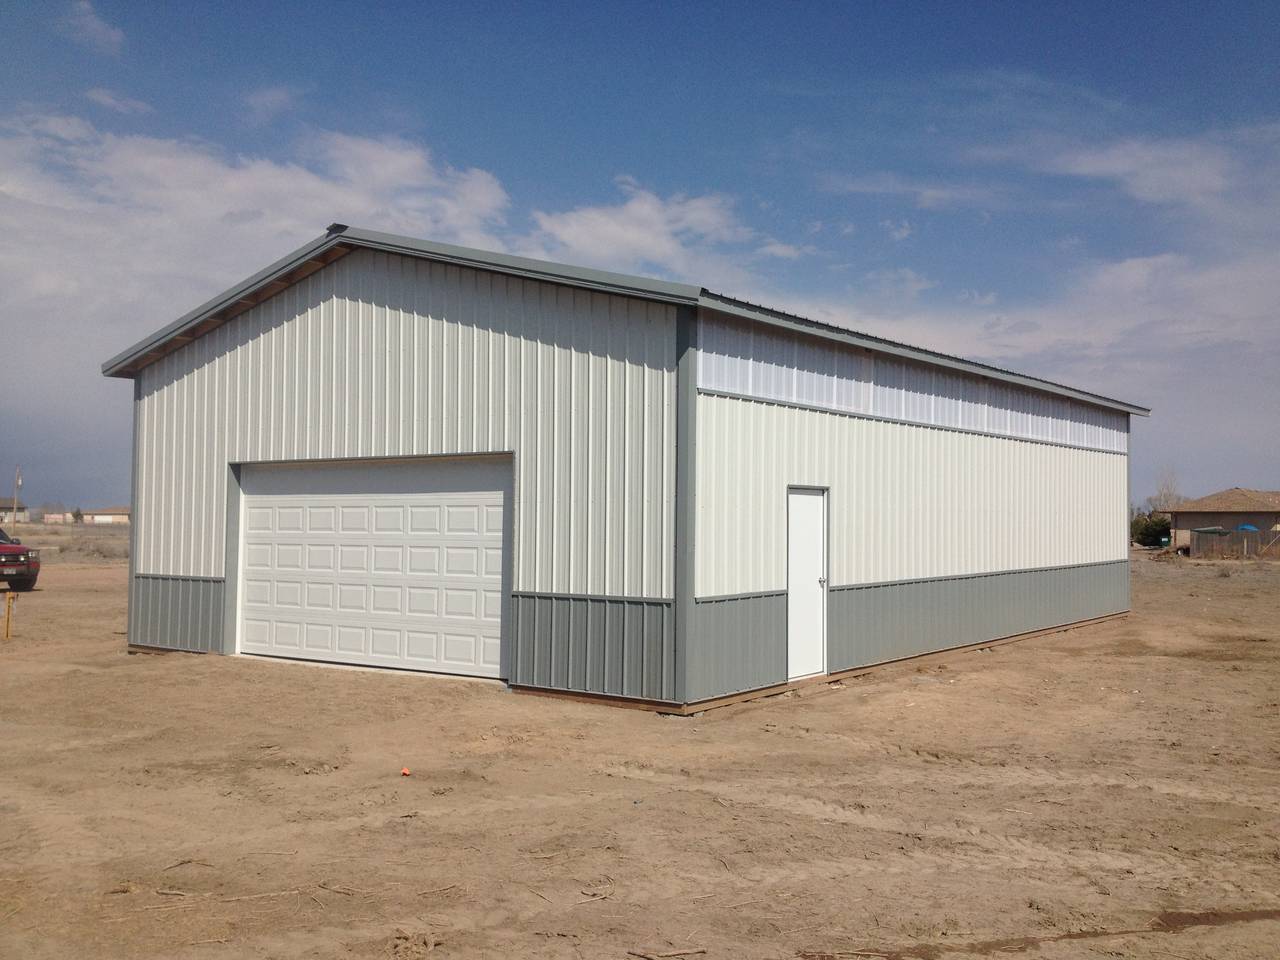 Most people rarely notice or pay attention to splash planks (skirt boards) below their post frame (pole building) siding. They are so far below eye level frankly most people just do not notice them!


