Tyvek Under Roof Steel?
Reader BRANDON in MIDDLEBOROUGH writes:
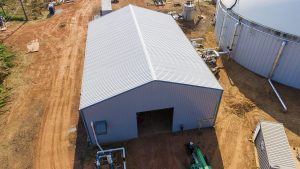
 “Greetings I’m writing to discuss the best practice for what to place under a metal roof. I am building a post frame, for shop use and will eventually be insulted. I had initially intended to install a WRB, like Tyvek, under the sheet metal roof. My thought was that the inside of the shop will have a vapor barrier and insulation, thus the warm air would not come in contact with the steel and create condensation. Is this thinking flawed?”
WRBs allow moisture to pass through outward and not return inward. Even with a vapor barrier between your ceiling finish and floor of attic insulation, a properly vented attic does allow air to flow in through eave vents and out through ridge.
According to building scientist and founding principal of Building Science Corporation Joe Lstiburek, “Plastic vapor barriers should only be installed in vented attics in climates with more than 8,000 heating degree days.” For extended reading on heating degree days, please see: https://www.hansenpolebuildings.com/2022/11/what-is-degree-day/
You will want to make certain to have intakes and exhaust in proper proportion. Provision of 1 square foot of NFVA for each 300 square feet of attic floor if both following conditions are applicable:
• A Class 1 (≤ 0.1 Perm) or 2 (> 0.1 to ≤ 1.0 Perm) vapor retarder is installed on warm-in-winter side of ceiling when the structure is located in climate zone 6, 7, or 8.
• At least 40%, but not more than 50% of NFVA is provided by vents located not more than 3 feet below roof’s highest point.
• Provision for a minimum 1 inch air space between roof sheathing and insulation in attic at vent location. Air flowing into and out of your attic space may very well contain more moisture than desired, some of which could pass through your WRB and become trapped between WRB and roof steel.
My recommendation would be to order your roof steel with an Integral Condensation Control factory applied (read more here: https://www.hansenpolebuildings.com/2020/09/integral-condensation-control-2/).
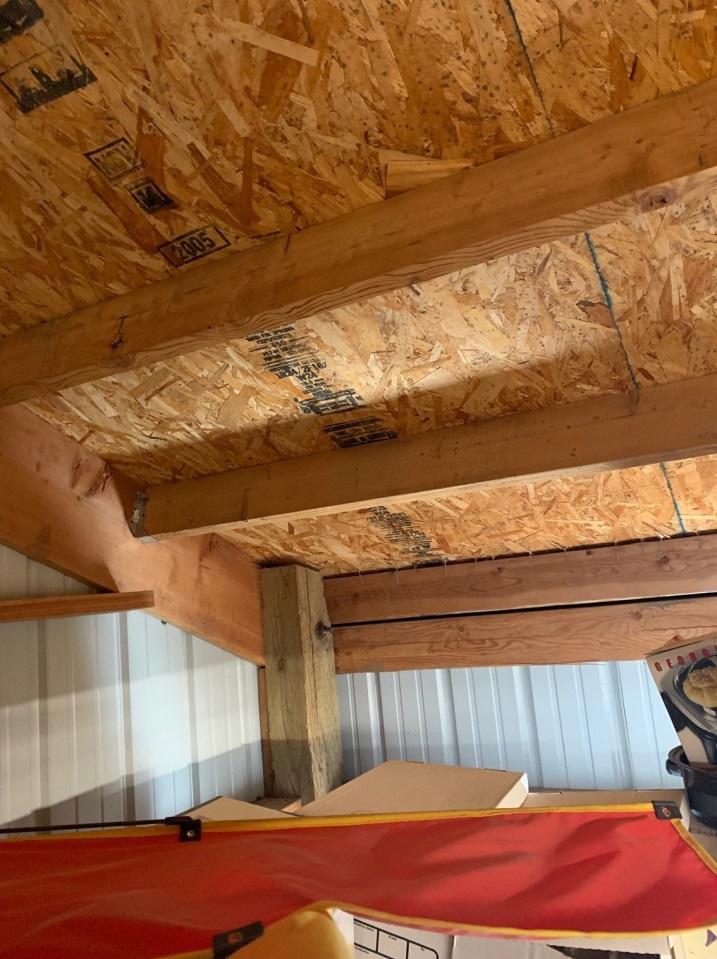
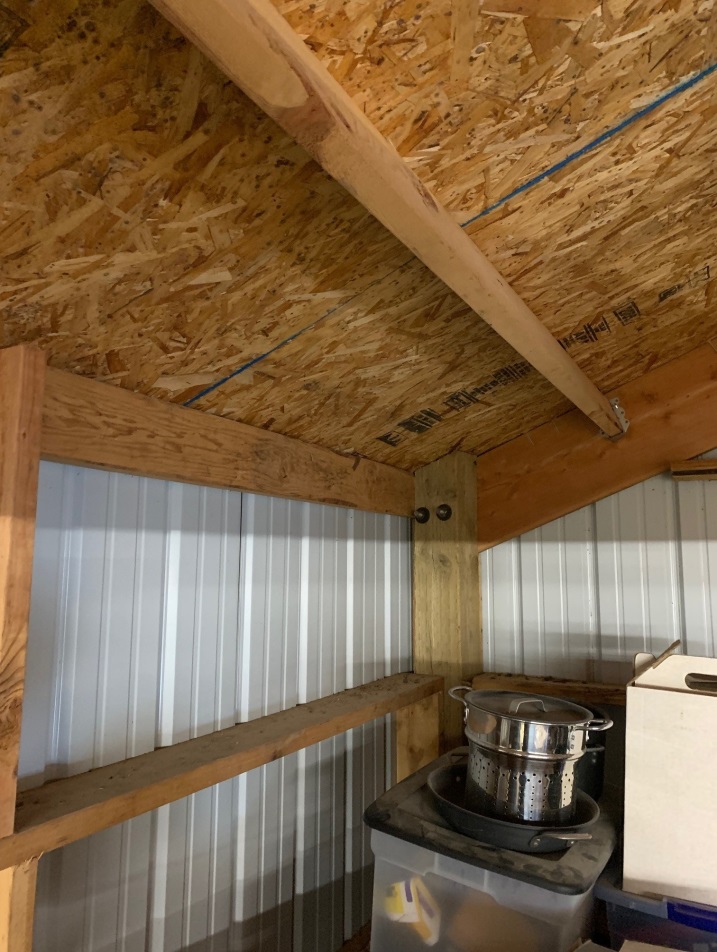

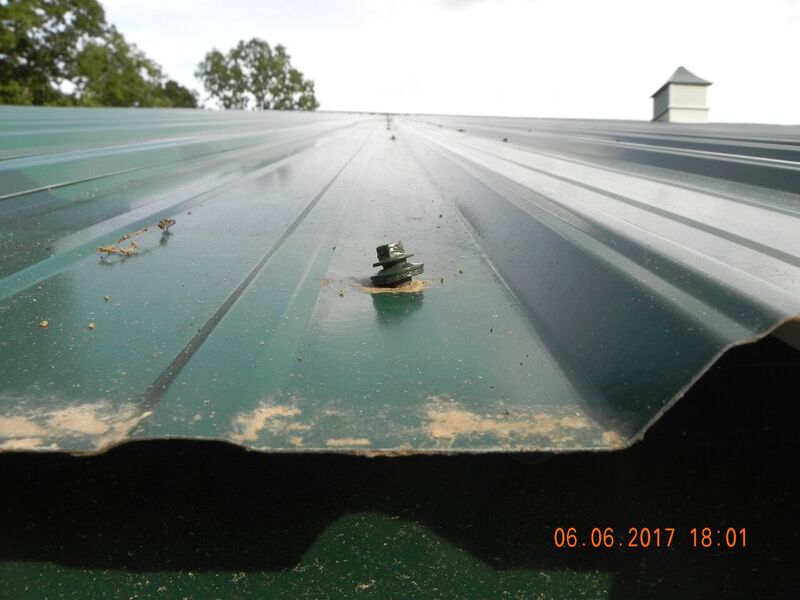
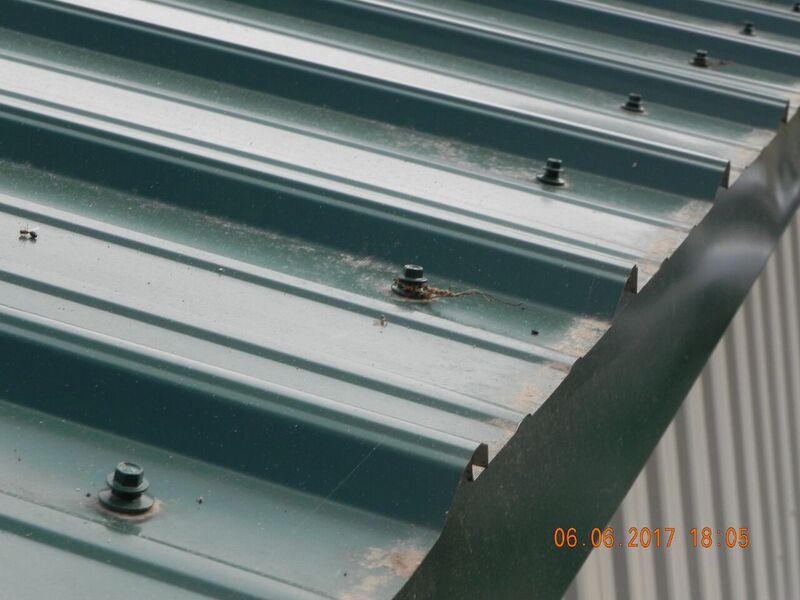
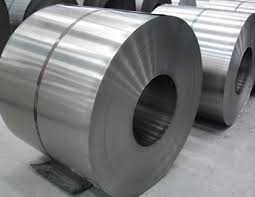
 We recently had a client send us the photos seen with this article. Their four year old building had developed a series of rust through holes and the client wanted to know if the steel panels were still under warranty.


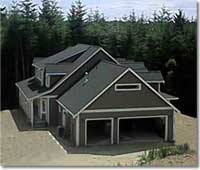
 When I first began providing building kits in the Midwest, I was stymied by the number of clients in Michigan who were asking for shingled roofs, instead of steel.


