Welcome to Ask the Pole Barn Guru – where you can ask questions about building topics, with answers posted on Mondays. With many questions to answer, please be patient to watch for yours to come up on a future Monday segment.
Email all questions to: PoleBarnGuru@HansenPoleBuildings.com
DEAR POLE BARN GURU: Will the poles y’all use that are embedded in the ground rot? How long will a pole building hold up? KENNEWICK GIRL
DEAR KENNEWICK: Will they rot? Maybe eventually, but none of us will live long enough to witness it. The probability of a properly pressure treated post rotting off is small. Small enough so over my three plus decades and 15,000 buildings of experience, I’ve never experienced it happening. Keep in mind I said “properly treated”. There are companies who “treat” their poles but not with the right procedure and proper depth of treatment. Make sure you are purchasing a pole building with properly treated poles!
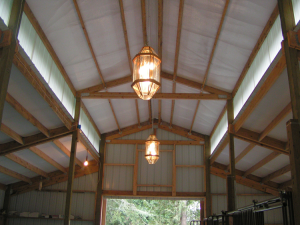
As to the lifespan of a pole building, unless hit with an unexpected natural disaster, or the building is purposefully torn down, as long as proper maintenance of the siding and roofing is done, there would be no reason to not have the building standing hundreds of years from now.
See also my blog about a properly treated post:
https://www.hansenpolebuildings.com/blog/2012/10/pressure-treated-posts-2/
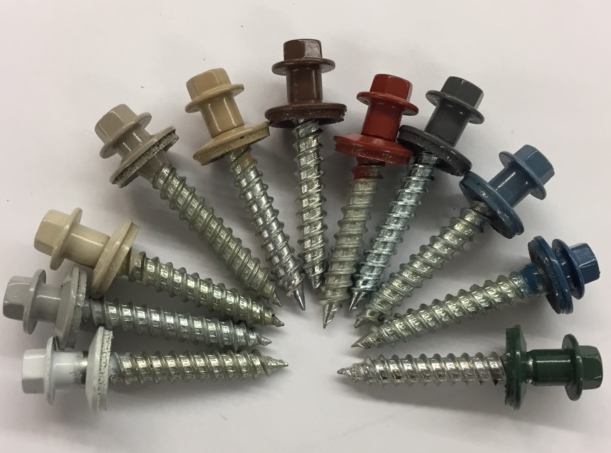
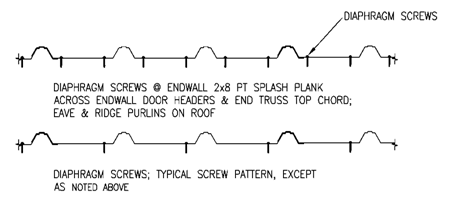
DEAR POLE BARN GURU: I am looking for alternatives to the standard hex head and separate washer pole building steel screw. I have been told that Hansen Buildings has some new ideas. Is there anywhere on the net I can research these (or other good fasteners), or do I have to contact a Hansen salesman? I have already found Atlas International, btw. Thanks JIM in ROCHESTER
DEAR JIM: Without knowing exactly what your objection is to the fairly industry standard screws, it is difficult to properly address the concerns you may be having. I’ve seen many alternative screws, however have yet to hear raving reports back as to ease of installation or satisfactory performance.
Generally people who are looking for an alternative have had issues with either the neoprene rubber gasket decaying (resulting in leaks), the paint chipping off from the screw heads, or the screws themselves rusting.
Years ago we went to using a screw which offers the ease of installation of the standard ¼” hex head – but with many improvements. Featuring EPDM gaskets, powder coating, and JS500 plating, the manufacturer guarantees these screws will outlive the steel they are attaching.
More information on these “Diaphragm” screws is available at: https://lelandindustries.com/general-construction-fasteners/master-grippers/#master-grippers
DEAR POLE BARN GURU: I am constructing a pole barn with treated, round poles. It is not clear to me however, the best method to attach roofing girts to the poles. I have seen pictures in books of “circular spike grids” that attach to both the poles and girts, but none of the building supply places carry these here. Do I have to notch out the poles or can I just use lag bolts or carriage bolts? Thanks! MISPLACED IN MISSISSIPPI
DEAR MISPLACED: You have just discovered one of the many reasons to not construct pole buildings using round poles – they are difficult to build with. By the time you project is completed, you will have chewed up enough extra time, energy and effort to have made paying for dimensional posts (4×6, 6×6, etc.) a bargain.
Back to the problem at hand…flat to flat is going to give the most solid connection. I’d recommend cutting the posts to give flat surfaces at all connections. Assuming the posts are treated with preservative chemicals, be sure to wear all appropriate safety gear when cutting.
Unless countersunk (adding more time and effort) lags or carriage bolts have heads which will protrude and cause problems when it is time to install siding.
 Skylights in steel roofs are problematic, and not just due to them eventually leaking. You will certainly want to read this article: https://www.hansenpolebuildings.com/2016/01/one-more-reason-to-not-use-skylights-in-steel-roofs/.
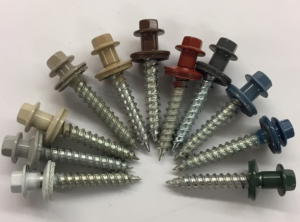 When it comes to steel roofing and/or siding we tested actual steel sheeted assemblies to determine shear strength. Our testing led to development of an entirely new screw design to provide maximum system strength (
 And, something no other post frame building kit provider has – a Written Limited Lifetime Structural Warranty on all non-commercial post frame building kits.
 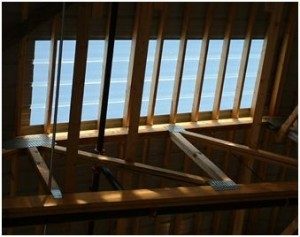 Now, considering your entire roof is 40 years old – it would be possible to replace only skylight panels. This would be providing rib configuration of steel can be matched. Over 40 years many patterns have been discontinued.
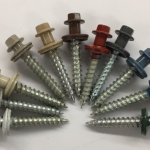
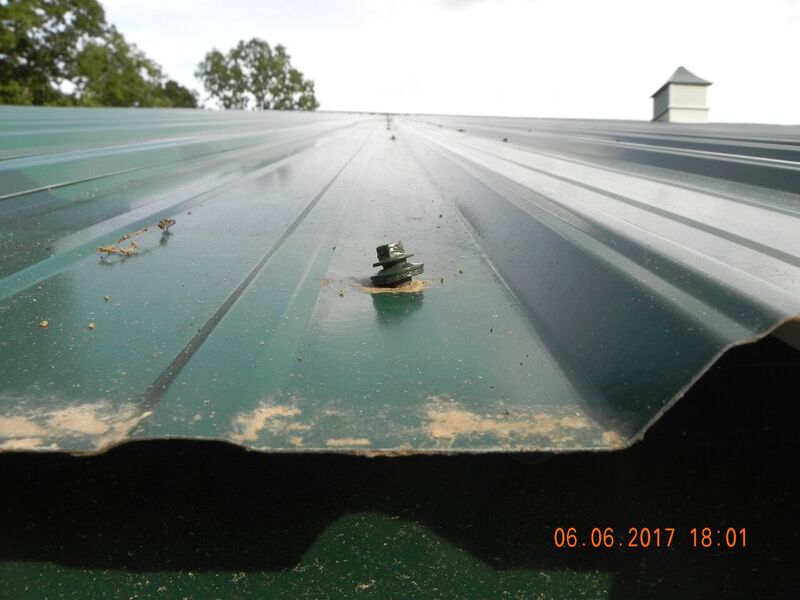
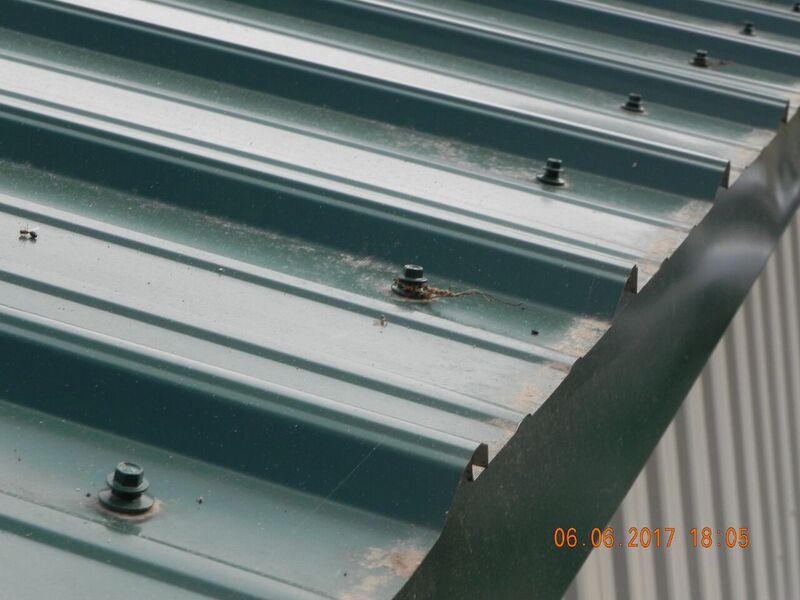

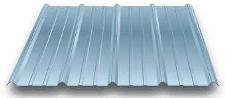 With any steel panel fastening case, screw guns with an adjustable clutch and/or a depth sensing nosepiece, and a minimum of six amps of power are the proper tools of choice. This assures the fasteners are optimally installed. Often (which we recommend) steel panels can be predrilled to prevent walking of the screw point across the surface of the steel …and creating scratches you really didn’t want to have. Selecting a tool with the correct RPM (Revolutions Per Minute) is essential for ideal performance of the pole building system.


