Unless someone reincarnates Nikola Tesla (and he is sane) chances are good energy costs are not going to decrease. Air sealing your post frame barndominium or shouse increases your comfort by reducing drafts and cycle time your heating and cooling systems are running.
Air sealing your barndominium reduces humidity increasing comfort levels. A drafty barndominium is more than just a waste of natural resources, it also means higher energy bills. Air sealing will automatically lower your energy bills due to less leakage of conditioned air.
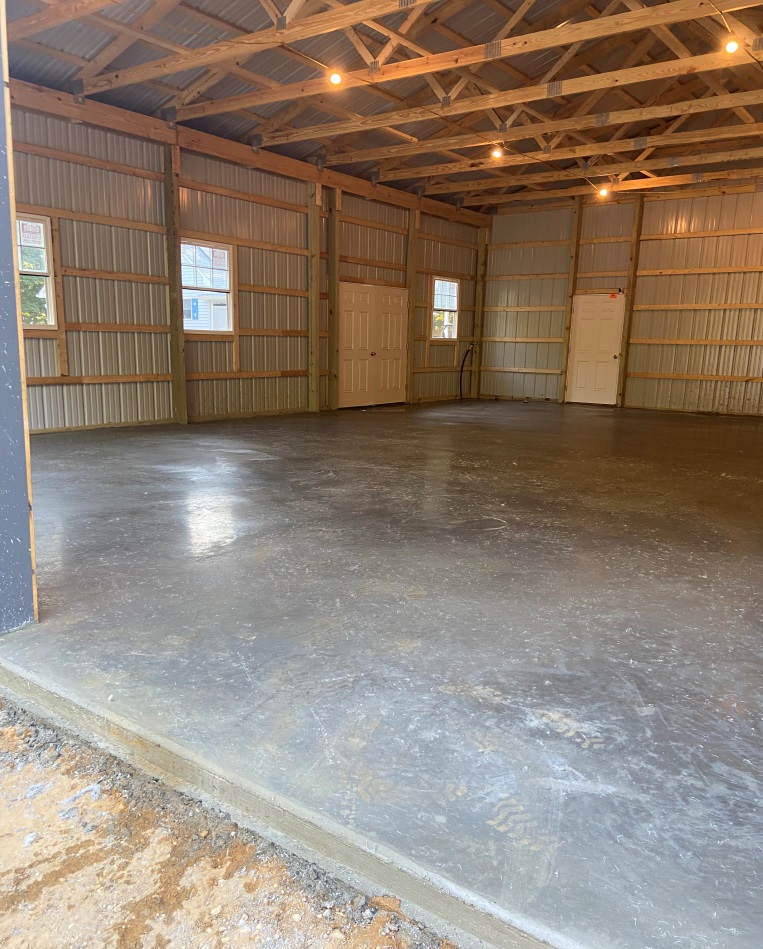
 Using two inches of closed cell spray foam directly inside steel siding panels not only air seals exterior walls, as it is an effective vapor barrier, but also provides approximately a R-14 level of insulation. Effective applications also require installing form fitted inside closure strips at top and bottom of every wall steel panel – including window and door openings. Closure strips keep spray foam in your walls rather than oozing out and keeps small crawling and flying critters out.
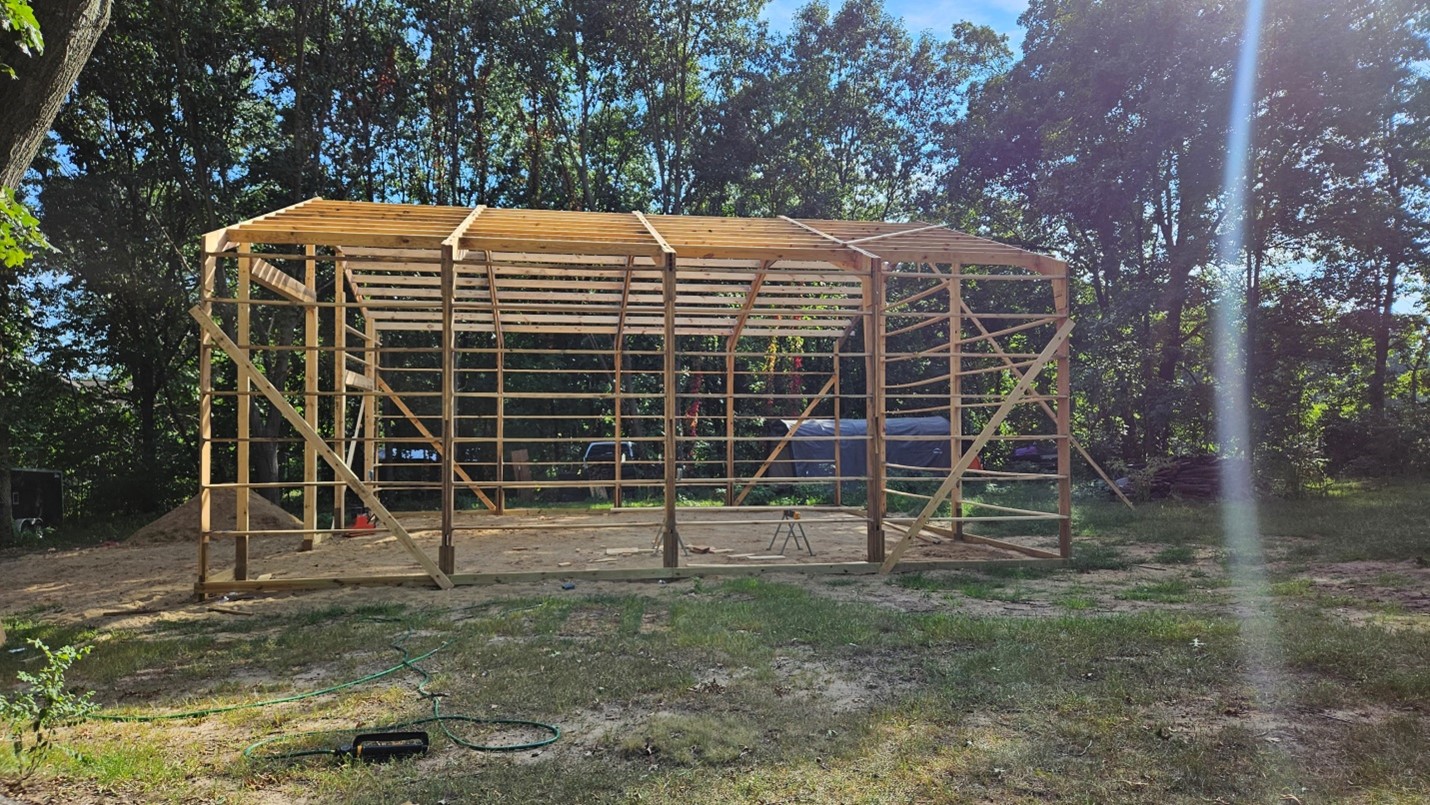
For those who opt not to utilize closed cell spray foam, air sealing begins with a totally sealed Weather Resistant Barrier (WRB) wrapping all framing before steel siding is applied. For further reading on Weather Resistant Barriers please see: https://www.hansenpolebuildings.com/2016/01/determining-the-most-effective-building-weather-resistant-barrier-part-1/
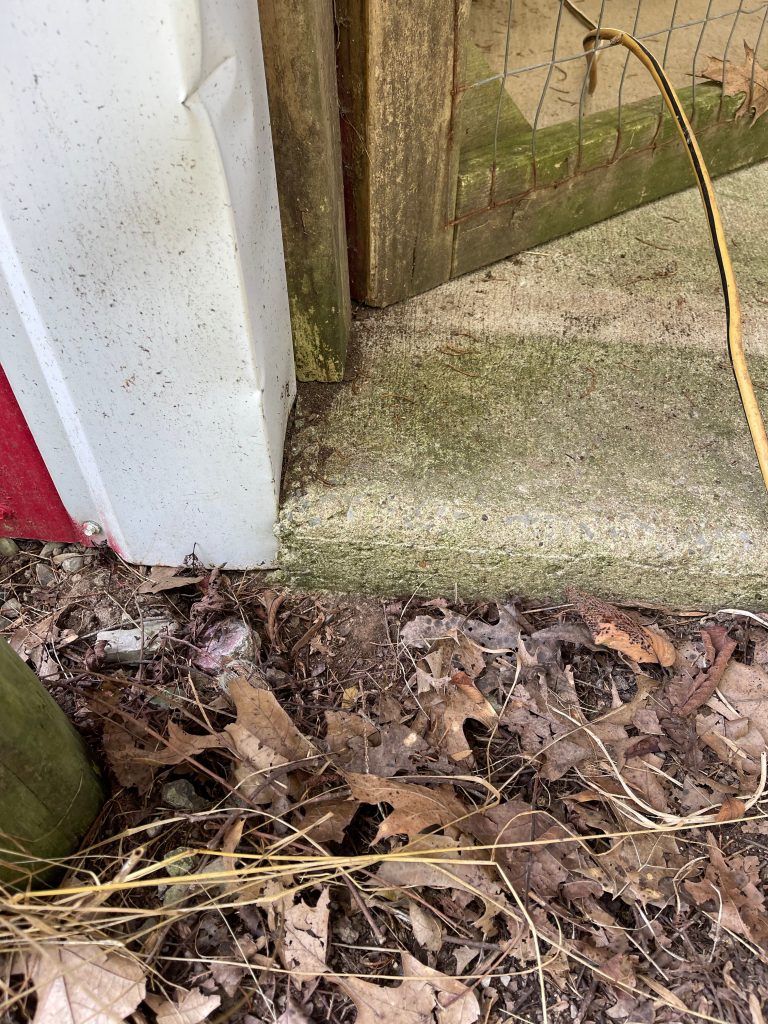
Care should be taken to effectively use WRBs around openings for windows and doors, as well as utilizing caulking and self-adhesive sealant tape for an airtight seal. Place sill gaskets under all exterior doors. Use spray foam or caulk to fill any gaps between doors and windows and adjacent framing.
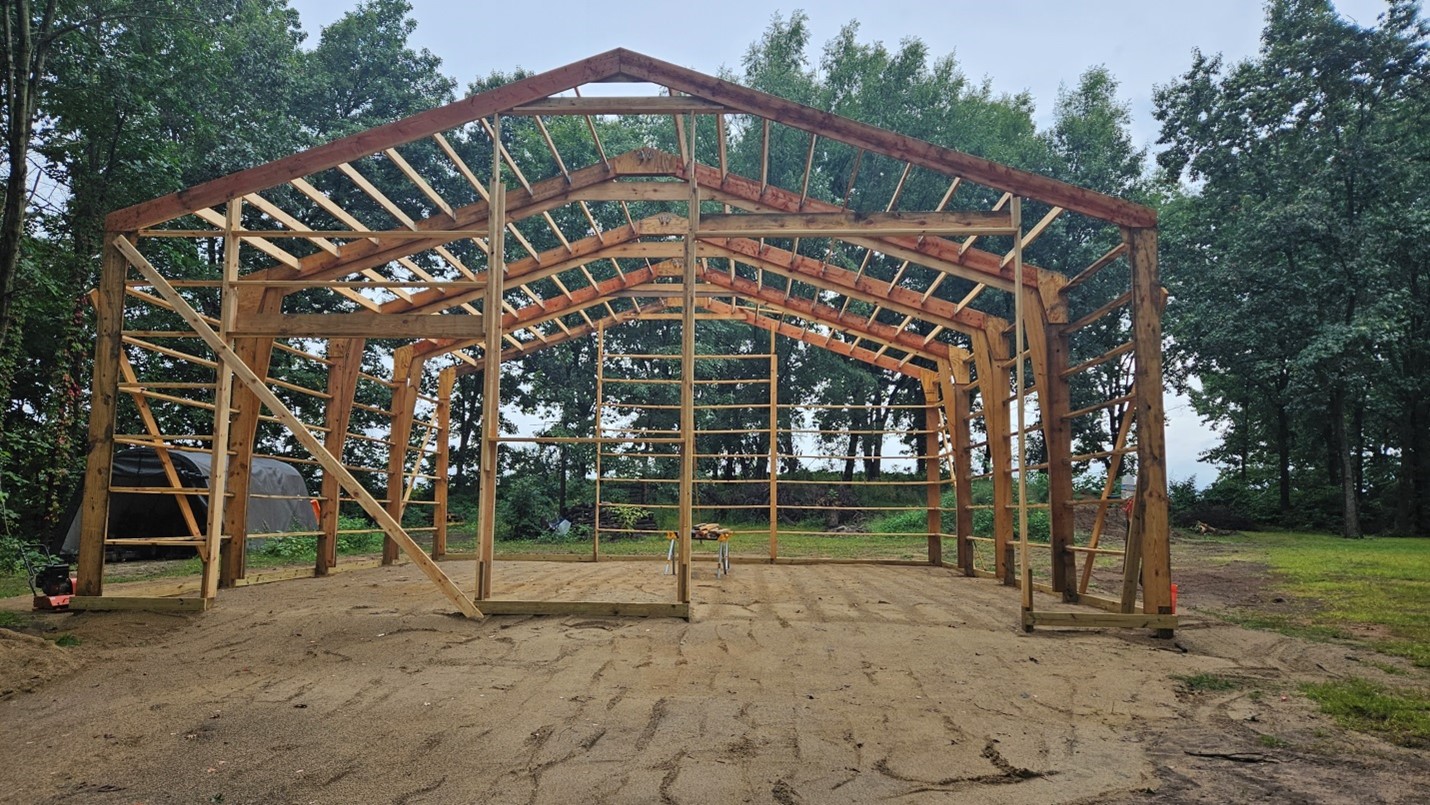
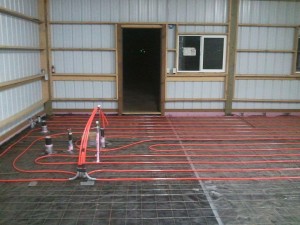 When placing under slab vapor barriers, run up inside of pressure preservative treated splash planks and sealing to top and around columns. Install seal gasket under pressure treated base plate (mud sill) and caulk inside edge to concrete slab.
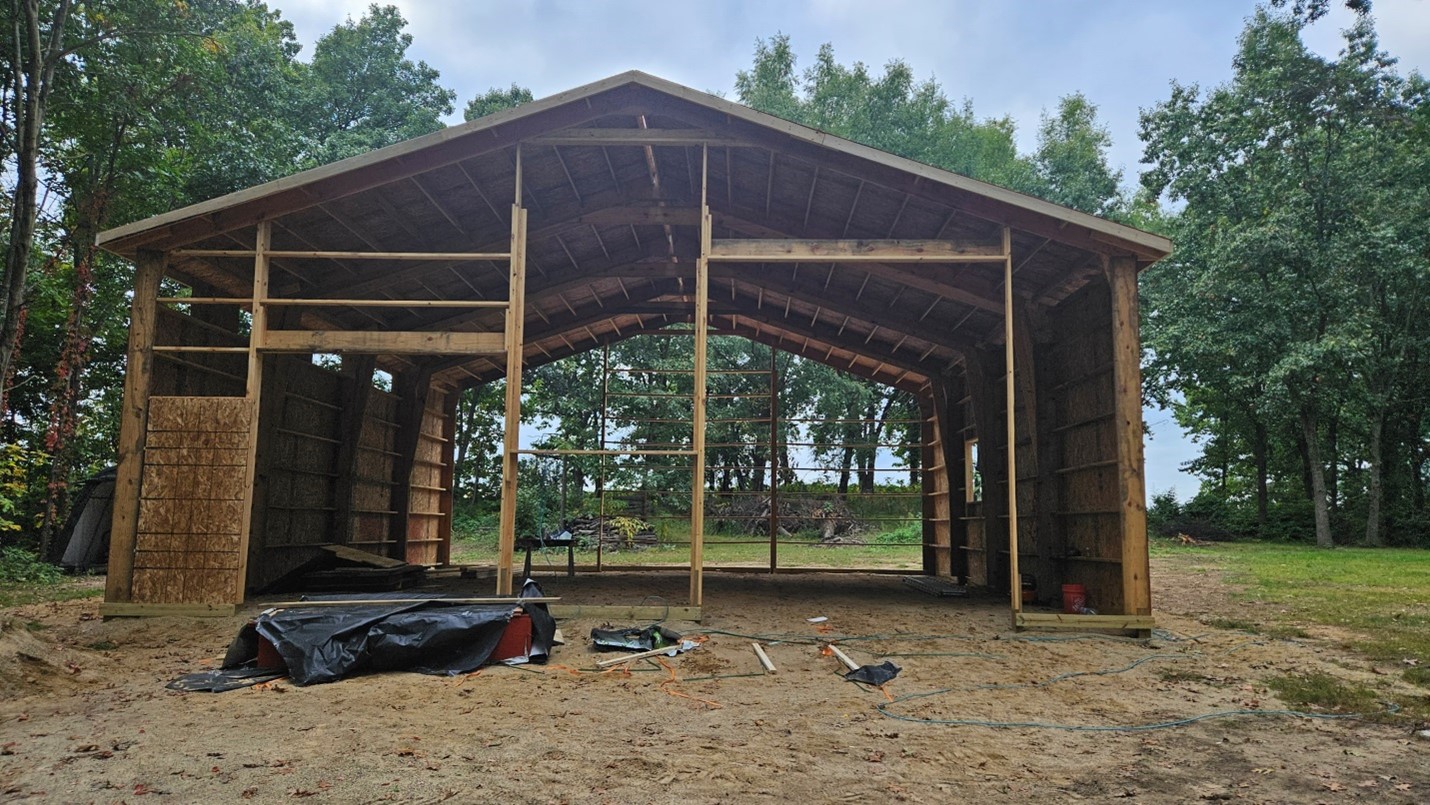
With wall insulation systems other than closed cell, use a clear visqueen vapor barrier on the inside of all framing. Seal every penetration in this vapor barrier.
Before installing interior window and door trims, caulk where trim will meet frames. Make sure door sweeps are installed and the threshold is properly adjusted.
Common infiltration paths include attic access and simply insulating envelope (or shell) isn’t enough. In fact, insulation’s ability to perform is almost cut in “half” if not air sealed first.
Expandable polyurethane is used in areas too wide for caulk. If an area is wider than 1/4″ caulk can fall out of grooves. Acrylic-latex caulk is for all gaps small enough for caulk to function properly such as base plate and seam between floor and wall and wall and ceiling. Fire-rated caulk is non-combustible and for any areas where wires penetrate through base plates, walls, etc. (This is a recently implemented new national code.)
While it seems obvious gaps and crevices in a barndominium should be sealed, most builders either have not yet begun or just recently started utilizing air sealing processes. If hiring a contractor, make certain complete air sealing processes are spelled out in contractual documents – money you will save over your barndominium’s lifespan.
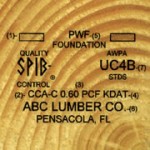 DEAR NICK: Properly pressure preservative treated columns (UC-4B) should outlast anyone alive on our planet today, especially in climates (such as yours) not prone to termite infestations. As for improving ability to heat – dig a trench around outside of building at least two feet wide and two feet deep. Invest in 2′ x 8′ (or 4′ x 8′ to be cut in half lengthwise), R-10 EPS insulation boards. Attach vertically to exterior side of pressure treated splash plank with top of insulation even with top of interior concrete slab. Run another 2′ horizontally out away from building at bottom of vertical. Any portion of vertical insulation above backfill will need to be protected from UV rays. This should keep your slab from getting so cold, as well as help to avoid frost heave. If you are in an area prone to burrowing rodents, you should further protect insulation
 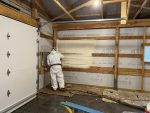 DEAR POLE BARN GURU: I am trying to decide whether to go with open cell or closed cell spray foam on my bare metal pole barn walls. I will be enclosing the walls with some material, most likely plywood. What are your opinions regarding the pros/cons (is one or the other worse for corrosion, condensation, other pertinent factors, etc.) of the two foam approaches? Thanks so much! TERRI in CHESTER
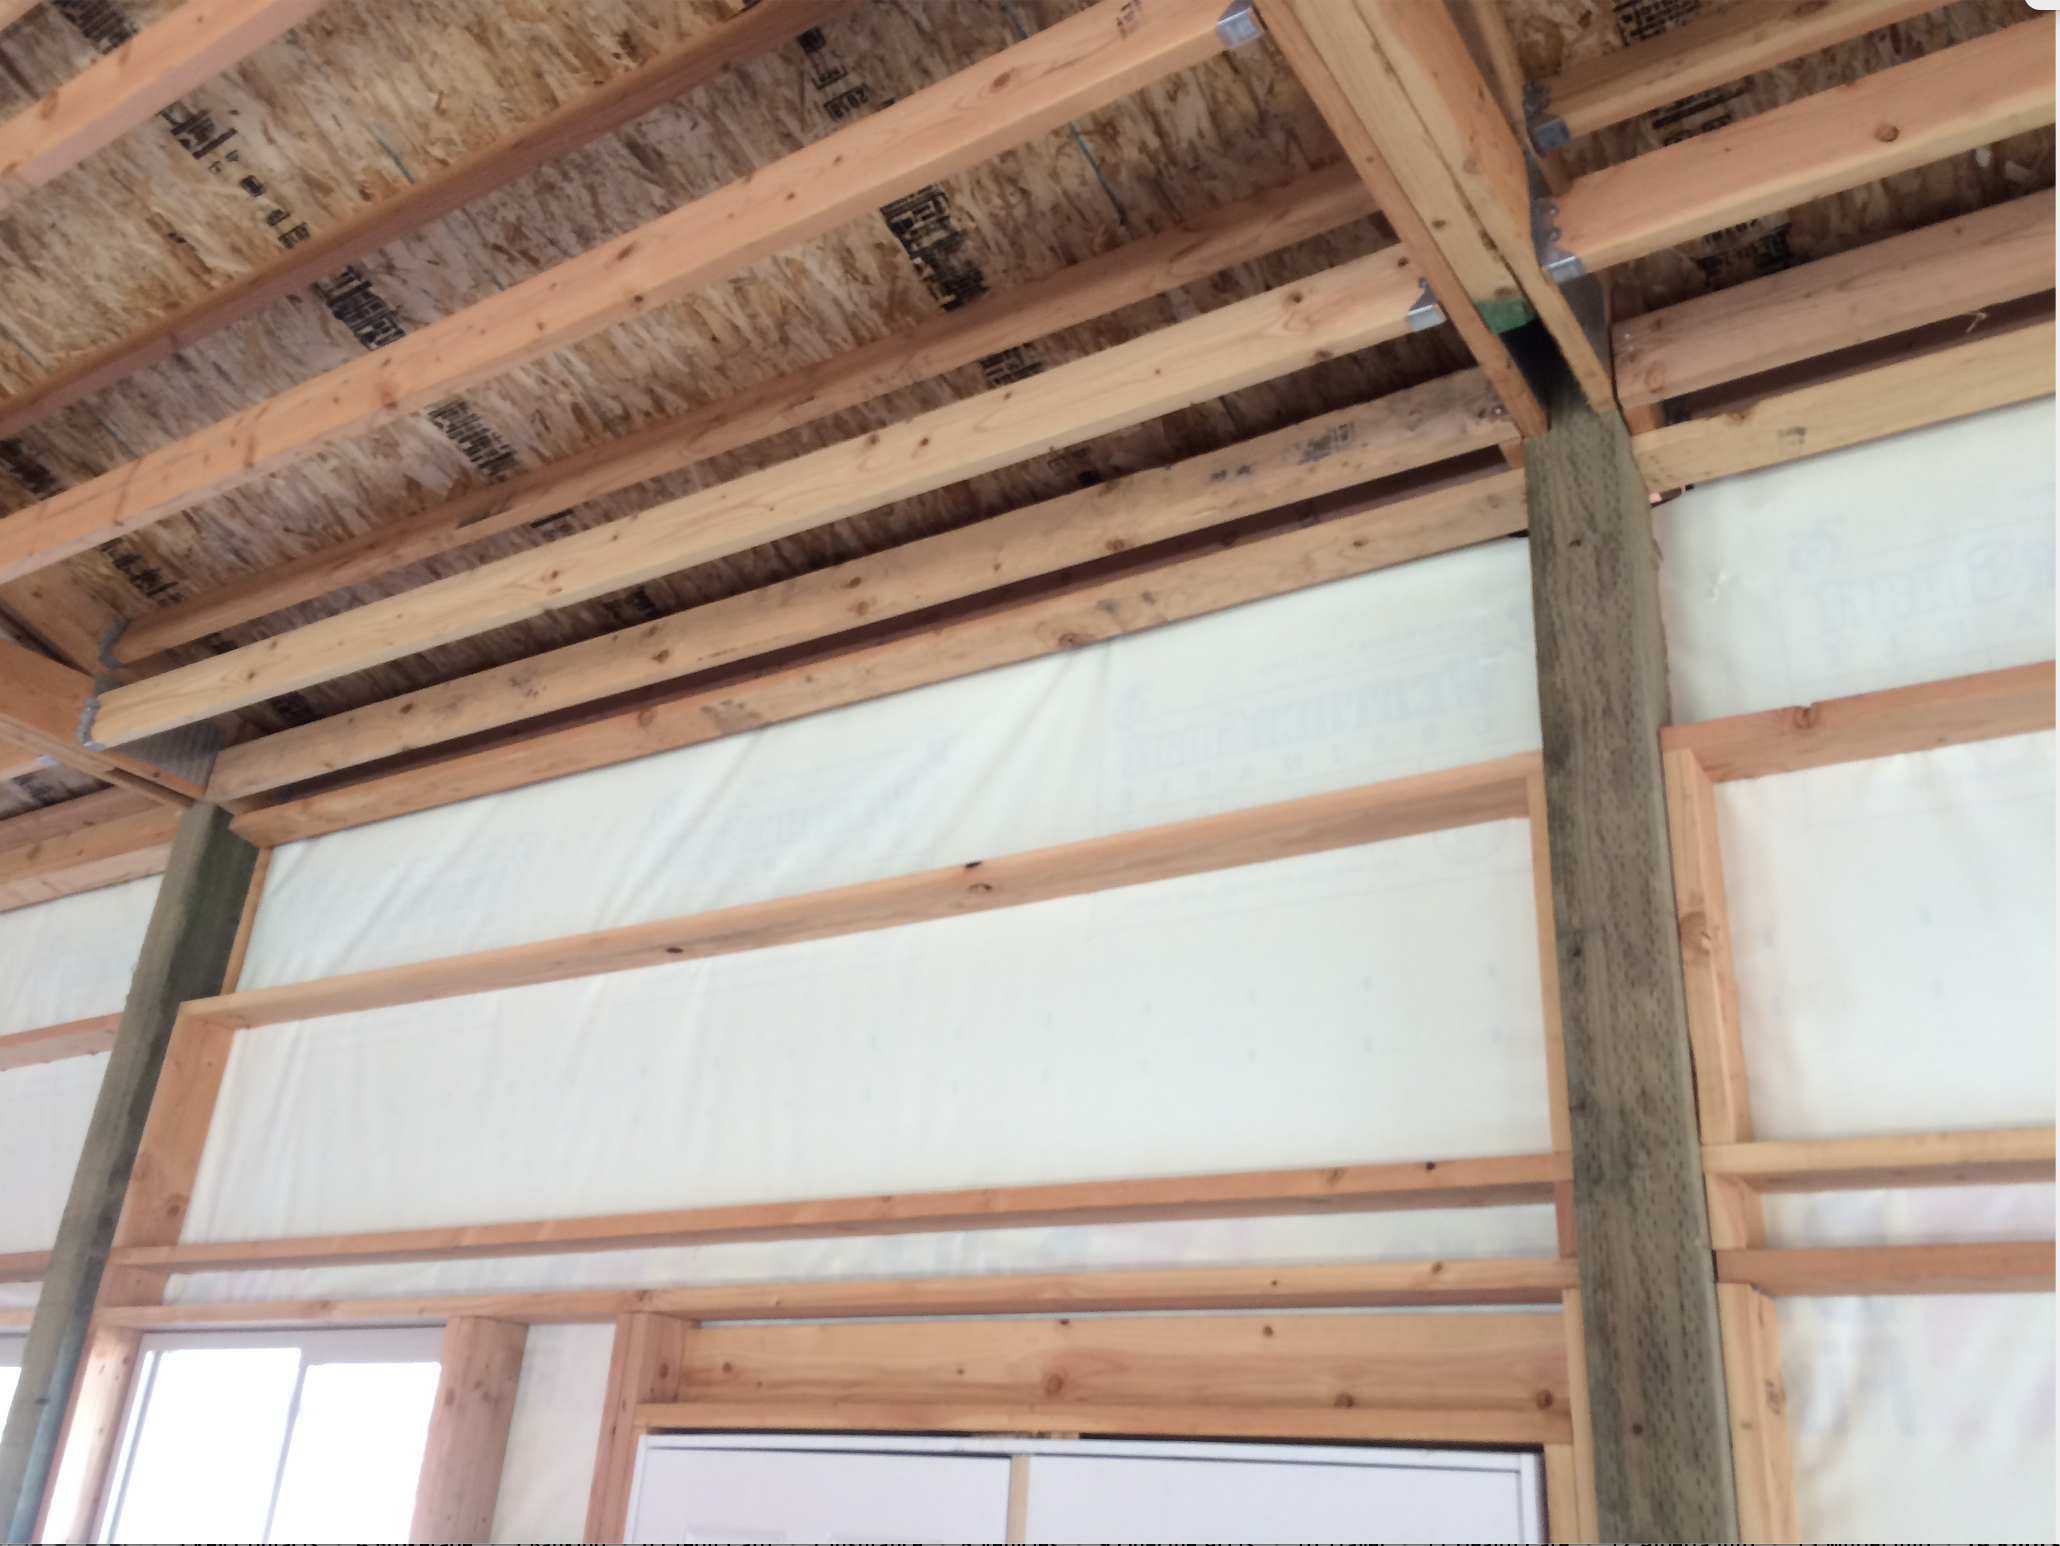
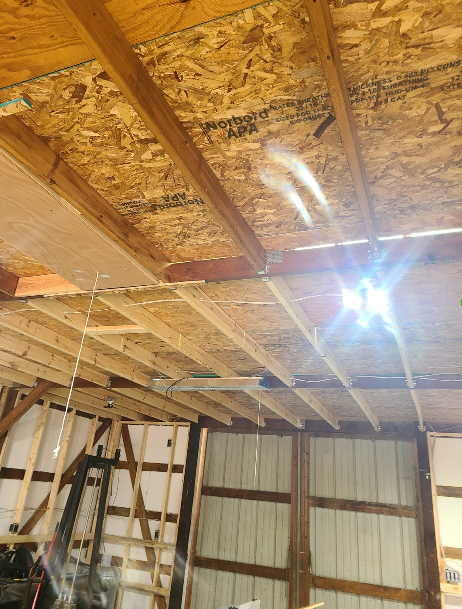
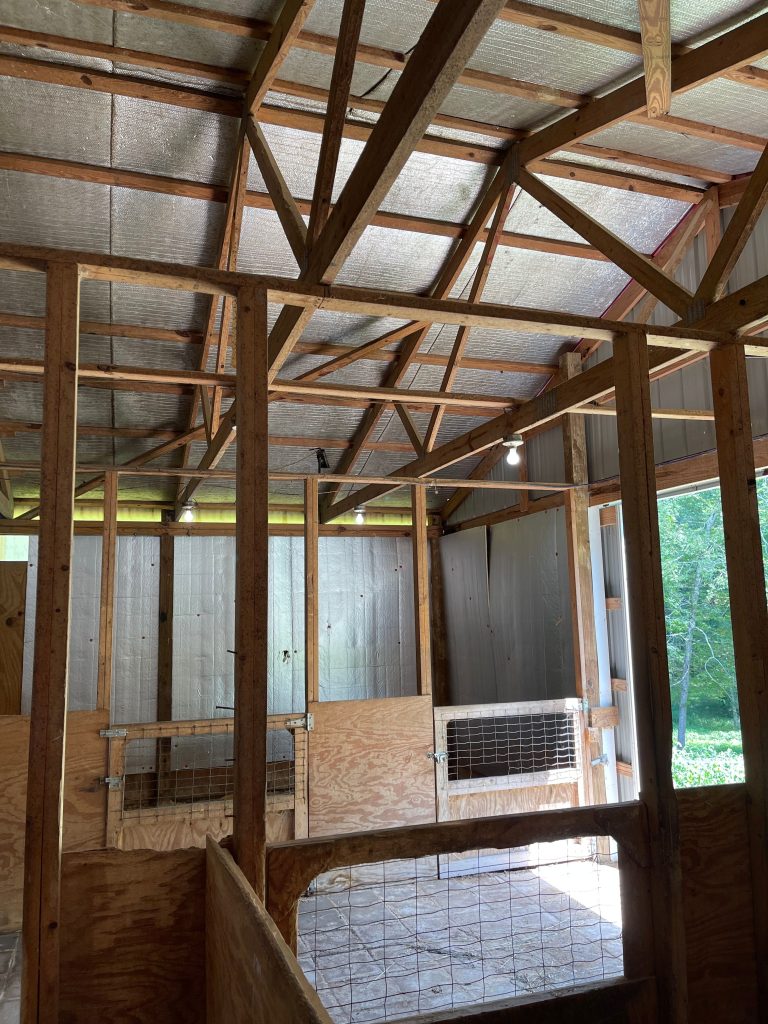
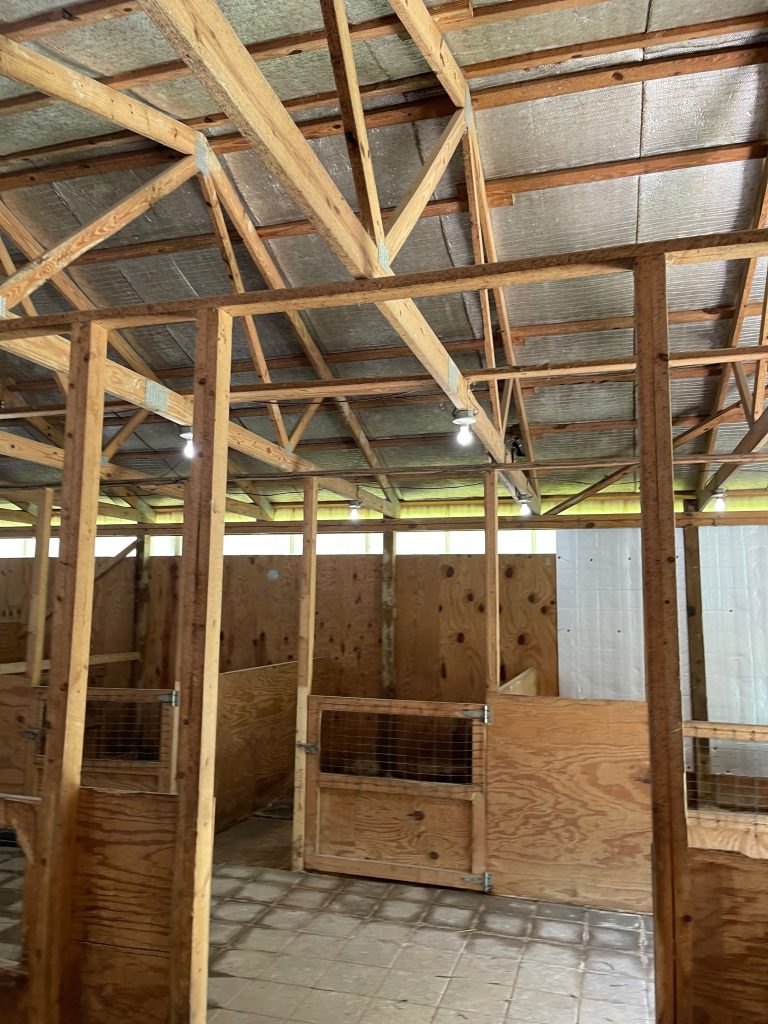
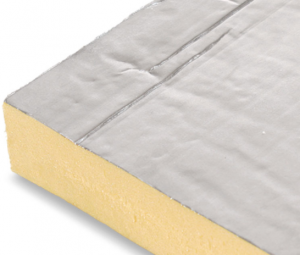 “I’ve moved into a house that also has an existing 30’x40′ (uninsulated) pole barn. I want to insulate and am considering 2″ thick polyiso foam boards attached to the bottom cord of the roof truss. The roof trusses are 4′ spacing. 1) Do you feel that is a good choice? 2) Do I need to add any type of vapor barrier (or anything else) above the polyiso boards?”
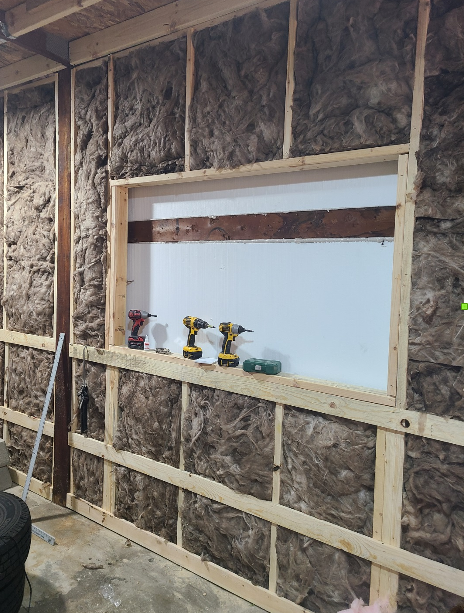

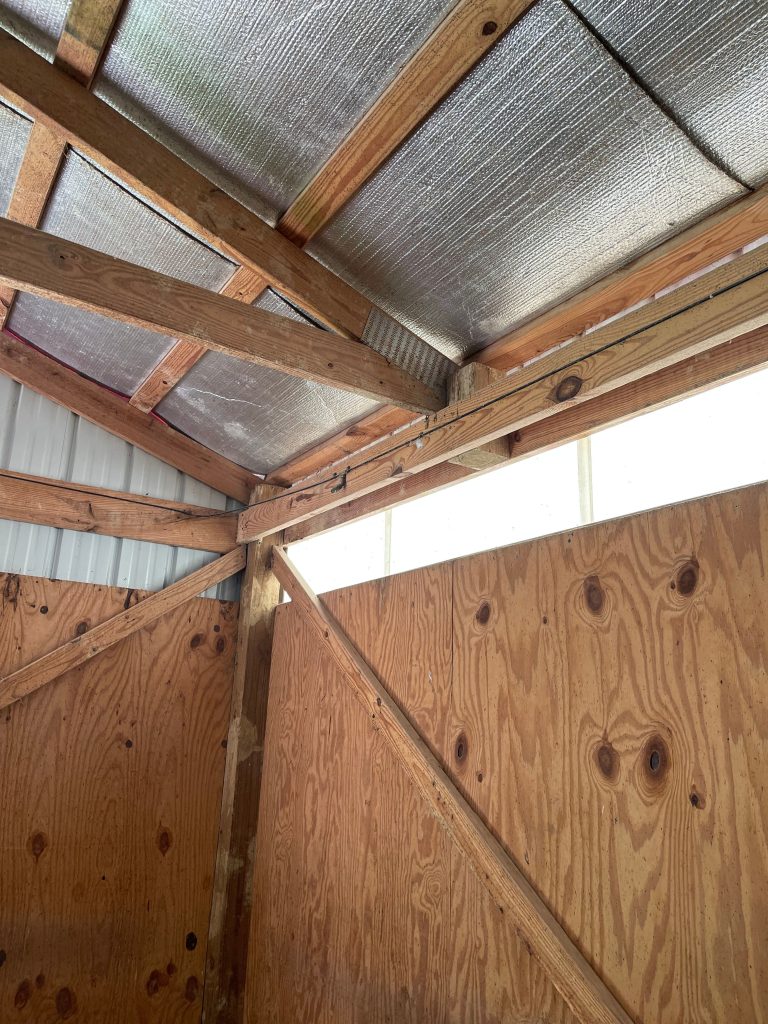

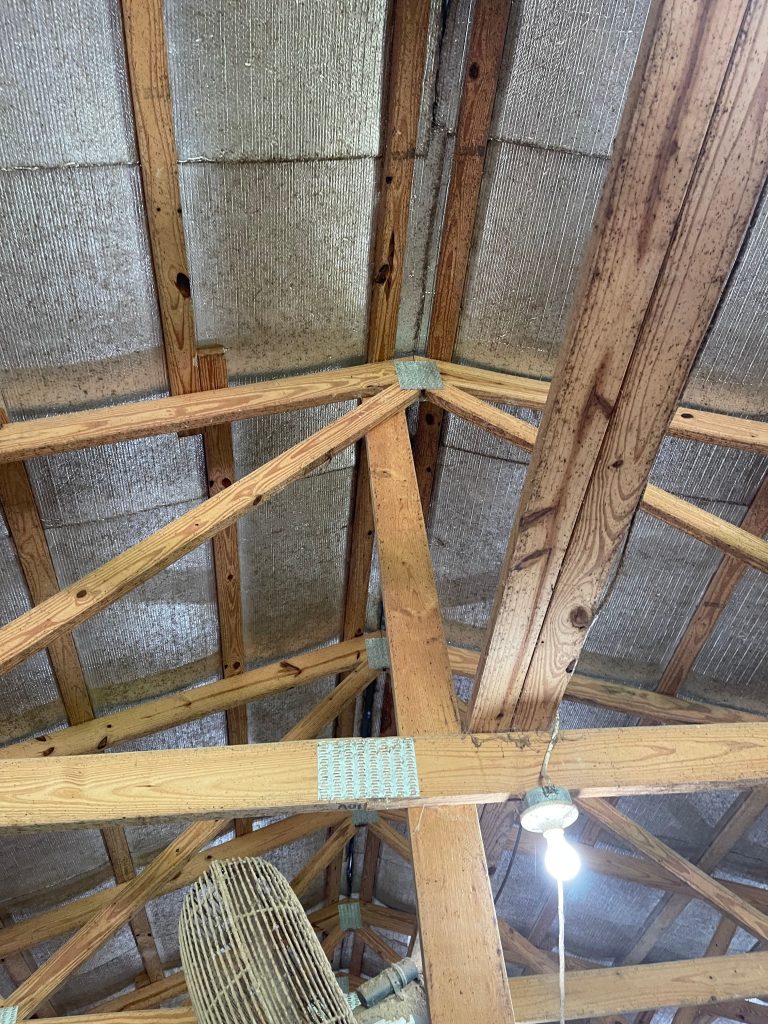
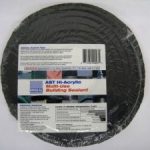 Is there a form fitted closure strip under each side of your ridge cap? If you have light coming through the ridge during daylight, then no. Easiest fix, if none, would be Emseal
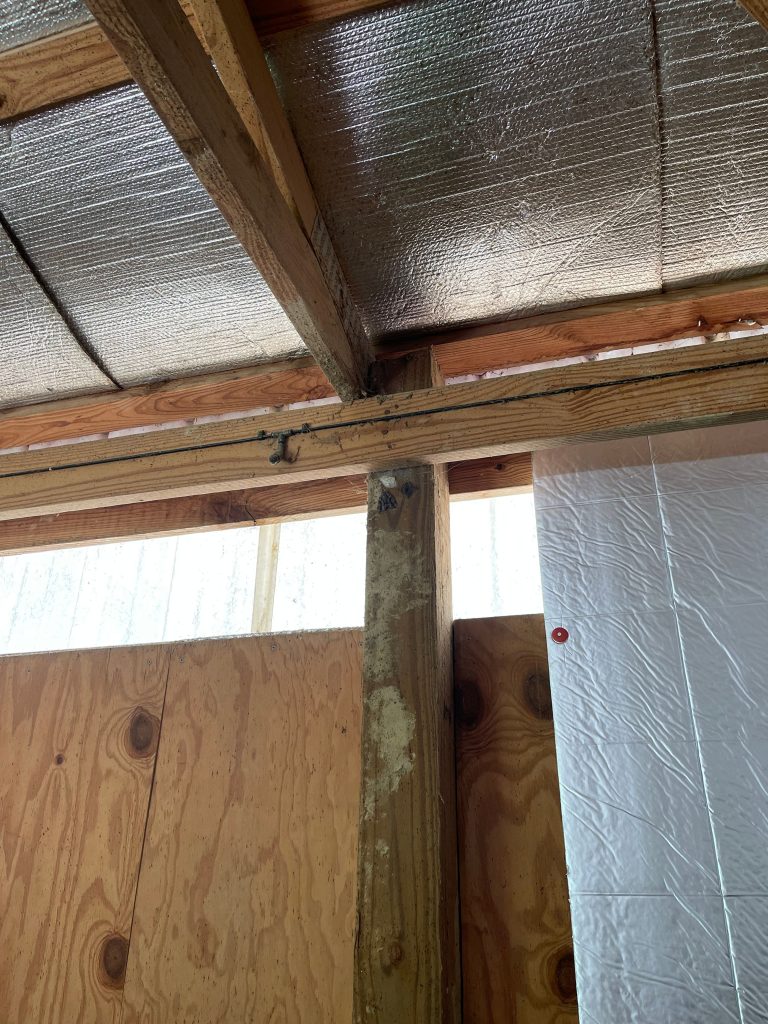
 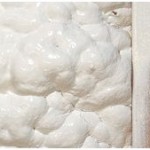 3) Once the above two have been either ruled out or repaired, your problem is condensation. Stains on trusses and purlins are typically a giveaway to this being an issue, especially if they seem relatively consistent from eave to ridge and along length of building. Short of replacing roof steel with a product with an Integral Condensation Control factory applied (read more here:
 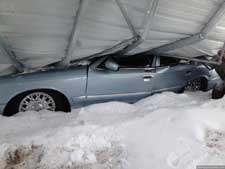 High winds and/or snow loads can damage light-weight tube framing (you can read about a snow collapse here:
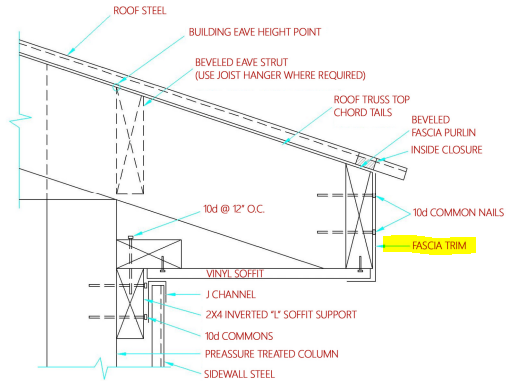
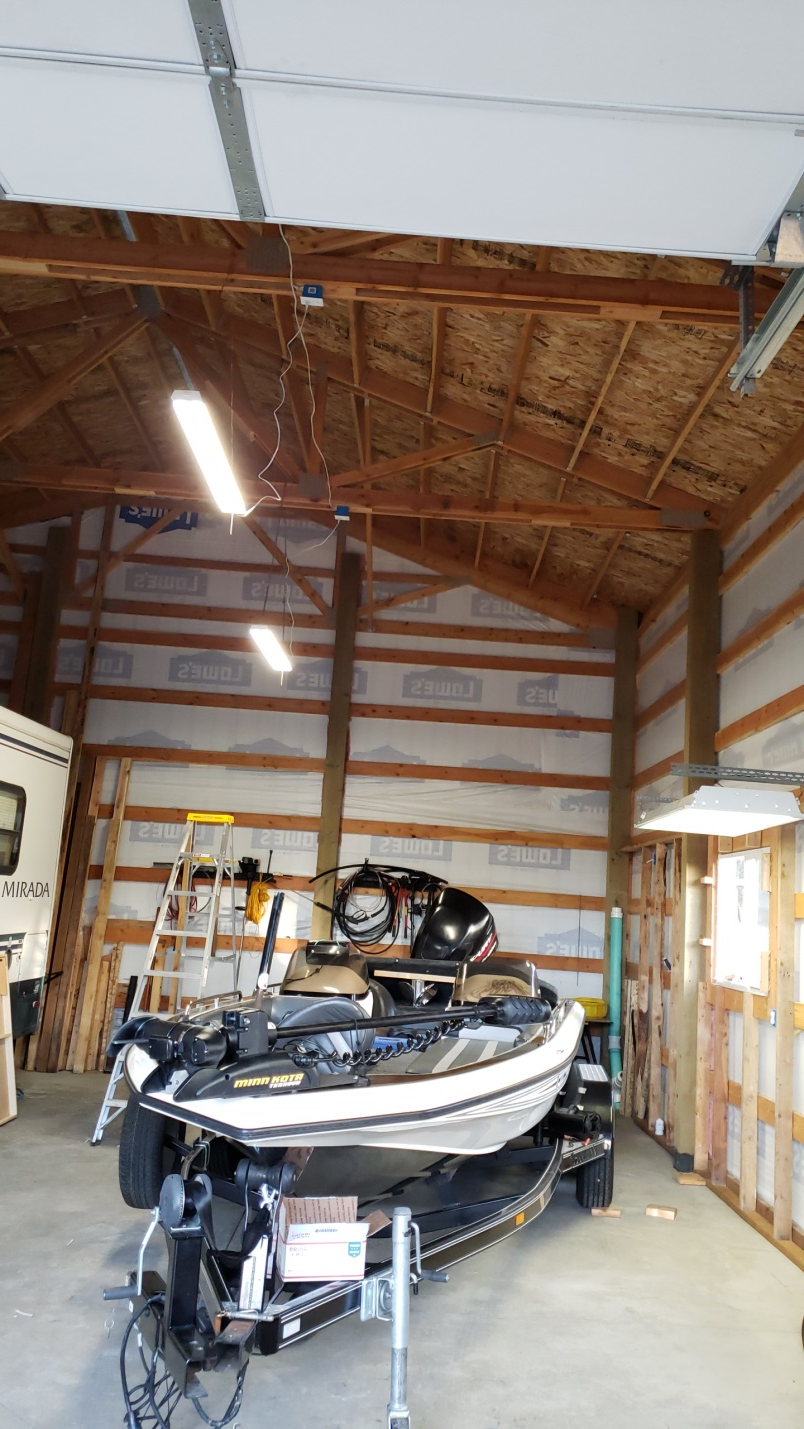
 “Greetings – I’ve got a pole barn style home that’s about 2.5 years old and I’m having moisture issues in the attic. Hoping I can talk with someone to get a consult or second opinion to resolve as quickly as possible. Let me know if it is something you can connect on. Attached is an image from the attic where you can see moisture on the underside of the metal roof. It freezes at night and then during the day when the sun is out, it melts and drips into the attic insulation.
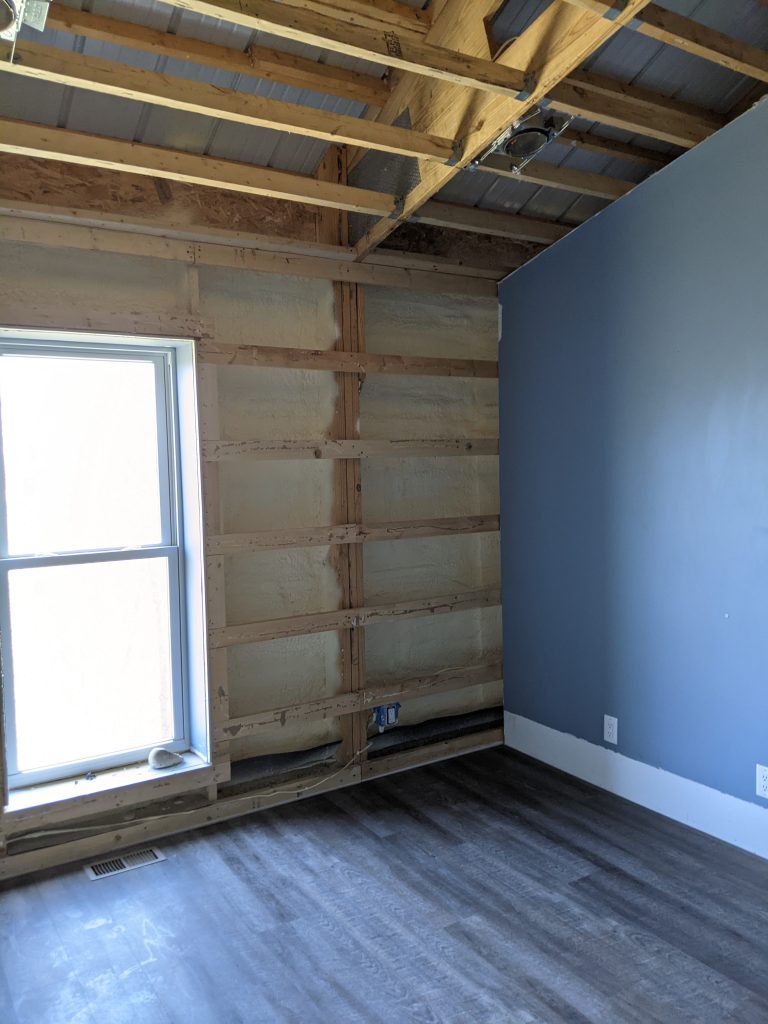
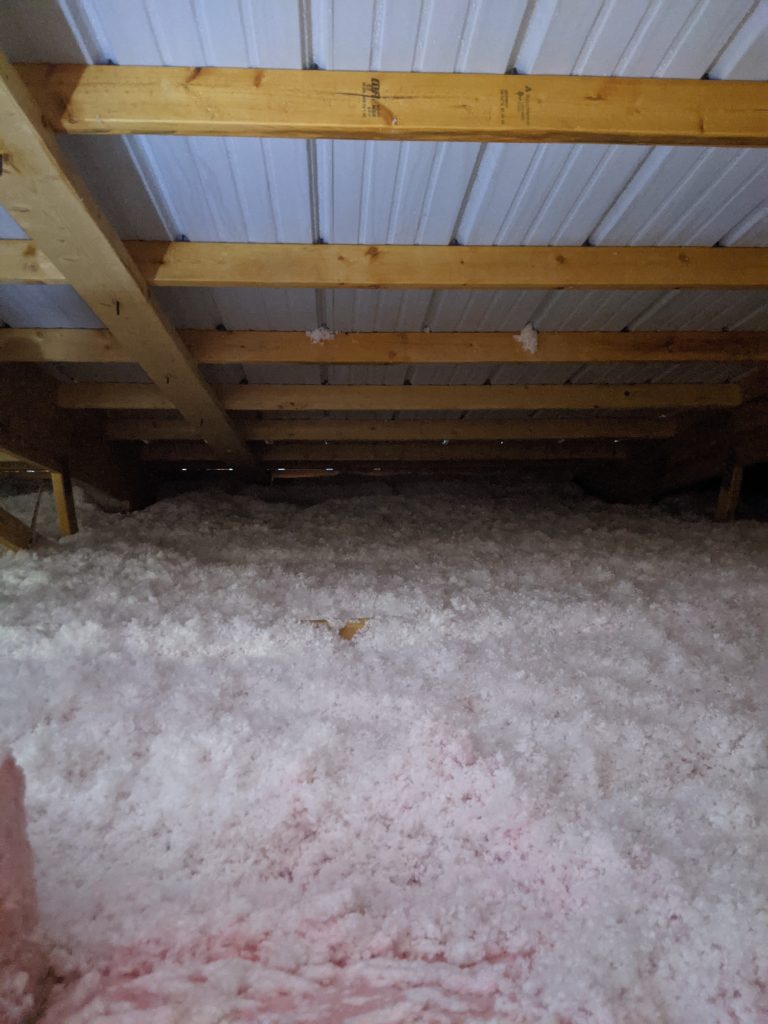
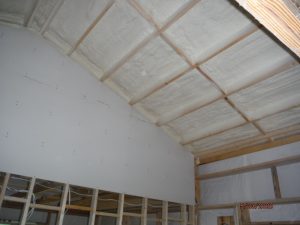
 Easiest solve is to have two inches of closed cell spray foam applied to underside of roof purlins. Any other solutions will take removal of roof steel panels, adding a thermal break, and then reinstalling roofing.
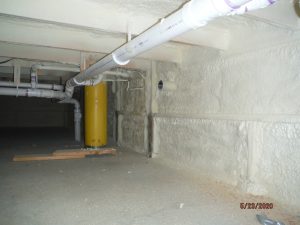 Closed cell spray foam applied directly to steel roofing and siding can be a great product for controlling condensation, achieving an air tight barndominium and at R-7 per inch is a great insulation solution. So good, I strongly encourage its use, especially for those buildings in Climate Zones one and two (deep South).
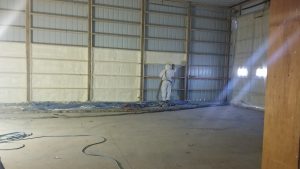 Installing spray foam during winter months is more challenging, but one can increase potential for a successful installation in several ways. One way to successfully apply spray foam insulation in winter, despite less than ideal conditions, is to use a winter blend of spray foam. Closed-cell spray foams can be formulated into a winter blend allowing them to withstand colder environmental and surface temperatures. If you want to install open-cell spray foam insulation, however, it’s not possible to create a winterized formulation. Instead, you must create a suitable environment at installation site (e.g. add heat to building).
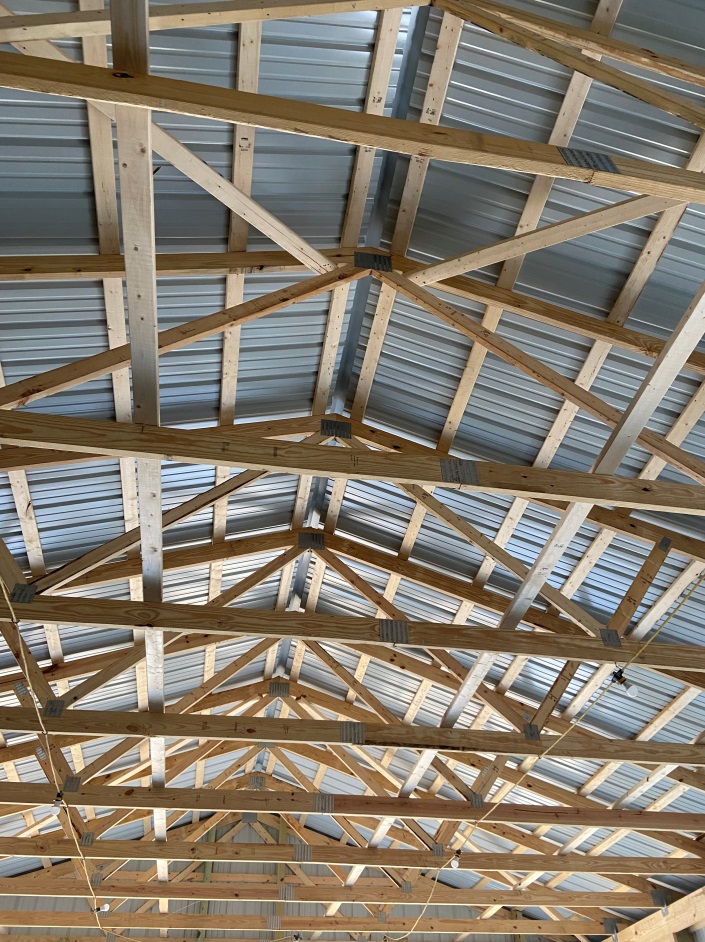
 Use two inches of closed cell spray foam against your wall and roof steel – if not, you run a high risk of condensation troubles. If you are going to blow insulation into your walls, use a product such as BIBs.
  Provided your building has roof trusses designed to adequately support a ceiling load, your best bet will be to blow in insulation above a flat level ceiling. If you do not have original truss drawings available to determine if they have a bottom chord dead load (BCDL) of three or more, then you will need to find the manufacturer’s stamp placed on truss bottom chords and contact them with your site address. With this information they should be able to pull up records and give you a yes or no. If you are yet unable to make this determination, a Registered Professional Engineer should be retained to evaluate your trusses and advise as to if they are appropriate to carry a ceiling and if not, what upgrades will be required.
 My preference is engineered prefabricated wood floor trusses. To me, I joists always feel spongy. Dimensional lumber varies greatly in both height dimension as well as stiffness of each piece leading to a feeling of lots of ups and downs as you walk across a floor. Both of the last two make running duct work and plumbing within floor cavity near impossible – leaving things having to hang below the floor’s finished underside.
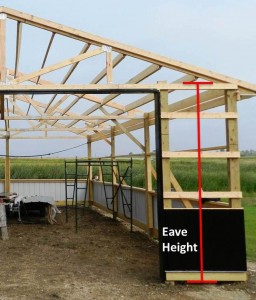
 “We would like to build a post frame home but I would like to have a whole house fan to cut down on cooling costs. Most barndos we see under construction use spray foam insulation directly against the metal roofing/ siding which would prevent the use of a whole house fan. You talk about blown in insulation and roof venting which sounds similar to stick built homes. So is it safe to assume that your designs would allow us to install a whole house fan in the attic space with adequate venting? I fondly recall the ancient airplane engine attic fans 3 or 4 ft wide from years ago and was pleasantly surprised to see the new ones drastically reduced in size and volume. What is your opinion on this?”
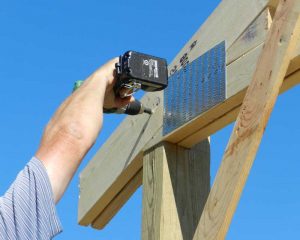 True doubled trusses (not two single trusses spaced apart by blocking) afford many structural advantages (
 In many cases it may be possible for an engineered truss repair to be made, to upgrade load carrying capacity of truss bottom chords to a minimum of five psf. I’m sorry to say, this is not free. Truss company’s engineer will need to put his or her license on the line in designing a “fix” for trusses designed for a load other than is now intended. It’s not same as designing original trusses. If you think about it, redesigning and augmenting something you have built, is always more time consuming (and brain challenging!) than first time around. His time and expertise are not without a charge. It’s not usually “much”, like a couple hundred dollars. Then there is cost of materials to do repairs. This will be final out-of-pocket expense if you are doing truss repairs yourself. If not, a contractor’s charge must be added. All totaled, it could run you anywhere from a couple hundred dollars to over a thousand or more.