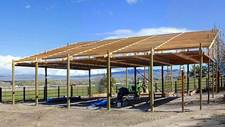
Pole Barn Garage Wood Floor
Reader CLIFFORD writes:
“Hello, I found where you had answered a question about a wood floor in a garage while I was searching the web asking “Wood floor in a garage?”. Let me explain, I am a disabled veteran living on a fixed income. I have a blood cancer as a result of being exposed to the toxic smoke of the burn pits in Afghanistan and Iraq. I was told that once I started treatment I would live 7 or 8 years, 10 if I am lucky, I have been on treatment now for about 3 years. I bought my farm from my dad. I have a double wide home that is set up on a basement (with garage door), the problem is it is only 7’ tall with a 6 and ½ ‘ door. I don’t have anything that fits. I plan on building a 24 by 24 workshop/garage. I will build it much like a pole barn, for the simple reason I can build in phases. One pole at a time so to speak, as money allows. I am looking at wood for the floor, I know in the really old days wood floors were common. The problem I am concerned about is the weight limit. I have a Mack Truck that was given to me, basically a toy, but a subsidiary of Mack Trucks rebuilt it so it is real nice. I need the floor to be able to support this. My plan is this: 2×8 treated floor joist, 12” on center. Topped with 2×8 lumber, then topped with ¾” T&G plywood – to get it smooth. To be honest I will probably have treated plywood on the bottom of the joist and fill in between the joist with what they call around here waste rock. Then top it off with the 2×8’s and plywood. The joist would run from front to rear, allowing a chance for the load to be right on a joist. I expect it would be about a 10,000 to 12,000 pound load spread on 6 tires, I am guessing about a 10” x10” patch for each wheel, the heaviest load would be the front wheels. I am not asking for official specs, just a professional opinion. I realize cost wise it could probably be built with concrete cheaper, but I have to build it a piece at a time, and to be honest it may never get finished. Thank You.”
 Thank you for your service sir.
There is an even easier method (plus more cost effective) and if you are not going to climate control, you can omit directly under plywood insulation: https://www.hansenpolebuildings.com/2022/03/post-frame-plywood-slab-on-grade/
 Mike the Pole Barn Guru responds:
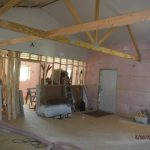 When you create an encapsulated building (spray foam to all interior surfaces), you do not want to ventilate it, as you would then lose your air seal. With your OSB’s underside sealed by closed cell spray foam and upper side protected with 30# felt or ice and water shield, there is no way for your OSB to become moist. If this is still a concern, an upgrade to plywood could be done.
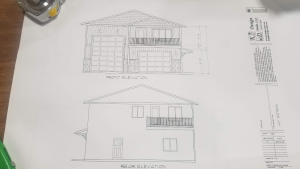
 We do have sample building plans available on our website for your builder to review and get a feel for
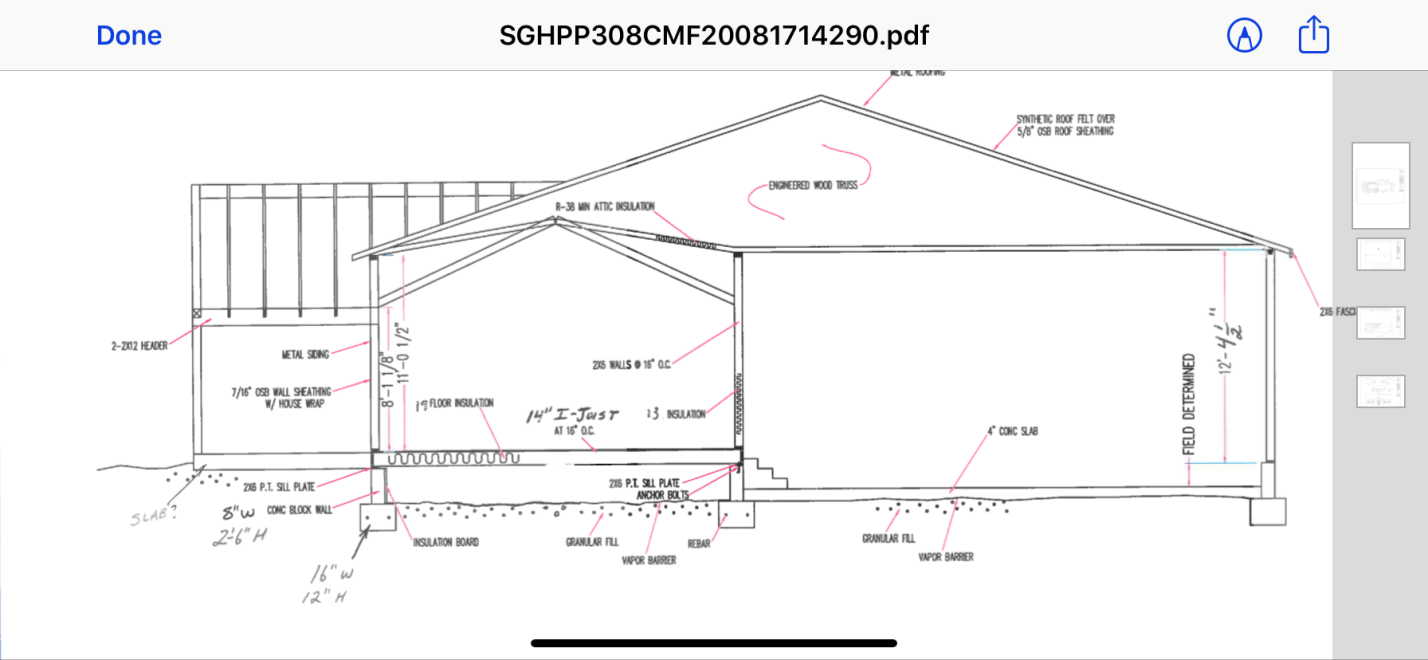
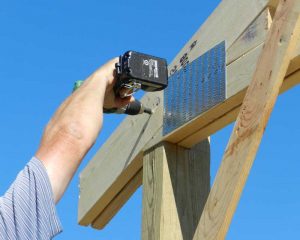 True doubled trusses (not two single trusses spaced apart by blocking) afford many structural advantages (