Today the Pole Barn Guru answers reader questions about moisture control, insulating a building with a ridge vent, and a solution for replacing posts that have rotted out.
 DEAR POLE BARN GURU: Thanks for the abundance of technical information you provide your readers. Like many of them, I inherited a pole barn with the same ceiling sweating, heat, cold issues and need a post construction solution. The slab sweats only in some places. I have a typical wood post with 2×4 horizontal purlins, wood truss and purlin roof, and metal skin walls and roof. My goals are, #1 stop the moisture inside, #2 insulate for moderate comfort (no codes to comply with and I can heat with a wood stove and abundance of wood) , and #3 if I can afford it, skin the walls with T-111 or other wood for an attractive look inside. I did not see any suggestions about double-faced radiant barriers in your other articles. Do you think expanded polystyrene cut to fit in the 1.5 inch cavities to flush with purlins, and then add the radiant barrier (bubble type) stapled over that directly to purlins would be appropriate and not trap moisture? If so, should I allow and air space between the polystyrene and radiant barrier? Many thanks, Mr. Retired…finally! JOHN in CHEROKEE VILLAGE
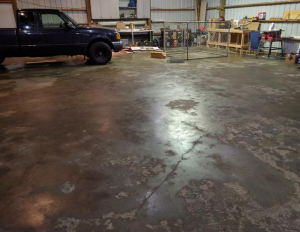
DEAR JOHN: Thank you for your kind words. If your slab sweats at all, it is likely there is no vapor barrier under it and it would behoove you to apply a sealant. 1.5″ expanded polystyrene (EPS) boards cut to fit tightly and with all seams tightly sealed would give you some degree of insulation (roughly R-7.5 other than at girt and purlin locations). You could add unfaced rock wool batts to increase insulation. Radiant barriers provide next to no insulation value and only function if seams can be perfectly sealed, we’ve actually opted to no longer offer them to our clients.
Unless you want to heat area in triangle of trusses, you may want to consider insulating at ceiling level, then vent dead attic space above.
DEAR POLE BARN GURU: Hello Mike. I came across your website while trying to learn more about what to do with the ridge vents in a pole barn when you plan on insulating it with closed cell foam. My wife and I purchased a property that has a 36w x 48L unconditioned pole barn with 8 skylights, a couple of ridge vents and (2) sets of huge doors on each end. While we know this will never be a tight building, we need to insulate it for our pets (10) dogs and (11) cats, and for a hangout area for us to spend time with them rather than inside our home.
We have a high-end American Standard heat pump split system that will condition the entire space.
Would you be able to give me any advice on what you recommend I do regarding the existing ridge vents? I’m not sure if I should insulate around them and leave them as they are…open. Or, should I temporarily trim out around them and seal them for the time being?
Any information you could provide me on this topic would be greatly appreciated. ROGER in HOUSTON
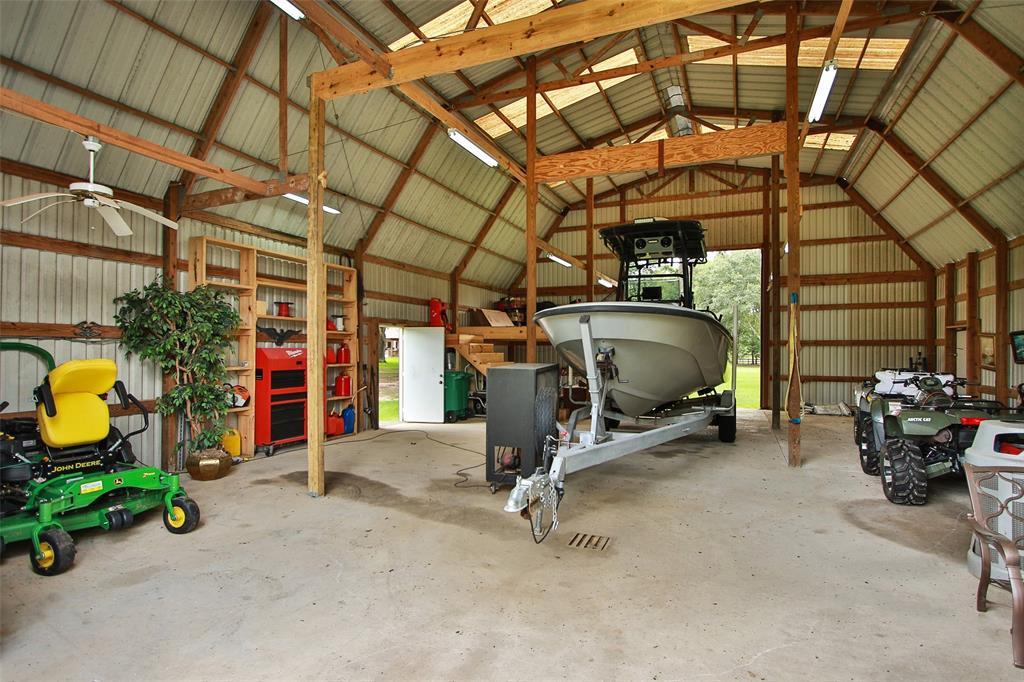
DEAR ROGER: With those large sliding doors, your investing in closed cell spray foam may be for naught. If your expectation is to be able to control any sort of heat loss/gain you should consider replacing them with insulated steel sectional overhead doors.
On to your question – seal off ridge vents and spray foam across skylights (or, even better) replace them with steel roofing before insulating.
DEAR POLE BARN GURU: What are my options on repairing 32×40 all 6×6 posts are rotted off ground level. Floating slab, perma colum, helical peir, or strongway sleeve. CHAD in GREAT BEND
 DEAR CHAD: I would repair one column at a time. Temporarily support roof system being supported by a column. Cut column off above point of decay. Excavate embedded portion of column and remove – hole being dug to be at least below frost line. Insure bottom of hole is firmly compacted. Place a sonotube in hole, attach an ICC approved wet set bracket to bottom of column and backfill with premix concrete. Compact granulated fill around sonotube in six inch lifts. Repeat at each column.
 The most common yardstick for measuring insulation performance will be R value, but there’s a problem. Insulation packaging shows lab analysis of R values, but it’s based upon used testing completely eliminating air movement from results. This matters a lot with fluffy insulation materials because air movement greatly lowers real-world insulation performance. Drafts and air currents often happen within wall cavities and attics and this will be why real-world insulation performance can be significantly lower than advertised values.
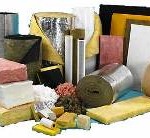
 DEAR POLE BARN GURU: Hello. Looking to build a barndo home in north Georgia. I’m looking for financing the structure. Do you guys offer financing at Hansen? If so, does this include the concrete pad/foundation? Thank you for your time! BRIANNA in DALTON
 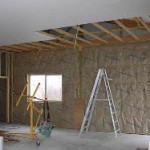 DEAR POLE BARN GURU: Have a 40×60 barn trusses have 2×8 top and bottom chord set on 10 ft centers live I deep so Illinois. Question is how is best way to frame in ceiling to put up metal might put small amount of cellulose blown it do not care which direction metal runs. Thanks in advance ROBERT in VIENNA
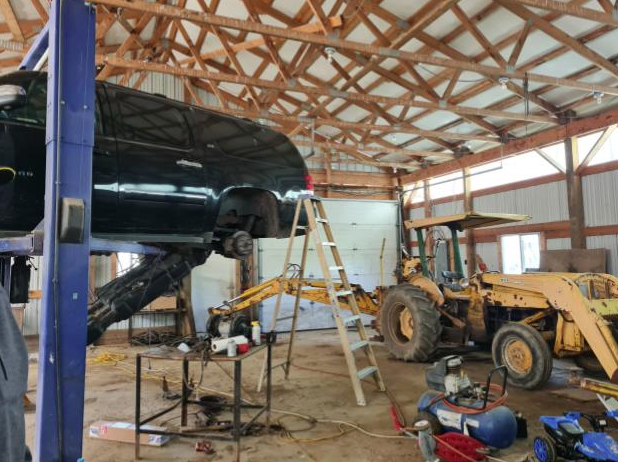
 DEAR POLE BARN GURU: I am building a 24×30 pole building 15 foot wall height. I am l am planning on not putting in a ceiling and insulating directly in the purlins up to the OSB. Soffits are vented but should I put in just some small gable vents for outlet flow? MIKE in SEDRO WOOLLEY
 Screw leaks are caused by either poor installation, wrong placement (on high ribs rather than flats), or entirely wrong parts. Poor installation will show up right away – either in a good rain storm, or by checking weather tightness by running a water hose on roof. I would recommend second of these prior to any interior finishes.
 While I am not a fan of vinyl backed fiberglass (aka metal building insulation), provided seams are sealed and facing is not punctured, it does provide a condensation control.
 Robertson County is in Climate Zone 4A, where 2021 International Energy Conservation Code (IECC) requires R60 in roofs and R30 in walls. You can meet wall requirements with 7-1/4″ Rockwool (
 As time allows, remove roof Prodex, have two inches of closed cell spray foam applied to roof steel underside, and increase thickness of blown in attic insulation to R-60.
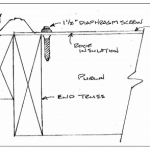 DEAR POLE BARN GURU: Should the screws for exposed fastener metal panel roofing COMPLETELY penetrate the 1/2″ plywood decking/substrate? STEVE in WARREN
 DEAR TIM: Header beam (aka truss carrier) requirements can be determined by a Registered Professional Engineer and are based upon this formula:
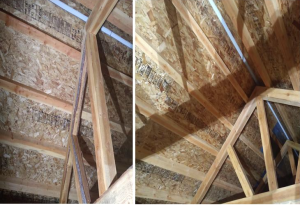 DEAR RICK: Code will not allow you to place batt insulation between your purlins unless you have at least an inch of continuous airflow above from eave to ridge. Impossible to do given orientation of roof purlins.
 DEAR POLE BARN GURU: Hello, do you have any information on your pole barn homes? Looking to build in lower Michigan. HOLLY in WHITMORE LAKE
 DEAR GORDON: Unless there is some issue with your current steel roofing not performing (leaks or rust) I see no reason to remove it. SIPs, while a relatively ‘trick’ design solution, are also very expensive
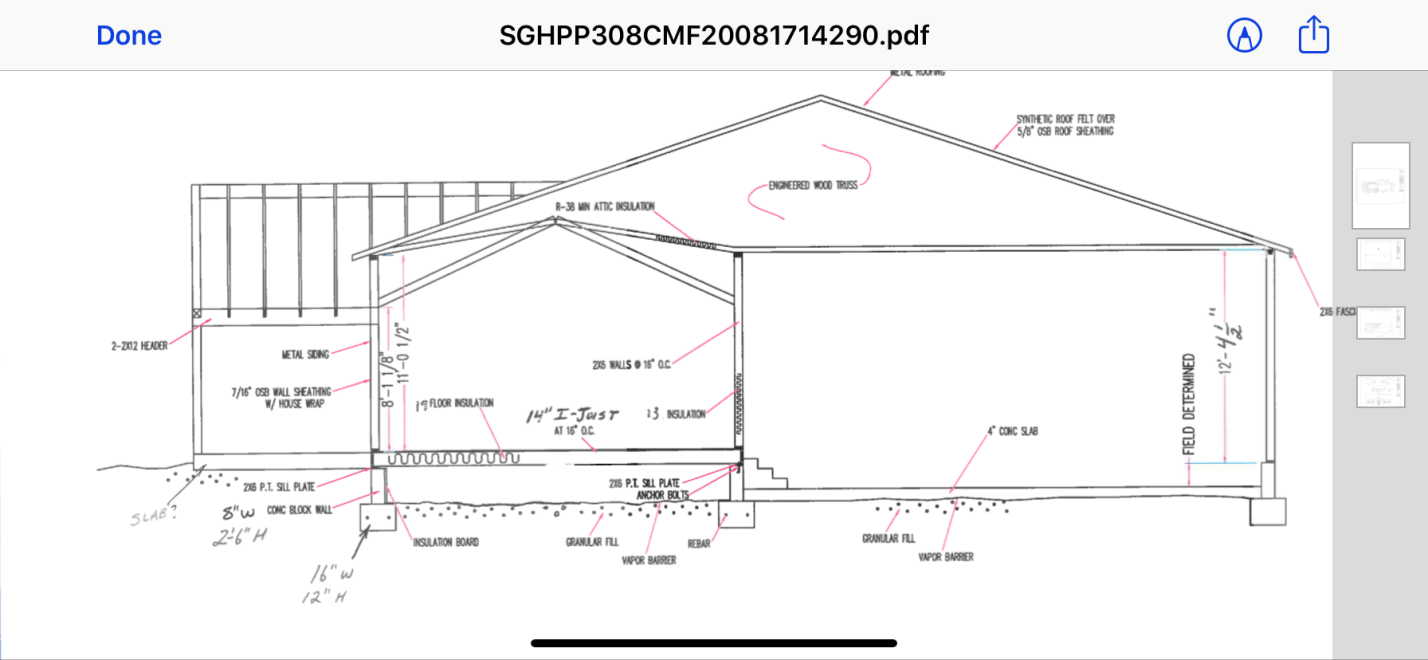


 DEAR THERON: Thank you for your inquiry.
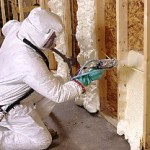 DEAR DAN: You should have some sort of barrier between wall framing and wall steel to prevent condensation within the wall cavity. Wall cavity moisture can lead to a plethora of challenges – premature rusting of steel siding, rot, mold and mildew on wood framing and lack of performance of fiberglass insulation.
 DEAR MAX: I happen to live in a two story post frame shouse (shop/house) with a partial third story. Back in the great state of Washington, I also have a three story post frame building with roof top deck! We can provide any low rise building with up to 40 foot tall walls and three floors (or 50 feet and four floors with sprinklers).
 Again, according to their website, “We offer retails sales for small projects and wholesale, bulk pricing for bigger jobs. Our expert customer service team is always available to answer questions and help plan projects. Whether you’re trying to save money on your monthly energy bills or working to satisfy your customers. Tiger Foam can help. Most of all, our products provide high performance and great value. Become a customer today and get you the tools you need to start saving energy dollars!”
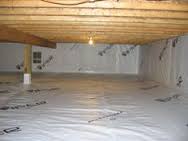 I plan to condition the space, so I would put down between 6 and 10 mil plastic, then 2 inches of foam board insulation followed by pouring a concrete floor, just enough to keep critters out. I plan to use BIBS insulation in the walls, so I would extend that down the exterior crawlspace walls to the concrete.
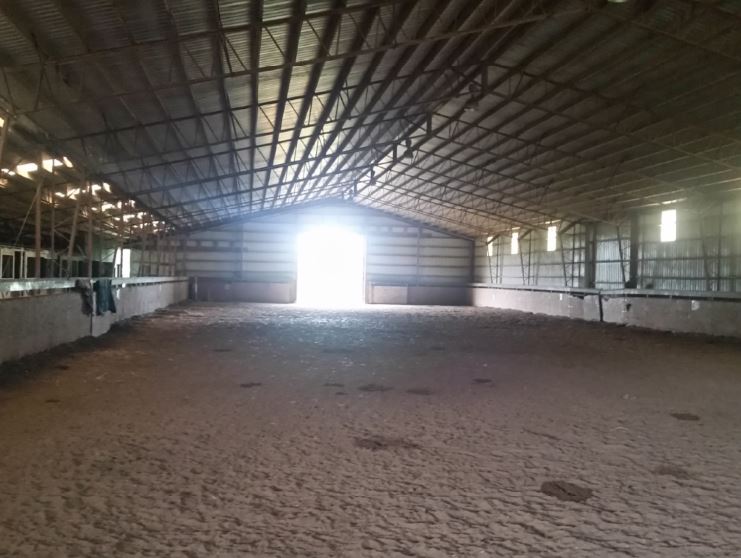
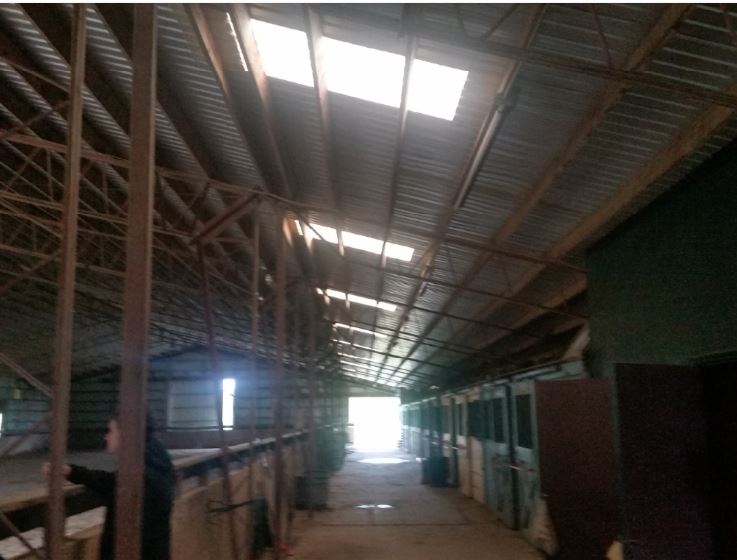
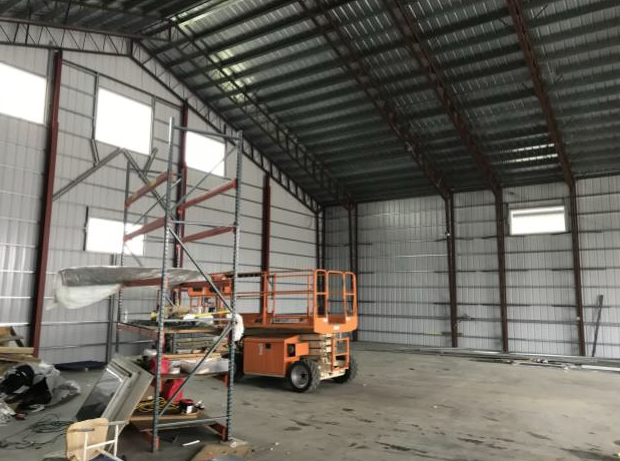
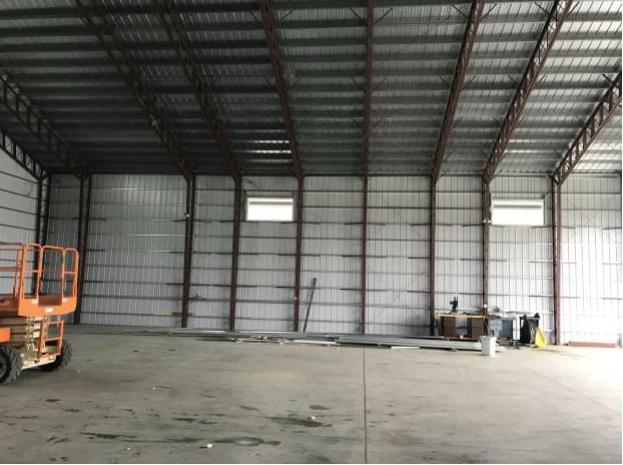
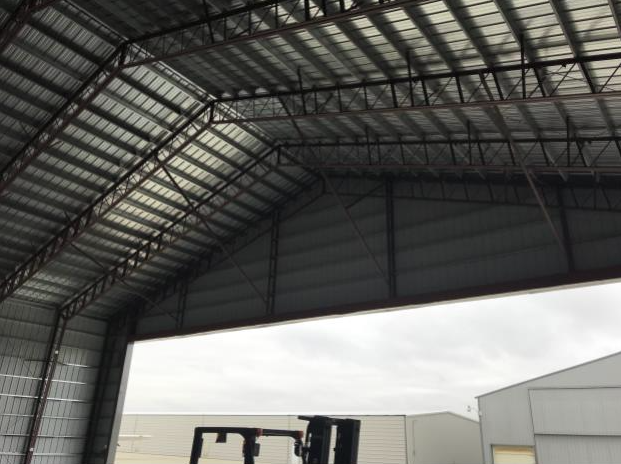
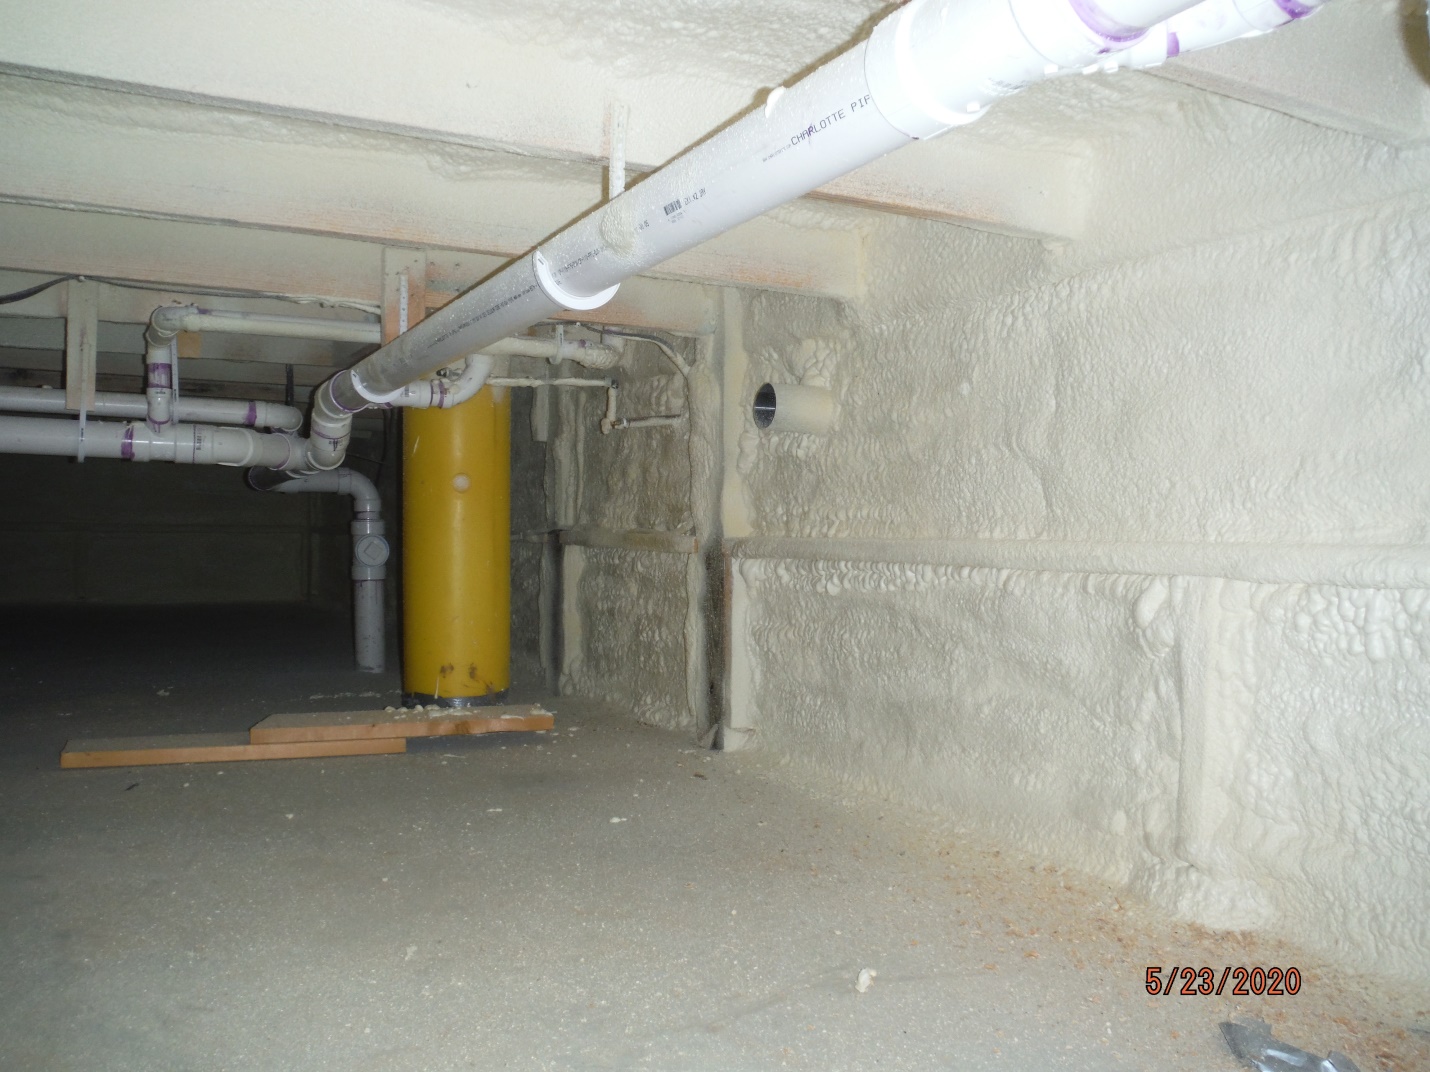
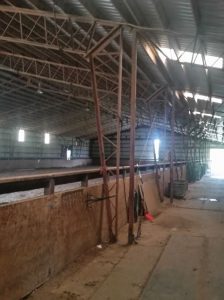 Some observations from your photos – minor discolorations appearing as “runs” down sides of roof purlins are due to condensation. No steel roofed building should be constructed without some sort of mechanism to minimize condensation. Only realistic fix for future condensation control would be to have closed cell spray foam insulation placed below roof surface. This insulation should be a minimum thickness of two inches and in most areas a going rate of about a dollar per square foot, per inch of thickness. You could be seeing a $30,000 bill.
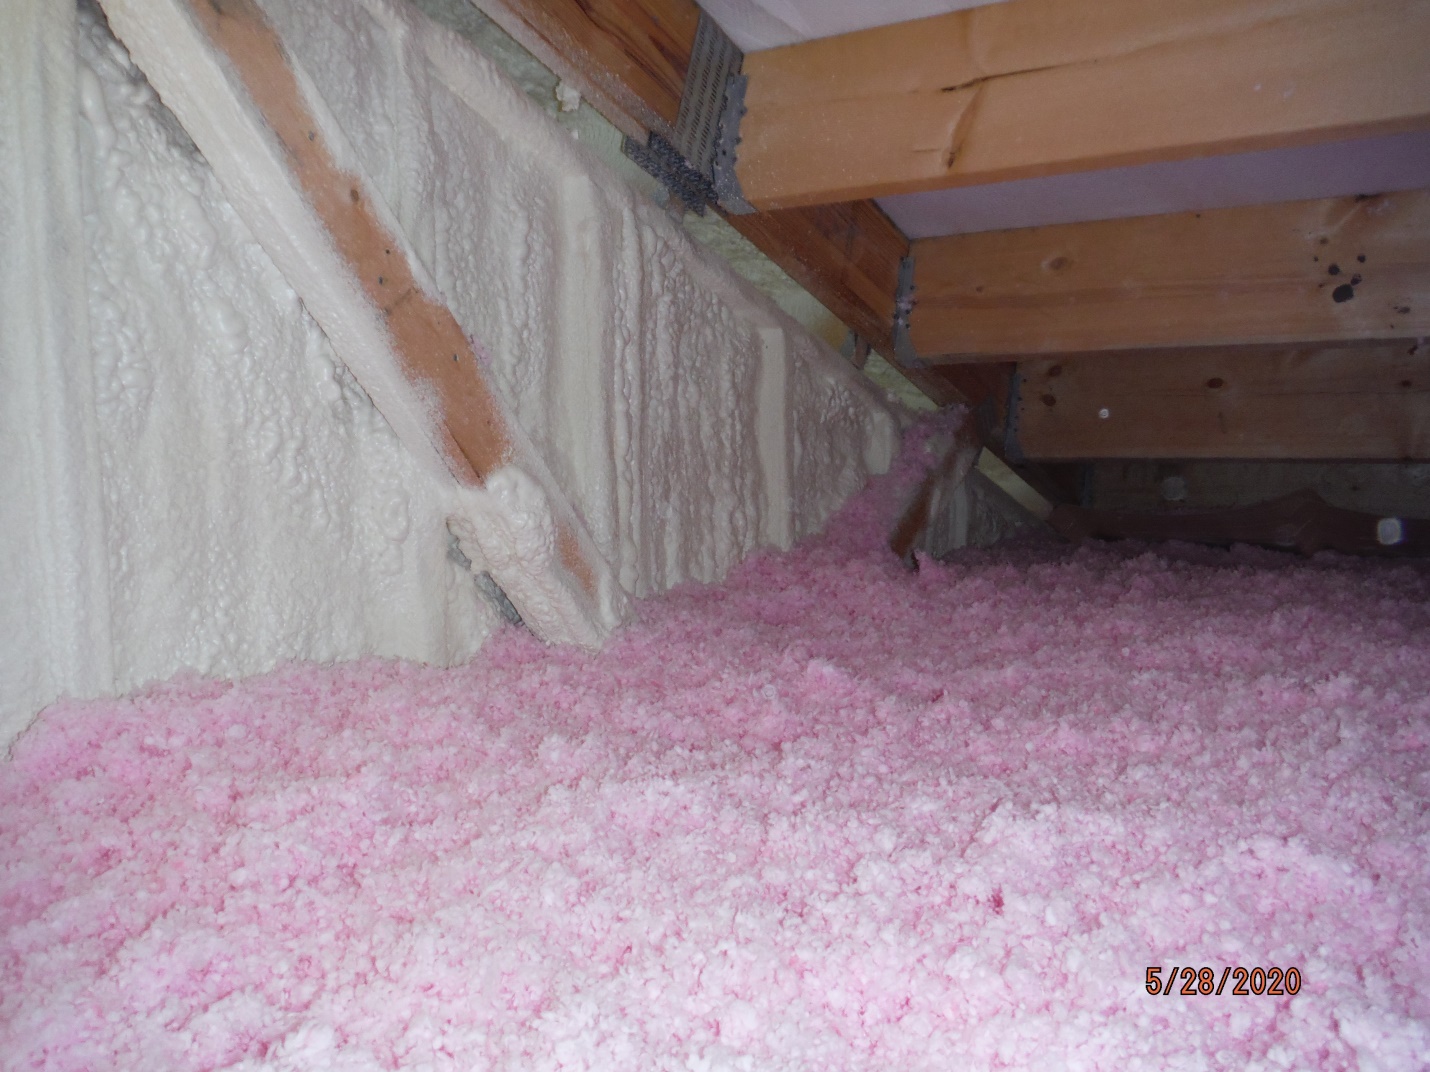
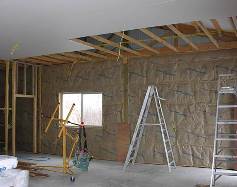
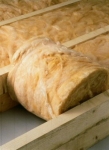
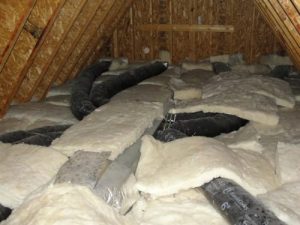 Unfortunately, the easiest way to add insulation to just about any place in your home is to install fiberglass batts. Fiberglass batts are typically the worst insulation for any job, but they’re easy to pick up in the store and easy to roll out, so people use them. The image below shows an atrocious installation at a two-year-old home in an upscale neighborhood of an inner-ring suburb of the Twin Cities. Yep, this passed the city inspection.
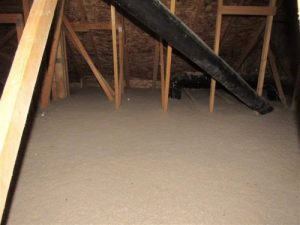 Cellulose is made from recycled, ground-up paper with boric acid added for insect control and fire resistance. If you choose to install cellulose yourself, you can buy the insulation in bags from your local home improvement store. If you buy enough, they’ll probably let you use an insulation blower for free. Don’t try to buy a single bag and spread it out by hand for spot-insulation; it’s way too densely packed (ask me how I know). The DIY cellulose insulation method is very dusty, but it’ll get the job done. If you hire a pro, they’ll use wet-spray cellulose, which adds a small amount of water to the cellulose to help control the dust and to slightly increase the insulation value per inch.
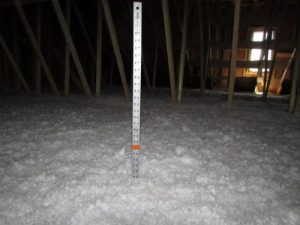 This seems to be all that’s ever used in new-construction homes and has an R-value of approximately 2.5 per inch. Like cellulose, you need a big machine to blow it in. You can’t simply buy it in bags and spread it around yourself. My biggest complaint with fiberglass is that it’s itchy and it’s a lung irritant. I’ve found that older fiberglass is way worse on your skin and lungs than the newer stuff, however. I have no scientific evidence to back this up, but I don’t need any. I’m completely sure of this based on personal experience.
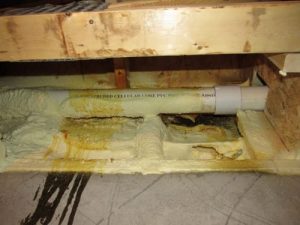 With closed-cell foam, you also get a moisture barrier at over 2″ thick. Because of this and the higher insulating value per inch, most foam insulation used in Minnesota is closed-cell. To tell the difference between the two, try poking it with your finger. You can easily poke a hole in open cell foam, but not closed-cell foam. That stuff is way too hard.

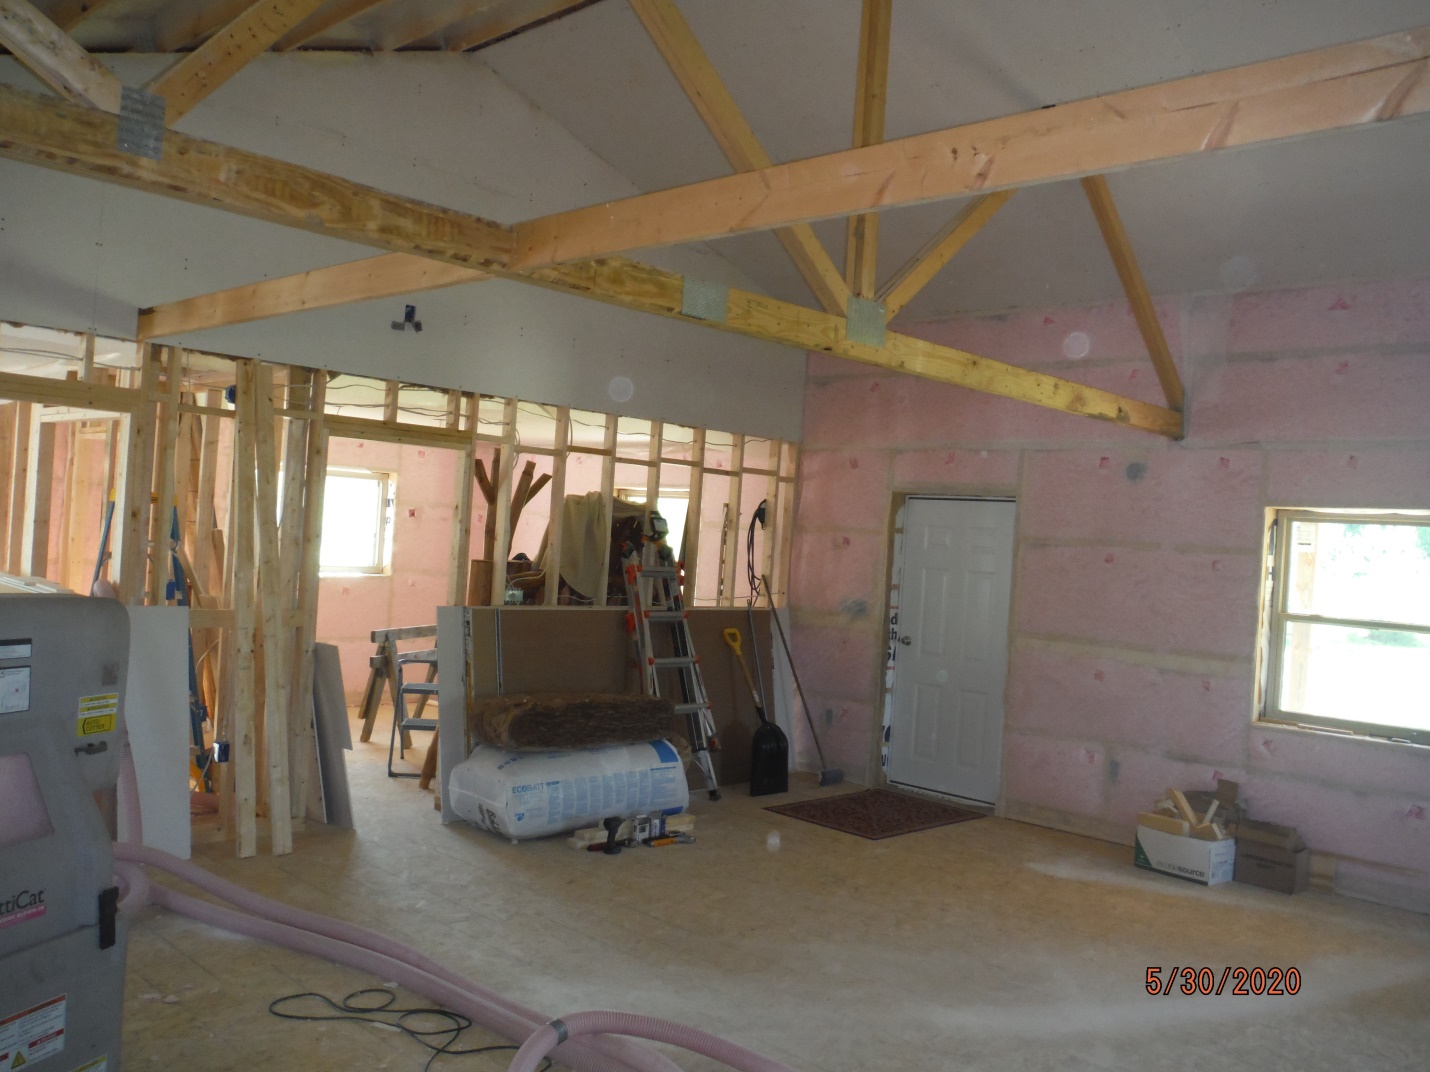
 Faced insulation is the absolute wrong product to use for insulating your ceiling. Any insulation placed at the truss bottom chord level should be unfaced. The best bet would be to blow insulation in above the finished ceiling.

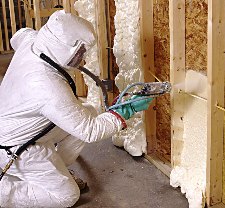
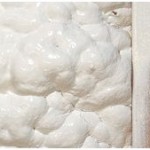
 Spray foam insulation costs more than batt insulation, but it has higher R-values. It also forms an air barrier, which can eliminate some other weatherizing tasks, such as caulking. This plastic insulation goes on as a liquid and expands to fill the available space, sealing all gaps and cracks and stopping any air leaks (This can also keep out bugs or other vermin). Another advantage is foam can fill wall cavities in finished walls without tearing the walls apart (as required with batts). It also provides acoustical insulation and increases structural stability. When building a new post frame building, this type of insulation helps reduce construction time and the number of specialized contractors, which in turn saves money.


