Determining Rot in Existing Horse Barn Poles
Loyal reader KEVIN in EFLAND writes:
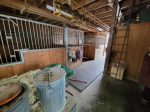 “Hello! First, thank you for all the super helpful information about pole barns! Now the context and question…. We’re thinking about making an offer on a house with a 5 stall horse pole barn, probably close to 30 poles, maybe 1,000 square feet. The house was built in 2007 so I assume the barn was built the same year and certainly built before 2012. The site is all clay. I suspect the poles were not treated for UC-4b but don’t see any signs of rot. So, I think if I have one question it is there a person in this area (Efland, Mebane, Hillsborough NC) that could inspect the barn and let me know what they think? Poles are rotting or not rotting… If they are rotting, here’s how long the poles will still be OK, here’s a plan and cost to replace them, etc. Now, if you afforded me a second question, short of digging 6 inches deep around every pole to look for rot, are there things I can do to see if there is an issue? The barn itself still looks nice and square… no noticeable sag. There’s certainly some rot on a small, maybe 4 foot portion of what I think is the sill plate. Thank you for your help!”
Thank you for your kind words, they are much appreciated.
Clay-heavy soil creates significant challenges for structural lumber because its poor drainage prevents natural drying process necessary to inhibit fungal proliferation. When under treated columns are embedded in these environments, surrounding earth acts as a reservoir for water, maintaining high moisture content required by wood-destroying organisms to thrive and initiate premature decay.
Incorrectly rated lumber can fail prematurely when exposed to aggressive environmental conditions accelerating decay. Primary factor is persistent moisture, as decay fungi require wood’s moisture content to exceed 20 to 25 percent to thrive. Poorly draining soil, such as heavy clay, or areas where water pools around post base maintain this high moisture content, creating an ideal habitat for rot. Constant saturation also promotes chemical preservatives leaching into surrounding soil.
Soil chemistry also affects preservative longevity. Highly acidic soils (e.g., in peat bogs or areas with high organic matter) are aggressive toward copper-based preservatives and accelerate their depletion. Site-specific factors, including soil type, geology, and climate, directly influence rate biocides (treatment chemicals) are lost. Decay is a biological process driven by fungi and, in some regions, subterranean termites.
While treated wood resists these biological attackers, a consistently warm and wet environment increases potential for decay organisms. Fungi thrive between 50 and 90 degrees Fahrenheit, meaning southern regions with high humidity present a greater decay hazard than cooler, drier climates.
Reliable local professionals in your area can be found through digital matching services where you can provide specific details about your barn to receive relevant quotes. When interviewing candidates, it is essential to ask for a customer reference list and their specific experience with wood-frame decay or post-foundation issues to ensure they are right fit for your property.
Structural engineering firms often offer specialized condition assessments going beyond standard home inspections, making them well-suited for identifying whether post rot compromises your barn’s structural stability. Standard industry practices for moisture inspection often involve using a probe meter to determine wood’s internal moisture content, crucial in diagnosing potential rot extent. Licensed and certified experts are required to perform these calculations, as mistakes in structural repair can be extremely dangerous and jeopardize anyone near buildings safety.
 Flat rate pricing is common for these assessment types, with structural engineers typically charging $550 on average for an inspection and necessary structural calculations. Depending on your pole barn’s complexity and how easily accessible posts are for testing, you may find costs range from $300 to $800. Hourly professional fees generally fall between $100 and $250 per hour if work is not billed as a flat rate project. Project success factors depend on clear communication about your goals, so prioritize firms demonstrating responsiveness and provide practical, cost-effective solutions for unique building issues. Hidden defect detection is a primary objective for professionals who perform thorough inspections to ensure your investment remains safe and functional for years to come. Professional oversight ensures any identified rot is addressed according to safety standards, protecting both your property and those who use it.
To determine, on your own, if an embedded pole barn post is rotting, inspect post base for decay signs, such as softness or sponginess when probed with a screwdriver. If screwdriver sinks more than one-quarter inch into wood or feels compromised, it indicates structural failure due to rot.
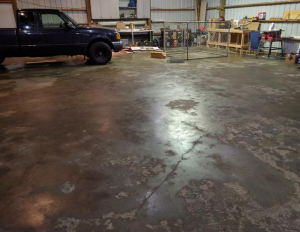 DEAR POLE BARN GURU: Thanks for the abundance of technical information you provide your readers. Like many of them, I inherited a pole barn with the same ceiling sweating, heat, cold issues and need a post construction solution. The slab sweats only in some places. I have a typical wood post with 2×4 horizontal purlins, wood truss and purlin roof, and metal skin walls and roof. My goals are, #1 stop the moisture inside, #2 insulate for moderate comfort (no codes to comply with and I can heat with a wood stove and abundance of wood) , and #3 if I can afford it, skin the walls with T-111 or other wood for an attractive look inside. I did not see any suggestions about double-faced radiant barriers in your other articles. Do you think expanded polystyrene cut to fit in the 1.5 inch cavities to flush with purlins, and then add the radiant barrier (bubble type) stapled over that directly to purlins would be appropriate and not trap moisture? If so, should I allow and air space between the polystyrene and radiant barrier? Many thanks, Mr. Retired…finally! JOHN in CHEROKEE VILLAGE
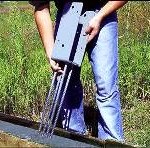 DEAR CHAD: I would repair one column at a time. Temporarily support roof system being supported by a column. Cut column off above point of decay. Excavate embedded portion of column and remove – hole being dug to be at least below frost line. Insure bottom of hole is firmly compacted. Place a sonotube in hole, attach an ICC approved wet set bracket to bottom of column and backfill with premix concrete. Compact granulated fill around sonotube in six inch lifts. Repeat at each column.
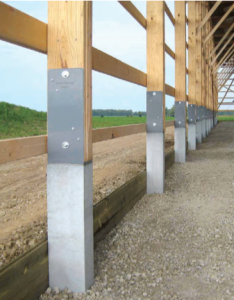 DEAR POLE BARN GURU: As a prospective customer, doing as much research and educating myself your site and information has been a wonderful tool. Through my educational journey the most confusing area is with post construction being set in concrete. Your blog has answered many questions and worked to dispel myths about rotting wood. But, there is a product or system (Perma Column Cast Concrete pole bottoms) that seems to be the ticket to eliminate any concern about rot, Valid or not. What are your thoughts on this approach? Any insights are very much appreciated. BRIAN in POULSBO
 DEAR POLE BARN GURU: Are any of your barndominiums classified as a single family dwellings? JOHN in EAST CANTON
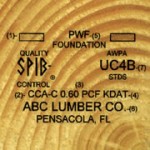 DEAR DANIEL: Your premature decay of fence posts has nothing to do with how fast lumber grows – it is them not being pressure preservative treated to UC-4B levels. All of our fully engineered post frame (pole barn) buildings utilize this level of pressure treating and it performs admirably. If you are yet concerned, there are options available such as plastic column sleeves, or pouring piers with wet set brackets to keep columns out of ground entirely.
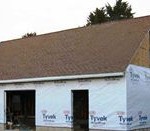 DEAR POLE BARN GURU: Concerning fastening house wrap, can you use button staples as recommended by house wrap companies? I didn’t know if the button would show through the tin. I don’t want to lose house wrap before tin would be up as we live in a very unpredictable and windy area but also don’t want button to show through tin if that’s a possibility. Thanks! ADAM in COLBY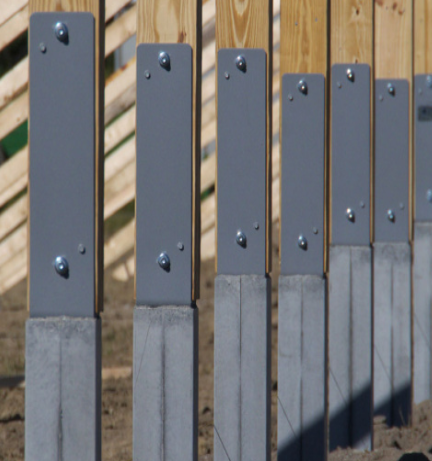
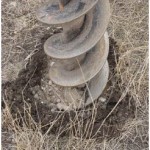 DEAR POLE BARN GURU: Hello, I am building a pole barn for cattle in the north TX area ( primarily clay soil). I have augured my post holes and took a lot of time making sure I set the post square and plum. Unfortunately before the concrete truck couldn’t get to me the rain started and dint not stop. All of my post holes stayed full of water for about 1.5 weeks…. Since then I have pumped them out and we have had 2 weeks of high 90 degree days with full sun but the bottom of the holes are still muddy. My plan has been to let them dry out but I wonder if I need to pull the post, possibly auger out the mud and repack them. This option of starting all over gives me heart burn!!! My concern is that my post will sink and settle when I add the weight of concrete and all of the other building materials. I know you probably can’t say definitively but if you were in my shoes would you start all over or do you think it would be ok to just let them dry out and move on? Not sure if it matters but the post holes are 16″ in diameter and 52″ deep. Thanks for any advice! ANTHONY in SHERMAN
  DEAR POLE BARN GURU: Do you provide quotes for a Maintenance Garage in Salem, Missouri? DANIEL in ST. LOUIS
 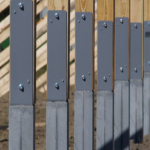 DEAR POLE BARN GURU: My GF lives in In Indonesia and as you know, they are moving the Capitol. Because of rising water levels. I saw some rubber ” boots” that are supposed to protect against rot from water. They also sell concrete for building a ” pier”. Any advice? She has family there and does not want to leave. MATHEW in RENO
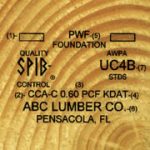
 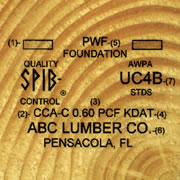 DEAR MATT: In my humble opinion, this could be resolved by having clear markings on Pressure Preservative Treated wood to not leave any doubt as to what proper use is. I have stomped my feet on this very issue for years:
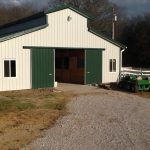 DEAR JEFF: Assuming standard post frame building construction where top of concrete slab is 3-1/2″ above bottom of pressure preservative treated splash plank. From bottom of splash plank to bottom of sliding door header would need to be 13′ 4-3/4″ to allow for a 13 foot tall sliding door.
 DEAR POLE BARN GURU: Hey I found you thru Hansen Buildings and had a question you might be able to answer just built a 24 x 16 pole barn and on the left and right added sheds but only half the building length what do I do with my gable trim that ends in the eave on the roof side of it just don’t know how to end it? JEREMY in SILETZ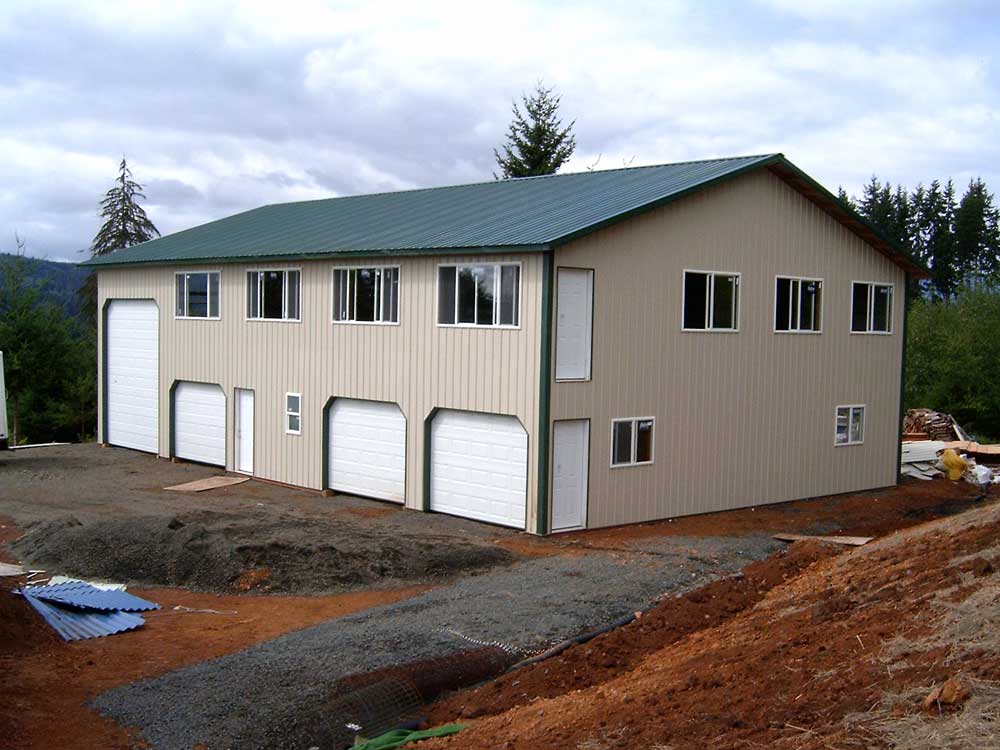
 DEAR POLE BARN GURU:
  DEAR POLE BARN GURU: We are in an area of 120 – 150 snow load in the mountains of MT and want to error on the 150 load side when building our shed. The shed plan is 30×70 (2 RV doors) on the 30 side) with a 15×70 enclosed lean to (car garage door on the 15 side) that will have a car garage, workshop and storage room. Can we do a pole building with this size of shed and snow load or do we have to go stick built? KIM in BIGFORK
 DEAR POLE BARN GURU:
 Thanks. GREGG (a Hansen Pole Buildings’ Designer)
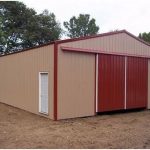 DEAR JASON: If yours is typical post frame (pole) building construction, your opening probably measures 12 feet from center of column to center of column, in which case you would be looking at needing a 12 foot width split sliding door. This would give you two door leafs just over six feet in width, enough to cover the opening, provide an overlap on each side and be able to be covered with two three foot widths of steel siding.
 DEAR ABE: Do not use this insulation as you have intended, it will cause you nothing but grief. Not only will your post frame barn roof leak, but the diaphragm strength of your roof steel will be severely compromised, which could lead to a catastrophic failure. Tyvek and other building wraps are not condensation control barriers, they are moisture barriers. There are several possibilities – invest in roof steel with Condenstop or Dripstop preapplied, use a radiant reflective barrier between the purlins and roofing, or spray closed cell foam on after the roof is installed.