Tag Archives: pole barn crawl space

Fishing Cabin Insulation

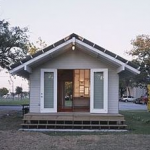
Fishing Cabin Insulation Blog-Compliments to Rick Carr in sharing this post on how he insulated his fishing cabin. 

My insulation challenges are a little unique due to having an above ground crawl space, radiant floor heating above the sub floor, 2×8 and 2×10 walls and having a partial attic area (over the bedrooms) with the remainder a vaulted ceiling.  My insulation is done and the drywall is going up.  The test for the plan will wait until next winter.

Here is what I did.

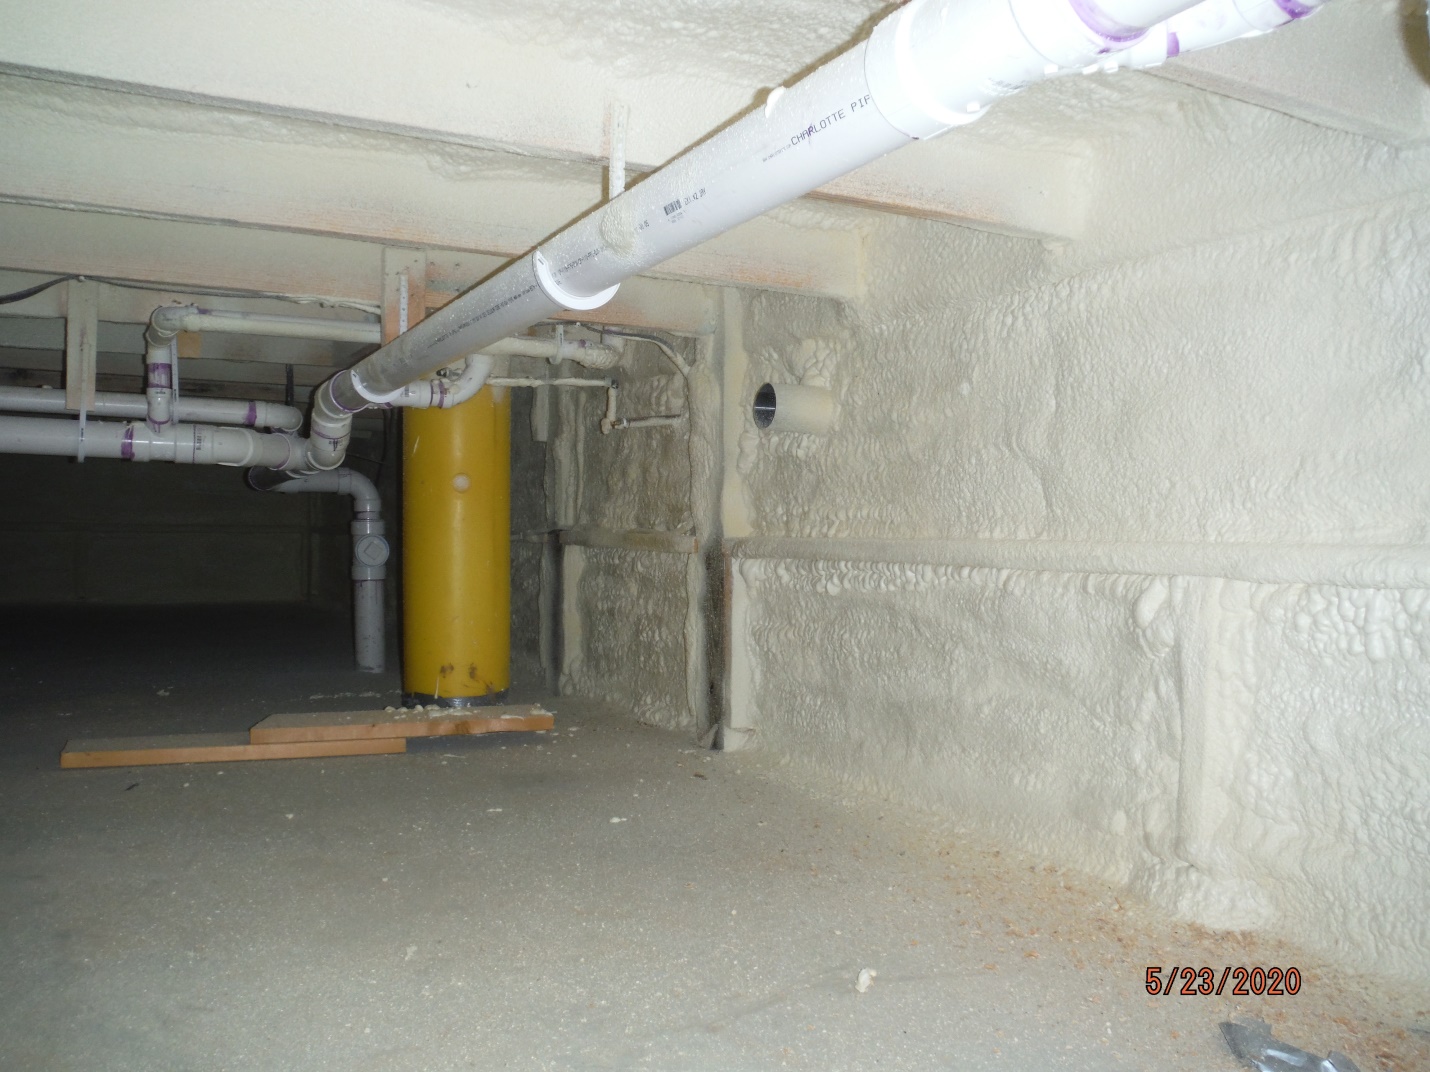
First I had closed cell foam sprayed.  In the crawl space, walls 3 inches closed cell spray foam, completely sealed and R 21.  Also we sprayed the underside of the subfloor to 1 ½ to 1 ¾ inches.  The goal was to get R 1- to 12 on the underside of the floor.  The radiant floor people tell me that heat moves to cold, so R 12 under the floor will have heat going up into the living space rather than down into the crawl space.  There is also R 10 foam board and poly under the concrete.
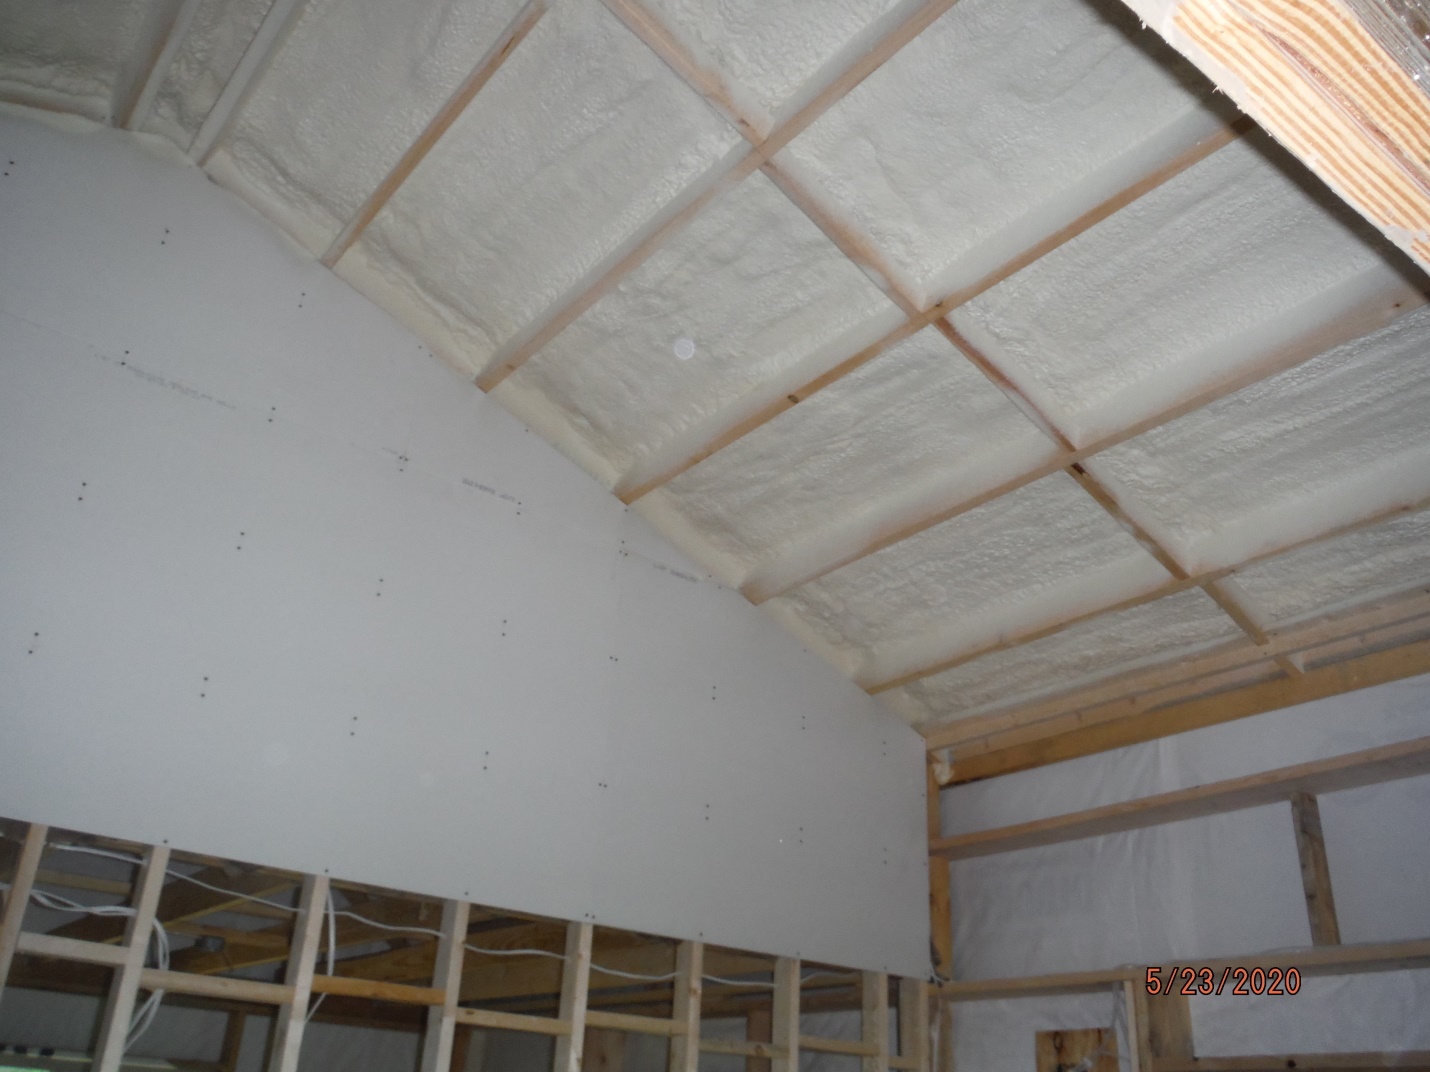
I also had 3 inches of spray foam, R 21, on the underside of the roof steel.  The drywall will go on the underside of the roof purlins.  We used 2 x 10 roof purlins to get a 9.5 inch cavity for insulation.  I put Tyvek under the roof steel, so the spray foam actually adheres to the Tyvek, this will allow replacement of roof sheets, if ever needed.  This still leaves a 6 inch space for R 21 unfaced batt insulation.  Spray foam people will tell you that because the spray foam completely seals the effect is greater than the R value.
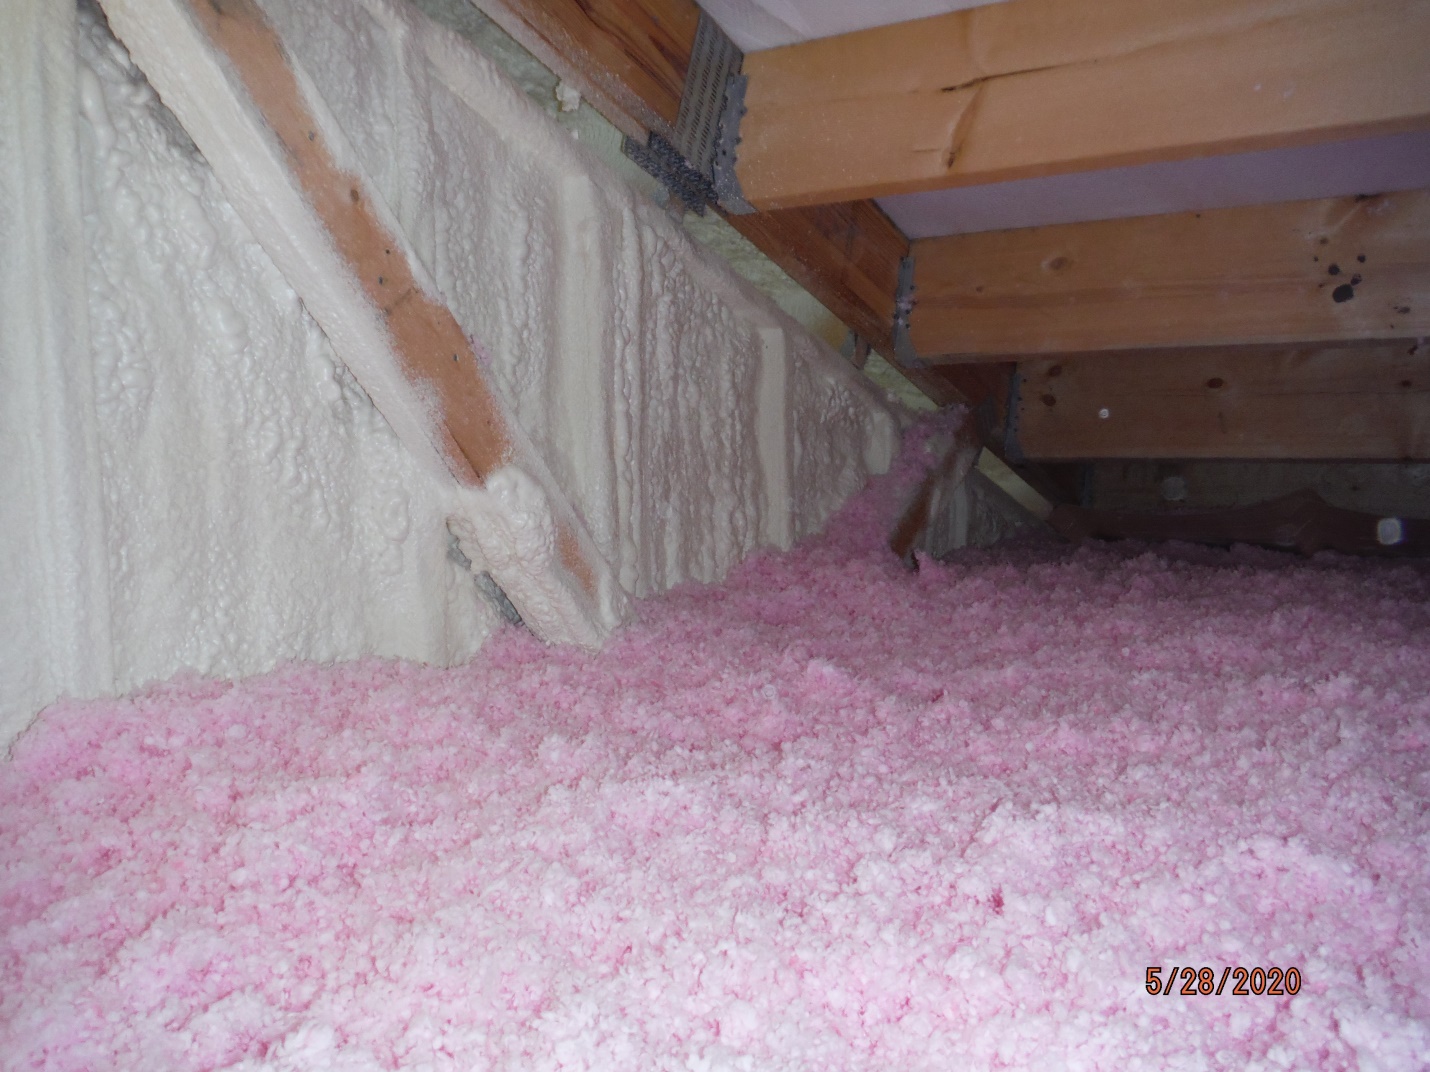
The Attic side of the divider wall was also prayed with 3 inches of closed cell foam.  There wasn’t a normal 6 inch cavity to fill with batt insulation which made the spray foam a good choice for this.  We also blew in 16.5 inches of fiberglass insulation into the attic above the bedrooms for R 49 in that area.

 The walls are another matter.  The 42 foot walls on the north and south sides of the building are 2 x 10 walls with 9.5 inch cavity.  The 30 foot east and west walls are 2×8 walls with 7.5 inch cavity.  I chose blown in wall insulation for the walls.  It is commonly thought that you can only have a pro blow insulation into your walls, not so, I did it myself, with some help.

I chose Owen Corning’s Procat product and system, which can be purchased from contractor supply houses. https://www.owenscorning.com/insulation/products/procat  This is the same product as used in the ceiling.  The supply house will loan you the blower, which has a control at the end of the hose.  You staple Insulweb netting to the framing, cut a small slit in the netting, insert the hose and blow it in.  This might be a little more costly than batt insulation, but where do you find batts for 2 x 10 walls?  Also the electric all over the place gets in the way of batts, no problem, filled in and around.  The blown in insulation fills into all cracks and spaces.  What you spend in the product is also made up in time/labor savings; it goes very quickly once you get the hang of it and the netting up.
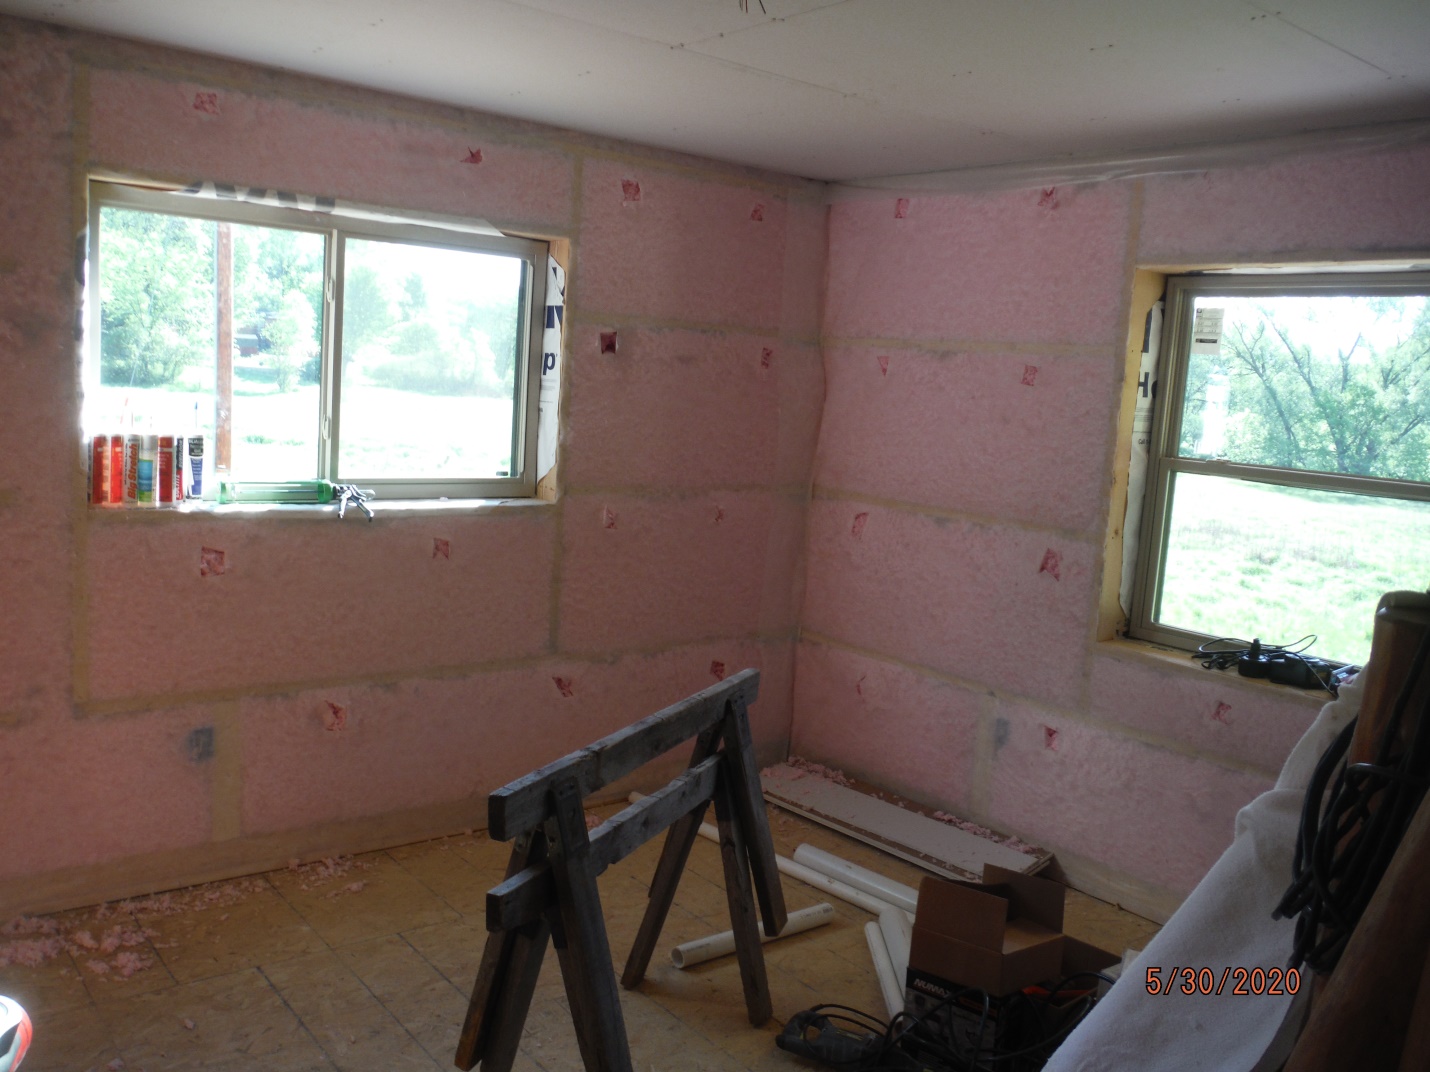
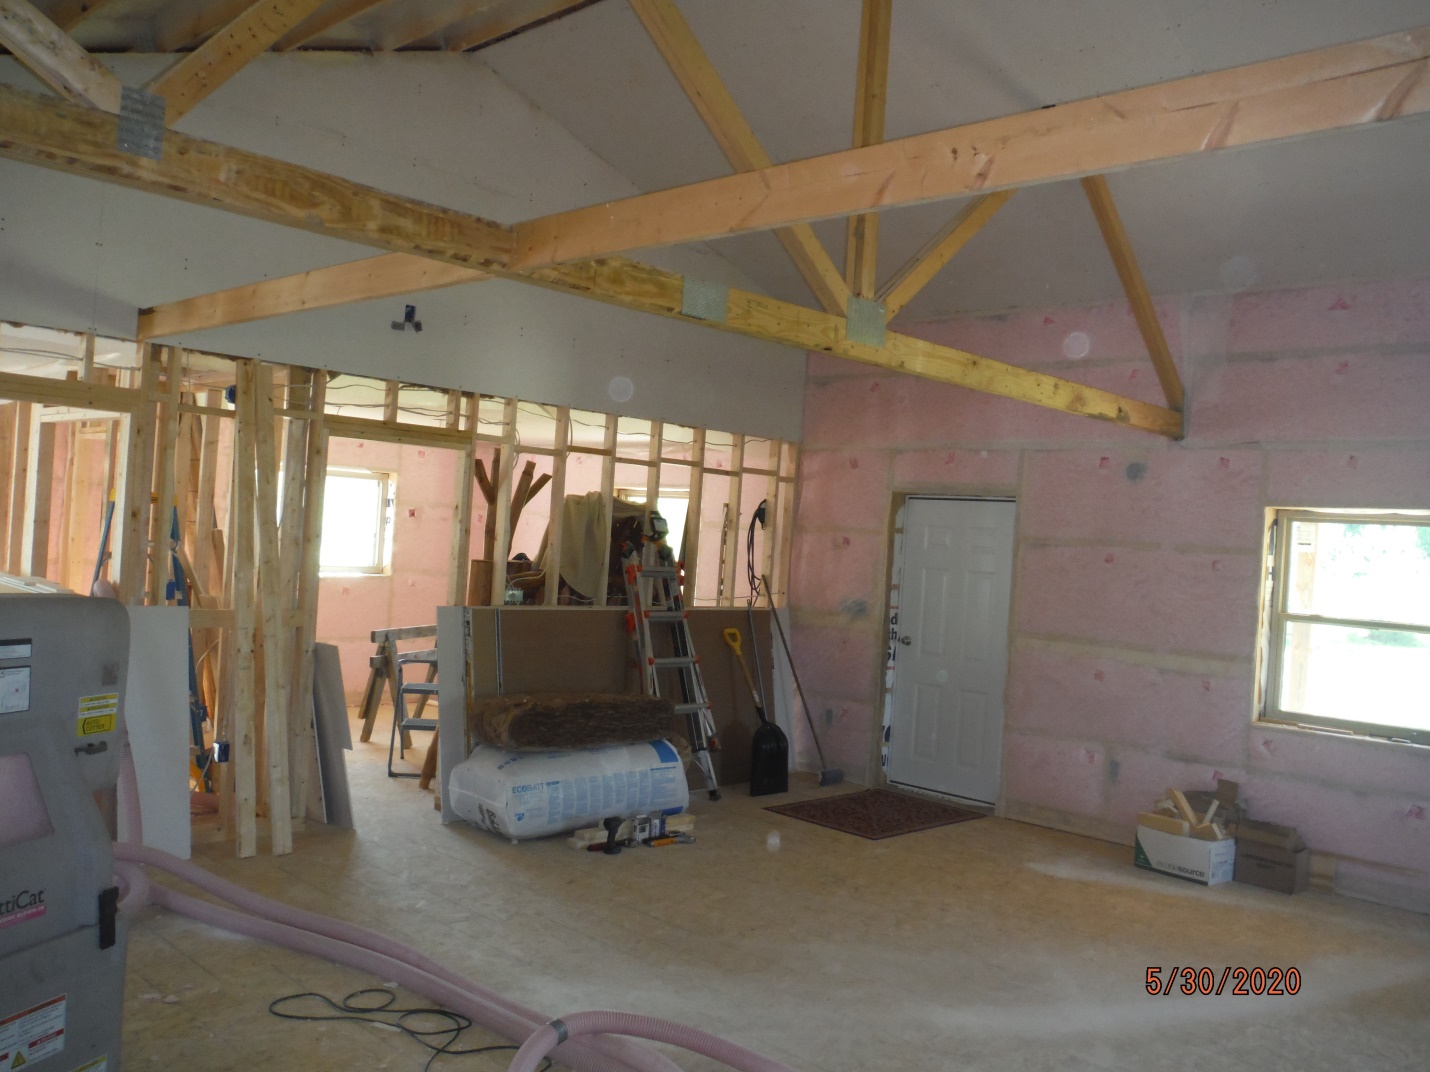
The puffing or pillowing is not a factor because the product is light enough that the drywall will straighten it.  Also you can use your free hand to minimize the pillowing if you have a large cavity.  The product R value for 5.5 inch cavity walls (2×6) is between R 22 and R 24 depending on how full you pack it in.  With my 2×8 and 2×10 walls, the R value is literally off the chart, well over R 30.


I think I’ll be snug this winter.
Solutions to Porch Overhang Clearance Issues

Recently KIM in STRATFORD posted this question to a Facebook Barndominium discussion group I am a member of:

“I am trying to finalize my plans today. Is it possible to have 8′ side walls and still have a 6′ overhang open porch on the eave side of the house? I have a 5/12 pitch on the house portion and actually wanted two separate roof lines, one for the house and a separate one for the porch overhang. House is on a slab so no built up foundation walls. I’m not sure if this porch will be too low with the porch roof UNDER the house roof and with a slight slope for water drainage…. Any experts out here?”

Mike the Pole Barn Guru responds:

For starters, most steel roofing suppliers will not warrant steel placed on slopes of less than  3/12. Continuing out from your main wall six feet at a 3/12 slope will place underside of your overhang at roughly six feet and six inches. Not only could this become a head ringer (at least for my son who is 6’6” tall in his bare feet), but it is going to block clear view out windows in this area. It is also just plane going to feel low.

I did some researching, however I’ve been unable to find a Building Code requirement for clearance below an overhang, however I would have to believe seven foot to be a bare practical minimum. 

You could:

(a) Build over a crawl space, instead of a slab – raising elevation of home and affording a more comfortable surface to live on (https://www.hansenpolebuildings.com/2019/03/slab-on-grade-or-crawl-space/) ;

(b) Increase house wall height – you could maintain an 8′ finished ceiling and have raised heel roof trusses to allow for full depth attic insulation from wall-to-wall (very good idea) https://www.hansenpolebuildings.com/2012/07/raised-heel-trusses/ ;

(c) Use roof trusses wide enough to span from opposite wall to outside edge of porch, with a pitch change at junction between porch and home.

Dial 1(866)200-9657 and ask to speak to a Building Designer. Your call is free and we have great solutions for you.

A Post Frame Shotgun House?

Many believe the term “shotgun house” was due to a bullet could be fired through the front door and go right out the rear door without hitting any walls! More appropriately evidence has it the name shotgun house came from a corruption of the West African term “shogun” which means God’s House.

Reader Sheree from Frisco City wrote: “I want a building that looks like an old southern shotgun house is that a possibility? I wanted approximately 800-900 sf.”

Post frame construction lends itself aptly to the shotgun house style. Shotgun houses typically have one room leading into the next, without any hallways. It is particularly suited for hot climates, as the front and rear entry doors can be opened to allow for a breeze to flow through the entire house. On the front is a covered porch which provides shade for outdoor visiting.

The most typical width for shotgun houses is 12 feet, which happens to be a very economical width in post frame construction. The same can hold true for length – using a 12 foot long covered porch, then multiples of 12 feet in length, in order to get the most bang for the buck.

Post frame shotgun houses can be designed over open crawl spaces, several feet off of the ground. This affords yet another method of cooling as the shaded area beneath the porch and house will be cooler than the surrounding ambient air temperature.

By the use of bookshelf style wall girts, deep wall insulation cavities can be created. Raised heel trusses also afford a space for added insulation to help maintain comfortable temperatures,

The narrow width of the shotgun house, allows for them to be constructed on urban lots which would otherwise be unable to be built upon. Many older cities have lots which were originally laid out in widths as narrow as 25 feet!

Considering an affordable design for a shotgun house? If so, investigate post frame, the savings may be a pleasant surprise!

Nail Guns vs. Hand Nailing

Welcome to Ask the Pole Barn Guru – where you can ask questions about building topics, with answers posted on Mondays.  With many questions to answer, please be patient to watch for yours to come up on a future Monday segment.  If you want a quick answer, please be sure to answer with a “reply-able” email address.

Email all questions to: PoleBarnGuru@HansenPoleBuildings.com

DEAR POLE BARN GURU: I know some companies hand nail exclusively. I have 3 1/4″ ring shank galvanized nails I can shoot from a Paslode nail gun. Is that sufficient for girts and windows/door framing. I forgot the email on a previous question.

Thanks. SCOTT IN MACOMB 

DEAR SCOTT: I have no issues with nail guns – my Dad and uncles were considered pioneers when they were using nail guns on framing projects fifty years ago. If it wouldn’t have resulted in an equal to or better solution, there is no way they would have done it. 

Personally – hand nailing just gives me big forearms and sore elbows. Some of which could be at 57 I still use the heaviest framing hammer head I can swing (I prefer to drive nails in the fewest swings possible). When I was a teenager, I was so impressed my Uncle Gil could fully set and drive two 16d sinkers at one time with one swing! Footnote: my Dad (Uncle Gil’s older brother) was not impressed – as the two nails ended up being too close to each other. 

As to your particular choice of nail, they may or may not work, and I would defer to the nails which were specified on the plans by the RDP (Registered Design Professional – Engineer or Architect) who designed your building. Both nail length and diameter are crucial in obtaining the correct results which will adequately meet structural criteria. 

The most common nail choice errors I see are – nails which are too long, too small in diameter or the use of non-galvanized nails. A tried and true rule for nailing – never drive the tip of a nail into a piece of wood greater in depth than the width of the face you are nailing into.

Example, attaching one 2×4 or 2×6 to another, where the nail goes through the wide face of one board, into the narrow 1-1/2 inch face of the second. The maximum nail length in this case should be three inches. 

Your building plans, or the instructions which came with them, should also include information as to minimum distances between the nail location and edge or end of the pieces being nailed, as well as minimum on center spacing. All of these are a result of testing to minimize connection failures. 

Mike the Pole Barn Guru

DEAR POLE BARN GURU: On your residential buildings what do you do for the foundation as far as heating? Do you pour a footer? WILL

DEAR WILL: My personal preference is to use an elevated wood floor over a crawl space – using batt insulation between the floor joists. I happen to find this surface far more comfortable to live on top of. (read more about post frame crawl spaces here: https://www.hansenpolebuildings.com/blog/2013/03/crawl-space/)

For slab on grade, you will want to read these articles (see the second answer of the Dear Pole Barn Guru one):
https://www.hansenpolebuildings.com/blog/2012/10/concrete-slab-4/
https://www.hansenpolebuildings.com/blog/2015/04/steel-panel/

Mike the Pole Barn Guru

DEAR POLE BARN GURU: I have always planned on an outbuilding here. Initially I was going to build something over the existing well and make it big enough to house a lawn mower and other yard equipment. The well has power to it.

I had a separate electrical panel put in expecting to later build a shop. Now that I am here I am thinking it would be easier to do the shop and the well “shed” all at once so I was thinking about a building maybe 16’ wide and 40’ or longer running down (3’ off) the property line.

What do you think about having a pole barn that size put up and then coming back at my leisure and adding a stem wall, dirt, and concrete floor and then framing in portions of it as I see fit – some with walls, insulation, window AC units, some with walls and doors – maybe even rollup doors, and some just open.

Will costs to do this be higher than planning a building in the final configuration and going that route?

 Thanks, JOHN IN LYNN HAVEN

 DEAR JOHN: In the greatest majority of cases, it is more efficient and economical, as well as having a great resale value, to construct a single building, rather than two. The one exception which comes to mind first – is in cases where mixed use occupancies create fire separation issues.

To get the most bang for your buck, I would recommend you construct the largest building which will fit on your property and within your budget. Whatever you build, it won’t be large enough over time. Make sure to be discussing your ideas early on with the local Planning Department – as they will most likely require a setback from your property lines of more than three feet (or you may be faced with some rather expensive fire walls).

Buildings which are closer to square, rather than long and narrow will also be more economical – especially in high wind areas.

Pole buildings do not require stem walls, so you will have significant savings in concrete and foundation forming costs, as compared to other forms of construction.

Also, to help reduce costs over the long haul – try to incorporate as many (if not all) of the perimeter wall features as possible (e.g. doors and windows) initially. Also, fully enclosing the building to begin with, rather than doing a roof only (pavilion style) or a three sides building will keep from having to over design for the “as built” stages.

 The great thing about a pole building – is you can save on initial costs by constructing the pole building, and then adding the concrete floor later. Of course it’s nice to get it all done at once, but if you want to stretch out the budget part, this is the way to go.

 Mike the Pole Barn Guru