Concrete Slabs on Grade for Cold Climates
My lovely bride and I have a shouse (shop/house) in Northeast South Dakota, where it can tend to get chilly in Winter. Reader TERRI in DULUTH is in a similar situation and writes:
“What type of slab for cold climates do you recommend?”
Well Terri, thank you for your patience in awaiting a response, your email address was not included with your question, so I was unable to message you back as quickly as I would have liked.
PLEASE – If writing an “Ask the Pole Barn Guru” question include your email address.
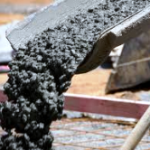
Injecting some humor (sadly, I have to point it out as not everyone gets it) – I would recommend a concrete slab.
Before diving into this subject – accept one fact, concrete slabs will crack. If you are expecting otherwise, you are setting yourself up for disappointment.
First key to a successful slab is excellent site preparation: https://www.hansenpolebuildings.com/2017/02/building-site-preparation/
Second – insulate your slab’s perimeter. 2021’s International Energy Conservation Code (IECC) provides guidance to meet energy code requirements for every county within our country. Begin by looking up your Climate Zone: https://codes.iccsafe.org/content/IECC2021P1/chapter-3-re-general-requirements
I will cheat and tell you Duluth (St. Louis County) is climate Zone 7.
Scroll down to Table R402.1.3 to find Insulation Minimum R-Values.
In Climate Zone 7 your slab perimeter must be insulated to R-10 and be four feet in depth.
Weirdly enough, Minnesota’s Building Code only requires footings to be at 60 inches of depth in your area (https://www.revisor.mn.gov/rules/pdf/1303.1600/2015-01-23%2012:37:31+00:00).
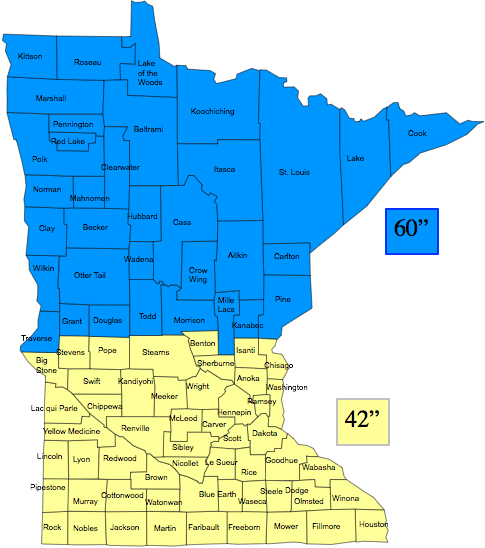
Although actual frost depth in your area is more like 80” in depth:
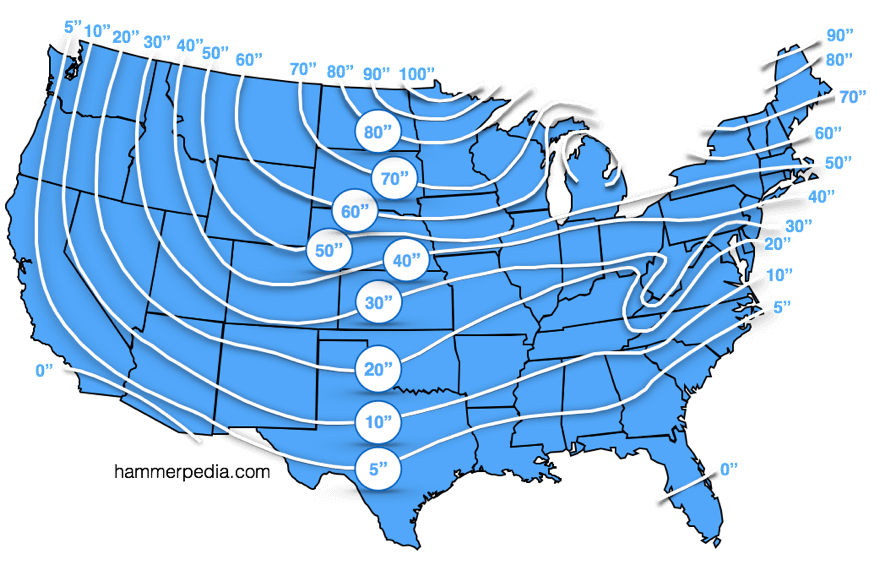
I would probably look at augering holes no less than 72 inches in depth, using a bottom collar of 18 to 24 inches (per your engineered building plans). This would allow you to trench between building columns and install R-10 rigid insulation along your building’s perimeter to a depth of four feet.
If you are going to do radiant in-floor heating you should be placing R-10 beneath your slab and on top of a vapor barrier of no less than 6 mil visqueen (I prefer 15 mil thickness to reduce chances of perforations during pouring).
 Nice to see jurisdictions enforcing IECC (International Energy Conservation Code) requirements, as it will result in more energy efficient structures. In Ouray County, you are in Climate Zone 6B. This requires ceiling R-49, wood frame walls of R-20 plus R-5 (or R-13 plus R-10) where second value is continuous insulation and slab edges to have R-10 four feet deep.
 Robertson County is in Climate Zone 4A, where 2021 International Energy Conservation Code (IECC) requires R60 in roofs and R30 in walls. You can meet wall requirements with 7-1/4″ Rockwool (
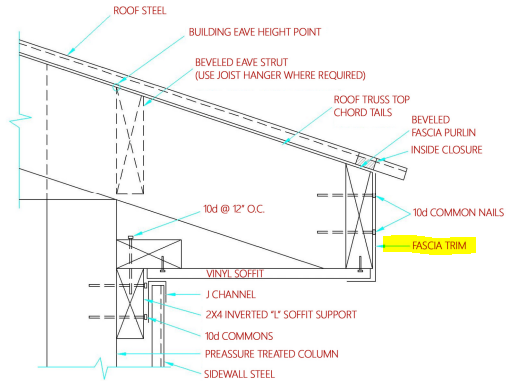
 Most post frame buildings have shells erected then slab poured, so this should not be an issue. A pressure preservative treated splash plank should be in place around this building’s perimeter. It will become forms for your slab. Snap a chalk line on the inside of splash planks up 3-1/2″ from bottom, this will be top of your slab.
 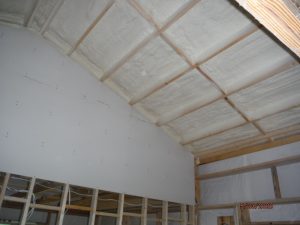 Lake Charles is in climate zone 2A. 2018’s International Energy Conservation Code prescriptively mandates (for your zone) a minimum R-38 value for ceilings and R-13 for wood framed walls. This would require 5-1/2″ in roof and 2″ in walls. You could go with 2″ of closed cell directly to underside of roof deck plus 6″ of open cell, or 2-1/4″ of closed cell with 5-1/2″ of Rockwool as alternatives.