Call me Ishmael.
 Some years ago—never mind how long precisely—having little or no money in my purse, and nothing particular to interest me on shore, I thought I would sail about a little and see the watery part of the world. It is a way I have of driving off the spleen and regulating the circulation.
Opening line of Moby Dick, Herman Melville, 1851
Swale, whale….what difference does a few letters make? Well, if they involve the area around a new commercial pole building requiring swales, it could amount to a whale of a cost!
What is a “swale” anyway?
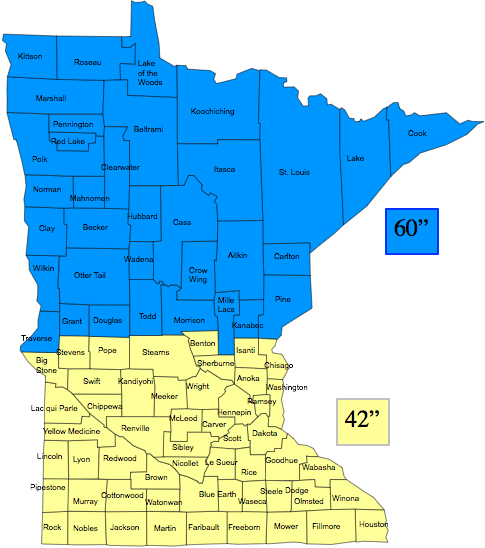
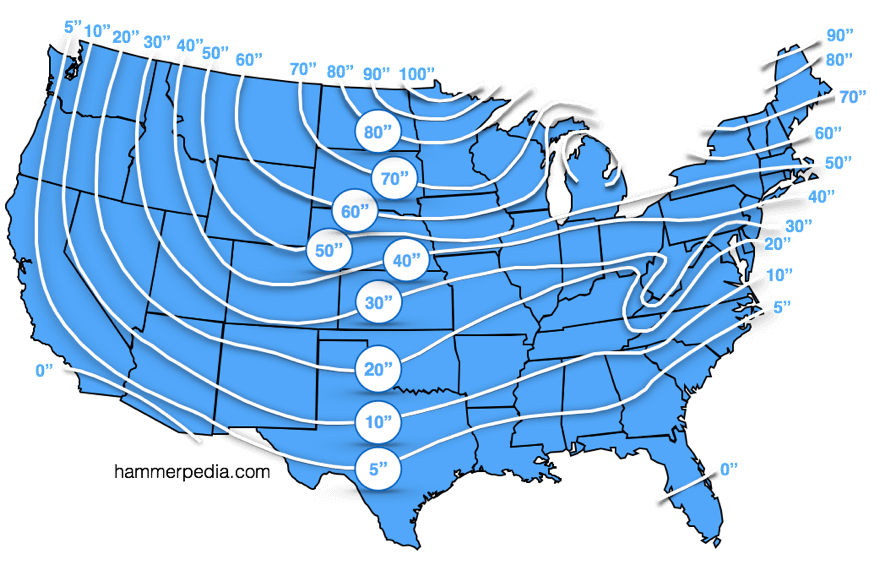
Grassed infiltration swales (“swales”) are depressions (collection areas) in which storm water from roofs, streets and driveways is collected following a rain or snow event. Swales are used to collect and dispose of storm water runoff, and to remove pollutants from storm water before it reaches underground sources of drinking water. Within a swale there is typically an elevated grate (four to six inches above grade) which is the cover for a drywell. The drywell receives overflow from the swale in the event of excessive runoff. Storm water enters swales through cuts in the curb or through catch basins and infiltrates through the grass and soil. Pollutants in the storm water are removed by the grass and soil in this infiltration process, helping to protect ground water sources from contamination.
Why is a swale necessary?
Drainage swales rely on the infiltration process, which is when water “soaks” into the ground and eventually recharges groundwater. The infiltration process requires the soil to have pore spaces for the water to pass through. Some ground materials have larger pore spaces than others, for example gravel is very effective for allowing water to pass through. Clay soils have small pore spaces which limit the amount of water which can pass through.
Requirements vary from jurisdiction to jurisdiction, however this overview gives an idea of what is entailed.
How do you design a swale?
The depth from the swale floor to the top of drywell grate must be no more than 8 inches, but deep enough to accommodate the designed volume of runoff. Following a storm event the swale should not have standing water for more than 72 hours. The floor of the swale should be level to evenly distribute water throughout the swale. The drywell should not be placed near the inlet to the swale. Drywells should be installed according to the approved plans.
Developing a good swale
Do not drive over swale area prior to construction. Compaction of soils will dramatically reduce infiltration. Shallow bedrock under the swale area will prevent percolation and infiltration, significantly reducing the performance of the swale. Importing top soil or sand will create a layered subsurface which is not conducive to good infiltration. Onsite top soil should be used in swales whenever possible. When off-site top soil/sand is used it should be mixed with two inches of organic matter per six inches of top soil and rototilled into the existing surface. This will greatly increase the infiltration capacity of the swale. Do not clean concrete truck chutes, masonry tools, and painting equipment in or near swales. These materials will dry and produce a layer of impermeable material which can destroy the infiltration process.
Sod is not the only option for establishing grass in swales. Hydroseeding is becoming more and more accepted. Recommendations for seed mixes are moving to grass species which are able to establish in poor soils and have a high drought tolerance. For aesthetic purposes, drought tolerant species are being utilized in areas which do not require turf. Sod should be fresh and after being placed should be kept damp for 2-3 weeks to encourage rooting.
How to protect a swale
Erosion on construction sites occurs when cleared and graded slopes are not protected from the erosive forces of rain fall and runoff. Frequently, there are no measures taken to protect infiltration swales from the deposition of the sediments in runoff. This results in a fine layer of silt that clogs the bottom of the swale. Slopes which have been graded must be protected from erosion. Inlets to the swale should be protected from runoff carrying silt eroded form the site.
Drywells in the swale should be protected from sedimentation by placing filter fabric under the grate.
Pole Barn Guru’s Swale Experience
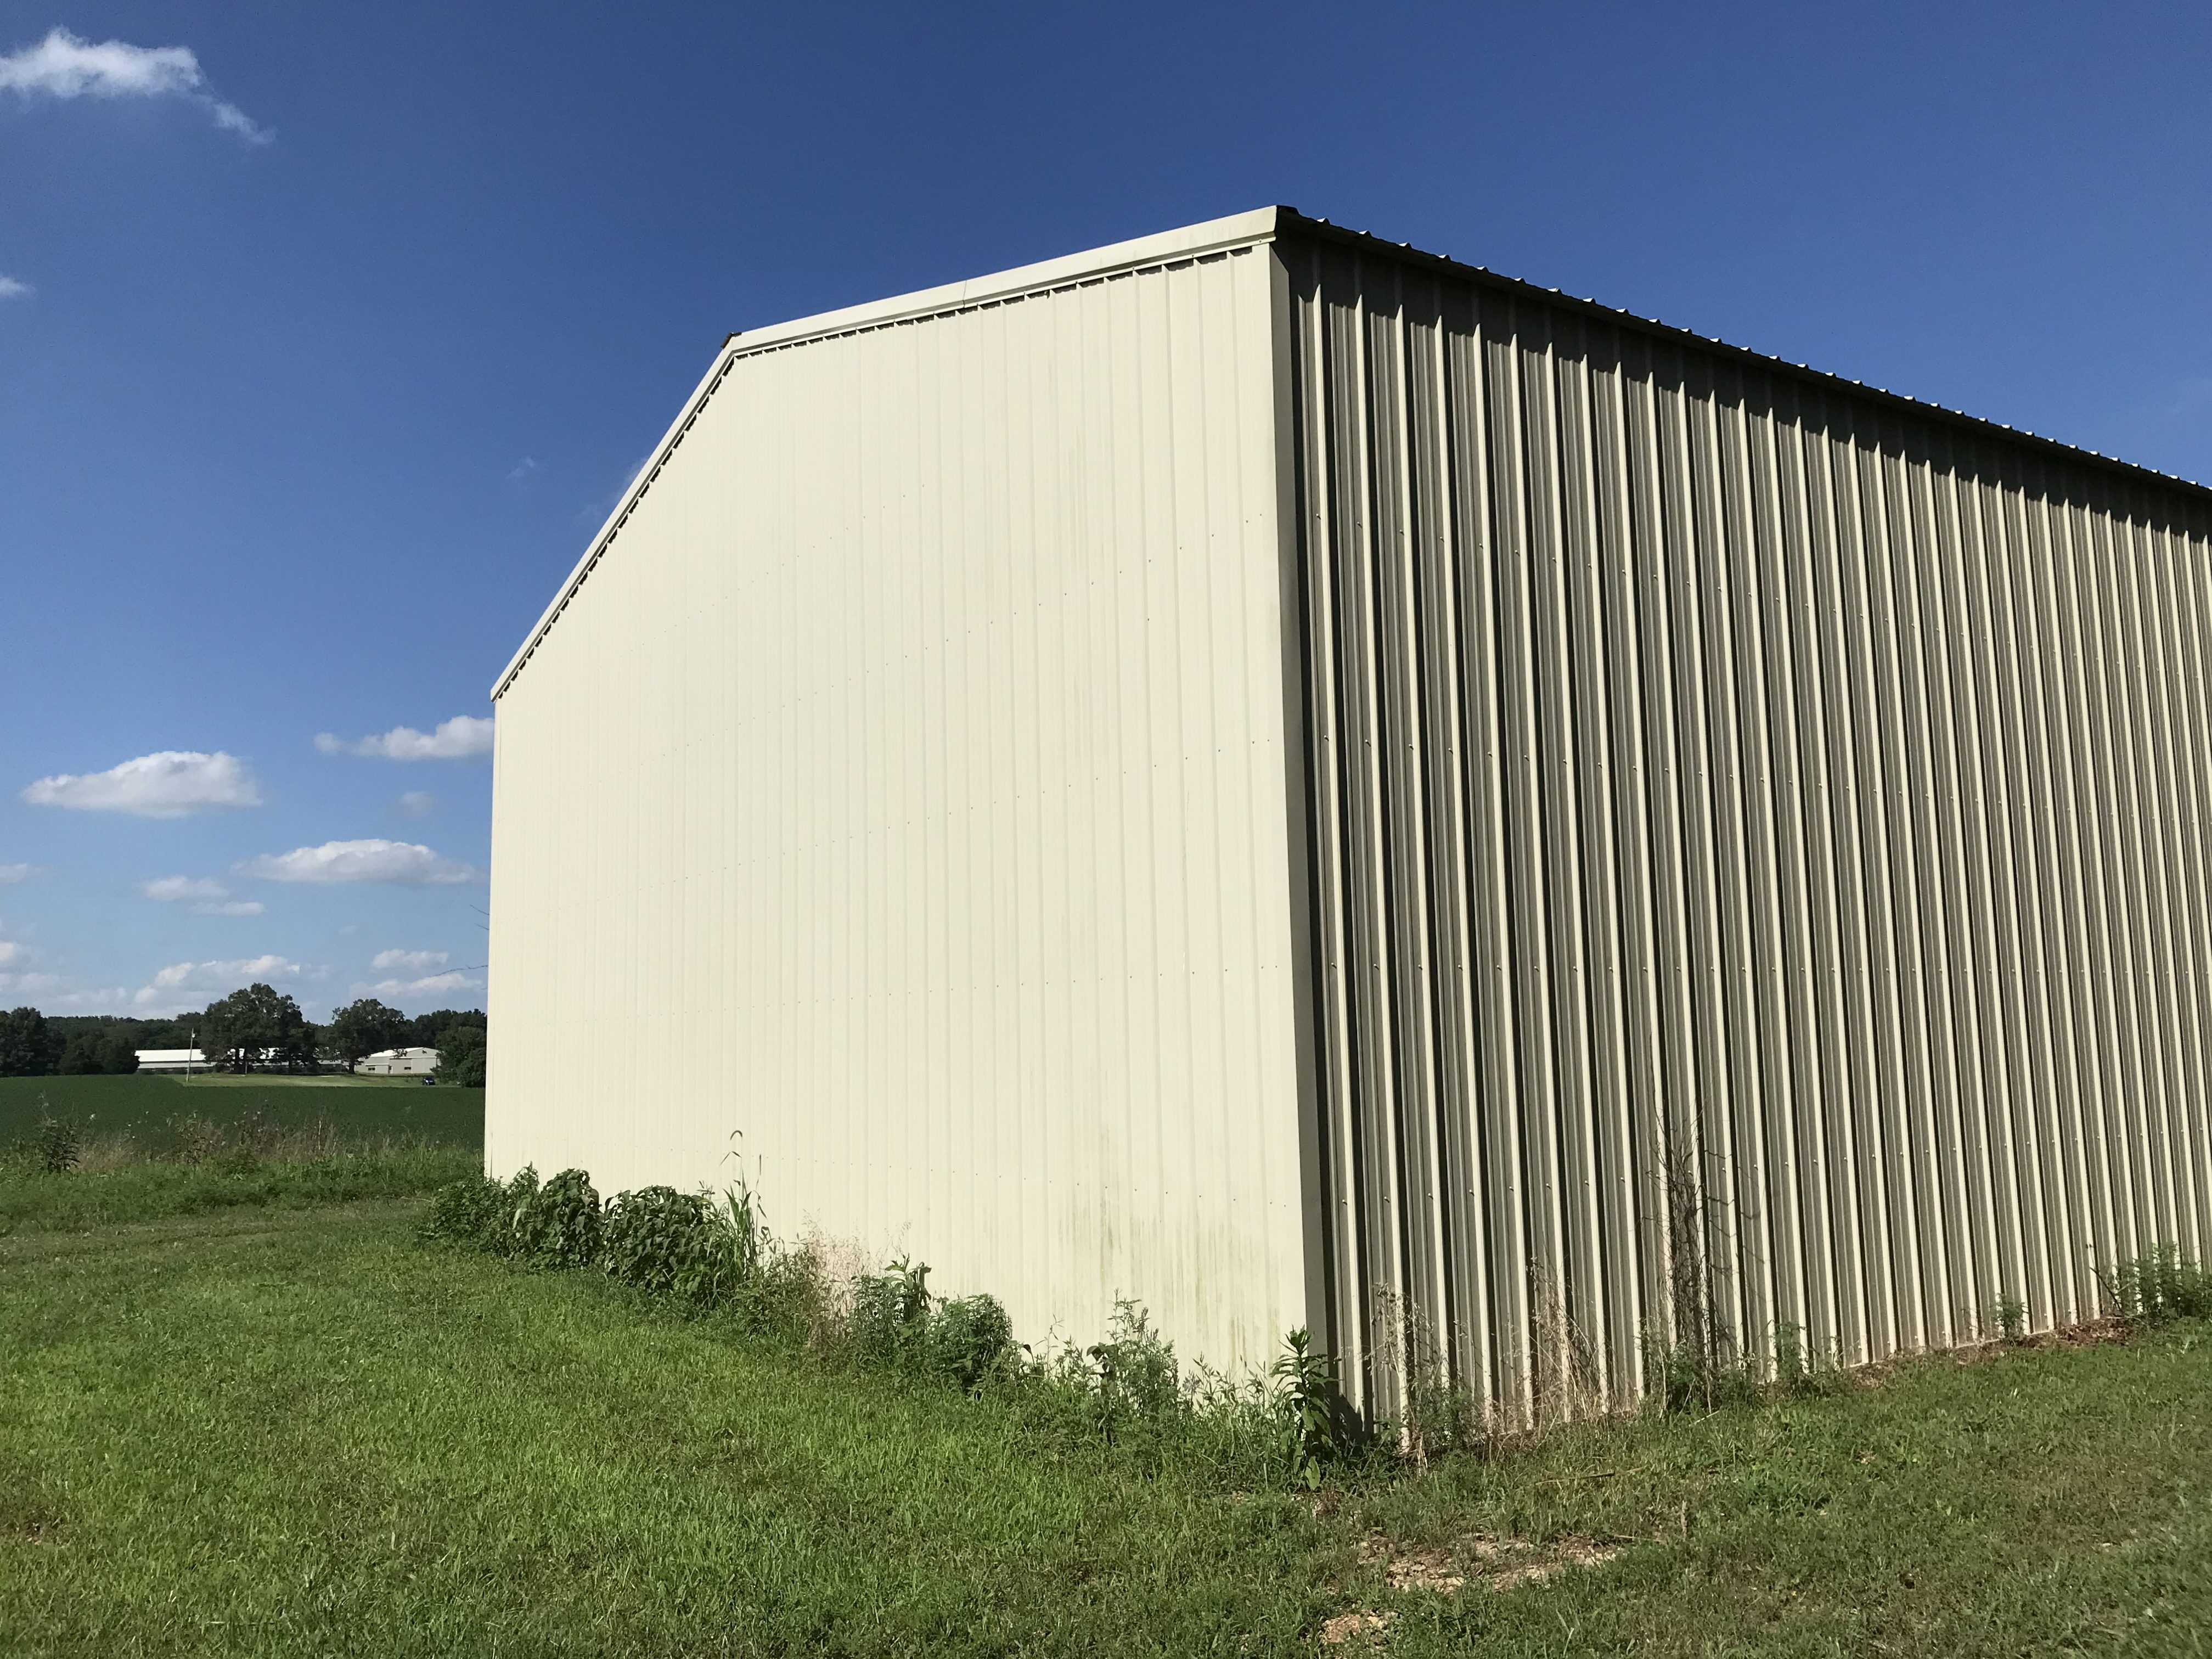
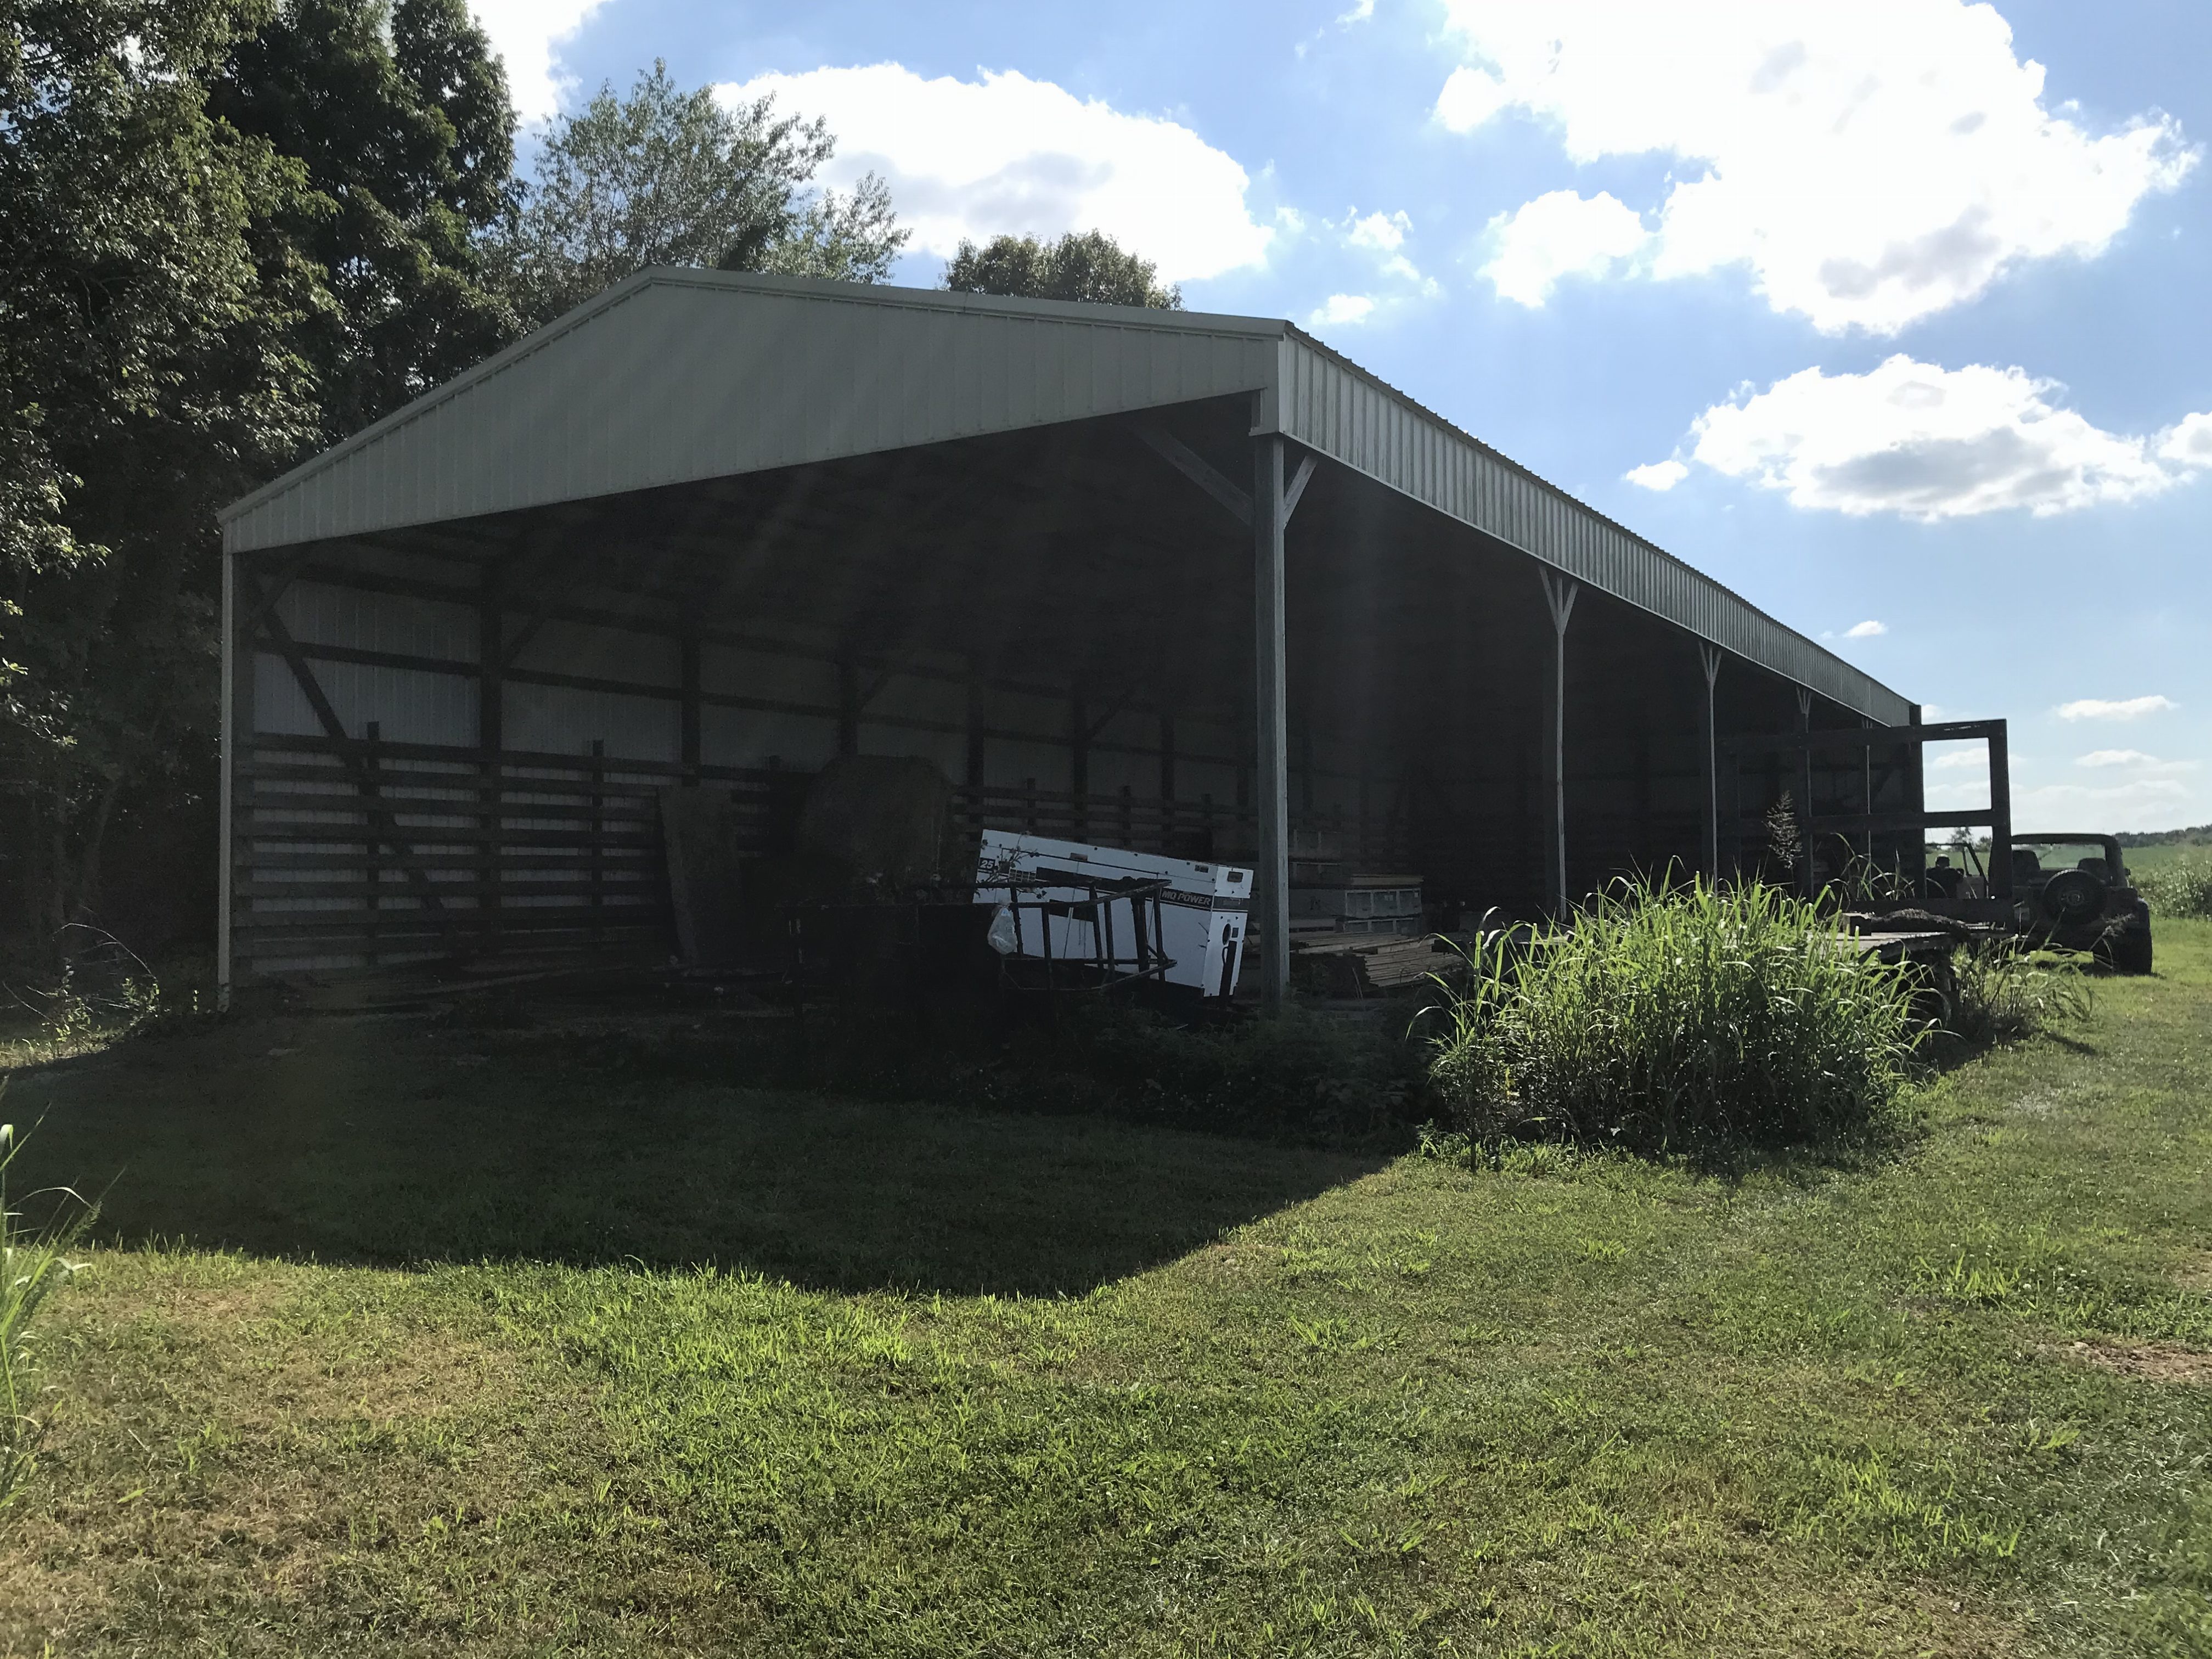
My first personal swale adventure was when I developed about three acres of land and constructed an 80’x150’ pole building for fabricating roof trusses. Most of the property was covered by either the building, or paved areas for parking and lumber storage. The engineered site plan was deemed necessary to account for a great deal of storm water runoff. The required swales were so large, I was sure we could have floated the Pequod in at least the largest of them! The soil was so sandy, I was personally sure if you dumped a cup of water on the ground prior to the installation of the swales, it would have been in the aquifer in an hour. However, bound by the planning department, I had no choice.
And for their cost, I could have bought a replica of the Pequod – between the engineering, the excavator, drywells, special soils and sodding….everyone had their hand out.
 DEAR SOUTHWEST MISSOURI: Well, you are probably best to get a car fitting your family’s needs. Personally, I drive a 2012 Chevrolet Avalanche – because if something hits me I would like to survive.
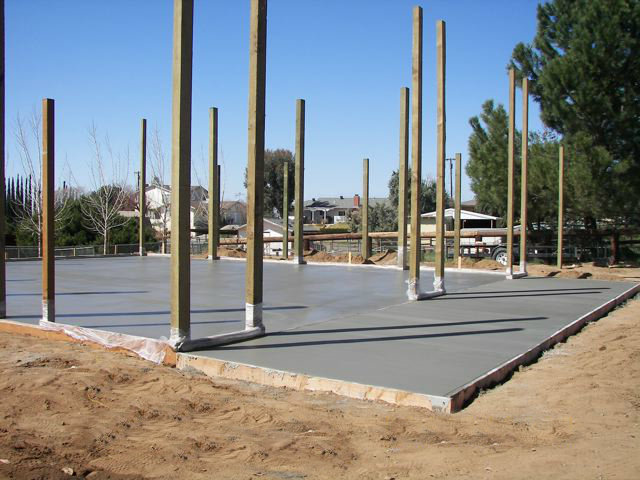
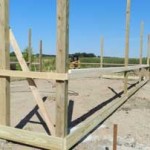
 DEAR JOSHUA: Simplicity is a part of post frame (pole barn) construction. If your building will not need a concrete slab on grade, then you could merely auger holes, then place them with limited amounts of concrete in hole bottoms to resist settling, overturning and uplift. If your future plans include a concrete slab, then more extensive site preparation should be done to insure proper results:
 This week, students installed engineered wood structural beams onto posts that will be supporting the roof trusses of the building. They are learning how to set up and move scaffolding platforms and accurately measure, mark, then cut the beams with saws and fasten beams in place with nail guns. This provides experience working from elevated platforms and the use of some of the most common tools used in framing carpentry.
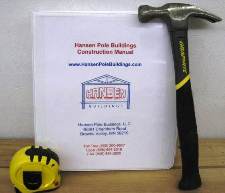 DEAR PHIL: After your order is placed, you will have immediate access to the online version of the Hansen Pole Buildings’ Construction Manual. You will also receive a printed copy of it in the mail, soon thereafter. In the meantime, here is an excerpt from Chapter 2 which should help with your site preparation:
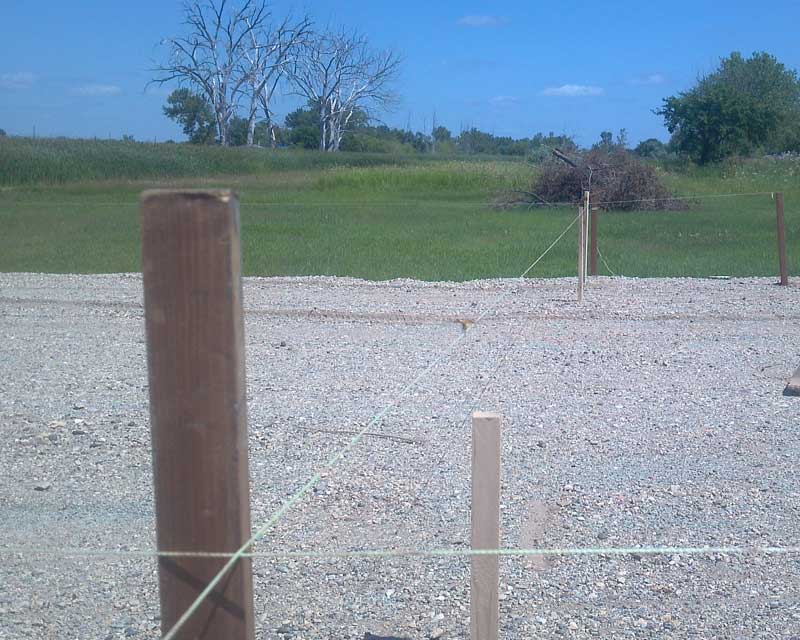
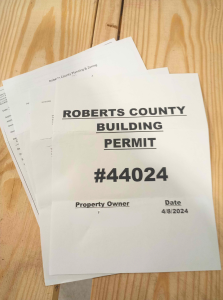 Also, prior to doing any excavation call 811. This is a free service to mark underground utilities. Property owners and contractors can be held financially liable if they fail to locate underground utilities (like gas, electric, telephone, cable, water) and damage them in any way (not to mention potential for severe injury or death).


