I’m a Bit Confused…
No, not me – one of our clients who is about ready to invest in his new Hansen Pole Buildings’ Post Frame Building kit. Just like me, when I have something new on the way, Phil is chomping at the bit to be doing something! Anything!
DEAR POLE BARN GURU: I’m trying to find a step-by-step guide in here somewhere. 🙂
I’m clearing off the topsoil next week, and I plan on digging the post holes soon after. Two questions: What should the diameter of the holes be? Do I lay out the gravel foundation before I do that? I’m a bit confused. (VIDEOS would be great!) Thanks PHIL in LOUDON
 DEAR PHIL: After your order is placed, you will have immediate access to the online version of the Hansen Pole Buildings’ Construction Manual. You will also receive a printed copy of it in the mail, soon thereafter. In the meantime, here is an excerpt from Chapter 2 which should help with your site preparation:
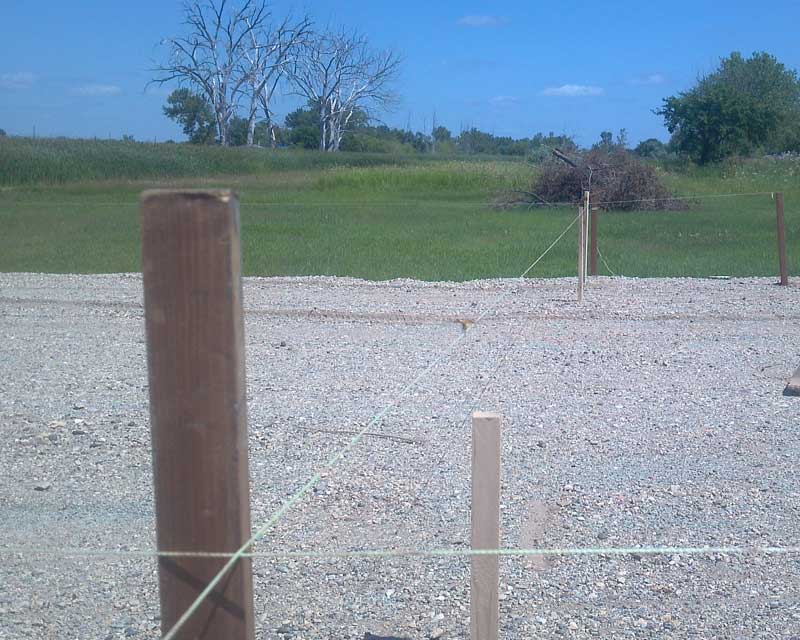
BUILDING SITE:
To allow proper drainage plan to keep building grade higher than surrounding site. On an ideal site, water drains naturally away from building. Since few sites are ideal, in most cases, grade work will be required to keep surface water away from building. Keeping finished building floor higher than the surrounding site reduces flooding chances during heavy rainfall or rapid snowmelt.
In flood plains, consult first with your building department to determine their requirements. Typical recommendation is to establish grade level at finished floor top higher than flood level. This may require importing fill to raise grade. A surveyor can be hired to expertly determine these heights. In some cases, vents may be installed, below flood level, to equalize interior and exterior pressures,
Many sites can be graded with a skid steer (a.k.a. Bobcat) or backhoe. Some cases will require heavy equipment to properly grade site to allow water to drain away from building. If a professional is engaged for site grading, make certain finished grade prepared is adequate before making final payment. In far too many cases “flat” sites which are out of level have been experienced by disappointed owners.
At a minimum, site preparation includes:
· Remove all sod and vegetation.
· For ideal site preparation, remove topsoil and stockpile for later use in finish grading. In frost prone areas, remove any clays or silty soil
from within the future building “footprint”.
· Replace subsoil removed from around building with granulated fill to help drain subsurface water from building.
· Distribute all fill, large debris free (no pit run), uniformly around site in layers no deeper than six inches.
· Compact each layer to a minimum 90% of a Modified Proctor Density before next layer is added. Usually, adequate compaction takes more than driving over fill with a dump truck, or
earth moving equipment.
· When any building portion sits on fill, rest columns, as well as any concrete encasement, on or in undisturbed soil. In many cases, building inspectors will require a soils engineer to
confirm compaction adequacy on filled sites. Soils engineers can be expensive, but are even more costly when called in to do analysis “after the fact”. Our Building Engineers are
unable to visit sites, therefore they cannot perform or provide any soils or other similar reports, design retaining walls or any other work beyond the building shell.
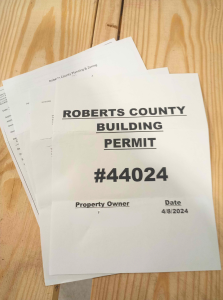
Be certain to know local Building Department requirements before starting to move dirt.
In many jurisdictions, a separate grading permit may be required. In some cases soil may not be allowed to be moved until after a building permit has been issued. Get started on the right foot with permit authorities – ask first before digging!
 Also, prior to doing any excavation call 811. This is a free service to mark underground utilities. Property owners and contractors can be held financially liable if they fail to locate underground utilities (like gas, electric, telephone, cable, water) and damage them in any way (not to mention potential for severe injury or death).
Grade actual building “footprint” area as level as reasonably possible. A grade change beyond eight inches will often result in having to acquire longer building posts.
Grade change is ideally checked before placing building order, however this is not often feasible as a practical matter. If grade has not been checked before order placement, do so within 24 hours. Longer posts are far more economical when provided with original lumber delivery. In some instances, building posts have been specially ordered (due to dimension, length, treating specifications or a combination) and cannot be returned to original producer for credit, even if they have not yet been delivered to jobsite.
Create an adequate work area. At a minimum clear at least 10 feet beyond each building side. Grade the area beyond building perimeter away from building with a minimum 5% slope to drain surface water away in all directions. A 5% slope is a six inch drop in 10 feet.
I would encourage you to do all site preparation, other than the final layer of compactable rock which will be directly below your concrete floor, prior to digging holes.
In the week or so following your order placement, your building plans will be drafted. You will receive a pdf version through your on line login to our website, which will include a page with all of the column locations as well as diameter of the holes. You will be able to print this, in advance of receipt of your engineered plans via mail. In the case of your particular building (subject to final engineering review), it appears all structural (roof supporting) column holes will be 40 inches in depth. The double truss bearing column holes along the eave sides will need to be 24 inch diameter, while the balance will be 18 inch diameter.
Have fun, Phil!


