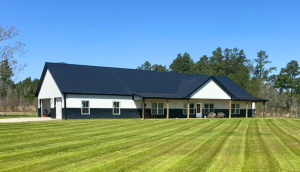
Why Your New Barndominium Should Be Post Frame
For those who follow me – you know I am all about people loving their end results. As long as one has a fully engineered building they love, I couldn’t be more pleased, regardless of the structural system.
In My Humble Opinion – fully engineered post frame buildings are your best design solution in nearly every case. My exception would be if one desires a clearspan over 80′ or a very low slope roof – then I would recommend PEMB (red iron).
PEMBs do have some of their own unique challenges – a foundation engineer must be hired, they take lots of concrete and foundation bolts must be precision placed, Requires heavy lifting equipment to erect, when shell is done – have to frame a house inside. Thermal bridging is a concern and how does one hide those big steel frames?
But, what about stick frame?
 Perhaps stick built construction’s biggest advantage is builders and tradespeople are very comfortable working in and around stick framing. All registered architects and most building inspectors are very familiar with stick framing. International Residential Code (IRC) provides a prescriptive ‘cook book’ to follow for adequate structural assembly, within certain limitations. These limitations include, but are not limited to, no story height of greater than 11 feet 7 inches (R301.3), no hurricane prone areas with a design wind speed of 130 mph or greater located south of Virginia, or 140 mph elsewhere (R301.2(5)B), and no ground snow loads over 70 psf (R301.2.3).
IRC802.10.2.1 further limits truss spans to a maximum of 36 feet and building lengths to 60 feet (measured perpendicular to truss span). Trussed roof slopes must be at least 3:12 and no greater than 12:12.
Want a 40’ x 72’ x 14’ shop/house barndominium? Sorry, outside of what IRC allows.
And because IRC tables cover up to a worst case scenario (given maximum design parameters), it creates overkill, wastefulness and redundant framing members. Translated to – it takes more pieces than might be necessary in a fully engineered structural system.
Fully engineered post frame buildings include foundation plans, PEMBs require one to hire another engineer to provide foundation design. Plan upon a grand or more just for PEMB foundation engineering and this can quickly escalate should a Geotechnical Engineer need to perform soils testing.
Post frame does not require precision placed anchor bolts, and requires no use of cutting torches or welding.
Post frame requires minimal concrete to resist settling, overturning and uplift. Any slabs on grade do not need to be thickened or have continuous footings/foundations.
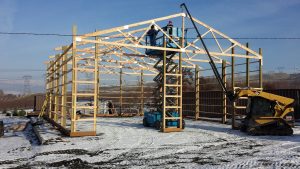
Post frame can be erected D-I-Y without a need for heavy equipment (although I do appreciate a skid steer with an auger to dig holes). Any physically able bodied person, who can and will read step-by-step instructions can successfully erect their own beautiful post frame building.
Post frame has no highly conductive steel frames to thermally isolate and attempt to conceal.
Post frame is easily adaptable to more complex rooflines, and can be done in any combination of alphabet letter shapes. Fully engineered post frame can easily be erected over crawl spaces as well as full, partial or walkout basements.
When properly designed (with bookshelf wall girts), exterior walls are ready for wiring, insulation and interior finishes – no need to frame a home inside of a building shell.
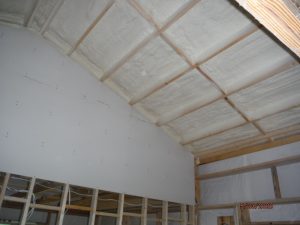
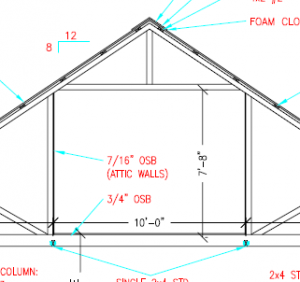
Post frame provides deep wall insulation cavities and with raised heel trusses, any depth of attic insulation can be blown in above a finished ceiling.
Post frame can readily be done multi-story, with up to 40′ sidewalls and three stories (or 50′ and four stories with fire suppression sprinklers).
 2021 IRC R101.2 Scope.
 IRC
IRC When I first began selling pole barn kits in Oregon, back in 1980, they were almost universally no permit required farm buildings. As our service area expanded into states such as California and Nevada, engineering was required in most instances, however there was never a concern about a pole building not being approved for use in any jurisdiction.
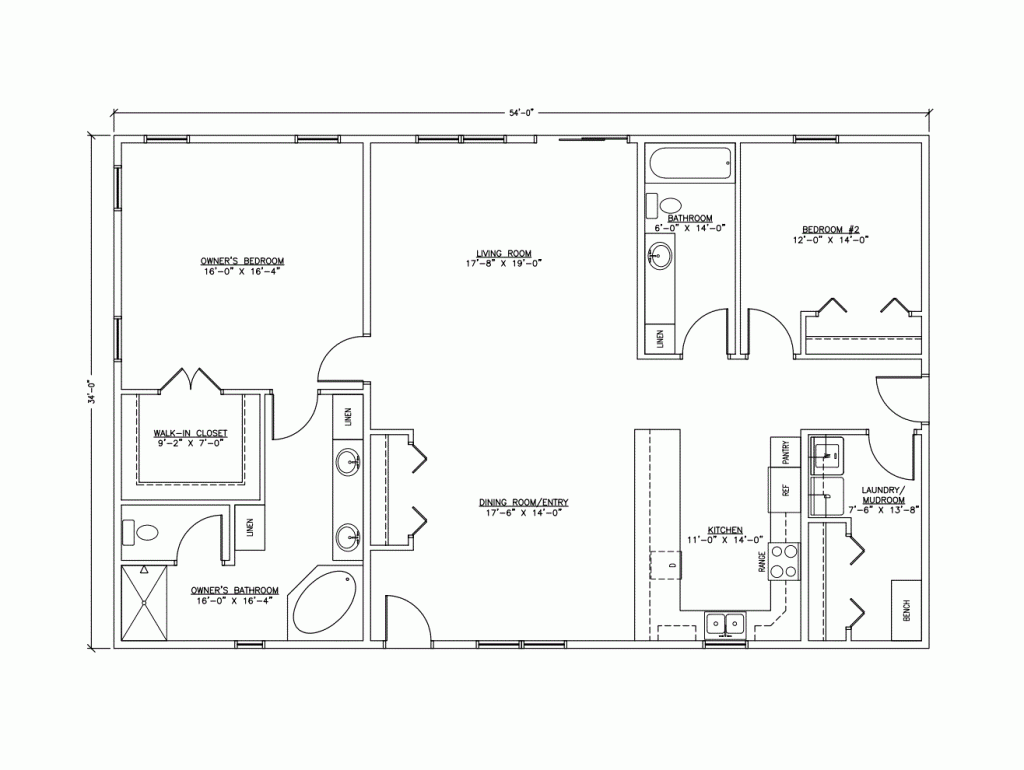


 Lake Charles is in climate zone 2A. 2018’s International Energy Conservation Code prescriptively mandates (for your zone) a minimum R-38 value for ceilings and R-13 for wood framed walls. This would require 5-1/2″ in roof and 2″ in walls. You could go with 2″ of closed cell directly to underside of roof deck plus 6″ of open cell, or 2-1/4″ of closed cell with 5-1/2″ of Rockwool as alternatives.
 While there does exist an actual ANSI (American National Standards Institute) definition of Eave Height – most builders and vendors are unawares or just plain choose not to use it. Somewhere your agreement should spell out what is proposed or provided so all have a clear understanding. (Please read more here:
  Entry door width and heights, is door wood, steel, aluminum, vinyl covered, fiberglass? Jambs wood, steel, aluminum, vinyl covered wood? Doors and jambs finish painted or primed only? Crossbucks? Raised Panel? Glass? Wind rated? R value? Keyed lockset, dead bolts?
 “Please be aware that the Land Development Code and adopted Building Codes
 The topic was brought up at the Aug. 6 meeting after Szokola reported he had seen more than one house come through requesting permits in which the house didn’t quite fit with what a typical house in the area might look like.
 Ultimately, Planning Departments have every right to enforce aesthetic ordinances – as long as they are applied universally to all types of structural systems within a given occupancy classification (such as R-3 residential). What they cannot do is to regulate whether a Code conforming structural system may or may not be used. Should your jurisdiction try to prevent you from constructing a fully engineered post frame home – send me a copy of their written ordinance (not just anecdotal evidence) and I will go wage war for you.
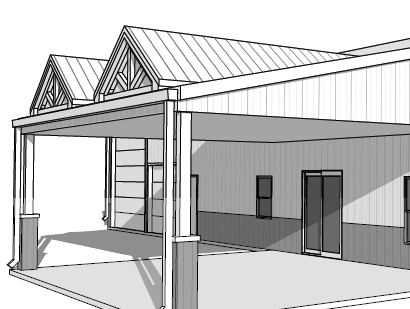
 In order to have your greatest possible resale value, you should have any lofted space designed so as to be considered as habitable space. International Residential Code (IRC)
 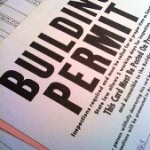 Whoa there Nellie…..before getting all carried away, there are 14 essential questions to have on your Building Department Checklist, in order to ensure structural portions of your new building process goes off without a hitch. I will cover first seven today, finishing up tomorrow, so you have a chance to take notes, start your own home file folder of “what to do before I build”. Careful preparation will be key to having a successful post frame building outcome.
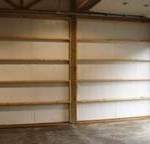
 While post-frame construction is typically used in agricultural applications which are often (and in my humble opinion sadly) considered exempt from code compliance, more and more post-frame construction is either residential housing (IRC) or commercial (IBC) in nature. In these cases, changes which impact the code may have an effect on how post-frame buildings are constructed.


