Insulating My Bubble Wrapped Metal Barn
Reader DURIN in WESTERN NEW YORK writes:
“So glad I could see your site. So many different opinions. If I could explain my situation below.
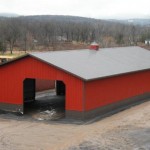
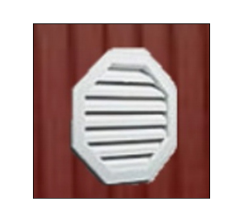
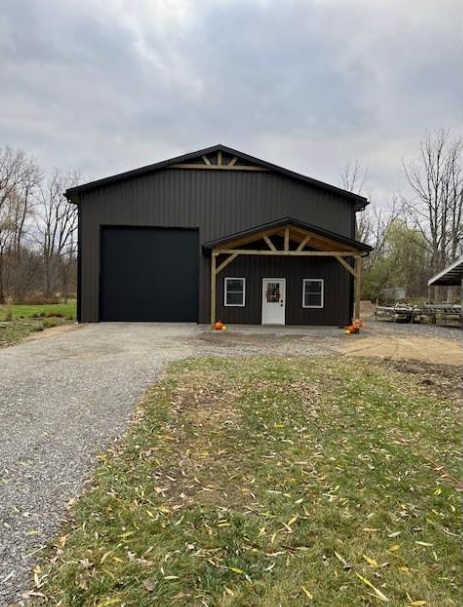
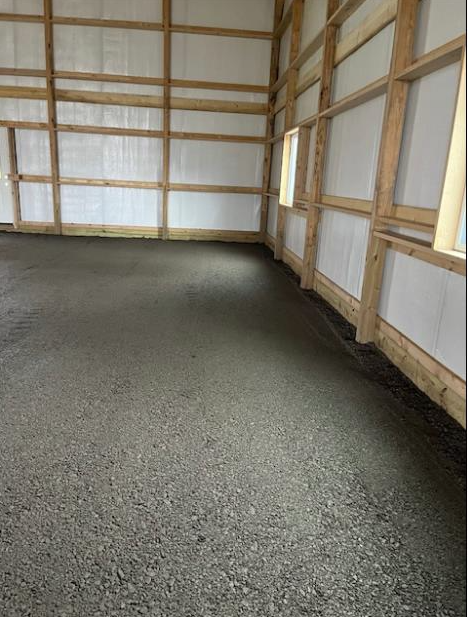
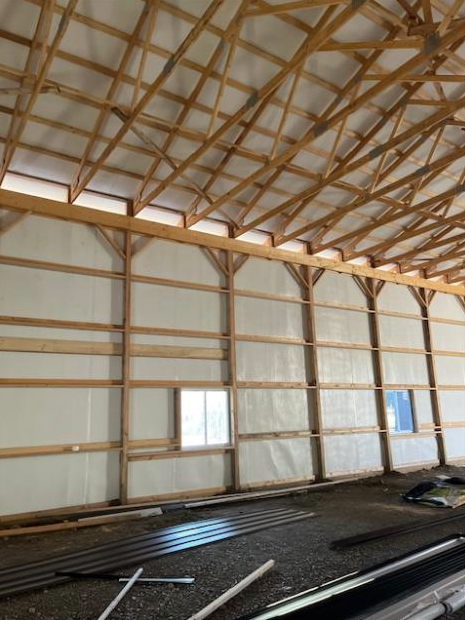
I have a 40 x 80 x18 metal barn. It was built by the Amish. It has a 6 inch slab of concrete a 6 mil barrier taped under, 2 inches of foam insulation radiant heat by 5/8 inch pex. The Amish installed a RFoil bubble wrap that states it is R – 6.0 over the entire building. It is over the purlins on the roof and tight to the walls and all under the metal. It is white on one side and reflective on the other side, presently facing the metal walls to the exterior. The wall height ends at 18 feet and and the entire roof will be at 18 feet. I have a ridge vent that runs the length of the building. I have 18 inch soffits that are fully ventilated all panels.
I intend to insulate. I intend to insulate and have received so many different opinions. I am advised that Spray Foam, directly to bubble wrap may not adhere however, the Spray Foam expert that I was going to utilize has been doing so for 15 years without issue so long as the bubble wrap is tight for the walls so I am considering this. I would note that the foil bubble wrap is over the Perlin and touches directly to the exterior metal with the reflective side to the metal. During this past summer, it kept the barn, shockingly, cool compared to the outside. I live in Western New York, so I wanted to insulate. What I wanted to do was either use spray foam on the walls to fill all of the nooks and crannies up against the foil wrap OR I intended to use rockwool up against the foil wrap in the walls… I would then cover with the metal without an interior vapor barrier. For the ceiling, I was intending to use either a faced batt insulation with the unfaced side facing the attic or was going to use blown in insulation. I do not know if I need a vapor barrier between the insulation and the metal ceiling? I thought maybe a vapor barrier was necessary and may also hold blown in insulation from falling down if you need to remove a panel. I cannot afford to use spray foam in the entire building. And I thought I need to allow for condensation to escape from the inside of the barn into the ceiling to be taken out through the ridge vent so I had concern about whether a additional vapor barrier is required. I have some pictures below of how the barn looks and would wonder if you could give me any advice. If you require a fee, please let me know.
Thank you so much.”

Thank you for your kind words, as well as offer to pay. My goal is for people to have structurally sound buildings they will love forever, so if my advice leads to this, it is all payment I would ever want or need.
I would not personally recommend spray foaming to a radiant reflective barrier, such as RFoil. While your proposed expert may not have had a previous issue reported, there is a potential for disaster. We have seen many such barriers have interior facings flake or peel off. Not immediately, but roughly a decade or so in service. If this were to be your case, you would never know it inside of a finished wall, other than by increased energy costs. My preference would be Rockwool, no interior vapor barrier, then your steel liner panels.
For your ceiling, should you ever have to replace a panel (I do not know anyone who has) a new panel could be placed directly over a damaged panel. You do want warm moist air to have an escape route into your attic space. I would blow in granulated Rockwool or fiberglass directly over ceiling steel.
Due to your steel liner panels, you may find it necessary to mechanically dehumidify your building.
Best of success to you.
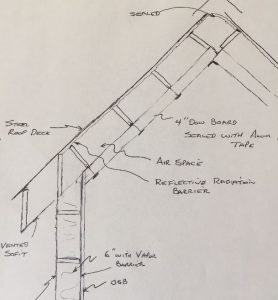
 “I am currently re-siding/re-roofing an existing pole building in order to match the exterior of the building I recently purchased from you. This building is roughly 32 x34 and the roof purlins are 2×6 on end roughly every 2 feet. I’m using Fabral’s grand rib 3 29ga for the roof and it will have fully vented soffit overhangs and a vented ridge cap. I am trying to figure out what I’m going to do for at least a vapor barrier under the roof steel, I see you seem to recommend foil faced bubble insulation but that is not very common in my area. I am seeing a lot of people using lamtec wmp-vrr (fiberglass insulation with a poly backing) 3″ thick and I believe they lay these wide rolls on top of the purlins and then place the metal roofing on top of that then screw down the roofing compressing the fiberglass insulation between the metal roofing and the purlins. Have you seen this style of insulating before? Do you think it is an acceptable way of doing it? I see as killing two birds with one stone. I may be insulating this shop in the future so if I do then the roof is already insulated plus I believe it acts as a vapor barrier which is the main reason to do it as I don’t want any condensation dripping down on the inside of the shop. I live in the Seattle area if that helps to know what my climate is like. Thanks in advance for your input.”
  Our recommendation would be to order your roof steel with factory applied I.C.C. (
 Provided your building has roof trusses designed to adequately support a ceiling load, your best bet will be to blow in insulation above a flat level ceiling. If you do not have original truss drawings available to determine if they have a bottom chord dead load (BCDL) of three or more, then you will need to find the manufacturer’s stamp placed on truss bottom chords and contact them with your site address. With this information they should be able to pull up records and give you a yes or no. If you are yet unable to make this determination, a Registered Professional Engineer should be retained to evaluate your trusses and advise as to if they are appropriate to carry a ceiling and if not, what upgrades will be required.
 Thank you for being a loyal reader. Your views on usage of Radiant Reflective Barriers for wall applications are spot on. Other than if people are 100% certain they will never, ever add insulation to their walls (and who can be certain about future building users/owners?) it is just an incorrect product to be used. A good, well-sealed Weather Resistant Barrier would be appropriate to use, followed by filling your insulation cavity with unfaced batts. For interior face, there is really no benefit to going to the expense of an aluminum faced product. A well-sealed 6mil clear visqueen will do everything you need it to do.
  DEAR THERON: Thank you for your inquiry.
 DEAR DAN: You should have some sort of barrier between wall framing and wall steel to prevent condensation within the wall cavity. Wall cavity moisture can lead to a plethora of challenges – premature rusting of steel siding, rot, mold and mildew on wood framing and lack of performance of fiberglass insulation.
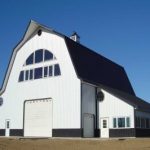 DEAR MAX: I happen to live in a two story post frame shouse (shop/house) with a partial third story. Back in the great state of Washington, I also have a three story post frame building with roof top deck! We can provide any low rise building with up to 40 foot tall walls and three floors (or 50 feet and four floors with sprinklers).
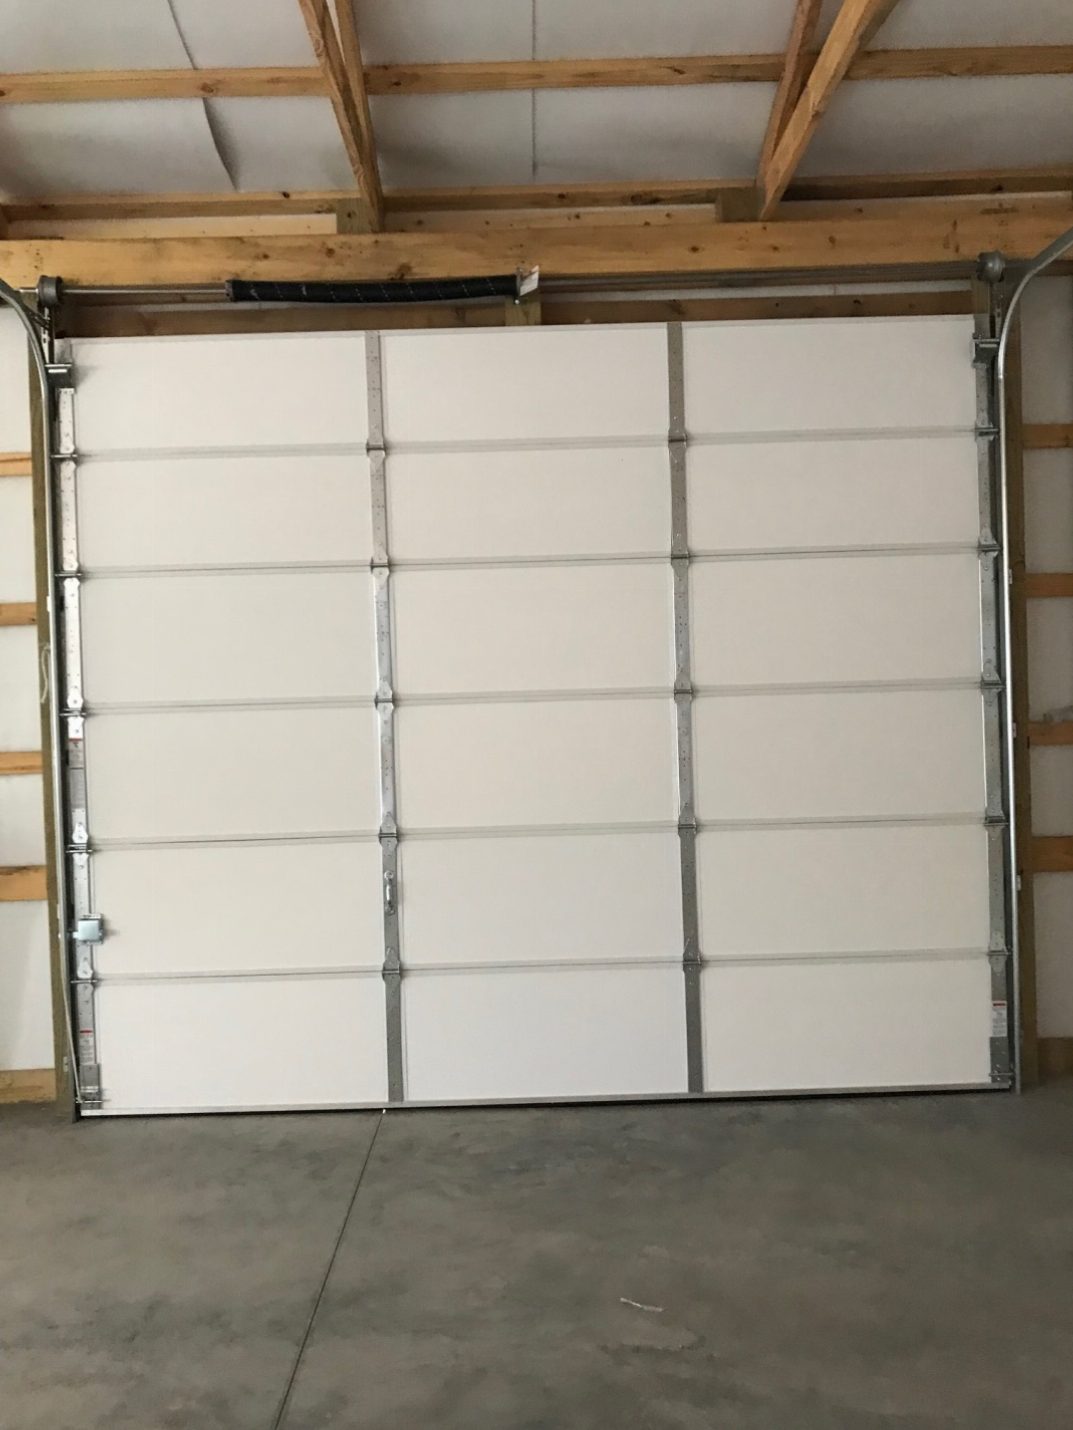

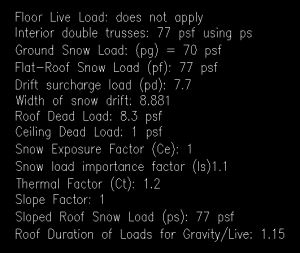 DEAR POLE BARN GURU: Can your building be designed to handle a 40# snow load? 24 x 30. JIM in WISCONSIN RAPIDS
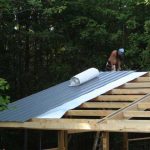 DEAR JOHN: My first choice would be closed cell spray foam. While it is going to be more expensive, you will save greatly in labor as opposed to using a radiant reflective barrier. Radiant Reflective Barrier, installed correctly, might give you the performance you are seeking. If you do go with the barrier, single cell will perform pretty much as well as single cell. Buy six foot wide rolls with a tab. The tabs should have a pull strip over adhesive, which eliminates the need for taping seams. The six foot wide rolls mean fewer pieces to handle and overlaps to seal.