Hansen Building has seen a recent uptick in structure over crawl spaces and thought it would be wise to revisit this guest blog post.
11 Reasons Why Barndominium Crawl Space Encapsulation is Important
 Today’s Guest Contributor is Joseph Bryson. Joseph was born in Alberta, raised in NYC and is living in New Zealand. He has been working in 4 different industries and helped numerous businesses grow. Now, he is focused on writing as his next career from home and lives a peaceful life with his family and a whole pack of dogs.
No matter what kind of a barndominium you will have, if there is a crawl space present then it can potentially cause you a whole host of problems. People tend not to realize this because they don’t think too much about crawl spaces.
Like it’s not a place people generally venture to in their own homes. It’s just down there beneath your elevated wood floor, out of sight and out of mind. And so various issues can arise in your house you don’t know how to fix because you don’t realize they’re originating in your crawl space.
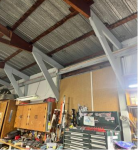
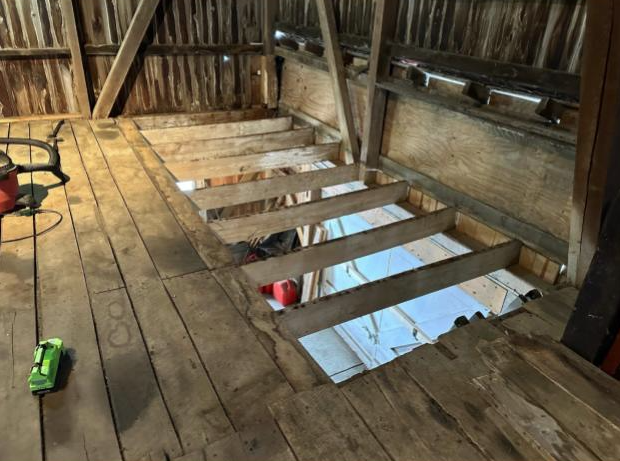
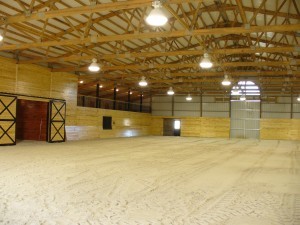
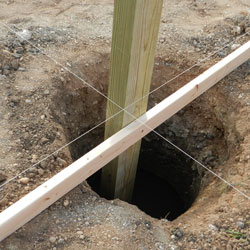
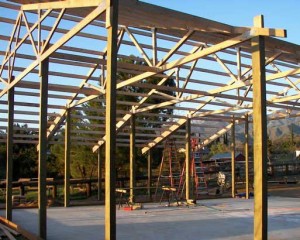
In a post-frame building, crawl spaces are set up a little bit different. Instead of having a perimeter of concrete and a concrete slab, it is instead a wooden framework on short pressure preservative treated timber or glu-laminated columns.
It’s a style of crawl space allowing for much better access to plumbing, ventilation ducts and electrical wiring, but without a concrete slab. It also makes it somewhat more susceptible to some of these problems.
This leads us to crawl space encapsulation creating an unvented crawl space. A process involving installing a vapor barrier in your crawl space to cover ground, walls and seal up all vents and seams. Air is then conditioned using a humidifier or HVAC system.
International Residential Code (IRC) R408.3 addresses unvented crawl spaces. Exposed earth is covered with a continuous Class I vapor retarder. Vapor retarder joints shall overlap at least six inches and be sealed or taped. In post frame buildings, this vapor retarder must extend up perimeter walls to floor level and be attached and sealed to floor. One of four possible options outlined in IRC R408.3(2) must also be met.
Let’s have a look at what issues a crawl space encapsulation will help to prevent and why it’s so beneficial:
- Controls Pests
One very important thing you’ll be doing by sealing up all openings is removing access to your crawl space for a wide variety of pests. You can get mice, rats, cockroaches, racoons and even birds have been known to find their way into crawl spaces.
Once pests find their way in, it can be a nightmare getting them out but an encapsulated crawl space removes a primary entry point for pests so you would be reducing possibilities significantly.
Roaches can be disastrous for a wooden framework and so you should be very serious about keeping them out of your crawl space and your home in general.
- Improves Air Quality
Because air coming up through your crawl space will be going through HVAC or a humidifier, you can rest assured it will be much higher quality than if it was just blowing in unfiltered. A crawl space is a hot bed for low quality air, but not if it’s encapsulated.
- Allows for Better Energy Efficiency
One thing you will probably notice after encapsulation is your energy bills will be lower. Your heating and air conditioning won’t have to struggle against crawl space damp air, meaning they’ll be doing less work.
And this will of course result in you having to spend less on utilities. While encapsulation might cost a bit, it is Code required and will be financially beneficial over time.
- Keeps Floors Warm
As we just mentioned, the normal state for a crawl space is to be full of damp air. It’s exposed to elements and especially during winter months, this just means there’s consistent moisture and low temperatures blowing through.
All of this is prevented with encapsulation meaning the only thing rising from below will be heat. And while it won’t necessarily be equivalent to under floor heating as such, it will make floors more warm and comfortable to walk on, especially in a post-frame home where there isn’t concrete separating heat from floors.
- Prevents Mold
Mold is very problematic. For some people it’s just an irritant causing things like coughing, sneezing and sore throats, but it can also be toxic if left to grow for too long. And for anyone with a compromised immune system or who suffers from asthma, it’s dangerous.
Mold and mildew are further consequences of dampness and moisture retention and most crawl spaces are full of it. It’s much more likely to build up on wood than it is on concrete meaning this is more common in wood frame structures.
- Improves Storage
Not everyone opts for using their crawl space for storage, even after it’s been encapsulated, but it can be done. If your encapsulation is neat, you should definitely have some room down there to store a few boxes.
If you did this with an unencapsulated crawl space, then anything you store could be potentially damaged by moisture or mold. So it’s basically a really safe storage space once encapsulated.
- Prevents Flooding
I’ll start this point by saying crawl space encapsulation doesn’t necessarily prevent floods entirely, but it can help in a lot of cases. Excess rainwater and runoff can build up down below and can result in flooding, but not if everything is sealed and blocked up.
Flooding takes a much greater toll on wood than it does concrete and although your post-frame home will be sturdy by design, too much water over time could do some serious damage.
- Protects Structural Integrity
If left for long periods of time without intervention, moisture and mold will slowly eat away at untreated wood under your home. This will eventually destroy structural integrity and you won’t have any idea it’s happening because it takes so long.
Just another reason why you should be slowing down, or entirely stopping mold growth and retention of moisture.
- Keeps Allergens at Bay
Spread of allergens is primarily caused by moisture and dust. We’ve discussed to death how moisture is controlled by encapsulation, but because air coming through is unfiltered, dust shouldn’t be a problem either so if you’re prone to allergies you will benefit.
- Can be Done Without Professional Help
Key word here is ‘can’. Crawl space encapsulation can be done without professional help. Before hiring a professional it’s worth looking into how you would do it yourself.
If you have an interest in DIY and are particularly adept at this type of handiwork, you could for sure give this a try. Again, not everyone will be up to this task, but if you are then it will save a lot of money.
- Enhances Longevity of Your Home
With all of these different things considered, it’s clear crawl space encapsulation will help make sure your barndominium is in livable condition for a long, long time. Every issue we’ve discussed here will gradually build up until it becomes potentially disastrous.
Crawl space encapsulation is a big job, but fairly easily accomplished DIY.
 DEAR JEFF: In my very humble opinion (and those of most Registered Professional Engineers and truss manufacturers) – in most instances knee braces at all cause far more harm than good. Under load, they can cause catastrophic truss failures. I would get a RDP involved who can physically examine what you have in place, determine if knee bracing can be entirely eliminated and design a column repair capable of a safe and sane design solution.
 Reader JEFF in TAMPA writes:
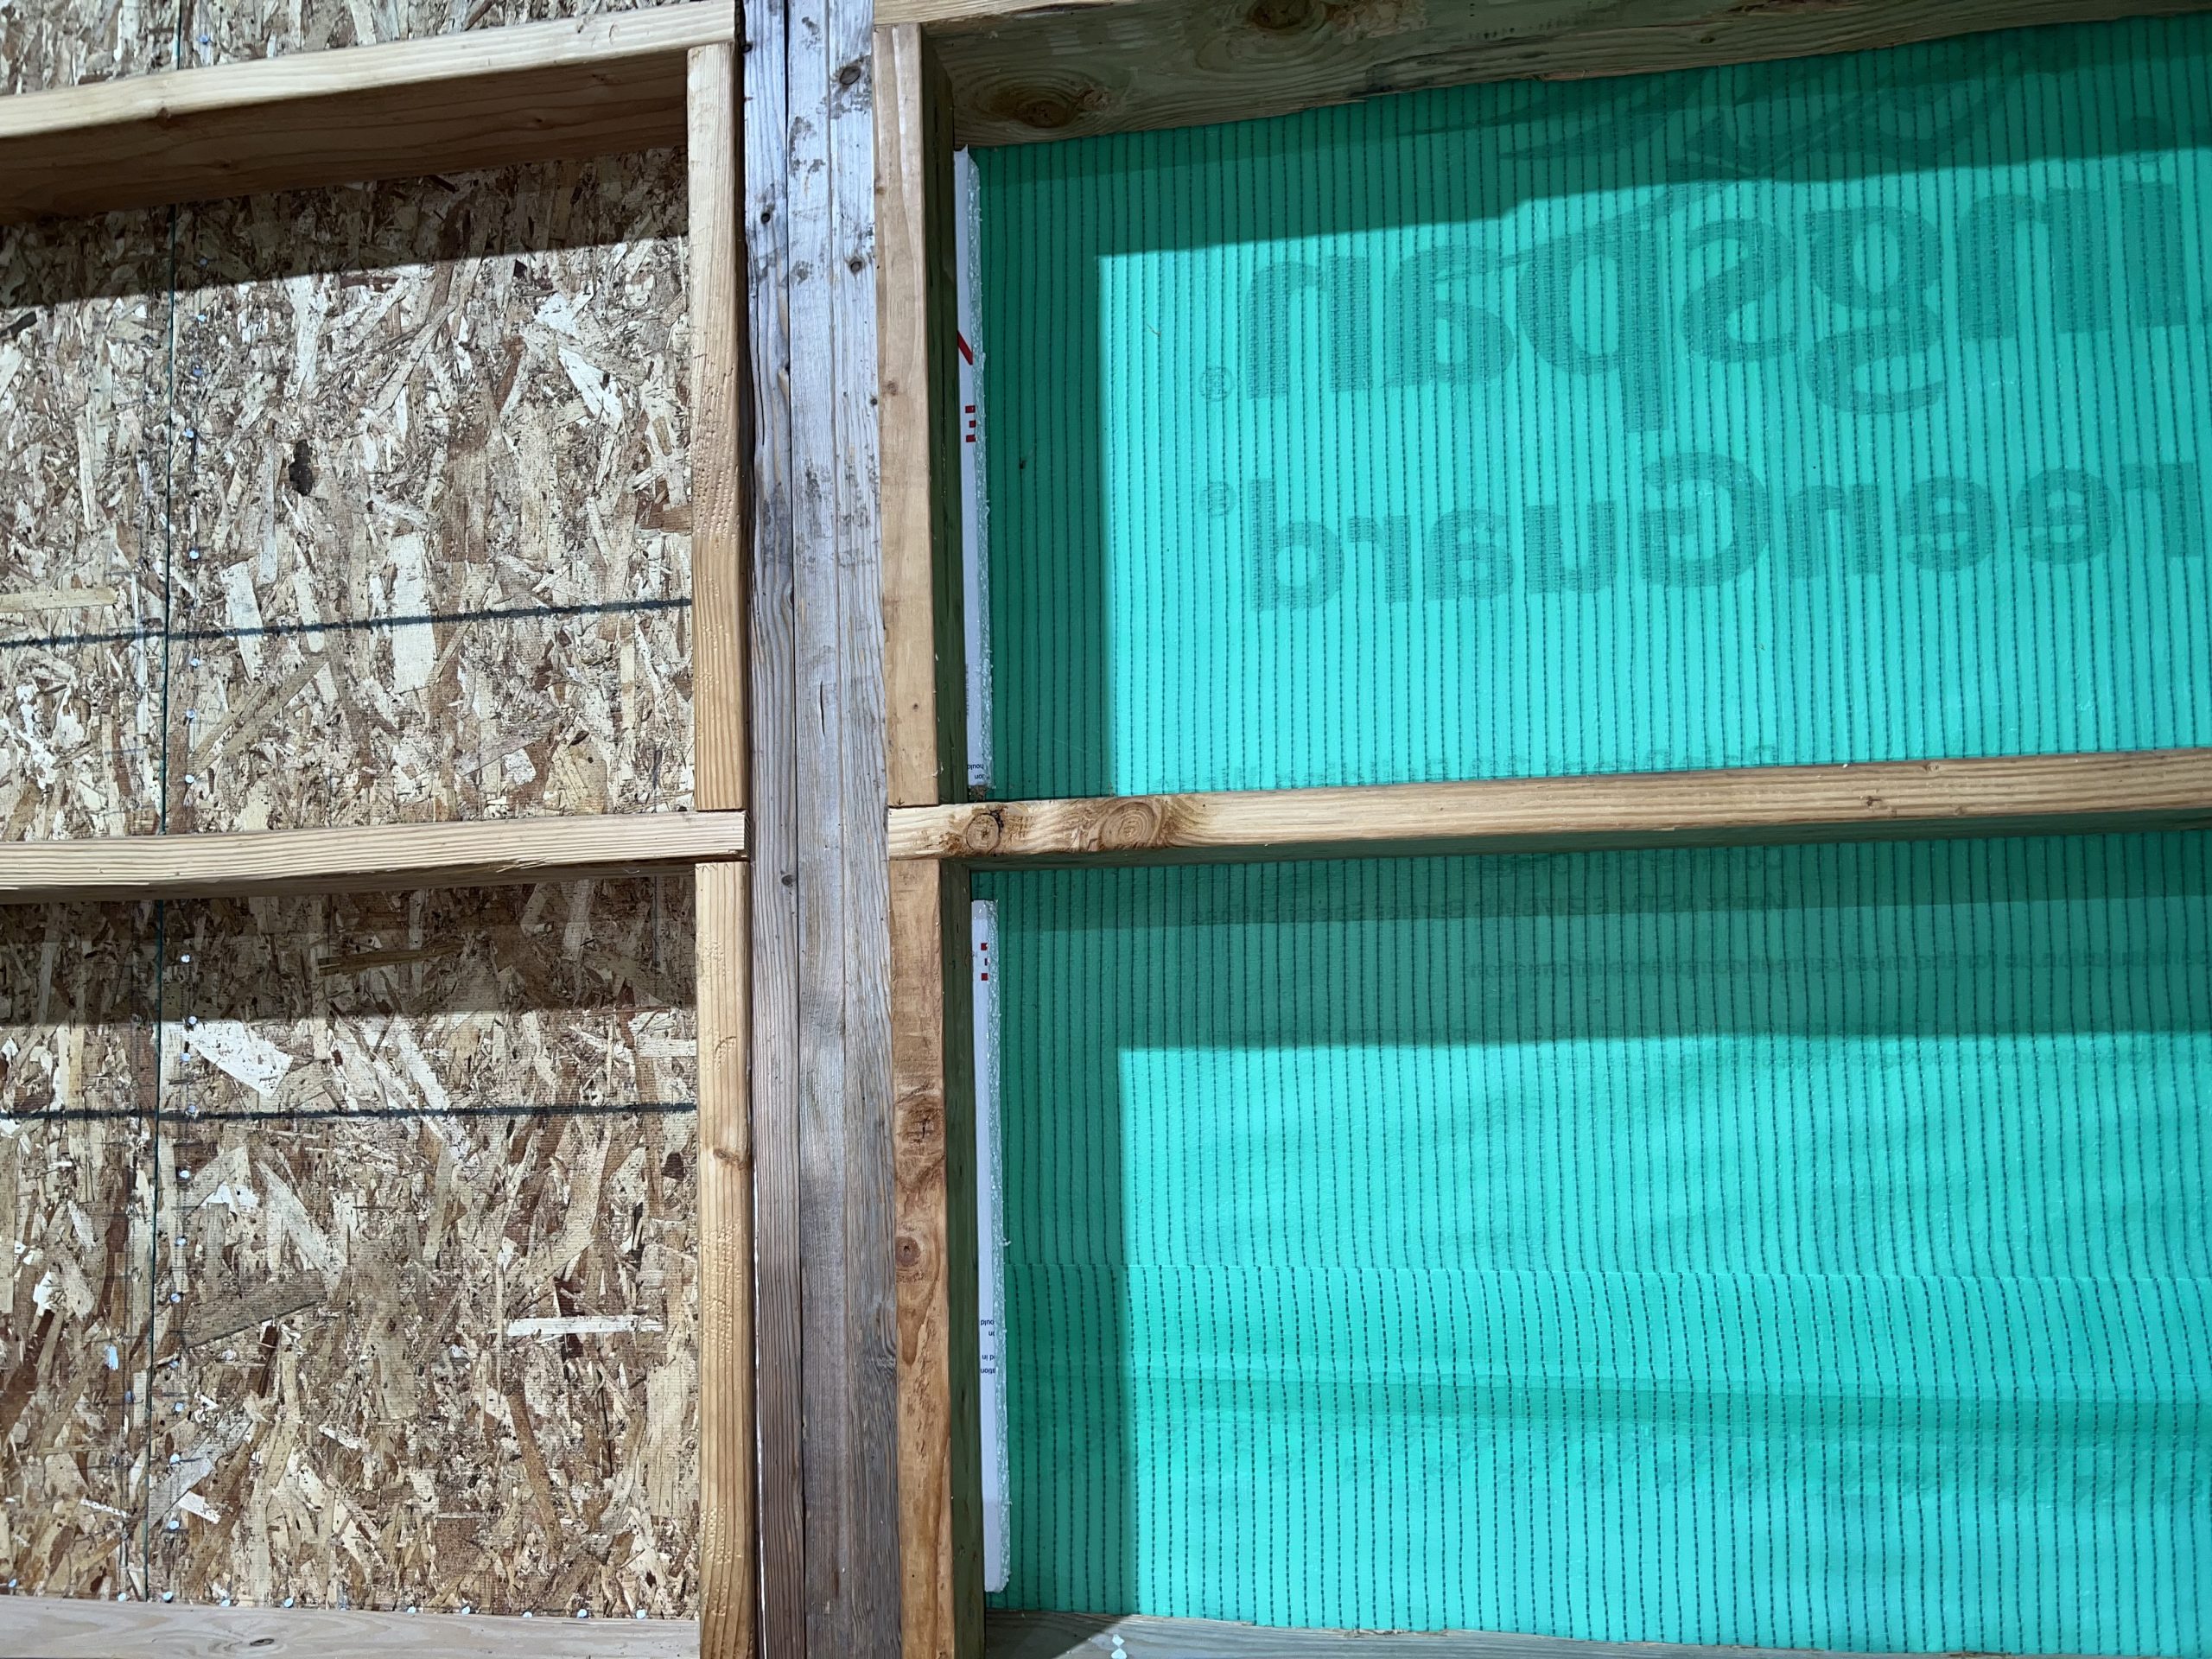
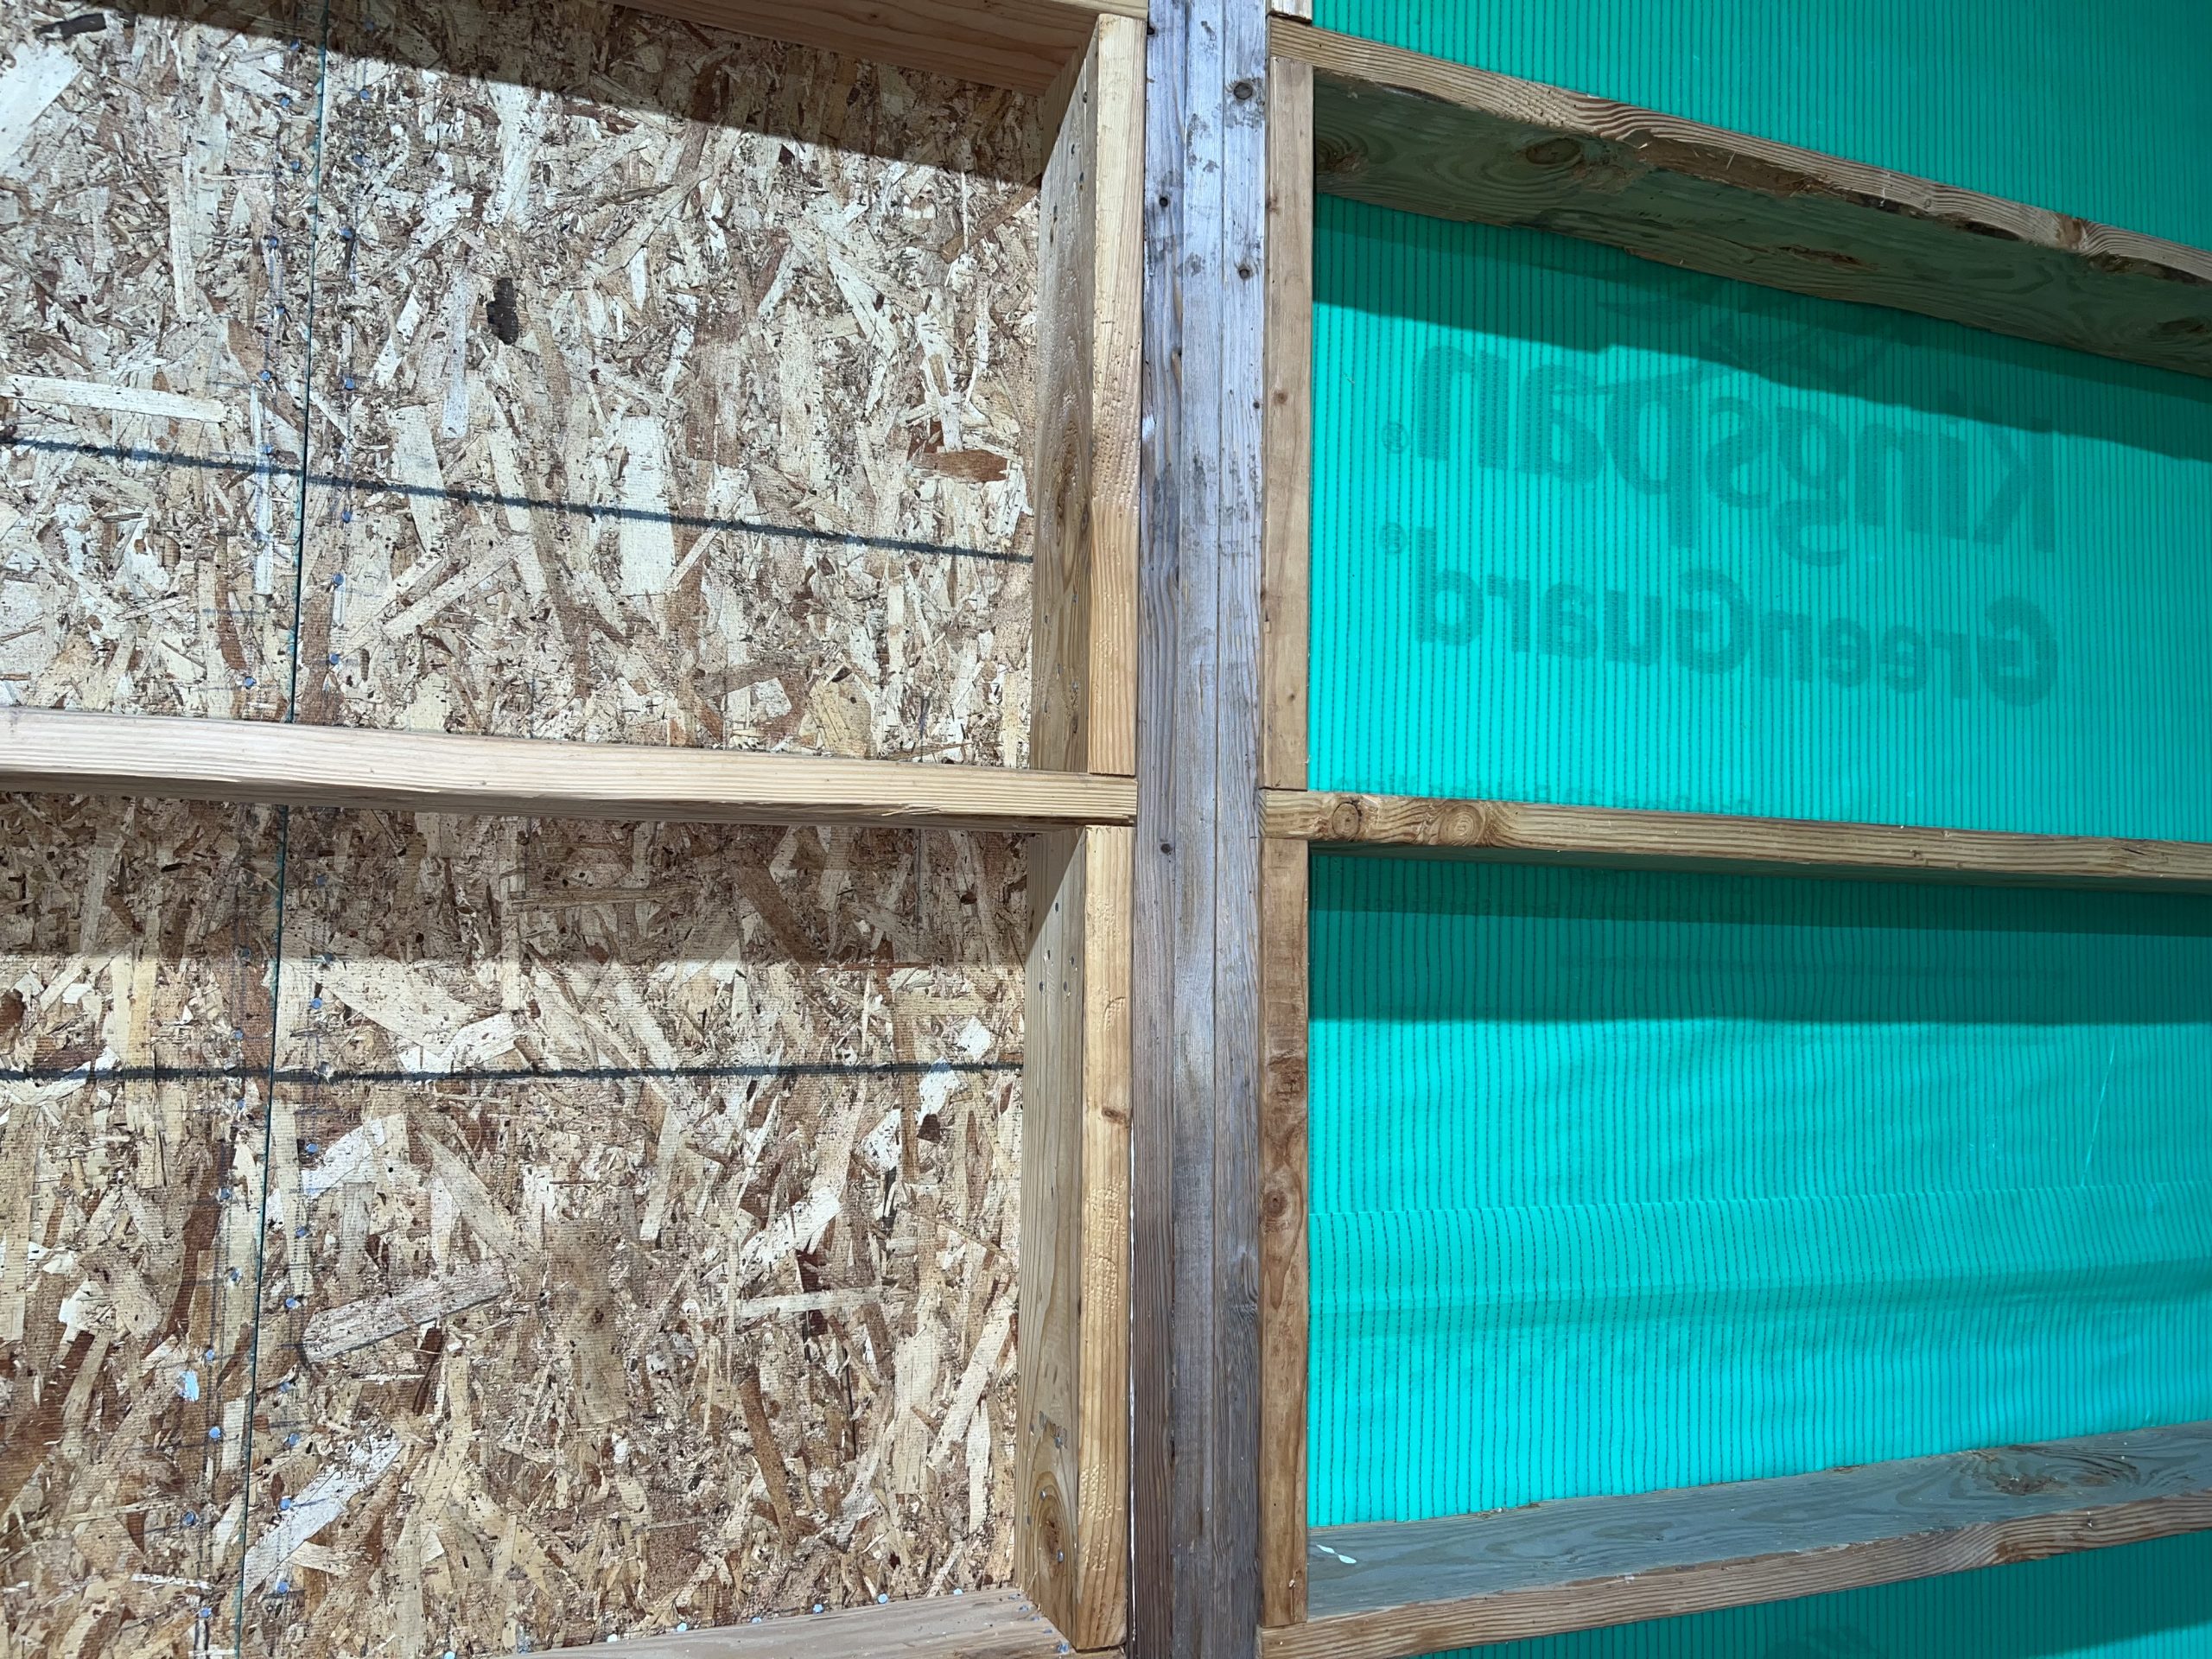
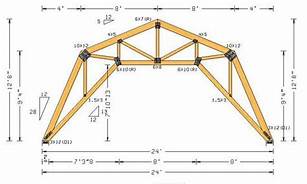
 In order to minimize construction steps, material usage and create a deep insulation cavity, expect to see a design using commercial bookshelf girts. These will be placed horizontally 24 inches on center between columns. (Please read more here:
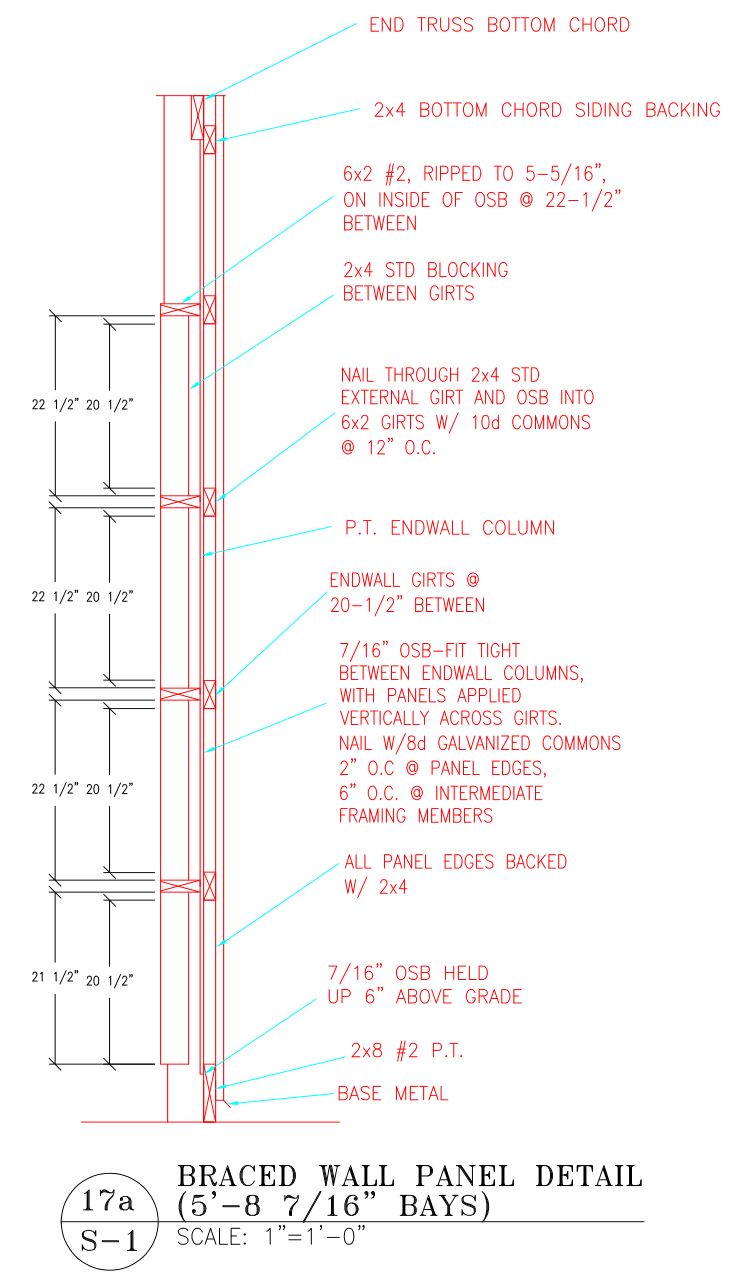
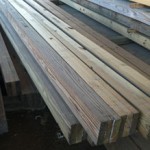
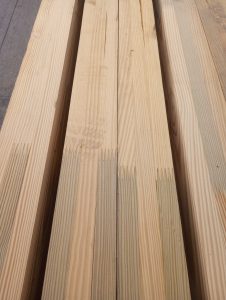
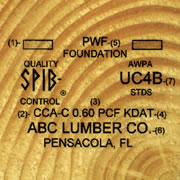 In most cases, it is impossible to walk into a lumberyard or big box store and get UC-4B treated lumber, it most usually has to be special ordered in. Our providers know, in advance, of this being our expectation (not to mention minimum requirement by Building Codes).
 BENEFIT
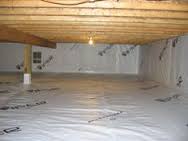 George’s words are very kind. For the most part I cannot say there is a great deal of discourse in this column which is about disagreements. In most cases, there is a modicum of validity to people’s ideas. There may just be another way to solve a challenge or tweak the idea to make it more efficient. There are, however, an interesting few which I sometimes place into this category:
 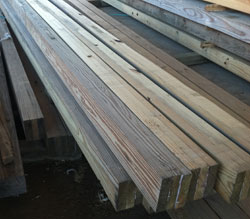 DEAR POLE BARN GURU:
 Post frame buildings also work as a system, so individual components or connections might possibly be adequate, however the entire building fails due to a weak link. This is why I always, always (did I say always) recommend ONLY to invest in a building which is designed by a registered design professional (RDP – engineer or architect) – especially for your particular site.
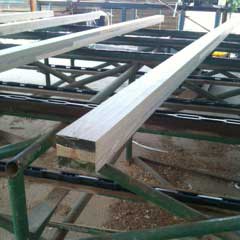 Dale and I both moved on, Dale to open Timber Technologies, LLC, the manufacturer of Titan Timbers™. Dale and his business partner Tom have been featured previously in my articles – one in particular which drew more than passing interest from readers:
  kground and experience would take the time from their busy schedule to write.
 On their website (www.OhioTimberland.com) are extolled the “advantages” (at least in their eyes) of these nailed together columns over true glu-laminated columns:
 As pole buildings have gravitated from the farms of the 1950’s into the mainstream of popular construction, their owners have been looking for more appeal than what was offered by the average tractor shed.
 In my opinion, the weak link is the splice. With the nails having to do the work, and twice as many nails into the center member of the three ply unit – my educated guess is (if tested to failure in laboratory conditions) the center member is going to fail nearly every time. Having been involved personally in testing similar columns at the Forest Products lab at Oregon State University, the results are perhaps not quite as optimistic as the product manufacturer might suggest.


