Today’s blog is a Bonus “ask the Guru” answering reader questions about repair of knee bracing to existing truss system, notching a double truss into a 3 ply glulaminated column for full bearing, and rebuilding the floor structure of an almost 100-year-old bank barn.
DEAR POLE BARN GURU: Greetings All-Omnipotent Pole Barn One! We humbly beseech thee and seek your supreme knowledge on our lowly question: Is it OK/advisable to connect via through-bolting, a scab/sister repair member of suitable size, to the existing knee braces of our truss system, or should the scab only connect to the column? We need to repair a couple of damaged posts that have a knee brace connected to the post, bottom chord, and upper chord of the trusses, and complete replacement of the columns is not an option. The scab will be through-bolted to the existing column underneath where the upper chord meets the bottom chord, with blocking bridging the gap between the new and old columns and have its own foundation. Please deem us worthy of your eagerly awaited wisdom. JEFF in NEW ORLEANS
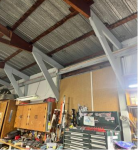 DEAR JEFF: In my very humble opinion (and those of most Registered Professional Engineers and truss manufacturers) – in most instances knee braces at all cause far more harm than good. Under load, they can cause catastrophic truss failures. I would get a RDP involved who can physically examine what you have in place, determine if knee bracing can be entirely eliminated and design a column repair capable of a safe and sane design solution.
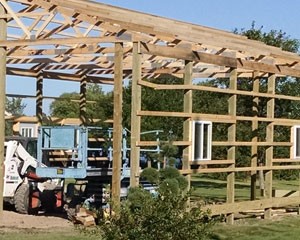
DEAR POLE BARN GURU: I will build a 40 x 96 pole barn with 10 foot ceilings on 12 foot centers and double wood trusses. Do you notch the posts (6×6) if not how do you attach the trusses resting on the posts. I would gladly pay for a quick answer if possible. ED in ARAB
DEAR ED: We would strongly recommend using 3ply 2×6 glulaminated columns, rather than 6×6. They are stronger, straighter, lighter and pressure treated throughout, rather than just at surface.
With this said, double trusses are best notched into columns to provide full bearing.

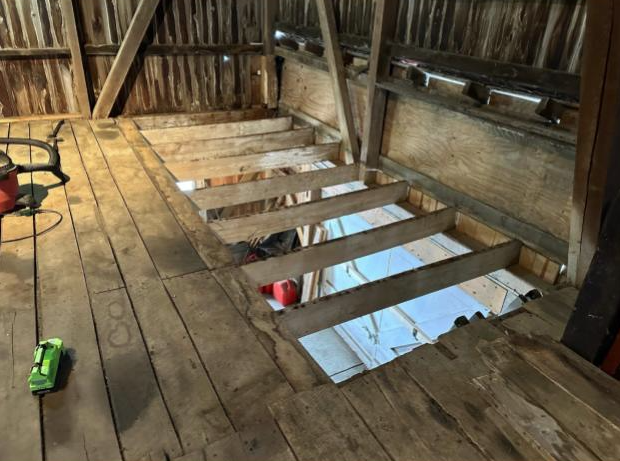
DEAR POLE BARN GURU: Good morning. I have recently started rebuilding the floor structure of an almost 100-year-old bank barn. Two large sections of the flooring upstairs are 1/2″ floorboards overlapping each other on top of 24″ on center true 2″x8″ floor joists. I am removing the floorboards, repositioning the floor joists 16″ OC as well as adding a few more. I will add a layer of 3/4″ subflooring then relay the 1/2″ floorboards. Three questions: 1. Is tongue and groove OSB acceptable for the subfloor? 2. Standard, hot dip galvanized or stainless-steel nails for both the sub floor and floorboards? 3. What size and length nails for the subfloor and floorboards? KEVIN in UNIONTOWN
DEAR KEVIN: Yes, tongue and groove OSB is acceptable. We would recommend use of galvanized screws at eight inches on center. Use #8 x 2″ for sub floor; #8 x 1-1/2″ for floorboards.
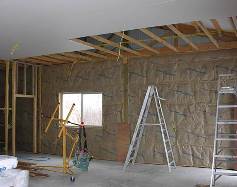
 “I am having some condensation issues. And I was curious about insulating the building. Also wanted to ask if my building is able to have a ceiling installed. Thanks for the fast reply.”
 If you poured a slab without a well-sealed vapor barrier underneath, it will contribute to excessive moisture challenges. If no vapor barrier, top of slab should be sealed:
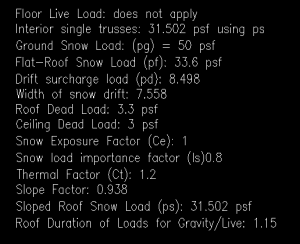
 DEAR POLE BARN GURU: Pole Barn Guru, do you have to have girt under end trusses. End trusses setting on 2×12 from header and nailed to 6×6 pole with 2×6 blocking below trusses 24″o.c. sheated header 3 2×12 notch blocked and clipped. STEVE in CHEYENNE
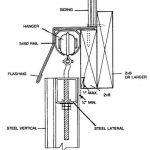
 DEAR POLE BARN GURU: I have a 42 x 60 with insulation in walls and roof, 26 gauge metal, wood trusses, 10 feet o.c. with 2 x 6 purlins. I do furniture and cabinet work and love the insulation but would like to add the white metal ceiling, to help with the heating, cooling, and lighting. Can I add trusses in between existing ones, and build them underneath the purlins? If so can the white metal span 5 feet for a metal ceiling? CHARLES IN BUTLER


