With the current weather patterns it might be a good time to revisit the catastrophic failures of Christmas Morning 2017
Christmas morning is traditionally when youngsters awaken their parent far too early – too see what surprises Santa has left them overnight.
On occasion there are surprises for adults as well – some of them not always as desired.
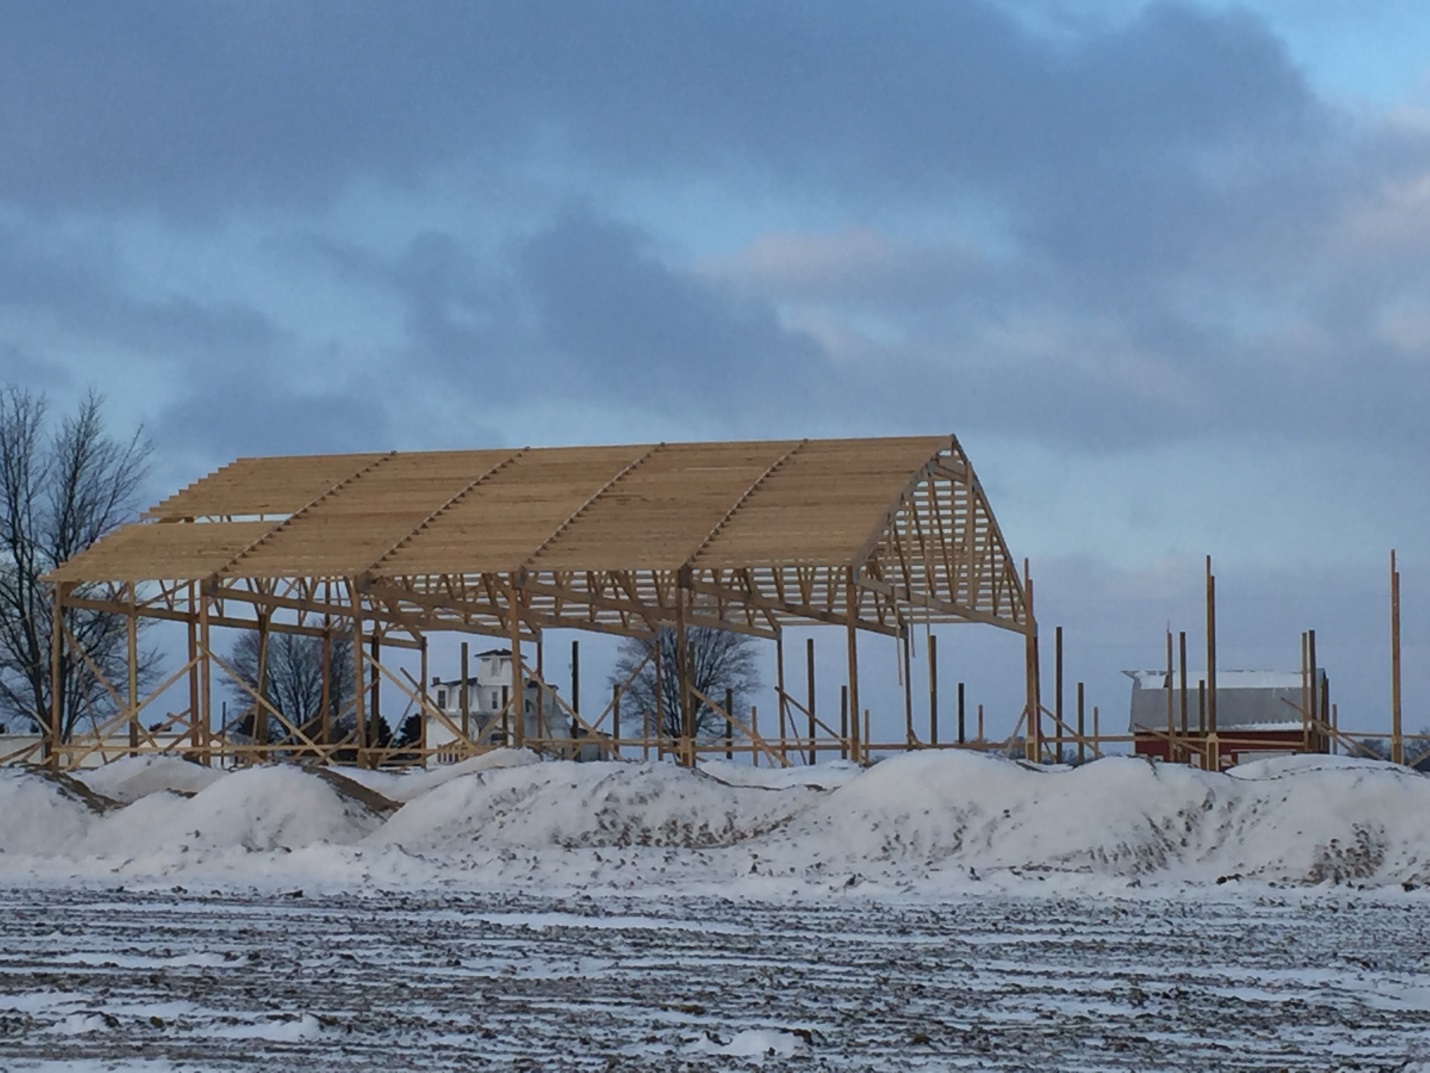
Below pictured are beginnings of an 80 foot wide clearspan by 240 foot long riding arena in Bloomingburg, Ohio, taken just prior to Christmas. Pretty impressive.
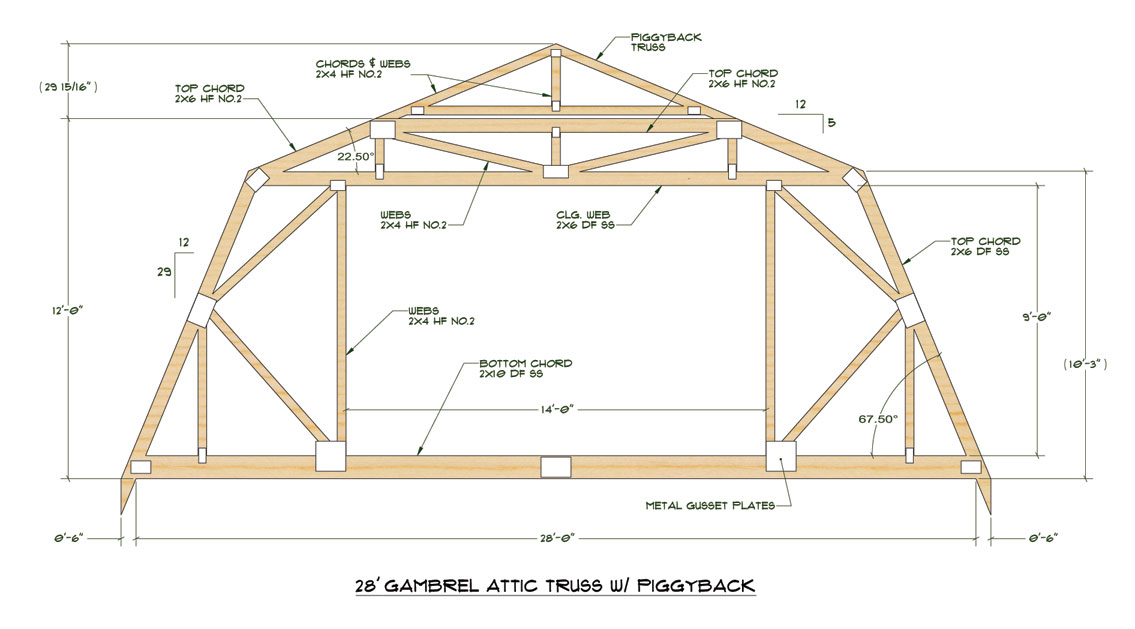
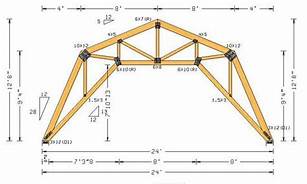
As owner of two pre-fabricated metal connector plated wood roof truss manufacturing companies for nearly 20 years, I always got a thrill out of big clearspan trusses.
Special care needs to be used in installing large, clearspan trusses.
This is an excerpt from Structure; August 2009, authored by Dr. Frank Woeste, P.E. and Dr. Donald Bender, P.E..
MPC is Metal-Plate-Connected; RDP is Registered Design Professional (architect or engineer).
Responsibilities where the Legal Requirements Mandate a Registered Design Professional for Buildings (Section 2.3 of ANSI/TPI 1)
“In preparation for specifying MPC wood trusses, every section of Chapter 2 and ANSI/TPI 1-2007 (NOTE: ANSI/TPI 1-2014 retains the same language) standard should be carefully studied by the RDP. In preparing this article, we assumed that the RDP will view a complete copy of Chapter 2 for a full understanding. Specific sections selected for discussion are cited by paragraph and subparagraph numbers.
Under Section 2.3.1 Requirements of the Owner, we note three sections that can help prevent truss erection accidents, and in some cases improve in-service truss performance. Over the past two decades, industry safety documents recommended that for truss spans over 60 feet, the Contractor should “See a registered professional engineer” for temporary bracing information. In many cases, Erection Contractors failed to follow the advice, and some accidents and performance problems stemmed from inadequate temporary and permanent bracing. The new ANSI/TPI 1 standard now requires action by the Owner and RDP as given in the following paragraphs:
2.3.1.6 Long Span Truss Requirements.
2.3.1.6.1 Restraint/Bracing Design.
In all cases where a Truss clear span is 60 feet (18m) or greater, the Owner shall contract with any Registered Design Professional for the design of the Temporary Installation Restraint/Bracing and the Permanent Individual Truss Member Restraint and Diagonal Bracing.
2.3.1.6.2 Special Inspection
In all cases where a Truss clear span is 60 feet (18m) or greater, the Owner shall contract with any Registered Design Professional to provide special inspections to assure that the Temporary Installation Restraint/Bracing and the Permanent Individual Truss Member Restraint and Diagonal Bracing are installed properly.”
The importance of these new paragraphs to truss safety and reliability cannot be overstated. When executed by the Owner and RDP, these provisions for long span trusses should be effective in preventing truss erection accidents and ensuring in-service truss performance.“
Our Hansen Pole Buildings’ Construction Manual, includes a copy of BCSI-B10 “Post Frame Truss Installation and Bracing”. B10 includes instructions on how to properly temporarily brace wall column as well as diagonally across tops of roof purlins – to prevent what was found on this building Christmas morning:
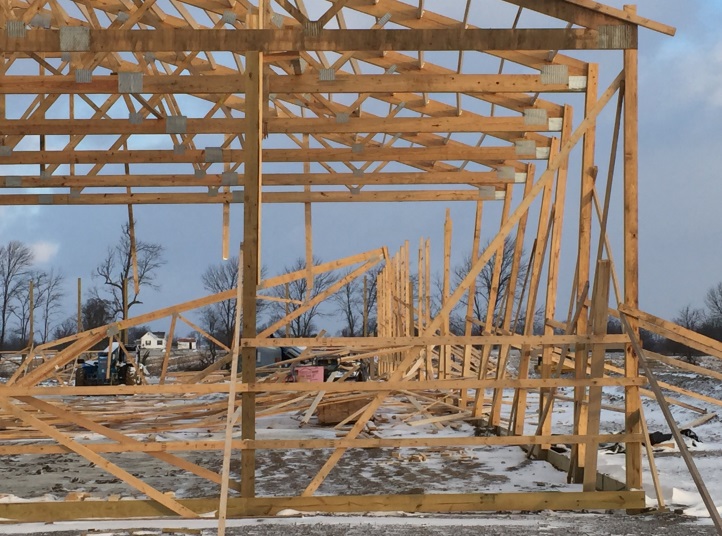
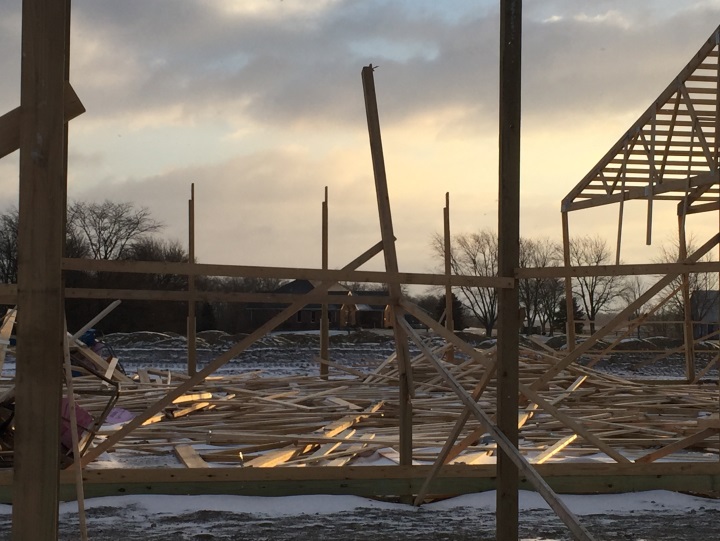
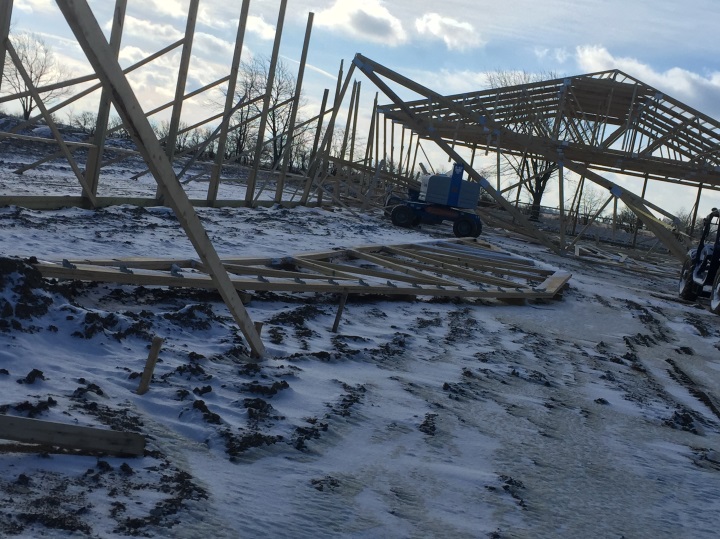
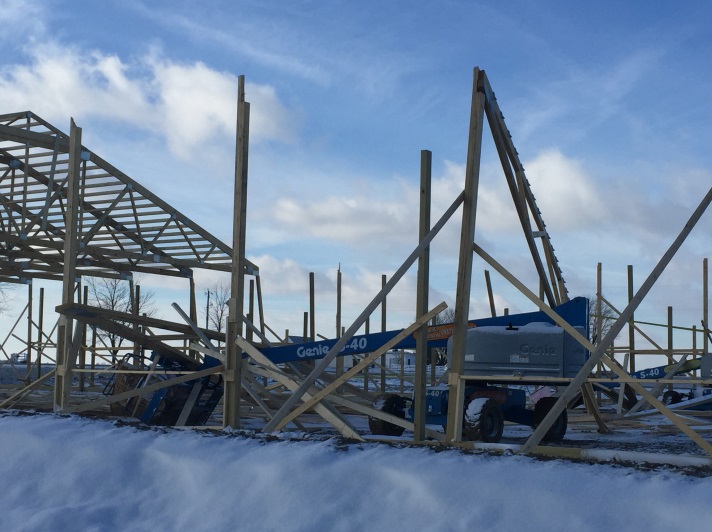
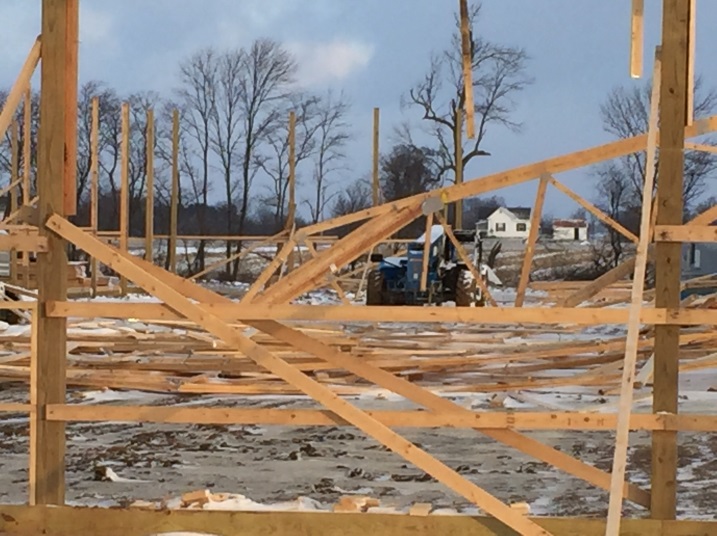
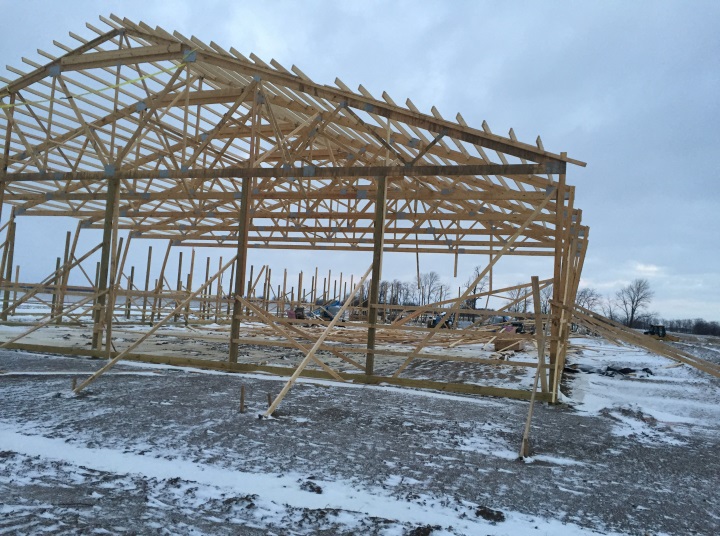
This particular building’s RDP had designed its roof system so as 36 feet of roof closest to each endwall was to be sheathed with 7/16” OSB on top of purlins. Had sheathing been installed, before moving forward, as well as following column, truss and roof plane (purlin) bracing guidelines – this wind induced failure would not have spoiled an otherwise happy Christmas morning.
 DEAR MARK: Your roof purlins appear to be adequate to support this type of a snow load. As to trusses, I would reach out to Morton Buildings with your site address and they should be able to pull up truss drawings for your building. If not, you would need to retain services of a Registered Professional Engineer who could do an actual inspection of your trusses and run calculations to determine exactly their capacity.
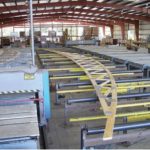 DEAR ANDREW: Can and should are not often same.
 DEAR DAVE: Unless your window’s vinyl frame was actually damaged, in most instances a glass company can do a repair of just broken glazed portions. I would suggest a call to Capital Glass in Reno (775)324-6688 as this appears to be in their wheelhouse and they service Fernley.