Tag Archives: vinyl siding

Gable Rake Trim, 24″ oc Framing, and Lap Siding Options

Today the Pole Barn Guru answers questions about cutting the rake trim at the gable end, Mike’s thoughts on 24″ oc framing for drywall, and types of lap siding options.

DEAR POLE BARN GURU: Can you advise me on how to cut sculpted rake trim at gable.  Pitch is 4/12.  This trim is a little hard to work with due to the angles that I suppose give it the name “sculpted.  Wanting to overlap the two pieces. 

Thanks, HEATH

DEAR HEATH: This excerpt from Hansen Pole Buildings’ Construction Manual should assist you:

At peak, See Figure 22-5 (when I piece ‘folds’ over peak) or Figure 22-6

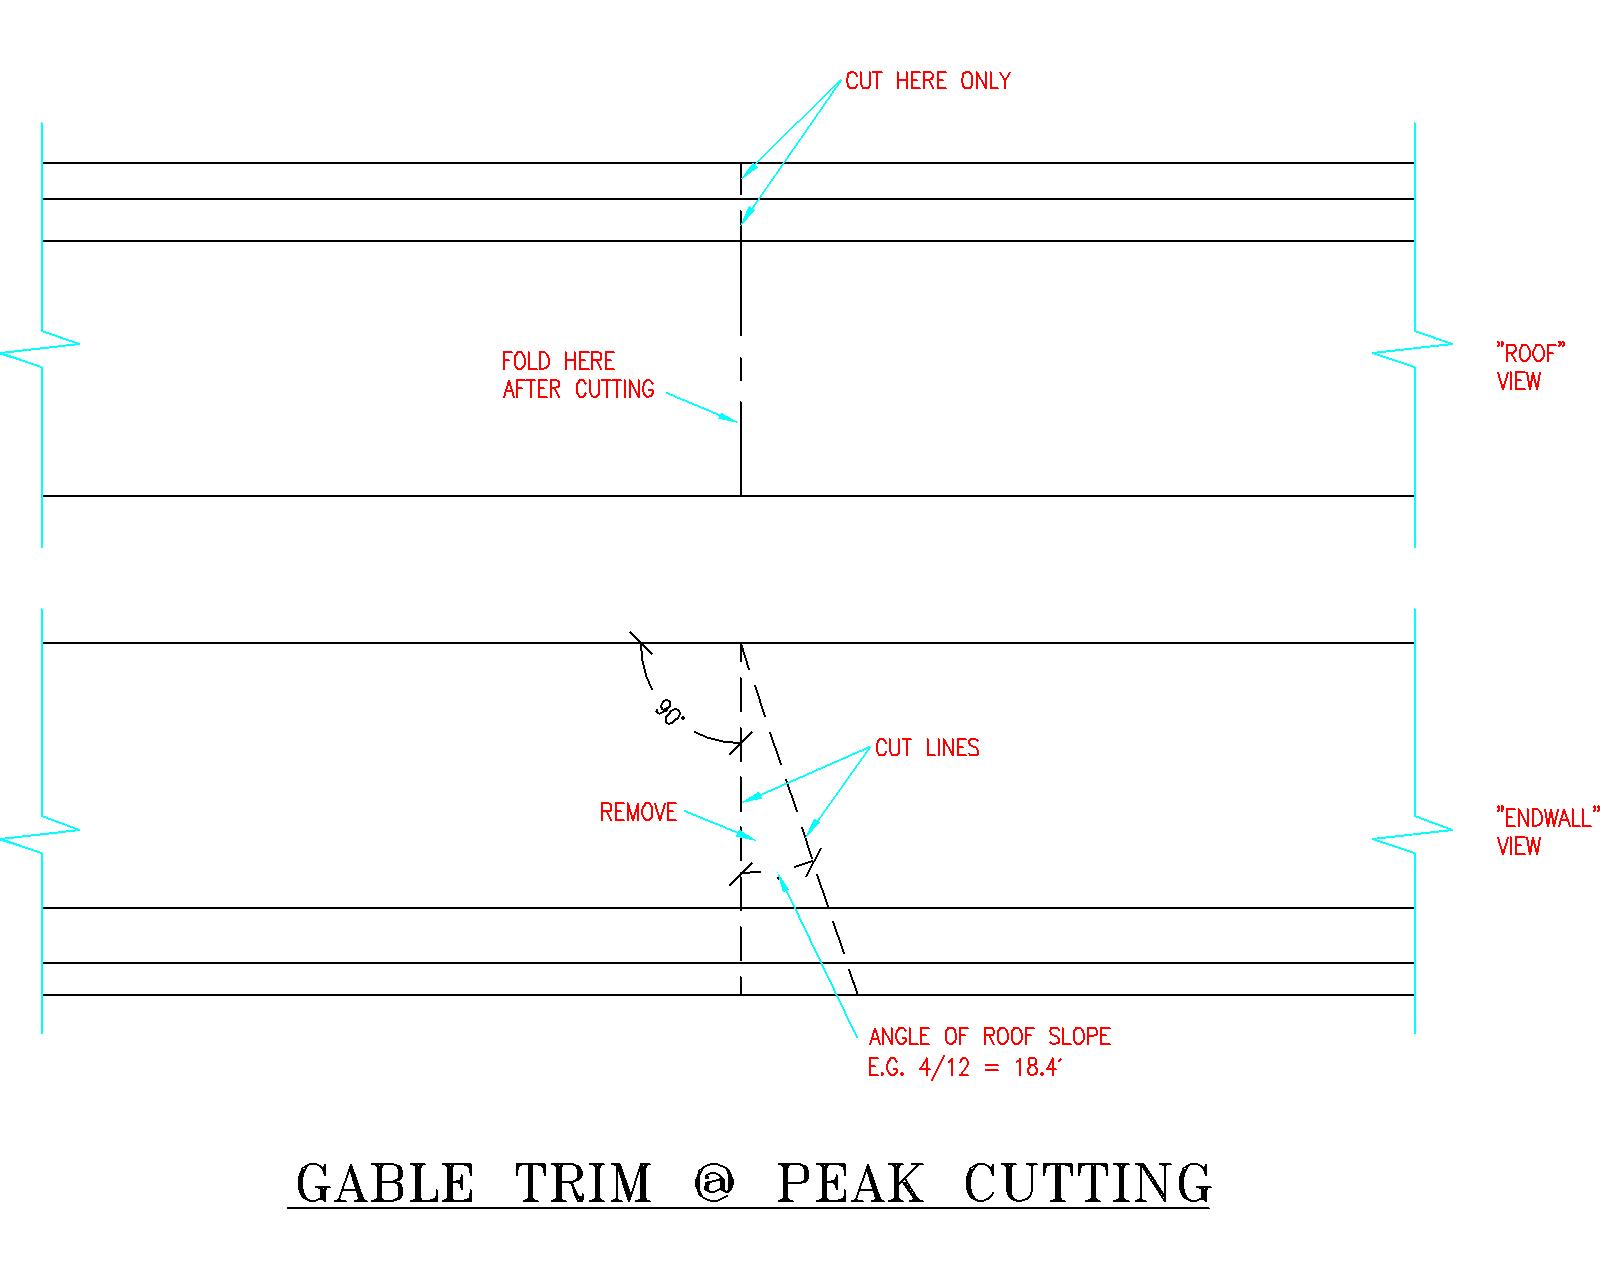
Figure 22-5: Gable Trim @ Peak Cutting


Interior Wall Framing
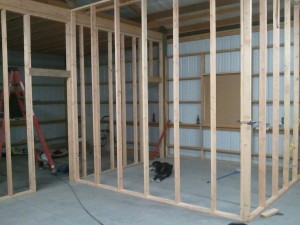
DEAR POLE BARN GURU: With lumber prices being what they are, what is your take on doing all interior framing on 24 inch centers and using all 5/8 drywall everywhere? Do you feel like it would be a significant enough savings to warrant it. I know that builders typically struggle with achieving dead flat walls even with 16 inch center framing. I’m willing to invest the time in choosing my framing materials to minimize the potential for waves. I guess it really just boils down to being able to accept slight imperfections in the wall in order to keep the project affordable. I’ll invite any opinions on this as long as it’s civil. RUSS in PIPERSVILLE


DEAR RUSS: I am a huge fan of using 5/8″ Type X drywall everywhere. In fact, I used it in our own shouse (shop/house). It offers several advantages, besides just an increase in fire protection. Its added stiffness hides a plethora of framing imperfections and it tends to lay smooth over framing two foot on center. We have found it to be very durable in holding up to my paraplegic wife’s power chair (yes, collisions do occur). Another often overlooked virtue – it dampens sound transmission through walls. For a couple of cents per square foot of material in my humble opinion it is a no brainer.


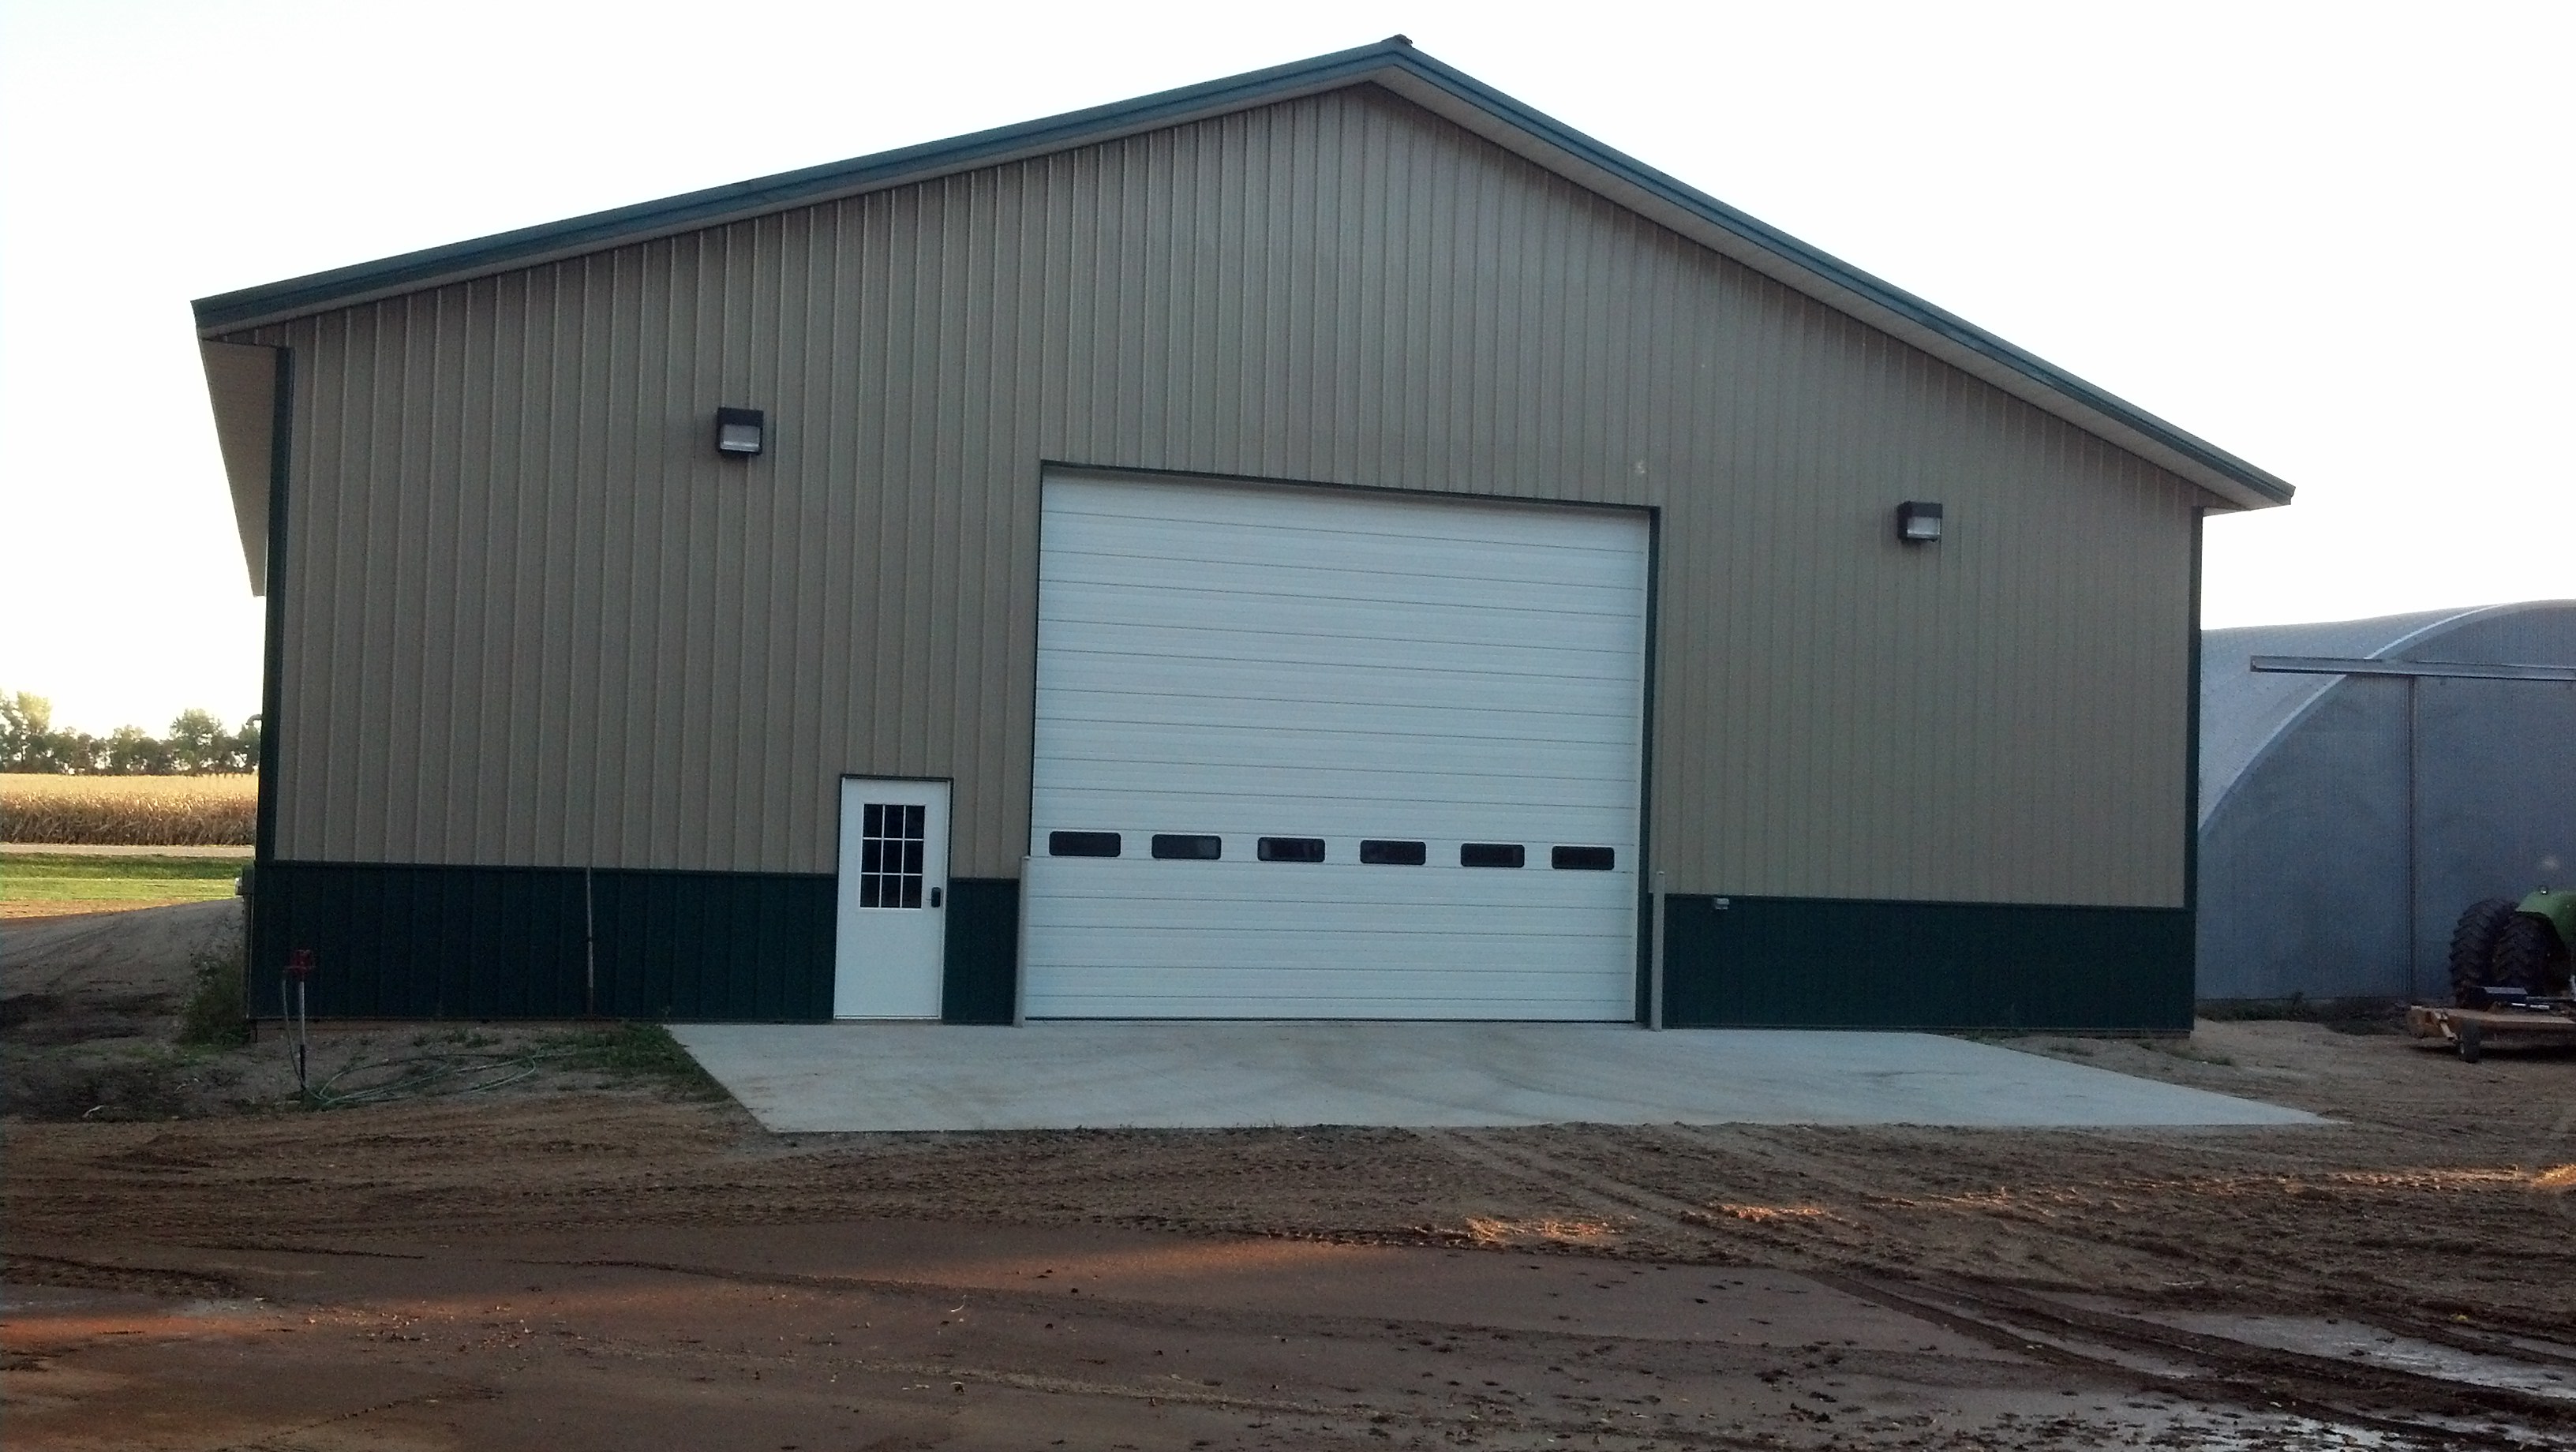
DEAR POLE BARN GURU: Do you have a siding option that resembles vinyl lap siding? CHUCK in HOGANSVILLE

DEAR CHUCK: We can provide an exact match – vinyl lap! https://www.hansenpolebuildings.com/2017/06/vinyl-siding-pole-barns/


Post Frame Building Wainscot

Whether your post frame building will be a garage, shop, commercial building or barndominium wainscot an extremely popular option is wainscot.

Roughly 25 years ago I had an 80’ x 150’ x 20’ post frame building erected for my prefabricated wood truss manufacturing business. Whilst a great deal of thought went into this building’s design, there is one crucial element I missed.

Down each long side of our building we placed bollards (read more at: https://www.hansenpolebuildings.com/2018/07/a-real-life-case-for-pole-barn-bollards/ and https://www.hansenpolebuildings.com/2017/05/lifesaving-bollard/) to protect steel siding from units of lumber and forklifts.  As there was no storage across our front wall, we did not place bollards there. A week before we moved in, someone backed a truck into a steel panel directly adjacent to our main entrance door. Of course this steel panel was nearly 30 feet tall, so to replace it would be no small undertaking. Instead of fixing it, I walked in and out of this door and fumed because of this dent! Had I planned appropriately and used wainscot panels, this dented panel could have been replaced in a matter of minutes, saving me untold hours of grief and aggravation!

By common definition, wainscot is an interior wall lower portion whose surface differs from upper wall. Wainscot was borrowed from Middle Low German wagenschot. It is not altogether clear what these origins were, but a generally accepted theory is it is a compound of wagen ‘waggon’ and schot ‘planks, boards’, and it therefore originally meant ‘planks used for making waggons’. Originally it was applied in English to ‘high-grade oak imported from Russia, Germany, and Holland’. This wood was used mainly for paneling rooms, and by 16th century wainscot had come to signify ‘wood paneling’.

Homeowners used to apply wainscoting, especially in dining rooms, to protect walls from damage from chairs and tables. A chair rail atop wainscoting serves as a “bumper,” protecting wall from dings and chips created when a chair or table gets a little too chummy. This wall decoration was often also used to add interest and texture to stairways, while protecting them, too. In fact, it first grew in popularity during Elizabethan times, and it’s quite common in historic English and American Colonial homes.

For post frame (or pole) buildings, wainscot has moved to building exteriors. In simple terms, it utilizes an alternate siding panel to cover approximately three feet of exterior wall lower portions. A most common application, with steel sided buildings, is to use a different color steel panel on the lower wall than the upper. Most often steel wainscot panels are the same color as roofing, however this is certainly not mandatory. This allows for an aesthetic look many find pleasing, while affording an ability to quickly and easily change out a short steel panel, if it would become damaged. This would prove to be a most cost affordable solution and is easier than changing out a full length wall panel.

Alternatively, other materials may be utilized, such as T1-11, cement based sidings, vinyl siding or even stone or brick. Mortarless masonry is a popular wainscot (for extended reading: https://www.hansenpolebuildings.com/2018/10/mortarless-masonry-exterior/).  Pretty much any siding applicable to any other building exterior, can be incorporated as post frame building wainscot. It not only serves a useful purpose, it just plain looks good too.

Camo

For my step-son Kevin, this one word pretty much covers everything. He and his identical twin brother Josh have always gone by the premise of – if it moves- kill it, and if it doesn’t move, prod it until it moves, then kill it.

Kevin loves to hunt, and if he isn’t hunting, he is fishing. He owns pretty much everything which can be camo. I swear he has camo skivvies.

A few years ago, one of our steel roofing and siding suppliers came out with camo steel for buildings. My first thought was – why? Then I realized, for those like Kevin, there would be a million and ones uses – hunting blinds, fishing shacks, heck (in his case) – the walls of his family room.

Camouflage Vinyl Siding

Camouflage Vinyl Siding

Today I got an Email from one of our suppliers. It seems camo has been taken to a new level in the world of construction – vinyl siding. This is certainly a step up the building chain from blinds and shacks – we are talking about homes, garages and shops!

Now I live in the woods, where it is fairly rustic and my neighbors are not ones who are around enough to complain. For those living in more semi-urban areas, there might be a few objections!

The camo vinyl siding is ideal for any climate, and has a Kynar® PVDF film finish for advanced color protection. It is moisture resistant and has a Temp-Rite® high performance substrate to withstand extreme weather. It is impervious to wood-boring insects. The low-gloss finish looks like freshly camouflaged and it never needs painting or caulking.

Camo side your new house, garage, barn or shed to either blend in, or stand out.  For others like my step-sons who live and breathe anything to with hunting and fishing, ENJOY!

Tips for Installing Vinyl Siding

Considering using vinyl siding on your new pole building? Whether doing the work yourself, or hiring it done here are three helpful tips to keep in mind.

Vinyl Siding

Tip #1 Each piece of siding has nailing slots along the top edge. Every fastener needs to be placed in the center of a slot. Nailing on either side will only allow the siding to move in one direction. It is important for the siding be able to move freely in either direction depending on how your building moves with temperature changes. Another note to keep in mind, you should be leaving 16″ between fasteners, they are not in every nail slot.

Tip #2 Intuition says, it would make sense to fasten your vinyl siding as tight as possible – this will prevent it from falling off the wall. Nothing can be further from the truth. Vinyl siding will expand and contract with temperature. If fastened too tightly, it won’t have the ability to move, and will buckle or become wavy. Make sure to leave 1/32″ between the nail head and the siding (about the thickness of a dime). If you don’t follow this fundamental rule, your siding will buckle!

Tip #3 Do not face nail through vinyl siding. Face nailing is exactly as it sounds – the fasteners are driven through the face of the siding, rather than through the slots. This will prevent the siding from moving freely. Face nailing will cause waves to ripple through your siding which just is not pretty. Once again, this is necessary because your siding will expand or contract with changes in temperature.

Most importantly, if you hire the work done, take a gander at how it is being installed to make sure these tips are being followed.

What the Hail? Protecting against hail damage

What the Hail?

I’ve been visiting my son and his wife in Maryville, TN.

I used to be a competitive long-distance runner, and while I absolutely hate running, I enjoy eating whatever I want even more, so I run to eat.

My lovely daughter-in-law set me up on a four mile loop to run. Those of you who are familiar with eastern Tennessee know the foothills of the Great Smoky Mountains do actually offer the ability to have a four mile loop which is ALL UP HILL.

As my oxygen deprived body was running the loop, I noticed every house I went by, which had vinyl siding, looked as if it had been the victim of a drive by grenade attack. We are talking about serious damage.

Upon returning from my run, and spending 30 minutes flat on my back trying to recover, I asked about all of the siding damage.

Hail Damage

Hail damage from an April storm

Apparently a late April storm had brought golf ball sized hailstones to the area – creating all of the siding hail damage I witnessed.

This caused me to start to wonder about what kind of warranties the vinyl siding manufacturers had against hail damage.

On one major vinyl siding manufacturer’s website I found, “In the event of damage caused by hail during the warranty period, it is the owner’s responsibility to pursue the cost of replacement or repair of damaged material through homeowner’s insurance or any other applicable insurance coverage. Any cost incurred by the owner in excess of the insurance contribution will be reimbursed by Manufacturer (excluding any insurance deductible), except that manufacturer will not be liable for costs in excess of the value of the replacement material required to replace the material damaged by hail. Manufacturer will not be responsible for the cost of the labor required to install the vinyl siding or to replace any hail damaged material.”

This seems to be pretty consistent with the other vinyl siding hail warranties I am reading on the internet.

It seems to me – if I was going to use vinyl siding, I’d make sure I had good homeowner’s insurance.

To receive more pole building tips and advice subscribe to the pole barn guru blog!