Where, Oh Where, Should My Purlins Go?
There are almost as many methods for assembly of a post frame building, as there are post frame buildings! I kid you not.
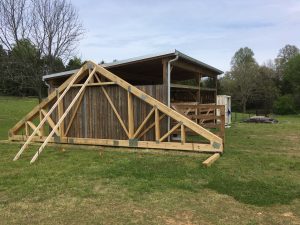
Amongst differences are how to space trusses – two, four, eight, 12 foot or numerous other possible centers. Along with different truss spacings are how to install roof purlins across or between trusses to support steel roofing.
Reader KELLY writes:
“So, I would like some info on purlins. One builder has them laying flat on top of truss, one on edge on top of truss, and one on edge with hangers between trusses? I have my thoughts but wonder what is technically better.
I like the hanger between trusses, for roof load, but I wonder if you give up some of the diaphragm strength that is accomplished by purlins laying flat on the truss.
To me, with a purlin that lays across multiple trusses, you get the benefit of added strength because you are tying multiple trusses together and the lateral stress is on the edge of the purlins. When they are in hangers, the load stress in on the purlins edge, but the lateral stress allows the trusses to move independently.
Trusses most likely on 8’s. Purlins 24 spacing.”
Mike the Pole Barn Guru writes:
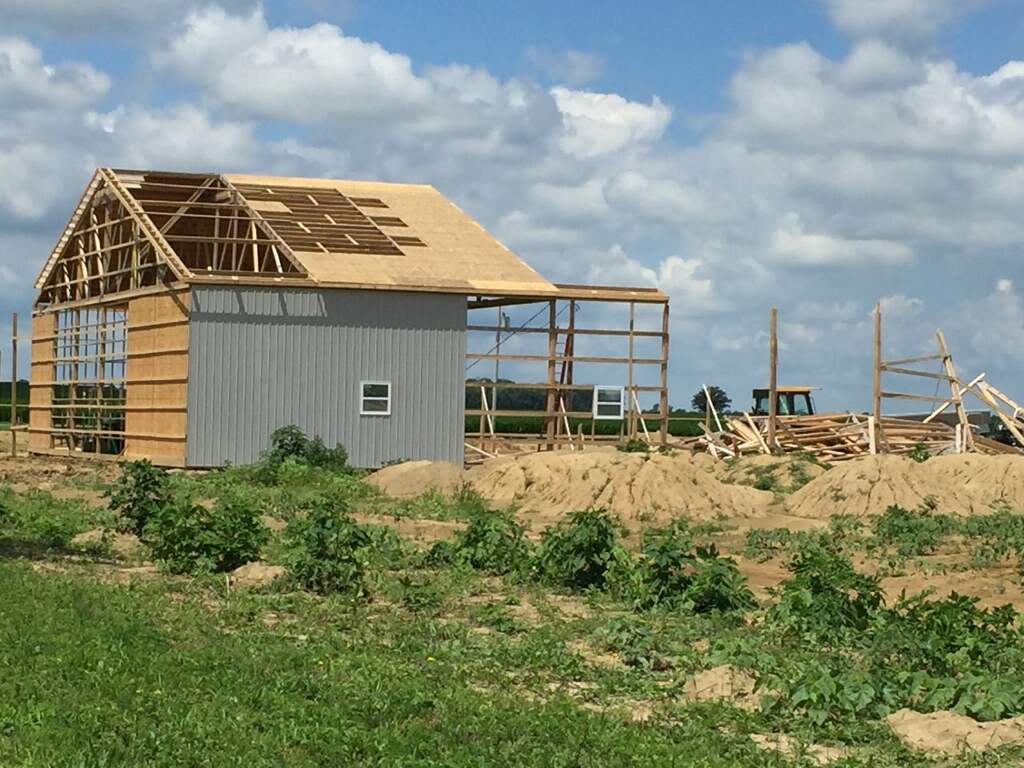
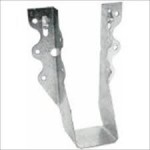
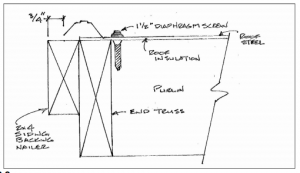
Purlins placed flat will not span eight feet, so eliminates this option. If you are planning upon going with edgewise purlins across a single truss, you are going to run into an uplift problem. Usually builders want to drive a 60d nail through purlins, into truss tops, however this connection doesn’t calculate out as being able to keep purlins from ripping off the building during severe weather. Most builders are not willing to spend time to install an engineered steel tie-down for purlins in this scenario. Over top also means purlins get staggered when they overlap. This precludes abilities to predrill roof steel. Predrilling gives nice straight screw lines and also eliminates possibilities of missing a purlin with a screw.
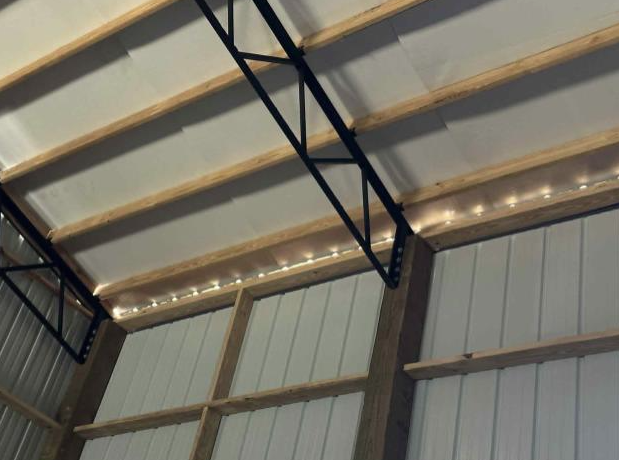
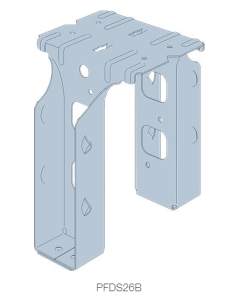
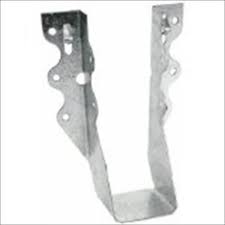
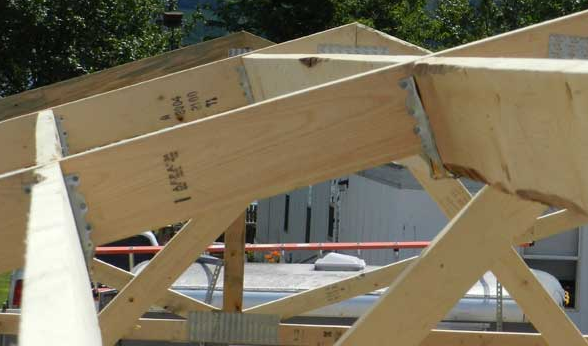
 This leaves “in hangers” between trusses as your only viable (and practical) design solution.
Diaphragm stiffness of your roof will come from your building’s roof steel (and method of attaching steel to purlins), not how purlins are connected to trusses. Purlins tying multiple trusses together are not going to make your end resultant any stronger or stiffer.
Ultimately your RDP (Registered Design Professional – architect or engineer) who places his or her seal upon your building plans will be making a determination as to adequacy of any of these connections. If you are talking with a builder whose brilliant idea will be not building from engineered plans …run away from them as quickly as possible. This would be a risk not worth taking. If an engineer didn’t design your building…..then who did?

 DEAR POLE BARN GURU: I have one more question for you I have a cabin that has 2×6 stud walls 12′ high that I put 2″ foam under slab and 2″ on the side walls so from under slab to top of walls on the exterior is completely covered in foam with 2″s of closed cell spray foam sprayed to the interior of the 2″ pink. Then 5″s of closed cell sprayed on the roof for a hot roof. My problem is I’m heating this building with electric boiler and my bills have been quite high. In the house side I have vaulted ceilings so not much I can do there but my garage ceiling is 12′ with no insulation at that level because of the hot roof in your opinion if I blew in insulation at the 12′ ceiling height what would you do between the blown in and hot roof I’m worried about creating a moisture problem and mold and thinking I should vent that area above the garage too the outside what’s your thoughts thanks. CHRIS in HIXTON
  DEAR ERIC: 4 foot on center makes for an awful lot of holes to dig and posts to set, not to mention becoming very limiting on width of openings like windows. We would recommend (of course with engineer’s approval) glulaminated columns every 12′ or even 16′). Outside of this, it is an acceptable approach, provided you can attach your splash plank to adequately transfer shear loads. We always recommend insetting roof purlins between trusses using engineered hangers.
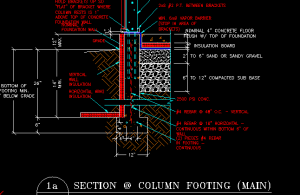 Mike the Pole Barn Guru responds:
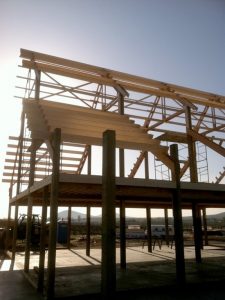
 DEAR POLE BARN GURU: I have an existing 40 x 60 pole building, built in the late 80’s. It has double trusses spaced 12 ft apart. I would like to extend it from 60 to 72 ft. We originally were thinking we would extend using stick frame construction but now I am wondering if this will affect the integrity of the existing building. I would like to leave the end of the pole building in place and add a door into the new space at each end. Your advice on the best way to go about this? The extension is planned for a bathroom and laundry space and would have a concrete floor. Thanks for your help. WENDY in VANCOUVER
 Purlins are then in perfectly straight lines, allowing for pre-drilling of roof panels (this eliminates misses). Others may try to align purlins over top of trusses using butt end splices. This makes for a very poor connection attempting to get adequate fasteners into 3/4″ (1/2 width) of truss top chords. When purlin joints are lapped, it causes a stagger of the purlins, resulting in inability to pre-drill and a significant chances of screw misses.
 Reader BRAYTON in NORTHEAST WASHINGTON writes: “I’ve been previewing your website and am glad I found it!
 DEAR POLE BARN GURU: I have a 30×40 pole barn with 6″ purloins mounted between the posts. I’m planning to add minimal insulation using closed cell panels. I’ve seen recommendations to cut the panels to fit between the purloins (would be up against metal) ang using great stuff to seal gaps/seams. I’ve also seen recommendations to attach panels to inside of purloins and seal with tape, which would leave roughly 5.5 inch air gap. However, the air gap would have little real ventilation due to the purloins. It would just be lots of “pockets”. I plan on putting 1/2 inch plywood over the insulation. Note…this is a coastal area with direct sea breeze and I’m only insulating about half of the barn, if that matters. Interior walls with fiberglass batting will separate the heated/unheated areas. RAY in SOUTH BEACH
 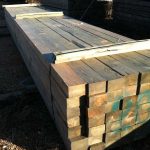 DEAR POLE BARN GURU: My barn project has been a long drawn out process. The project stalled for 6 months but has picked back up again. I’m using rough cut lumber. Unfortunately, the wood has a grey color to it (probably from dirt, mold or algae on the surface).
 DEAR SCOTT: It was bad enough when your tin guys put bubble wrap over your housewrap. Compounding your having spent your hard earned money on both, is closed cell spray foam should have been applied directly to inside of steel siding. Water under a bridge at this point. You should fill balance of wall cavity with unfaced rock wool and no interior vapor barrier. Wall will now dry to inside (meaning you may have to mechanically dehumidify). You did not say if your added lean to has an attic space or not. If your intent is to insulate with plane of roof (purlins) here is some guidance:
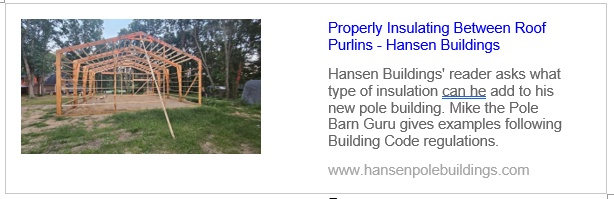
 DEAR CHRISTOPHER: Thank you for your kind words.
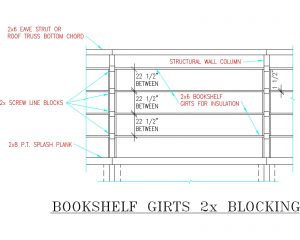 Mike the Pole Barn Guru writes:
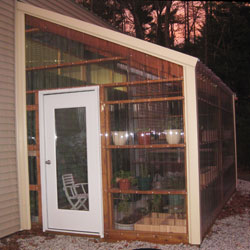 DEAR POLE BARN GURU: My girlfriend and I are looking to start an aquaponic greenhouse system/farm. We are building a polycarbonate gable style greenhouse 30’x96′-120′ and we are needing to attach a post frame building to the greenhouse in an “l” shape off the shop end. We are/were originally looking to keep the house (4bed/3bath) one level roughly 50×100 splitting the post frame building 50/50 shop and house. But after looking at some of your projects we aren’t opposed to building a taller but shorter home with attached shop still 50×50. My question is in attaching the green house have you ever designed or worked with projects like this? CHRIS in FORT MADISON
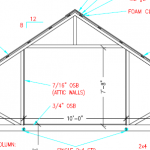 DEAR POLE BARN GURU: If I am building a 30×40 with 10 foot side walls, and I can only have a maximum peak of 17 feet, so roughly a 6/12 pitch, if I had attic trusses, how tall would the open space be in the attic room? If I can go taller and have a 8/12, or 9/12 pitch how tall could the open space be in attic? Thanks. KRISTI in SAGINAW

 DEAR MARK: Your roof purlins appear to be adequate to support this type of a snow load. As to trusses, I would reach out to Morton Buildings with your site address and they should be able to pull up truss drawings for your building. If not, you would need to retain services of a Registered Professional Engineer who could do an actual inspection of your trusses and run calculations to determine exactly their capacity.
 DEAR ANDREW: Can and should are not often same.
 DEAR DAVE: Unless your window’s vinyl frame was actually damaged, in most instances a glass company can do a repair of just broken glazed portions. I would suggest a call to Capital Glass in Reno (775)324-6688 as this appears to be in their wheelhouse and they service Fernley.
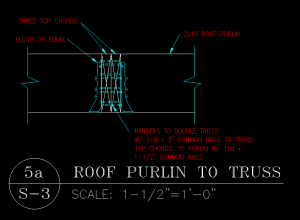
 We typically would use 2×6 #2 on edge for these recessed (between truss pairs) roof purlins. Here are the calculations:
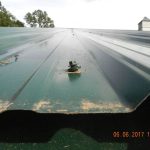 Reader GUY in SHELTON is probably wishing he would have ordered a new Hansen Pole Building right now. He writes:
 Kudos to you for doing a D-I-Y. Sadly you were lead to a product (Prodex) claiming to be insulation, however in reality it is a condensation control, and only if totally sealed.
 As time allows, remove roof Prodex, have two inches of closed cell spray foam applied to roof steel underside, and increase thickness of blown in attic insulation to R-60.
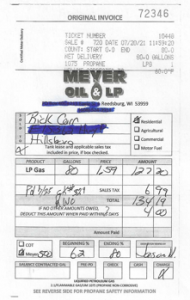 They did not refill the tank until 7-20 21. They filled it from 62% to 80%! It only took from 92% down to 62% to heat the building ALL winter!
  Mike the Pole Barn Guru writes:
 Provided you have adequate available space, you may want to tweak your footprint dimensions in order to optimize your return for your investment. As steel comes in three foot widths and lumber in two foot lengths, your most cost effective dimensions of length and width will be multiples of six feet. In your instance, I would recommend 36 feet wide and 84 feet long.
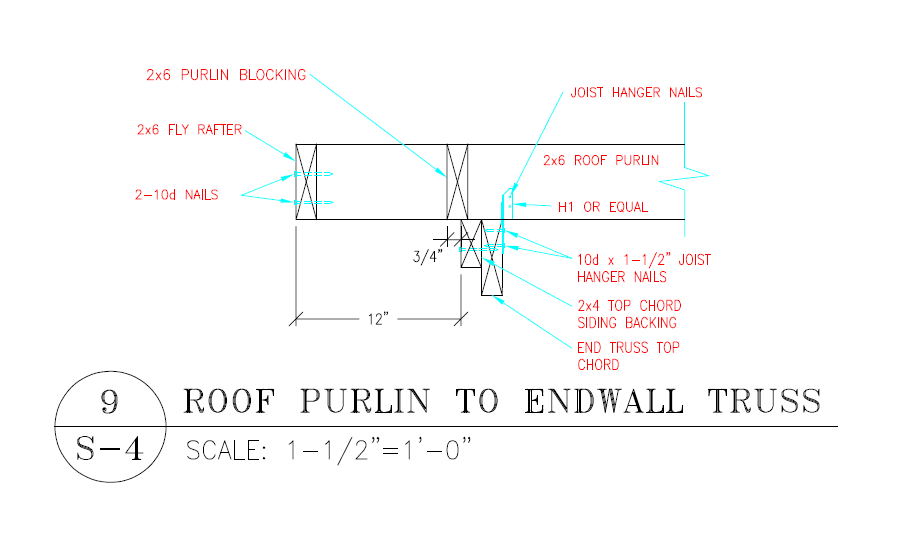
 Well John, you have left out a crucial part. One no proper pole barn should be without. Plans designed and sealed by a Registered Professional Engineer specific to your building at your site. To build without them is, in my humble opinion, fool hardy and I cannot endorse your plan of attack or methods of construction without them. Outside of this – attempting to field construct your own roof trusses is not a good choice. Prefabricated trusses are truly a bargain, especially when considering risks involved should your home made trusses collapse injuring or worse killing you or a loved one.
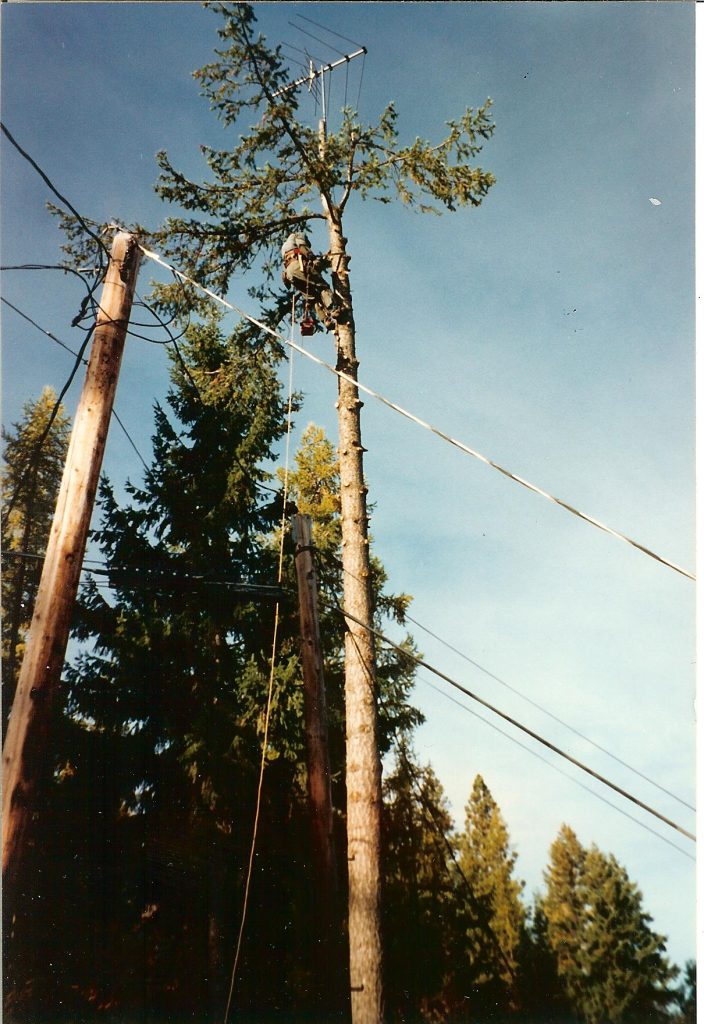
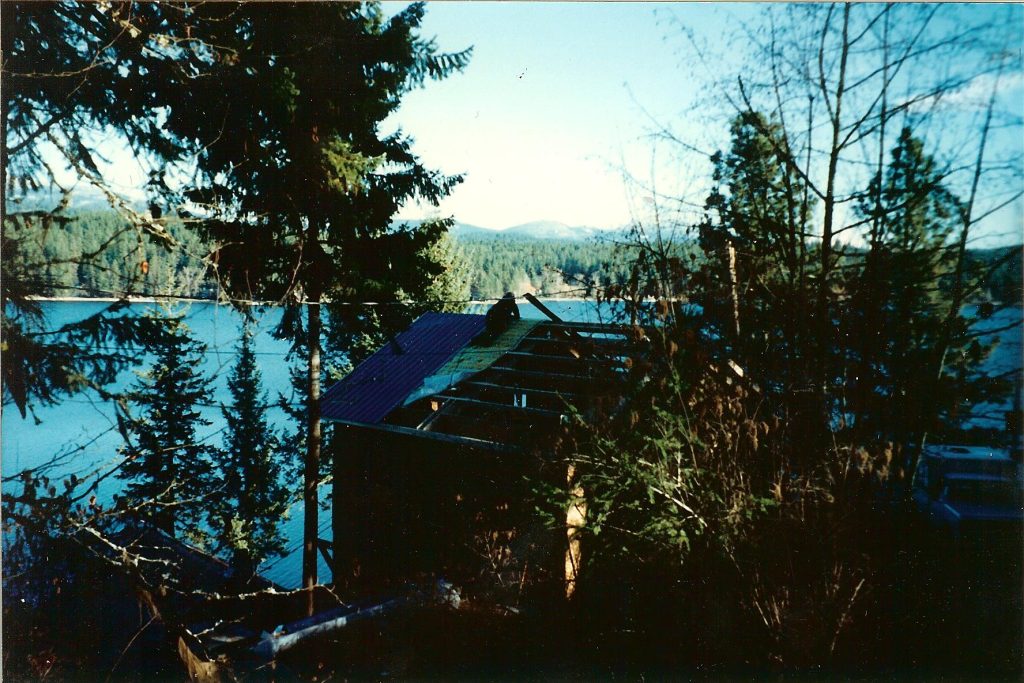
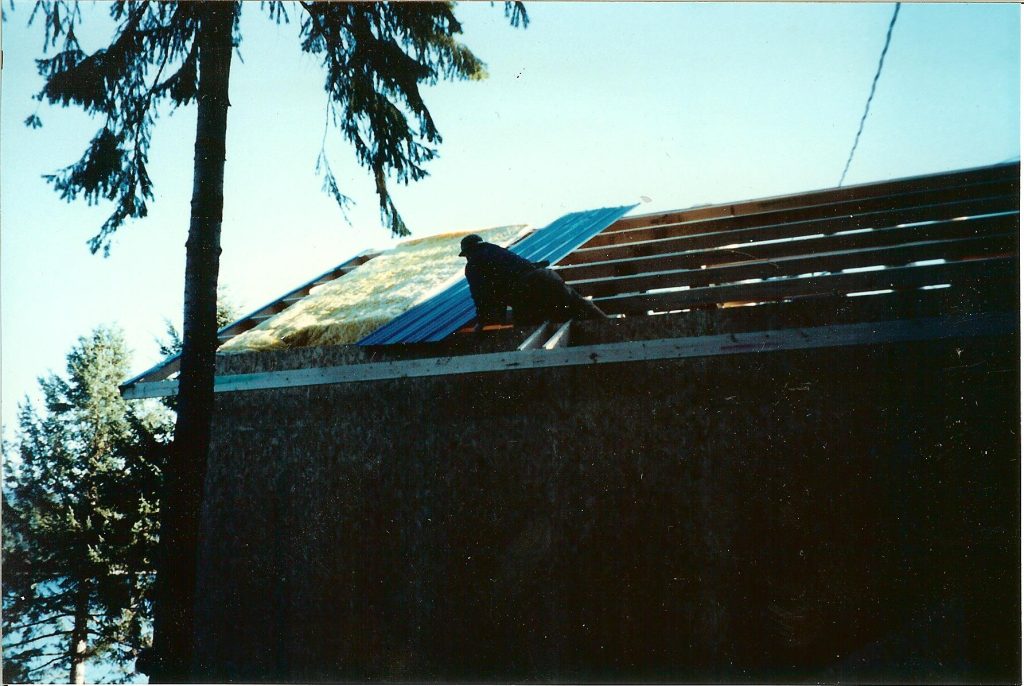
 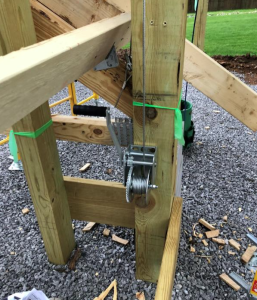 He was furious because he did not want heavy equipment, like a crane, run across his yard to lift his roof up. Luckily we were able to talk him down and assured him when he came home from work his roof would be up in place and there would be no tire tracks.
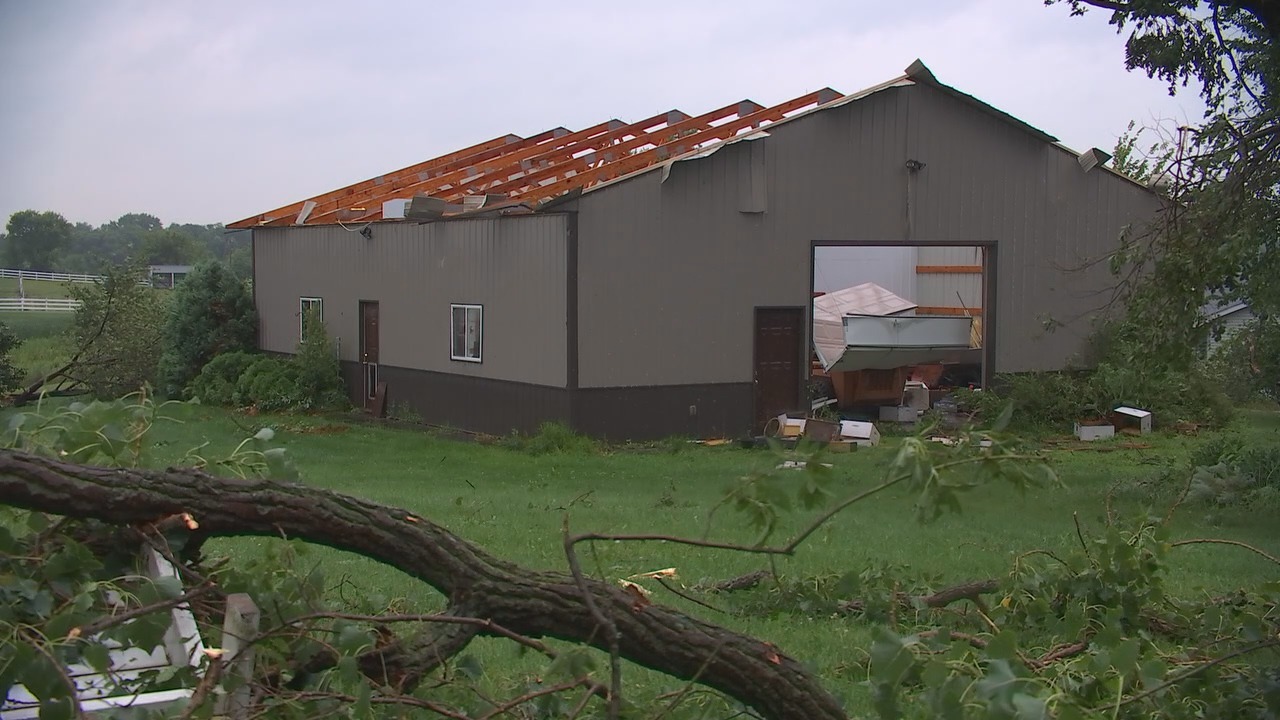

 This very same adage holds true with those punting at their own building design….engage a trained professional. Or even better, a complete post frame building package structurally designed by a trained professional. And when I talk about “trained professional” in this context, I mean plans sealed by a Registered Design Professional (RDP – architect or engineer) specifically for your building on your property.
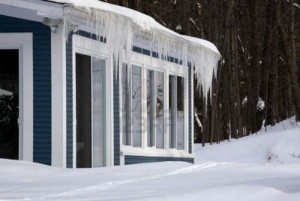 In areas where there has been a history of ice forming along the eaves causing a backup of water, an ice barrier that consists of at least two layers of underlayment cemented together or of a self-adhering polymer modified bitumen sheet shall be used in lieu of normal underlayment and extend from the lowest edges of all roof surfaces to a point at least 24 inches inside the
 Do you think that mix of 1.5” and 3” nails for the connectors would be sufficient or should I really consider just temporarily attach the hangers and replace the temporary attachment with the 3” nails? If that is the case, is there an issue driving 3” nails basically tip to tip through the hangers?
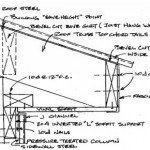

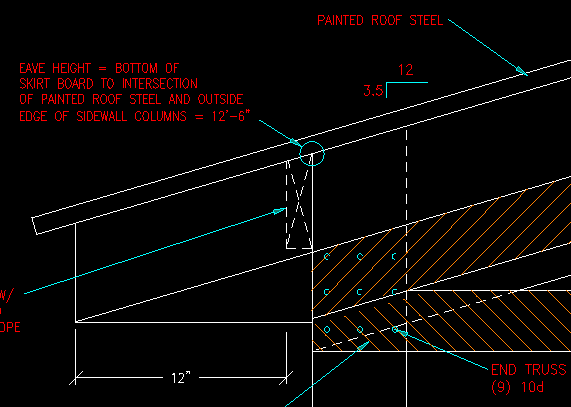
 A quick solve for anywhere in the country and any method of construction – to the eave outside of all corner and sidewall columns, attach a pressure preservative treated 2×6 from grade, up to the level of the trusses. In most cases two 10d galvanized common nails spaced every nine inches will be an adequate connection. As these 2×6 will be in contact with the ground, they should probably be treated to at least a UC-4B standard. Your building’s skirt board and any other exterior mounted framing can now be attached to the face of these 2×6. Using this method allows for siding to be installed normally, without any undue compensations to get it to lay out properly.
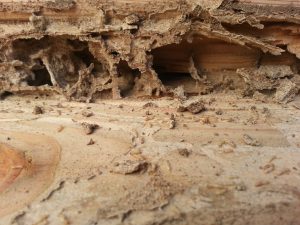 “We would happy to provide some advice for this situation. Let me first say this is why we stress so much to inspect and inventory wood as they arrive up front. You are probably correct in your conclusion they came with the mites in the bundle. If the bundle would have been opened then we could have probably avoided your current situation.
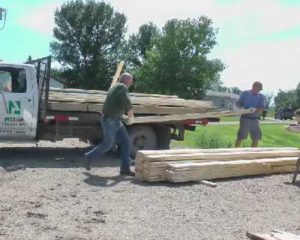 This is actually fairly important, not just to determine how many boards can be toted around a jobsite by one person, but also in calculating the dead loads which must be carried by structural members such as roof trusses and rafters.
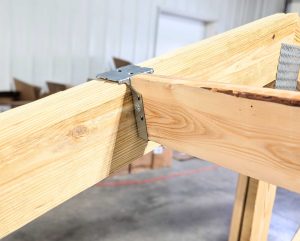 The beauty of pre-drilling pilot holes for roof and wall screws is perfectly straight lines. Straight screw lines are truly a thing of beauty – there are few things in life as pleasing as looking across a wall or roof and seeing the screws lined up like soldiers.


