Tag Archives: fishing cabin

Cabin Insulation Follow Up

Cabin Insulation Follow Up

First Winter Heating Bill

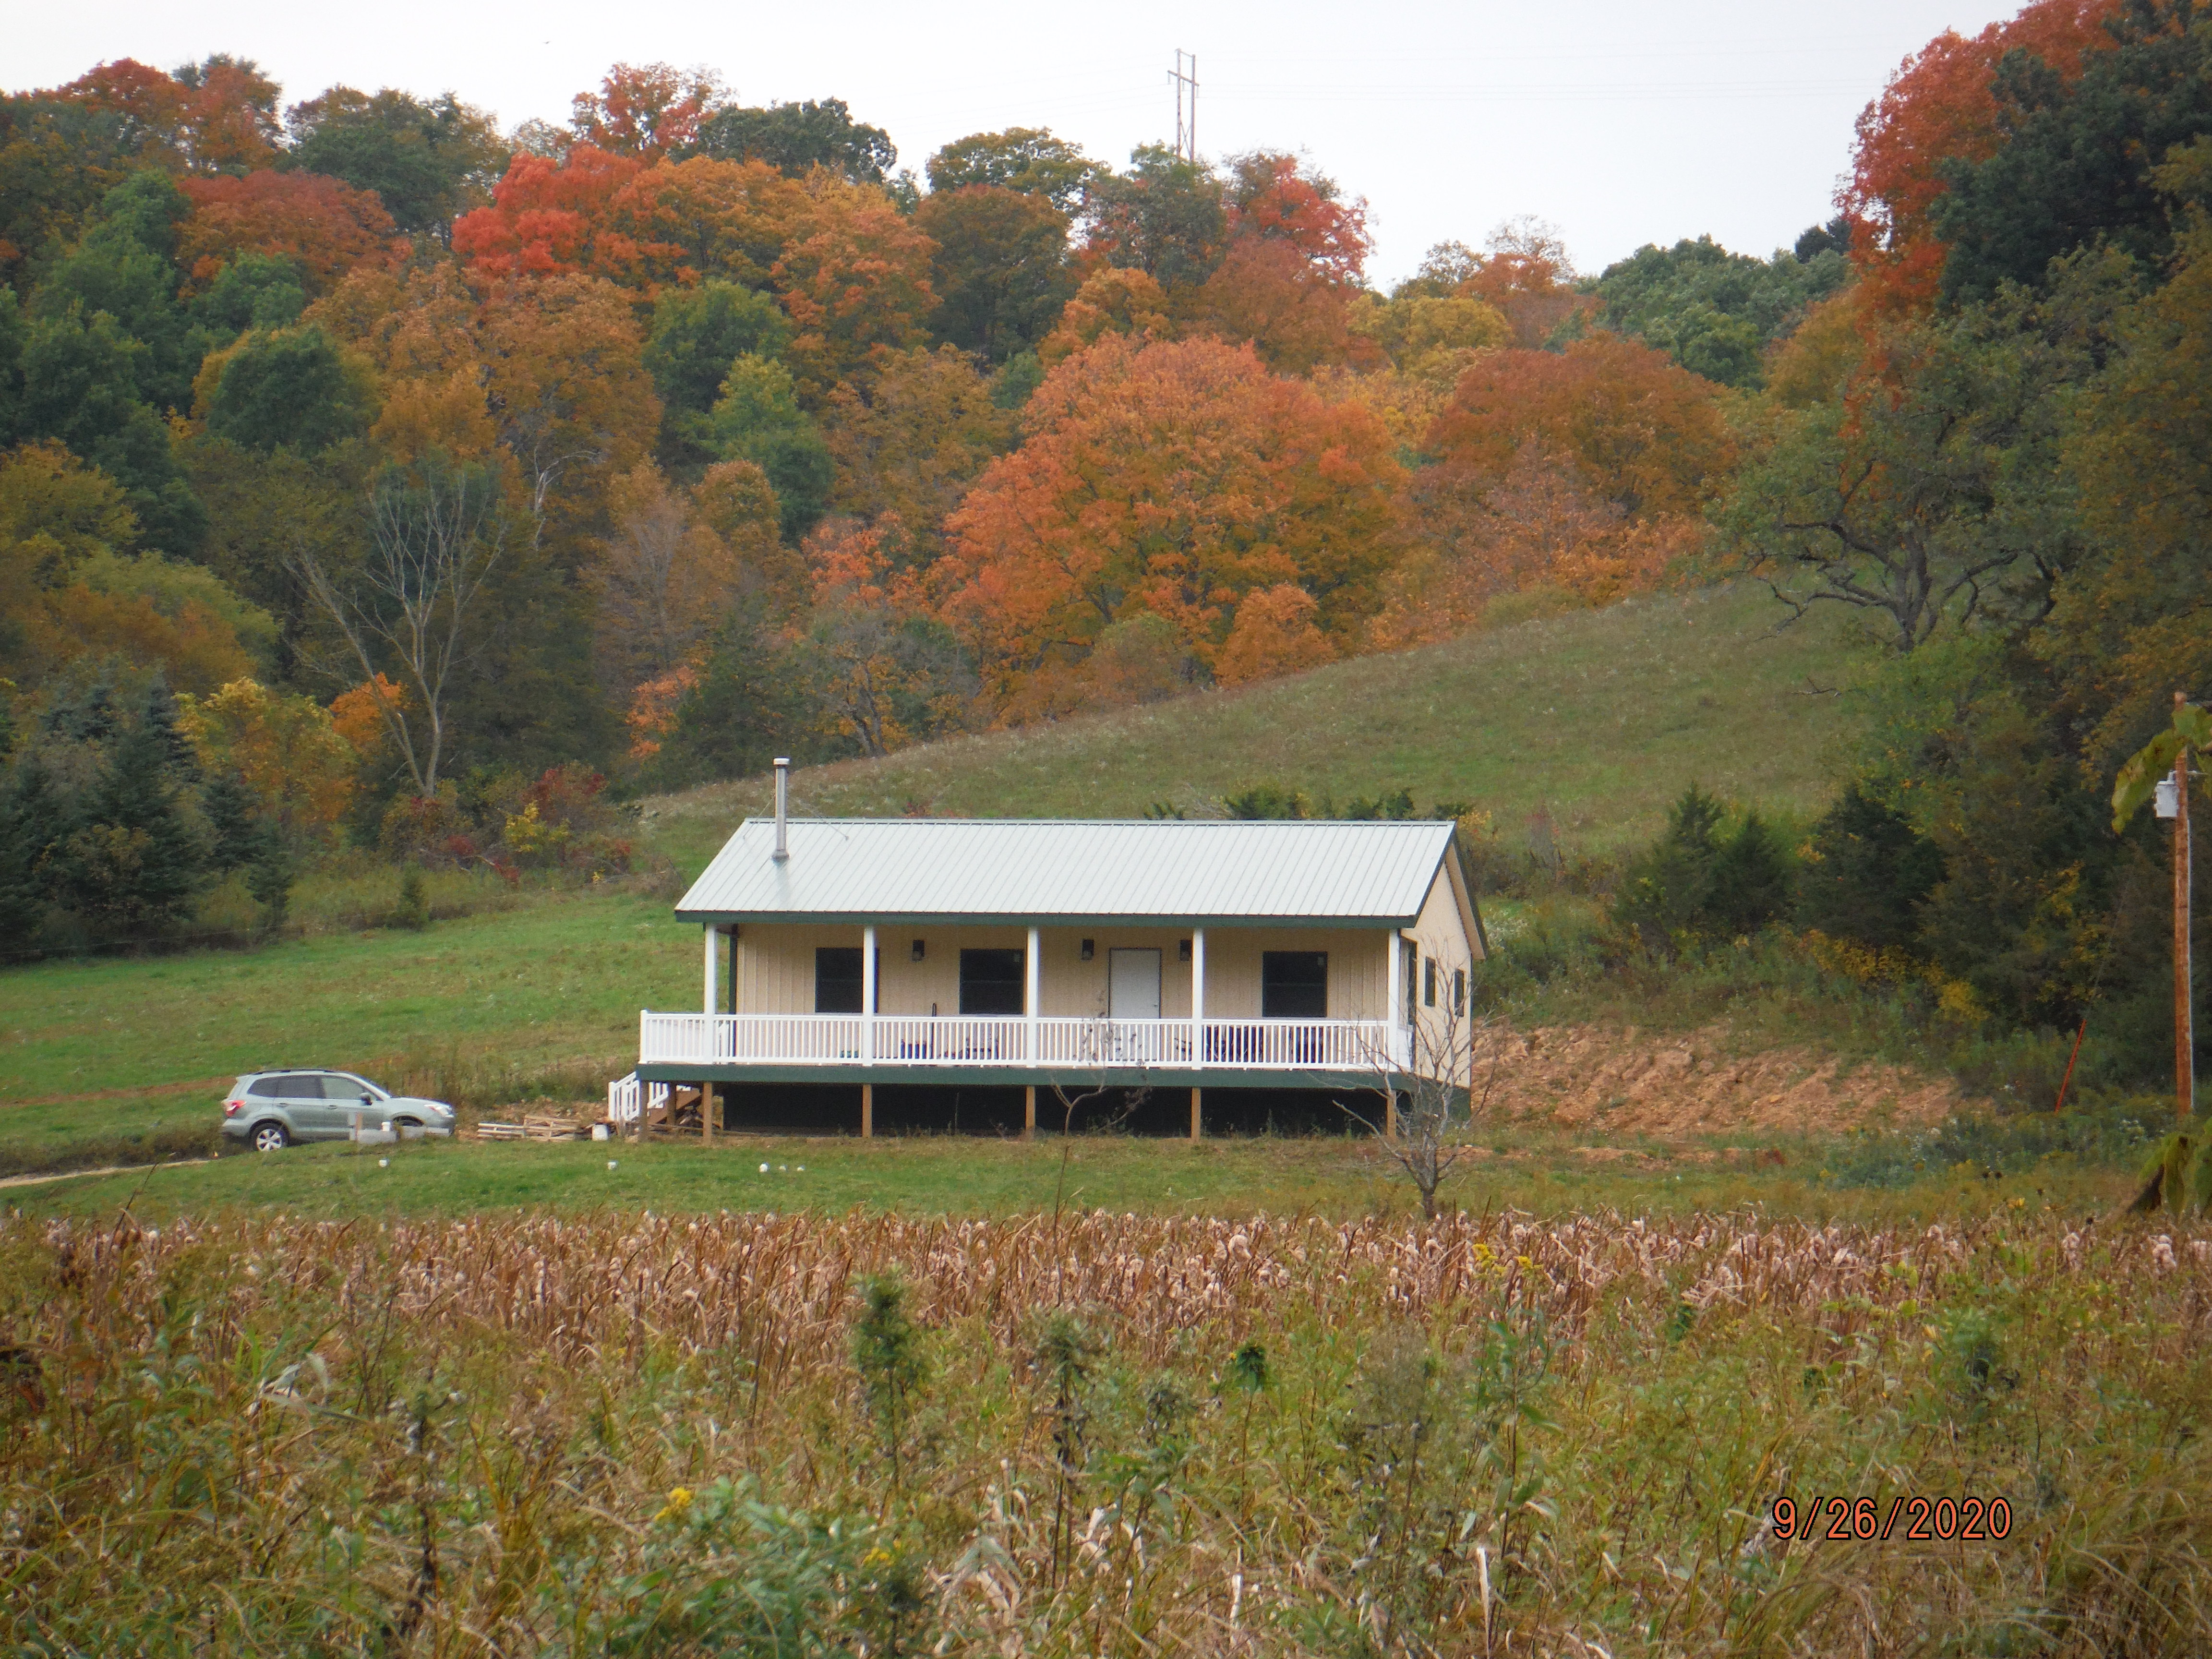
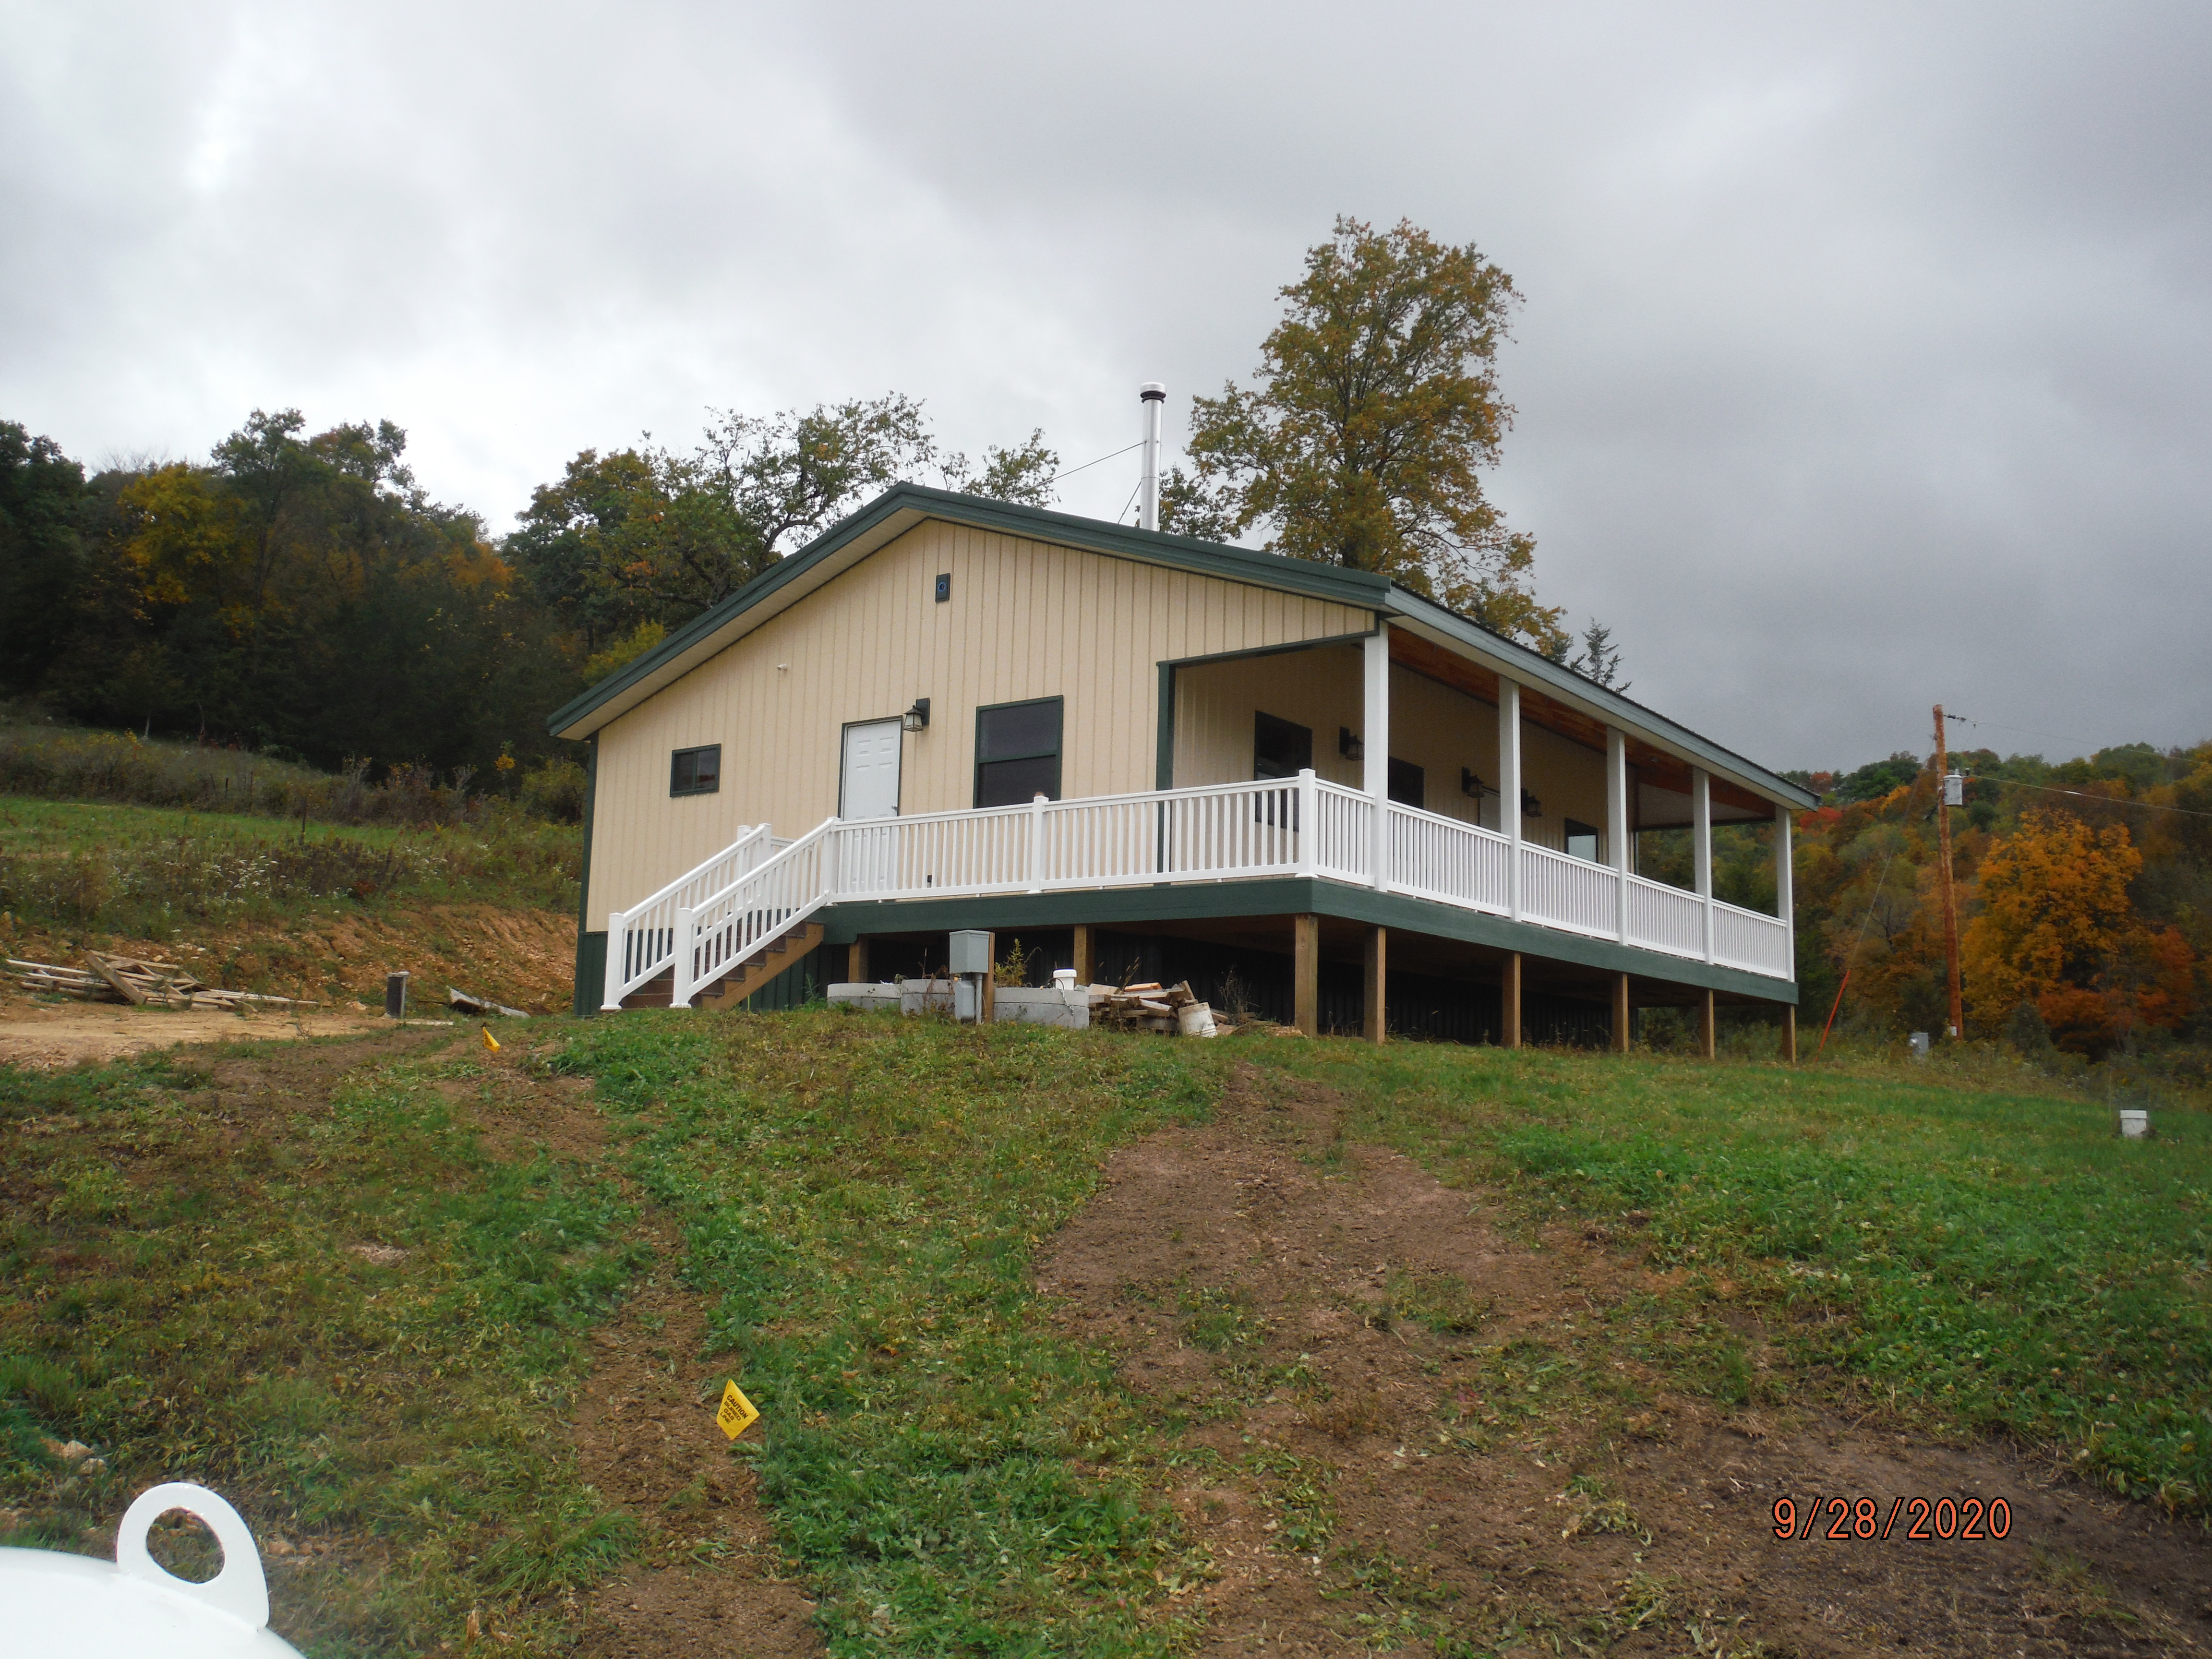
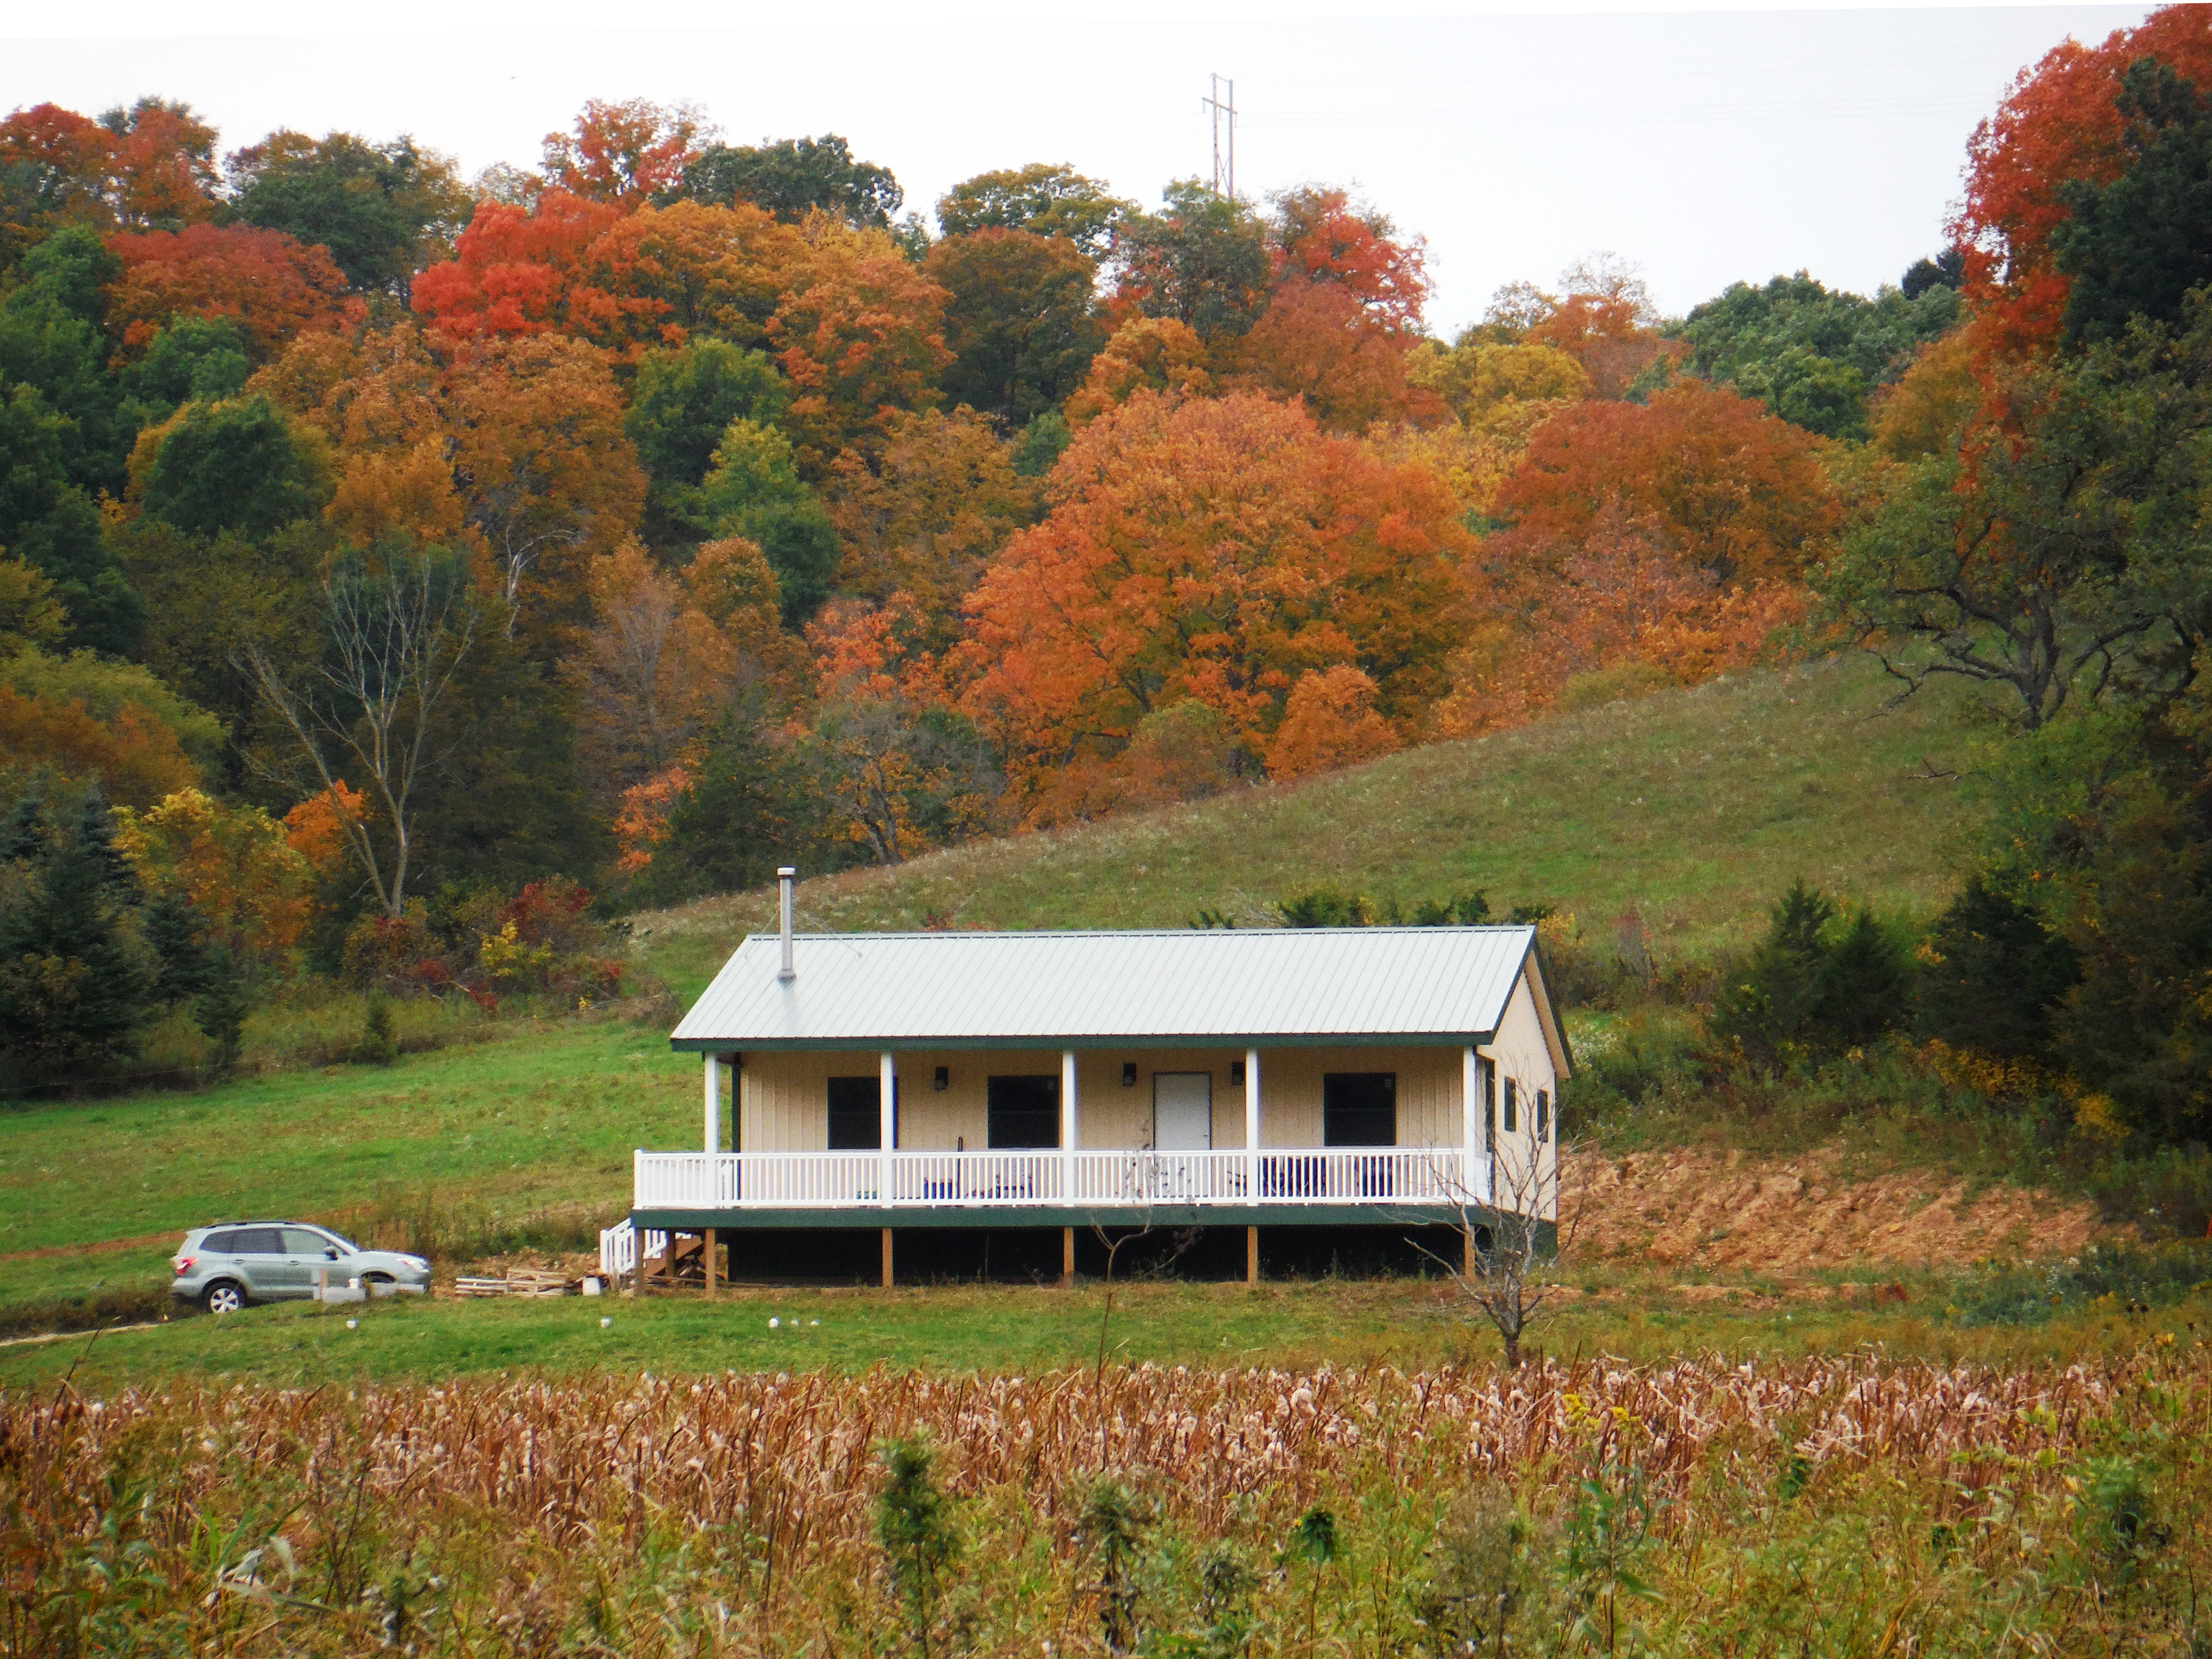
Mike’s loyal readers may recall that I was privileged to be able to write several blog articles on the development of my plans to build my fishing cabin.

https://www.hansenpolebuildings.com/2019/03/development-of-my-cabin-plans/

https://www.hansenpolebuildings.com/2019/03/pole-barn-cabin-part-ii/

https://www.hansenpolebuildings.com/2019/03/participating-in-ricks-post-frame-cabin-planning/

https://www.hansenpolebuildings.com/2019/04/my-pole-barn-cabin-part-iii/

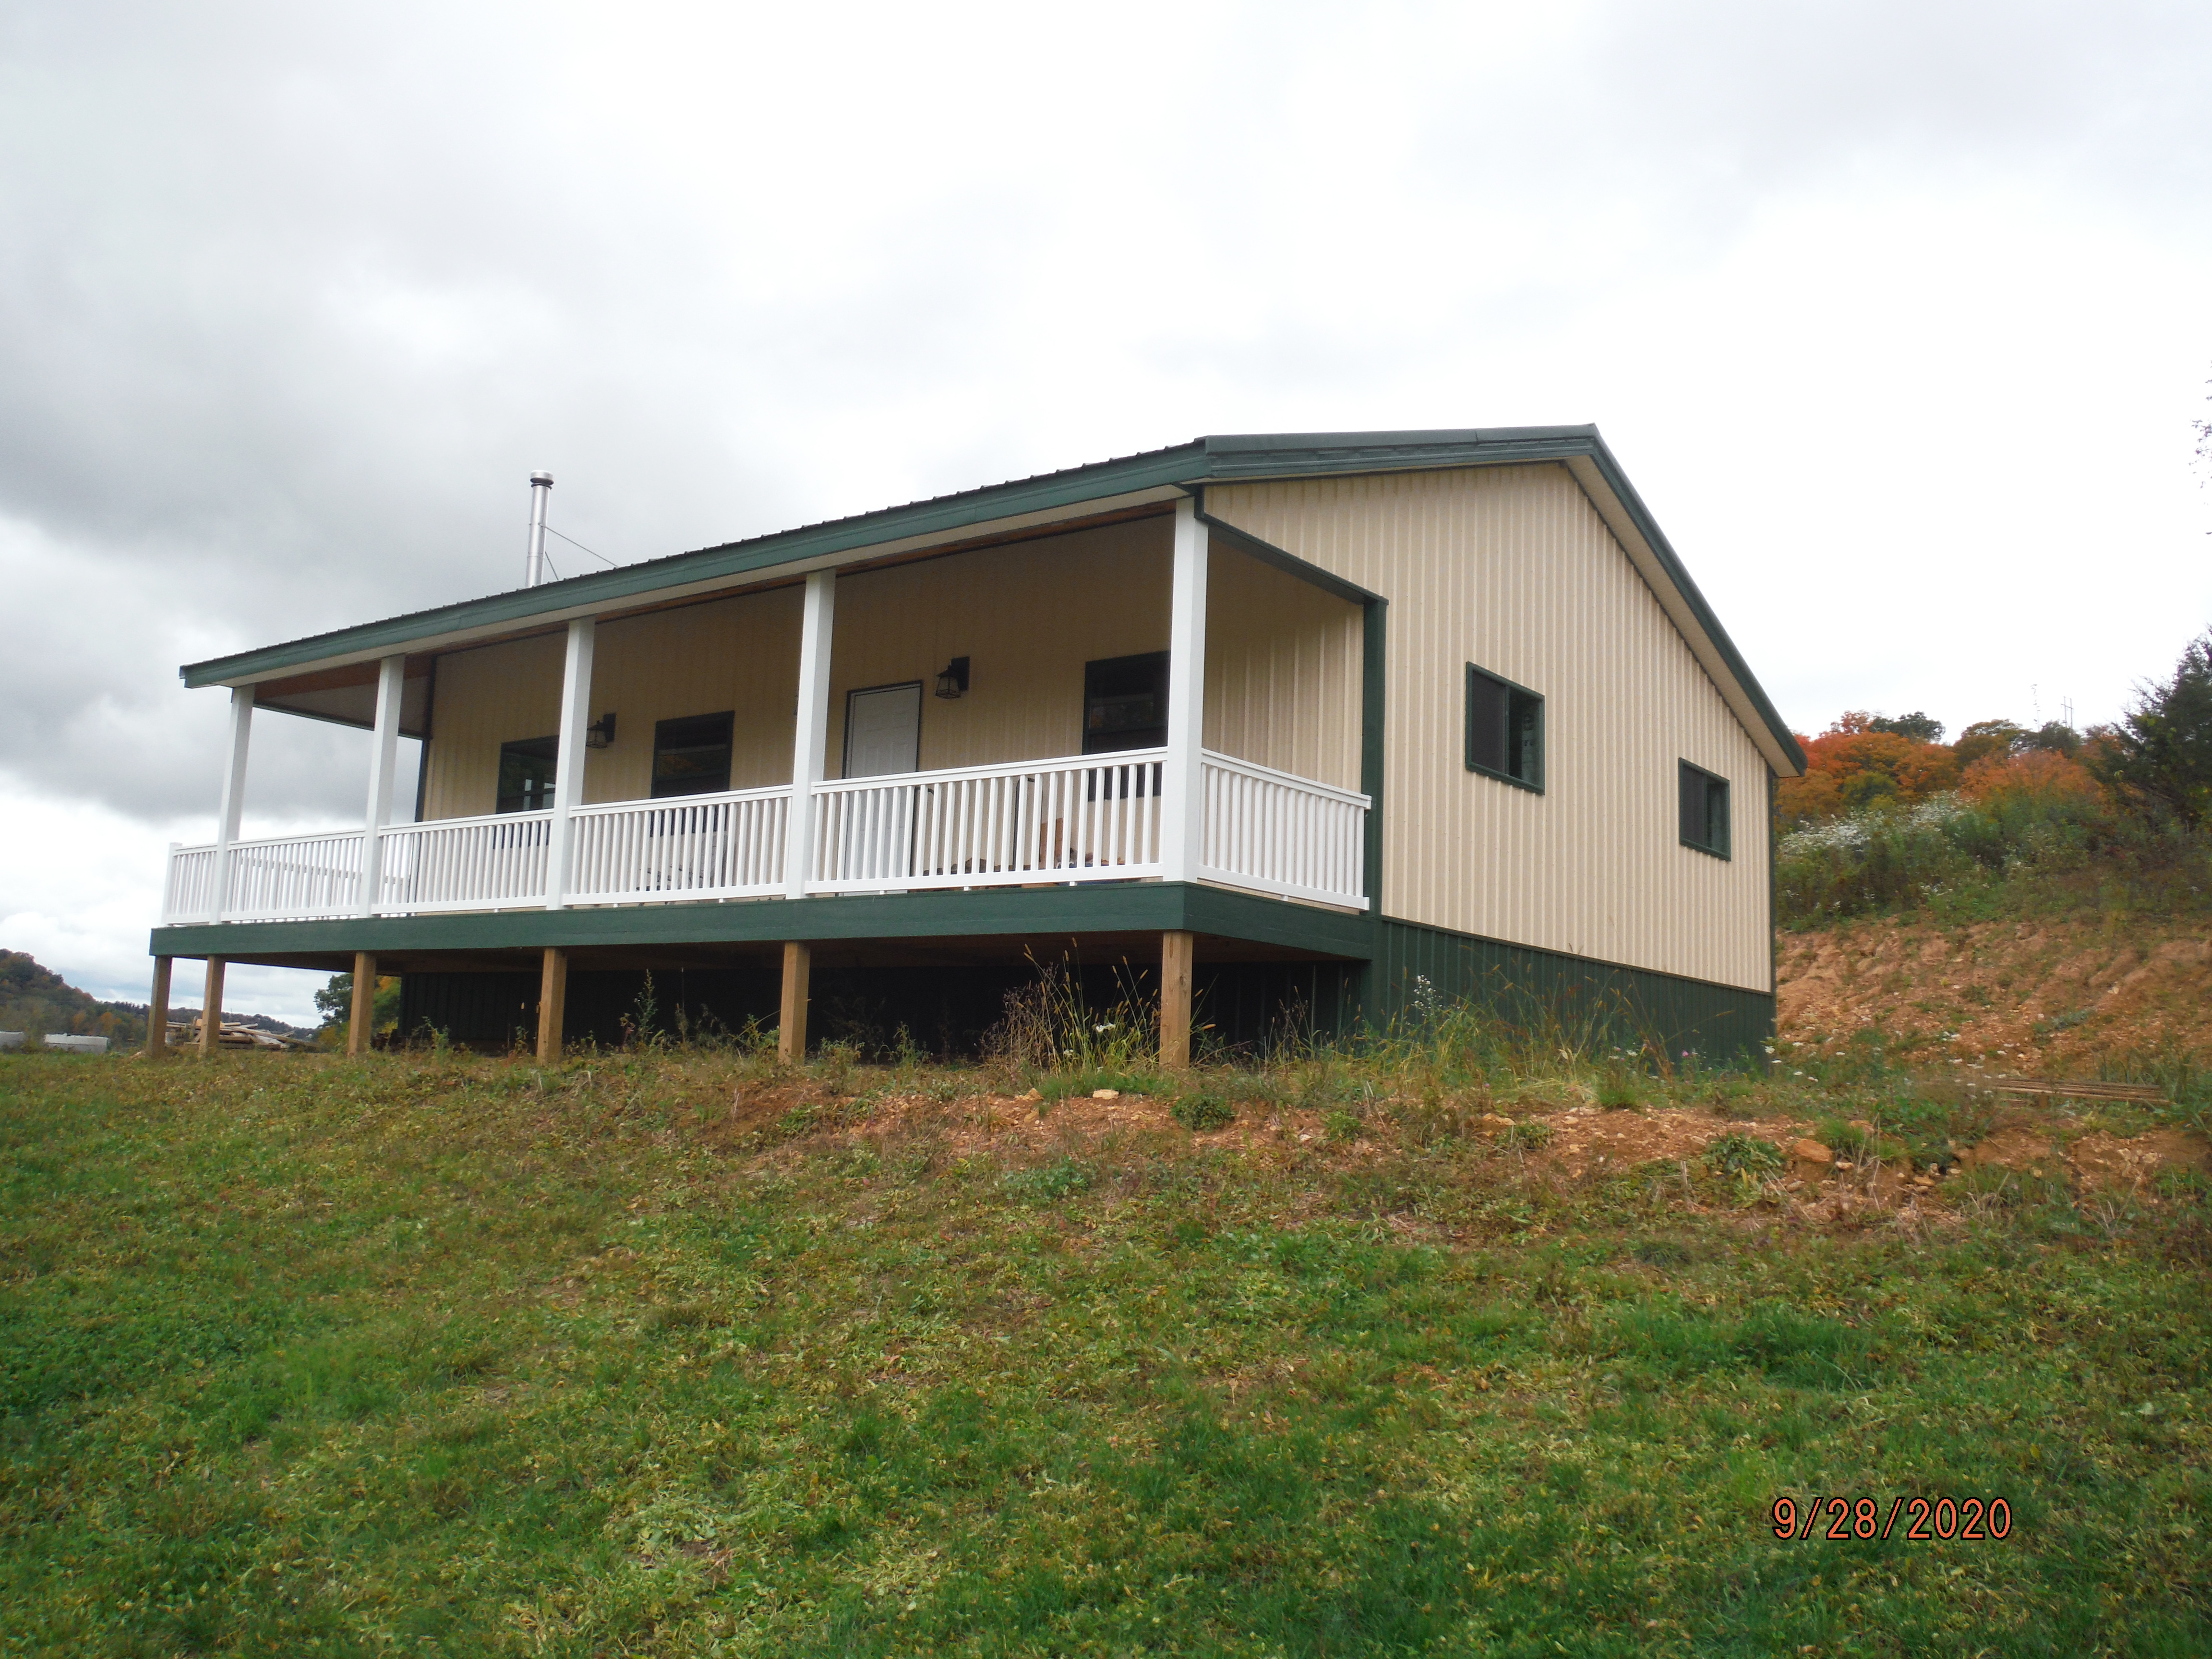
https://www.hansenpolebuildings.com/2020/10/my-fishing-cabin-is-finished/

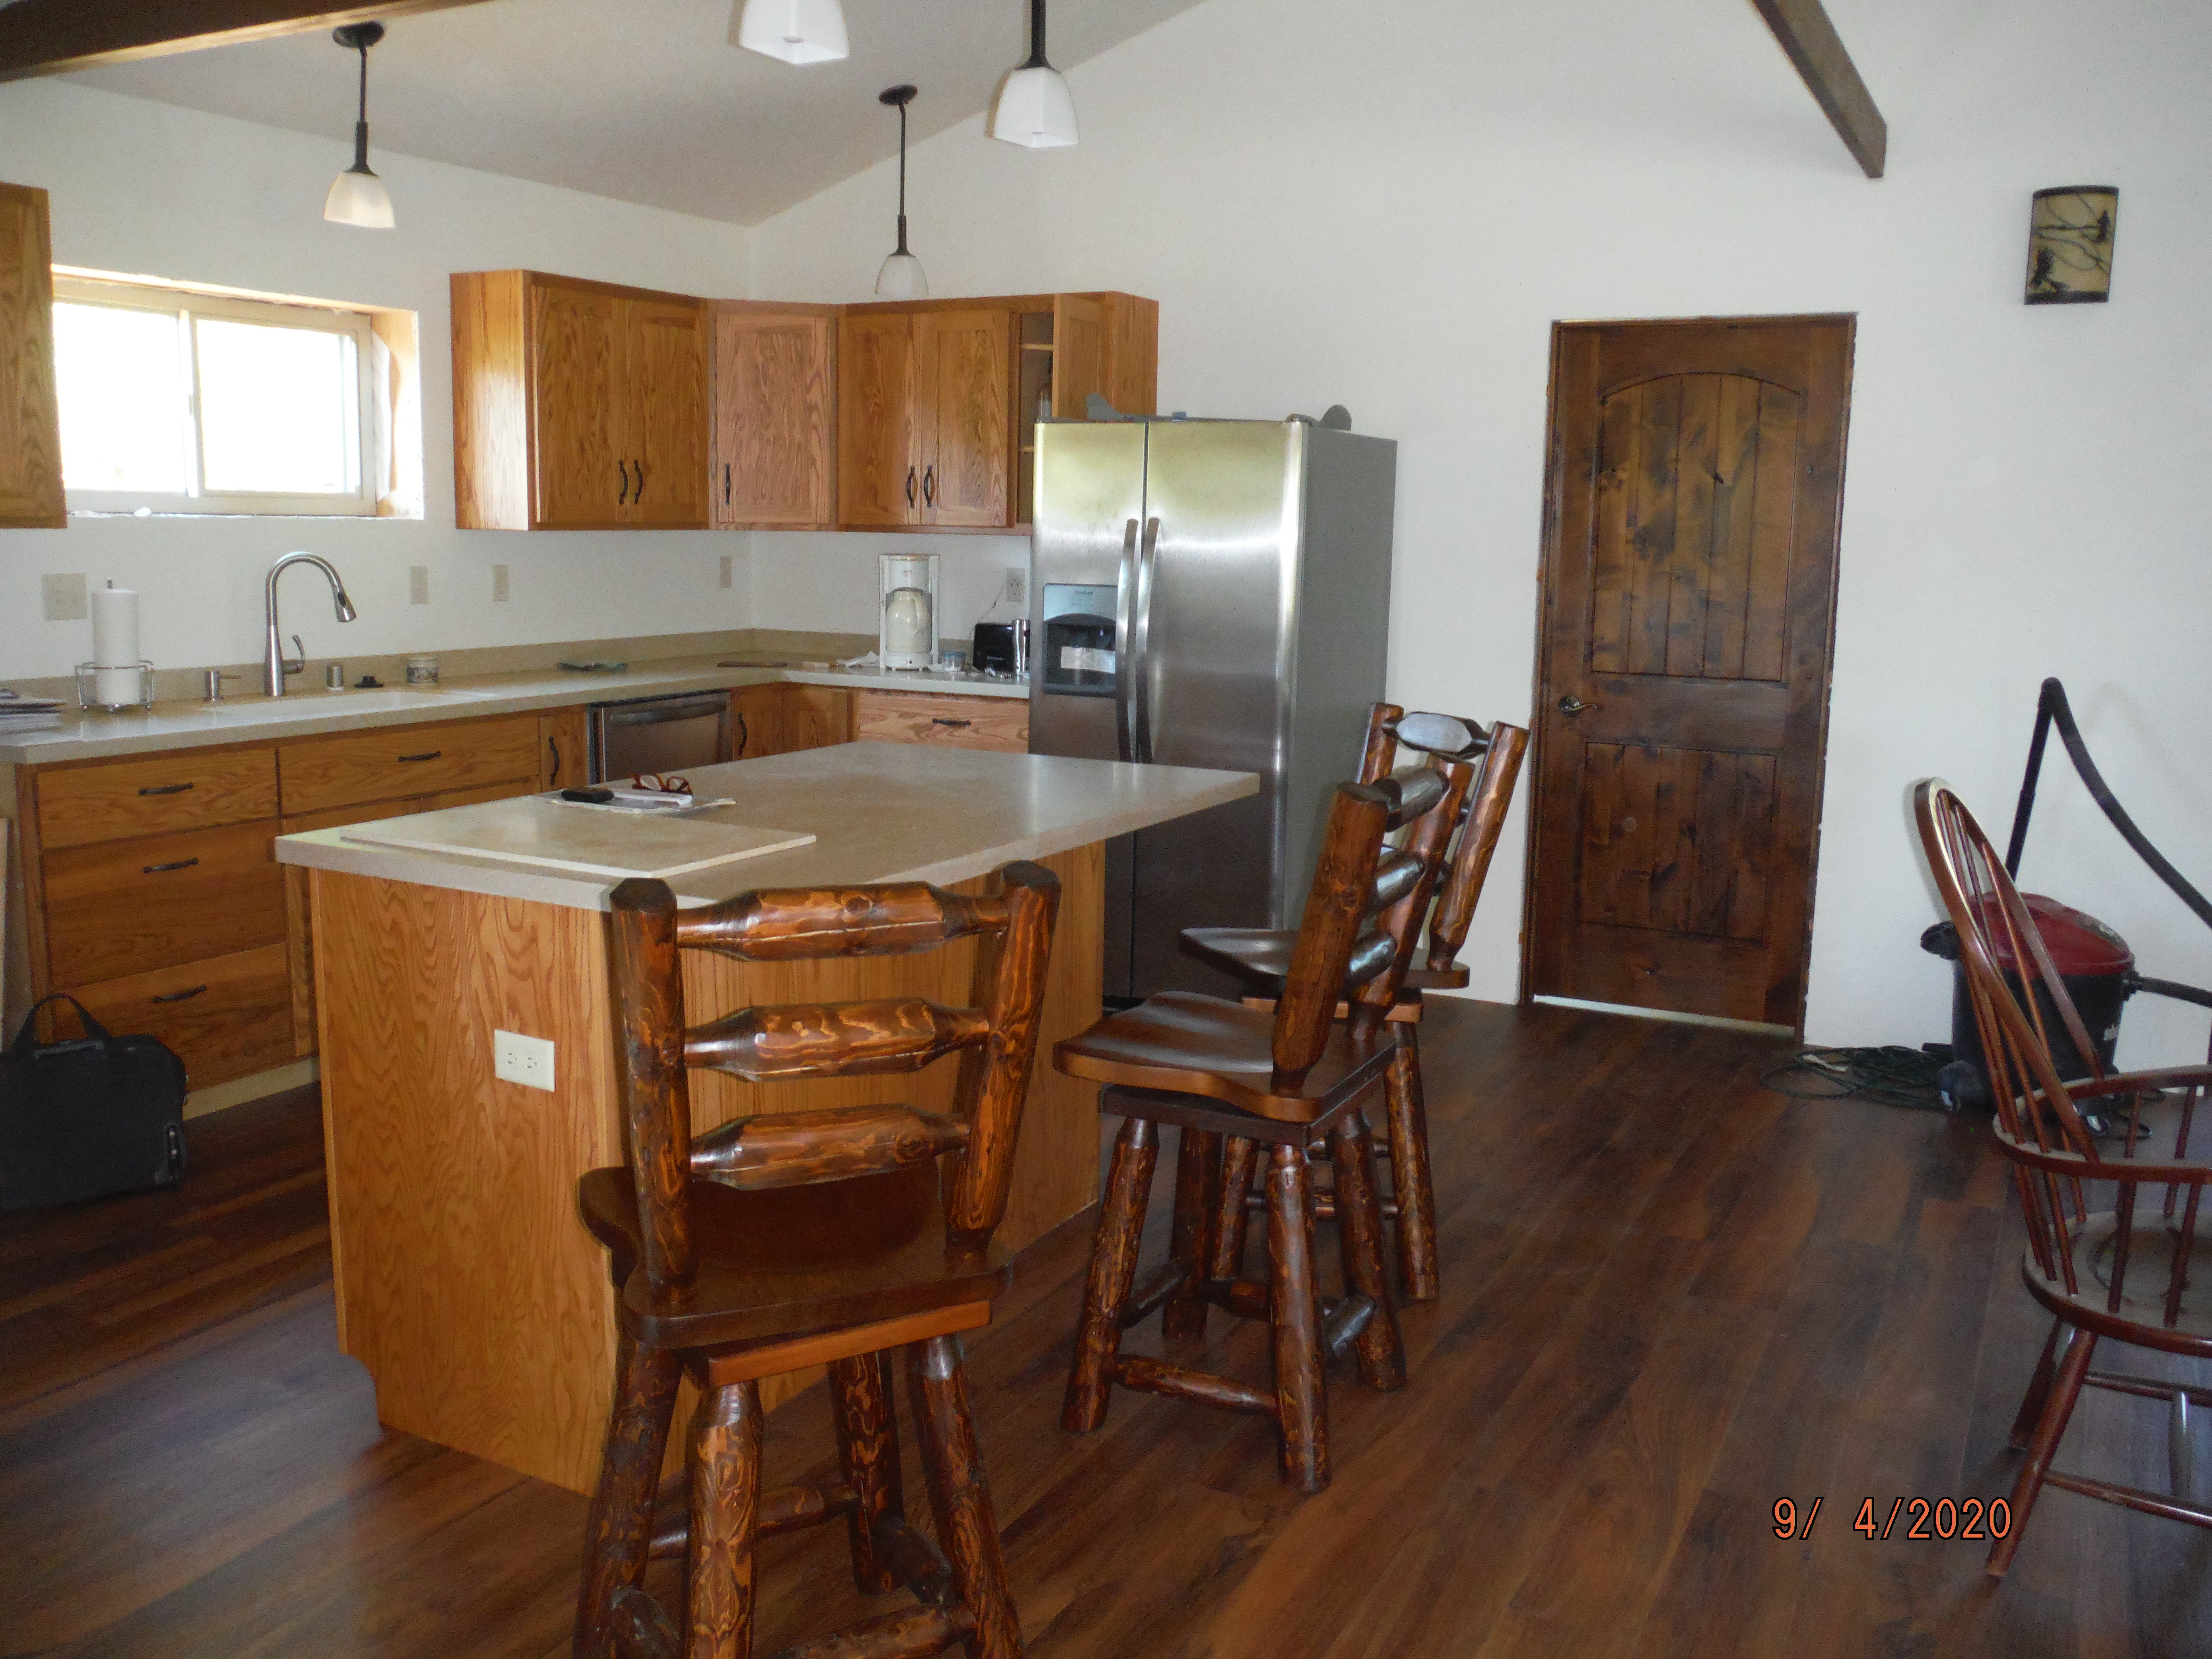
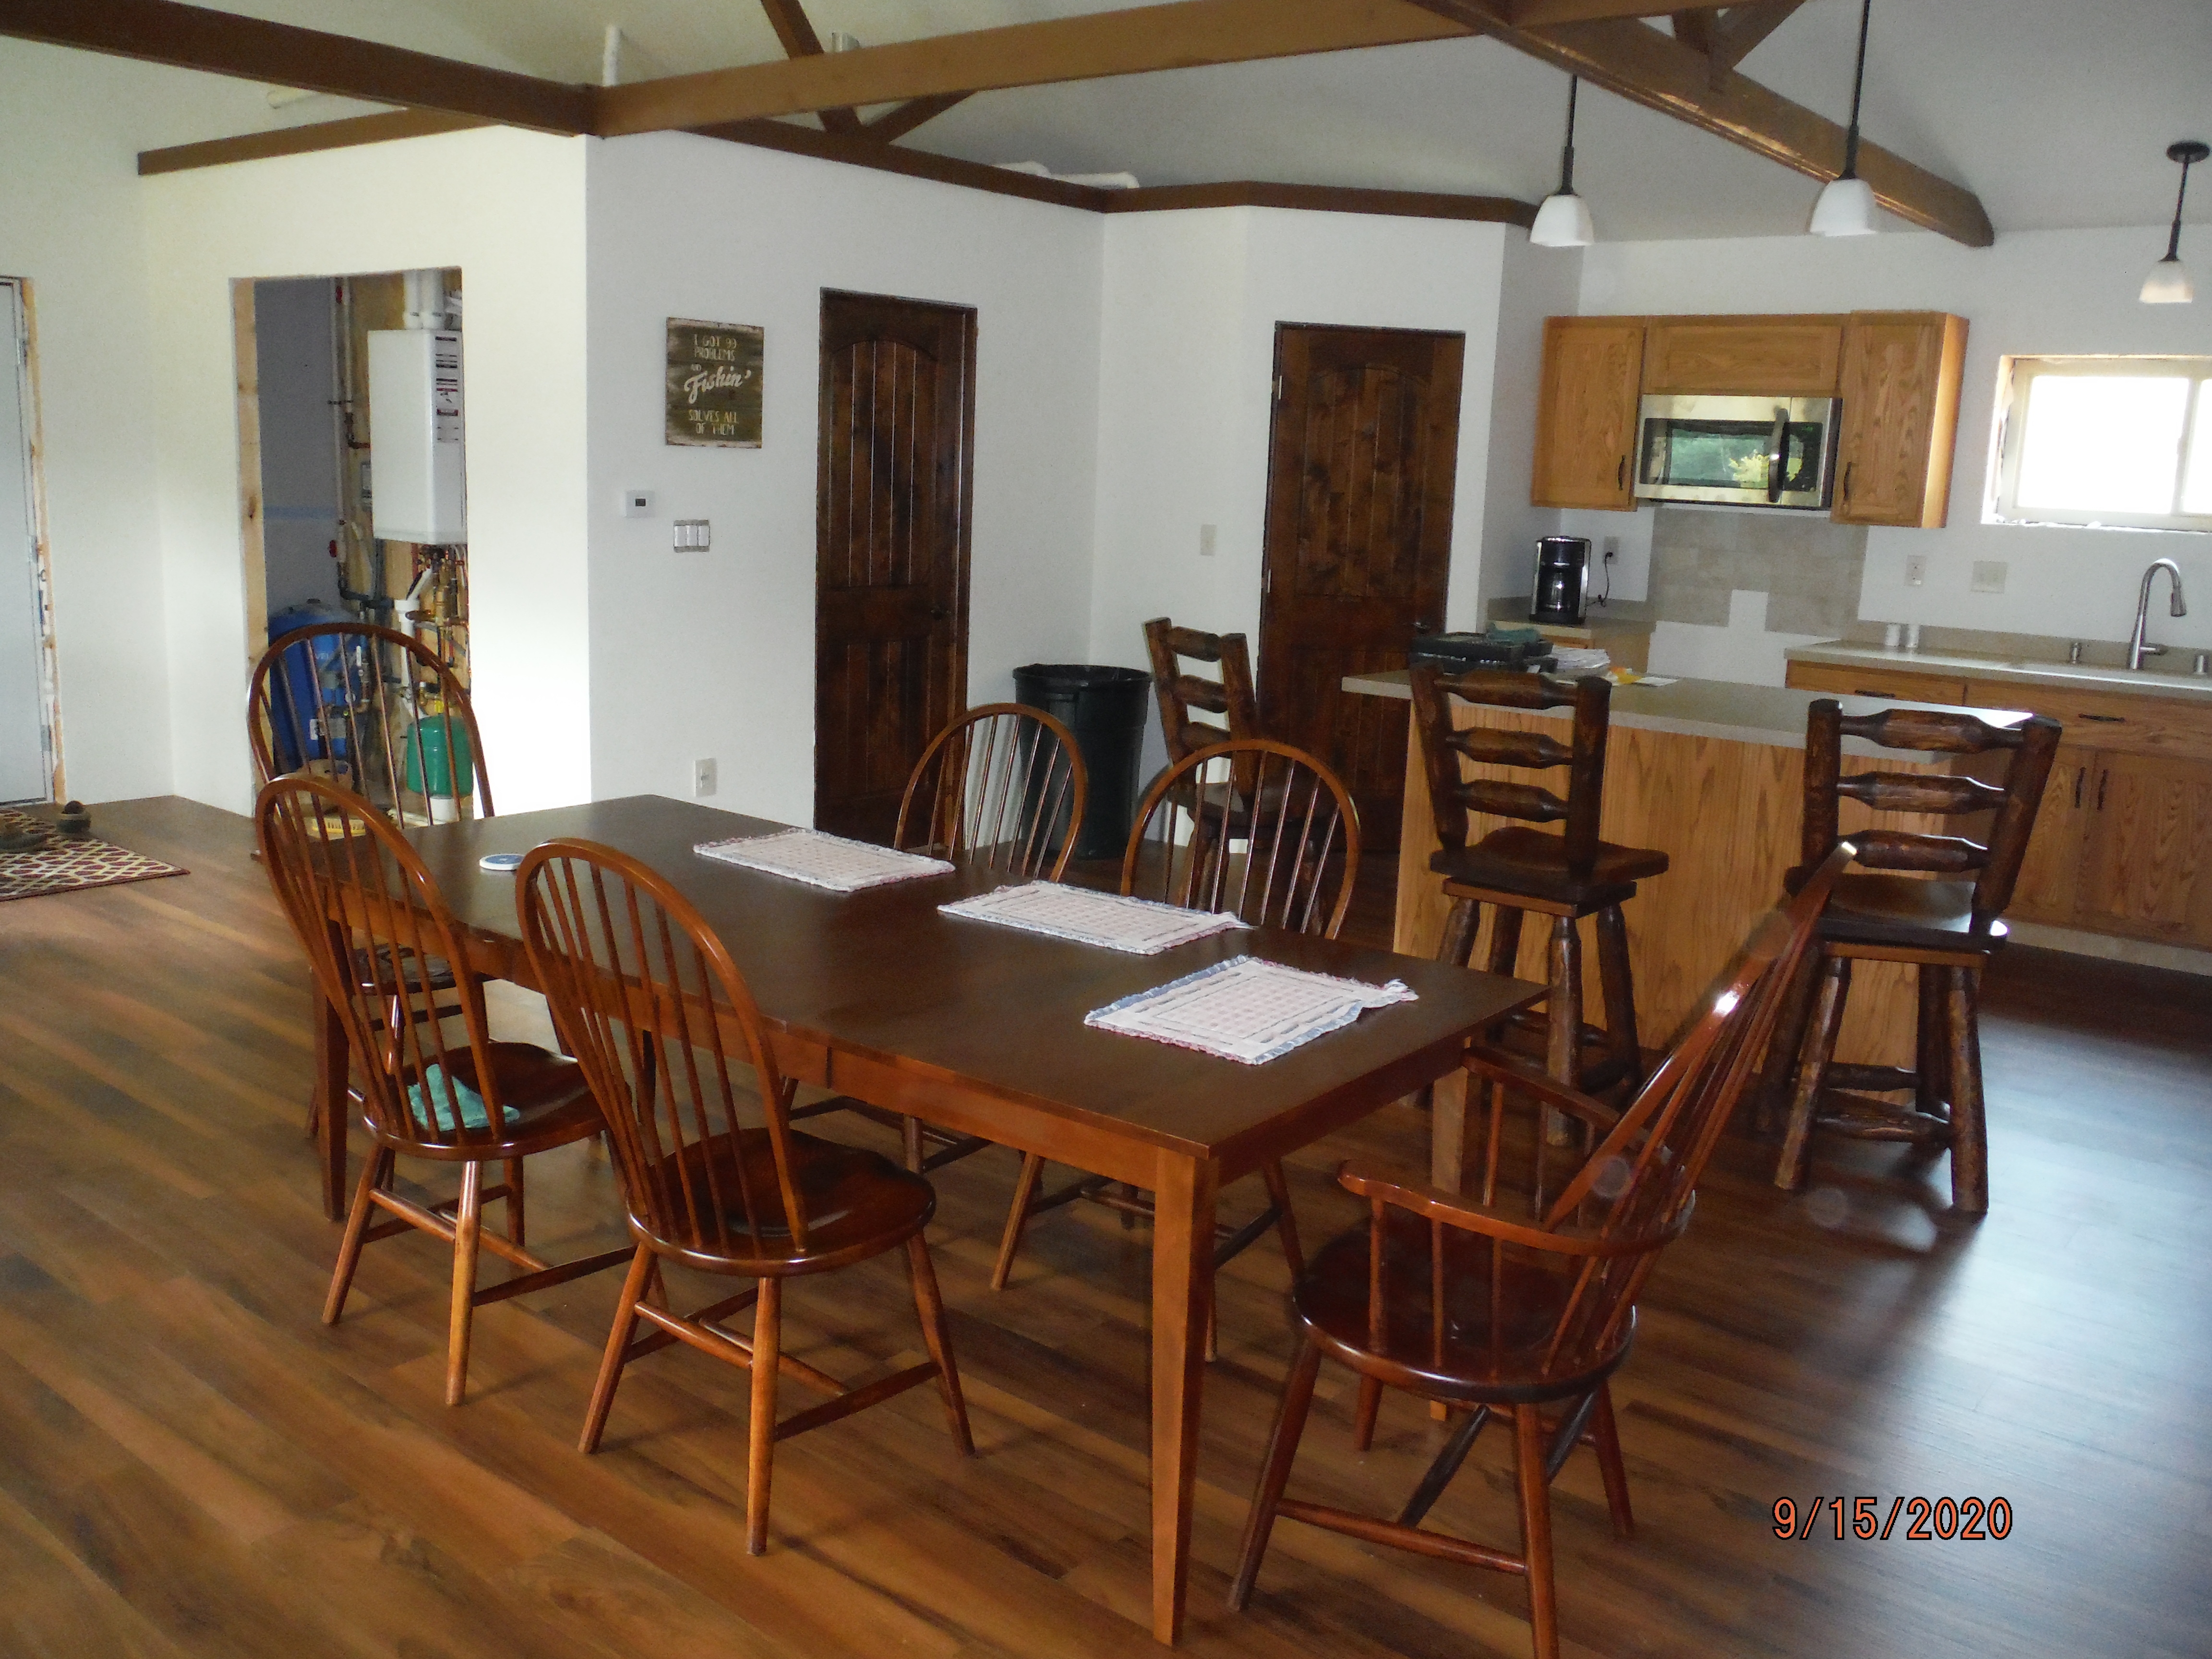
During my time as a Building Designer, I strongly emphasized to all of my clients that they should have an insulation plan for their building BEFORE they order the building!  The reason being that any design elements for the insulation, such as 2×8 walls or 2×10 roof purlins can be designed prior to ordering.

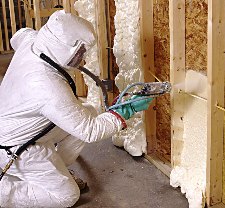
One of the blogs went into detailed information on how I insulated the building in which I said tongue in cheek that the winter will tell the tale of how well it worked.  For that reason, I thought that I’d send in the “Paul Harvey” version.

This link tells you how and why I insulated it the way that I did, with pictures:

https://www.hansenpolebuildings.com/2020/06/fishing-cabin-insulation/

Now for the rest of the story

On December 15th, 2020 I had the LP company top off my tank a little extra.  My driveway is 700 feet and I did not intend to plow it and wanted to be sure that there was ample gas to get through the winter.  They filled it to 92%.

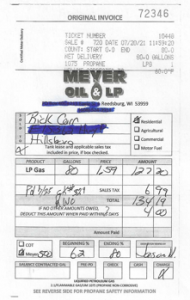
They did not refill the tank until 7-20 21.   They filled it from 62% to 80%!  It only took from 92% down to 62% to heat the building ALL winter! 


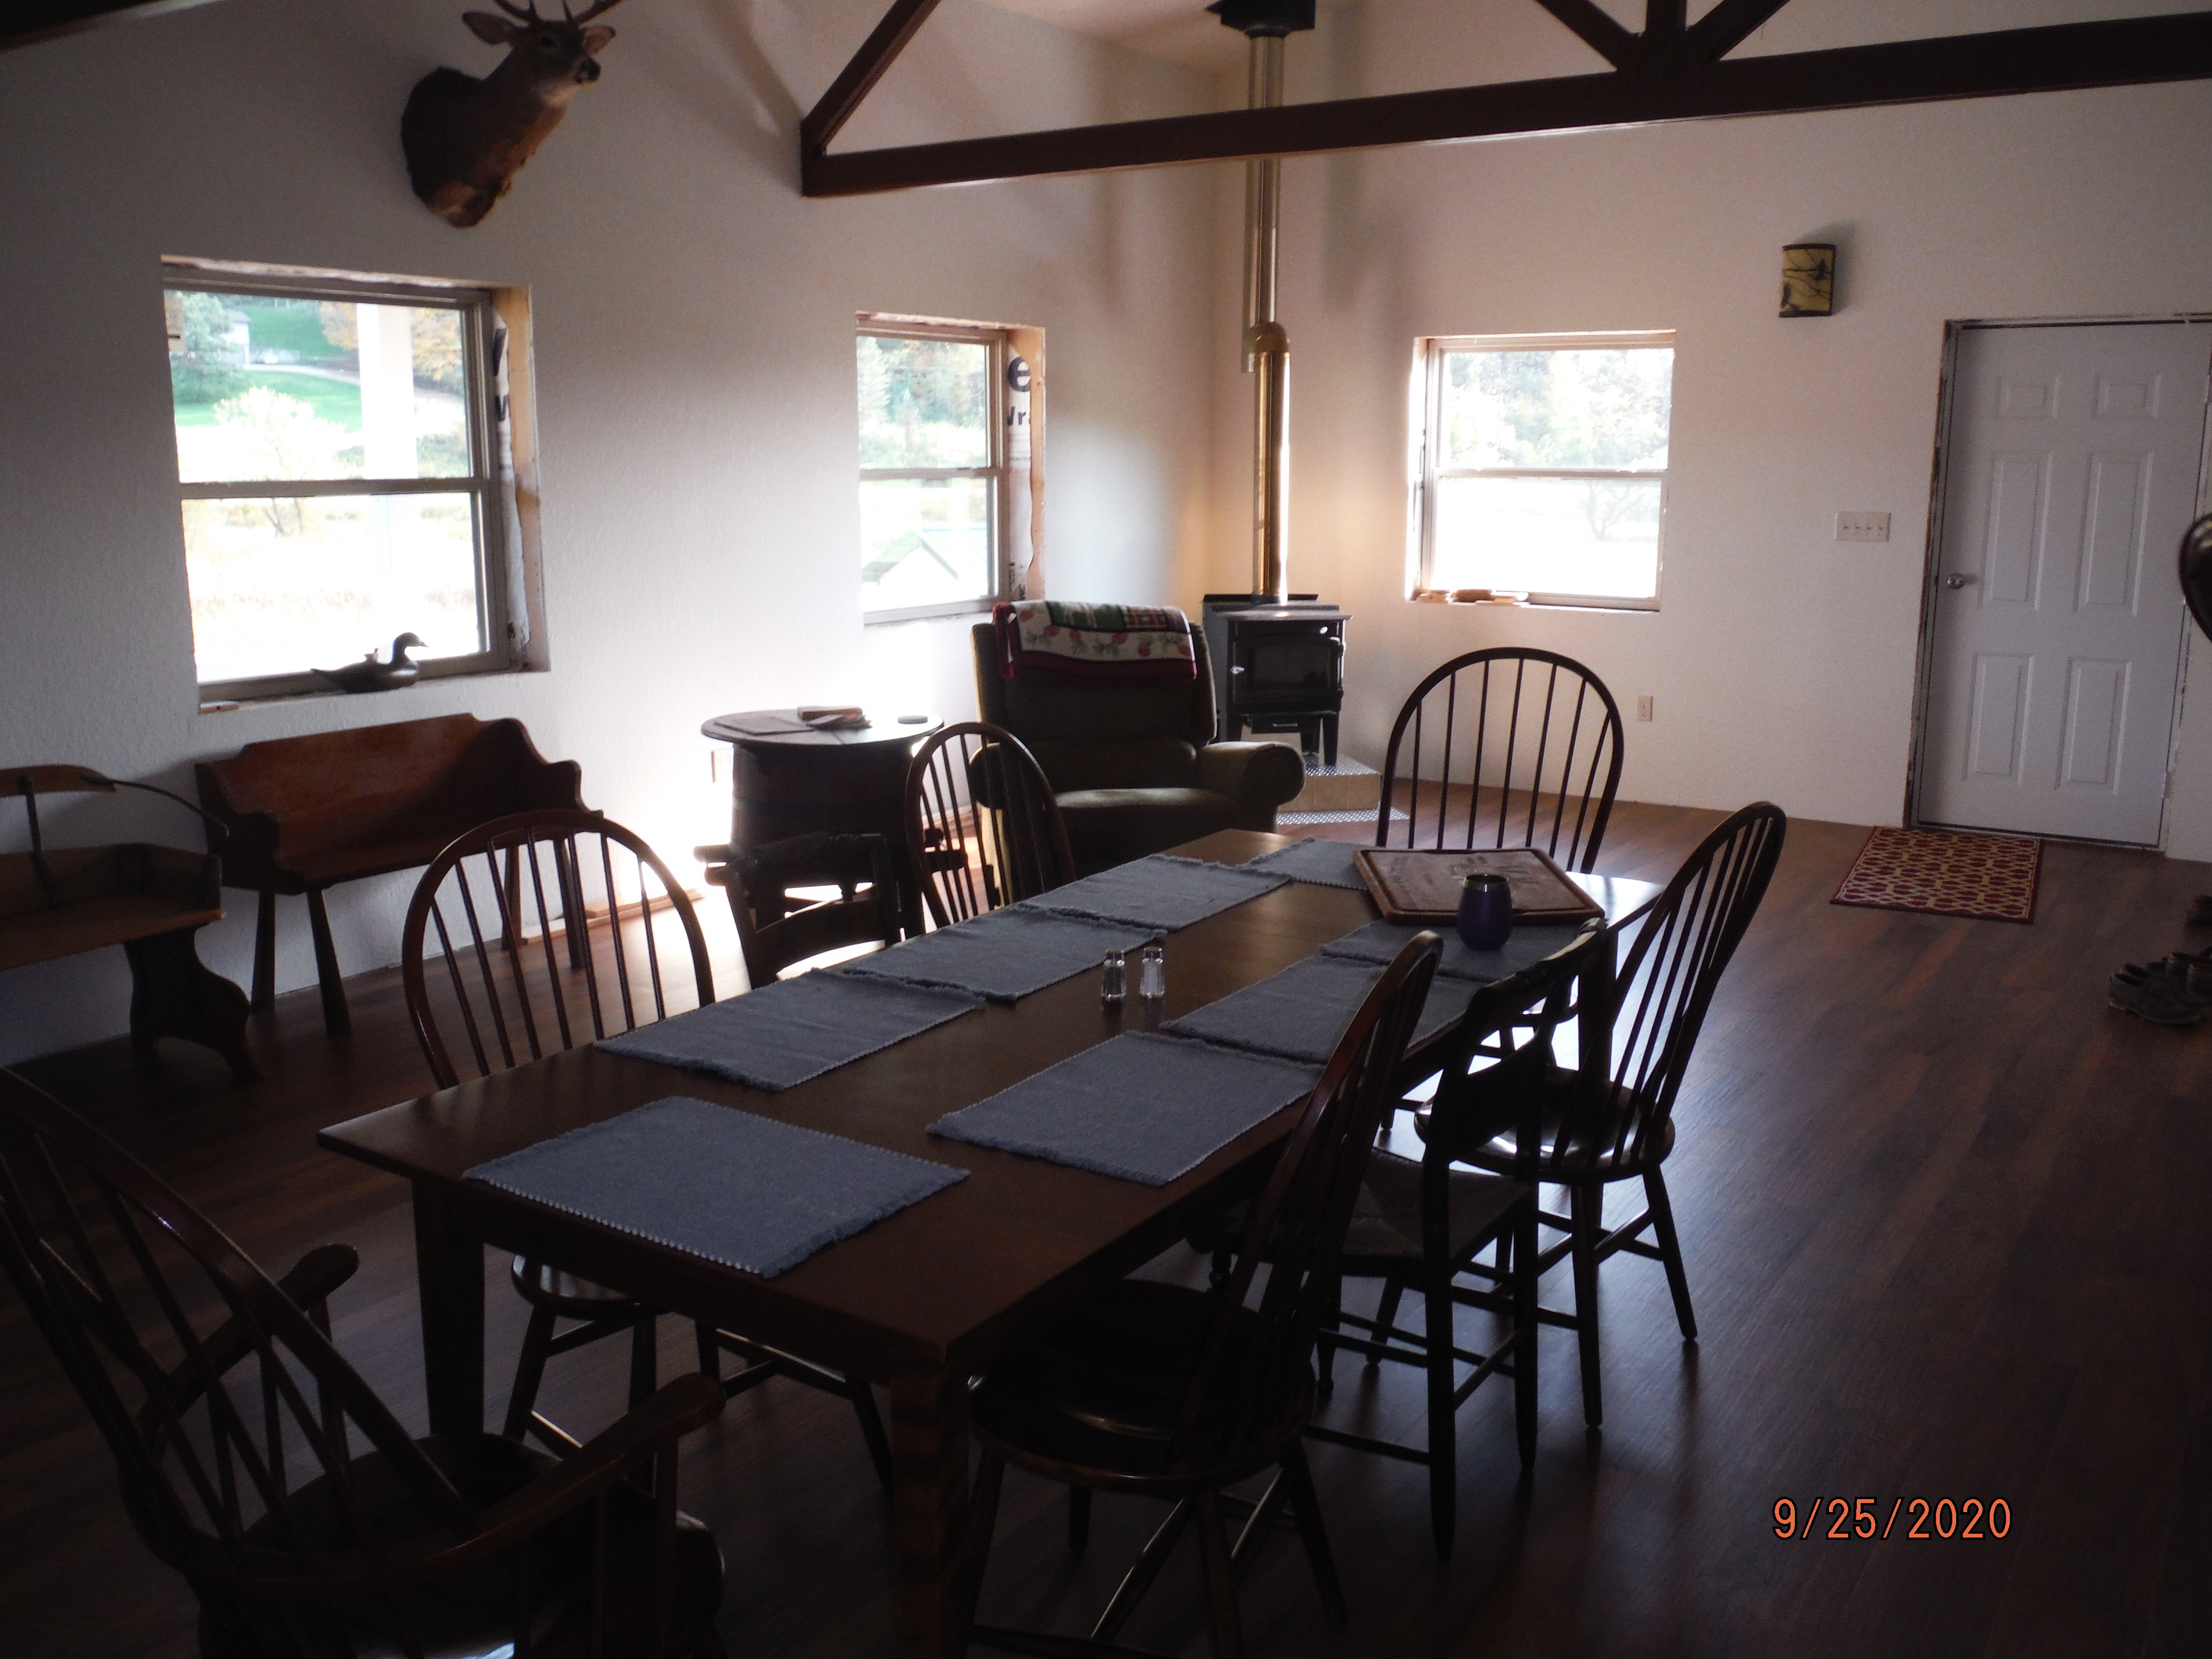
I would leave the thermostat set at about 50 degrees and when I would come out, the in-floor heat would have a hard time getting the building warm.  No problem.  The wood burning stove would get the temperature up to 70 in less than two hours and the in-floor heating would keep it there.

All in all, I am very happy about it!  Less than $200 to heat for the whole winter and it got cold!

When planning your building be sure to have the insulation plan prior to ordering the building!

My Fishing Cabin is Finished!

Hansen Pole Buildings’ co-owner Judy fills in for the Pole Barn Guru today!

Rick Carr worked for Hansen Buildings for several years as a Building Designer. We can’t say enough good things about the work Rick did for Hansen. He went the extra mile for our clients, always being available and answering questions about the buildings they wanted to purchase. Rick retired about a year ago, opening up time for Rick to build his own Hansen pole building. You can see for yourself the fishing “cabin” he built with the help of the Amish folks.

Here is Rick’s last email to us, along with his finished pictures:

I want to thank all of you for everything that you all did for me in getting this
project done.
I couldn’t be happier about how it all came out.  Spent lots of time researching
various aspects of this then rolled the dice on some of the decisions.  So far I
have been very happy with all of them.  Most far surpassed my expectations.  I
got the Gas stove concerted from natural gas to LP gas on Wednesday and on
Friday Joanne, my friend Rick Larkin and I had my Amish crew and their families
over for a celebration dinner, about 20 in all, three dozen ears of corn on the grill,
three racks of ribs and three beer can chickens.  The Amish Ladies were happy to
finally see the cabin that the men had been working on for almost a year and
they brought fresh bread and apple pies!
JAHansen: Have fun fishing Rick!

Spray Foam and a Post Frame Cabin

Spray Foam and a Post Frame Cabin

Hansen Pole Buildings’ Designer Rick Carr is a delight to work with. Other than his fondness for the Green Bay Packers, he is a great guy! Rick not only subscribes to my daily blogs, he reads them. A recent article peaked Rick’s inquisitive mind (view the culprit here: https://www.hansenpolebuildings.com/2017/11/properly-insulate-roof-purlins/). This article prompted Rick to write:

“A question on this, if you anticipate needing to replace the steel, in say 40 years, would you put house wrap over the purlins, then the steel, then closed cell foam from underneath.  The idea being that you can’t remove the steel if the closed cell foam is applied directly to the to the steel from underneath?

If I ever find land for a fishing cabin, this is what I would consider. 

A 28×40 cabin with partial open ceiling and half ceiling load trusses with joists.

Then, how would you build and insulate the interior wall from the ceiling to the underside of the purlins, that would be at a truss?”

Mike the Pole Barn Guru writes:
I’d start by investing in the best steel money can buy – I’d go with a Kynar paint finish (https://www.hansenpolebuildings.com/2014/05/kynar/) over a Galvalume substrate, this combination will give the greatest possible longevity for both paint system and the steel itself.

From my research, it appears astute applicators of closed cell spray foam insulation know which adhesives to incorporate in their mixtures so as the foam will stick to the building wrap.

For those interior walls which will be part of the abbreviated second floor, Once the gypsum wallboard is installed on the “living” side, spray foam can be applied from the attic side of the sheetrock. For the wall between your vaulted ceiling and the bonus room area, once drywall is on one side the same spray process can be followed.

My revelation of the day – I’ve become a convert to closed cell spray foam insulation!