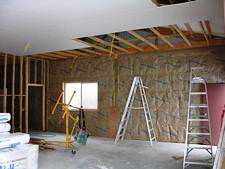
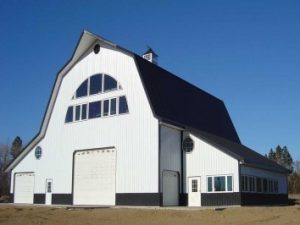
Barndominium Bookshelf Wall Girt Ghosting
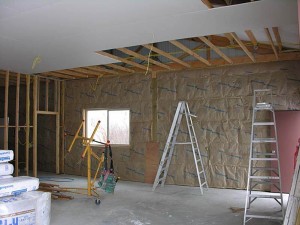
Are you starting to see bookshelf wall girts through your barndominium’s gypsum wallboard (drywall)? If so, you are witnessing a phenomenon called wall ghosting.
It occurs when condensation interacts with trapped dust and can have a couple of different causes. It results in shadowy-looking lines on your walls or ceilings.
If you’ve been wondering, ‘why do I see wall girts through drywall?’ Let’s look at all the answers.
Wall ghosting is a result of trapped dust, poor circulation, and poor insulation.
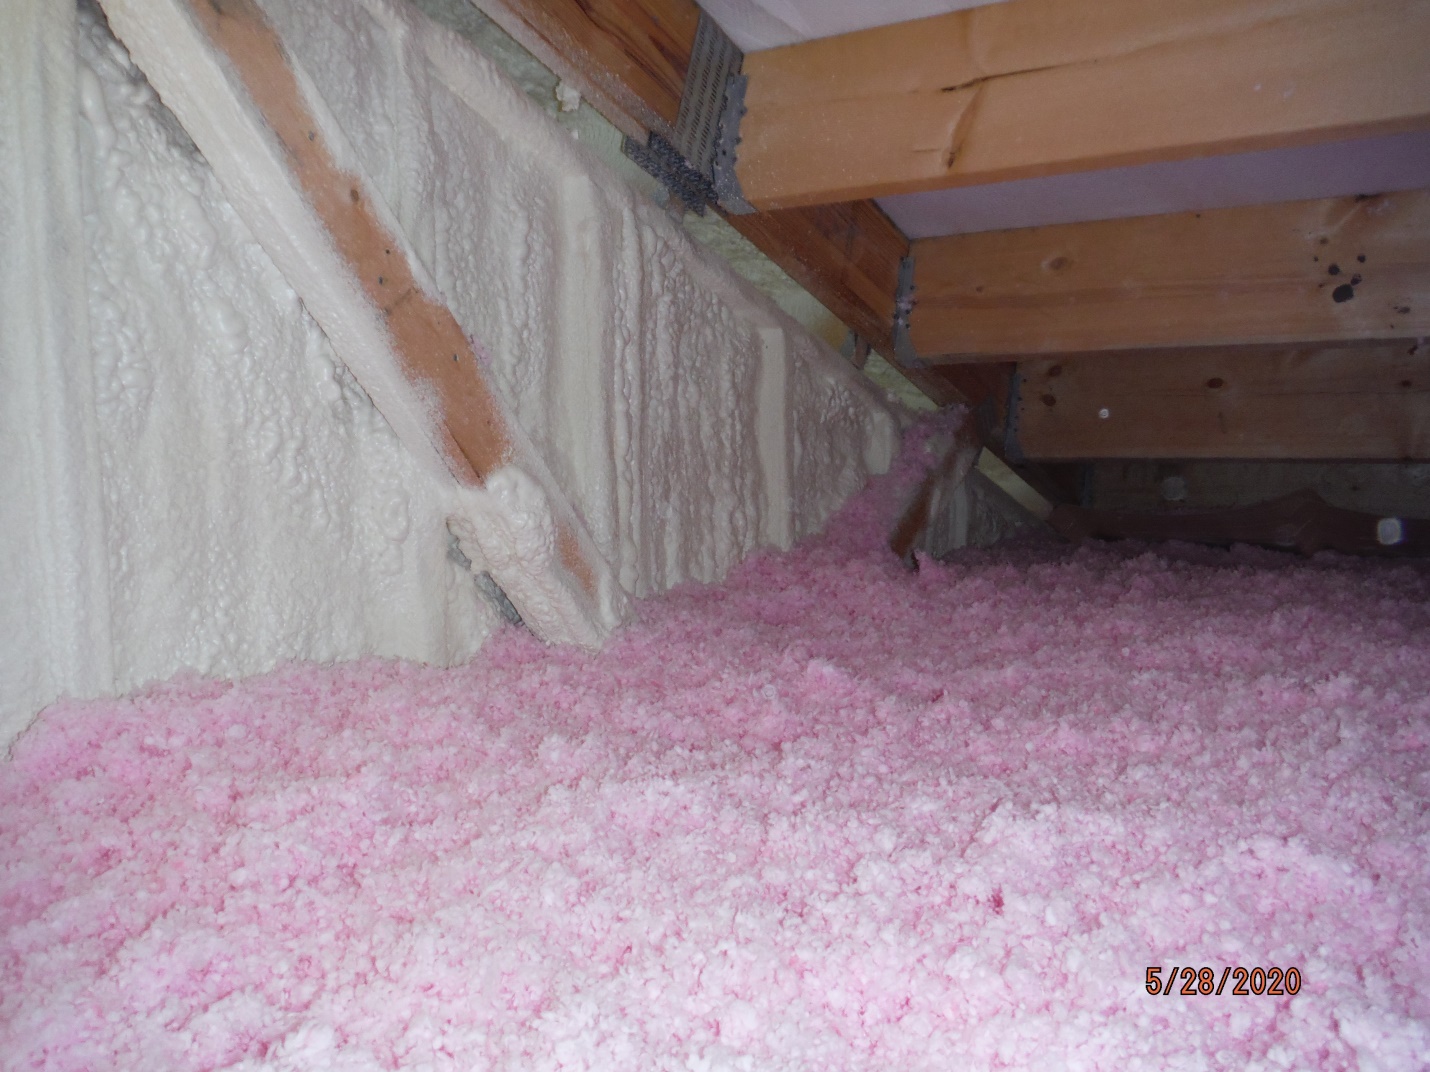
In inadequately insulated walls, cold will come through, mainly at bookshelf wall girts. If barndominium inside is relatively warm, this causes bookshelf wall girts to collect moisture where they meet drywall. This moisture then traps dirt and dust circulating throughout interior air, resulting in wall ghosting.
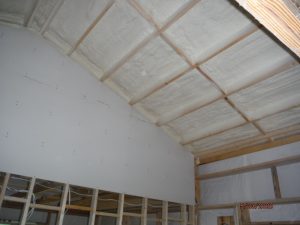 When you see these shadowy lines, you are actually seeing trapped dust particles collecting in front of bookshelf wall girts. And unfortunately, since dust is behind wall finish, you can’t just wipe it down.
Biggest thing you can do to stop ghosting on your walls is to find and fix cold air sources. This can include sealing all exterior surfaces, as well as sealing doors and windows.
If ghosting results from poor or no insulation, having your walls insulated may be your best bet.
Other things you can do include replacing your furnace filters regularly, making sure any indoor stoves are adequately vented, and keeping indoor humidity low during cold months.
Once you’ve fixed the problem source, you can get rid of these dark shadow lines by allowing drywall to completely dry out, cleaning it, and then using a high-quality primer and paint.
If you don’t fix the source, these lines will eventually show through again, even if you prime and paint.
Wall ghosting isn’t dangerous but can be a sign of poor air quality, inadequate insulation, or a combination of both. However, since ghosting results from dust build-up and not mold, it’s not usually a significant health risk.
To clean ghosting on walls, you first have to identify and fix problems. If you don’t, no cleaning method will work. However, if you have fixed root causes of your wall ghosting, here’s what to do:
- Wipe down walls with an all-purpose cleaner to remove as much dirt as possible. Then, allow wall to dry.
- Prime wall with a high-quality, high coverage primer.
- Paint your walls.
 Most pole barn trusses are designed for a one psf (pounds per square foot) bottom chord dead load (BDCL) – inadequate for any type of ceiling. On truss spans of up to and including 40 feet, we include a five psf BCDL as a matter of practice (too many clients decide later on they want a ceiling) and if we know in advance a ceiling is to be installed, we use 10 psf BCDL. You have been fortunate to have at least a five psf BCDL. Your 10 psf bottom chord live load is a non-concurrent (assumes no other live loads are being applied such as snow) one and basically is there to provide a minimum degree of structural integrity allowing for occasional access to an attic space for maintenance purposes.
 I have a question on the best orientation for the drywall for ceiling and walls. It seems that running the sheets perpendicular to the ceiling purlins and commercial girts would provide greater strength than parallel. What is your experience? I am planning on using 5/8 inch board.
 DEAR GARY: If your steel panels are 3′ wide, with 5/8″-3/4″ high ribs every 9″ we can provide form fitted ridge closures, if so, please reach out to
 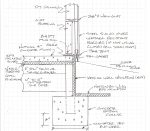 MYTH #8. THERE ARE NO FOOTERS IN POST FRAMES
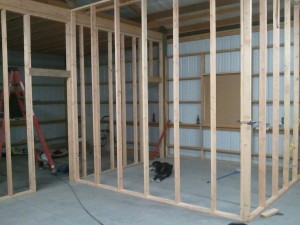 Anecdotally, supposedly the company who first pre-cut studs couldn’t close their 1943 delivery truck’s tailgate with eight foot material – so studs were cut to fit the truck bed.
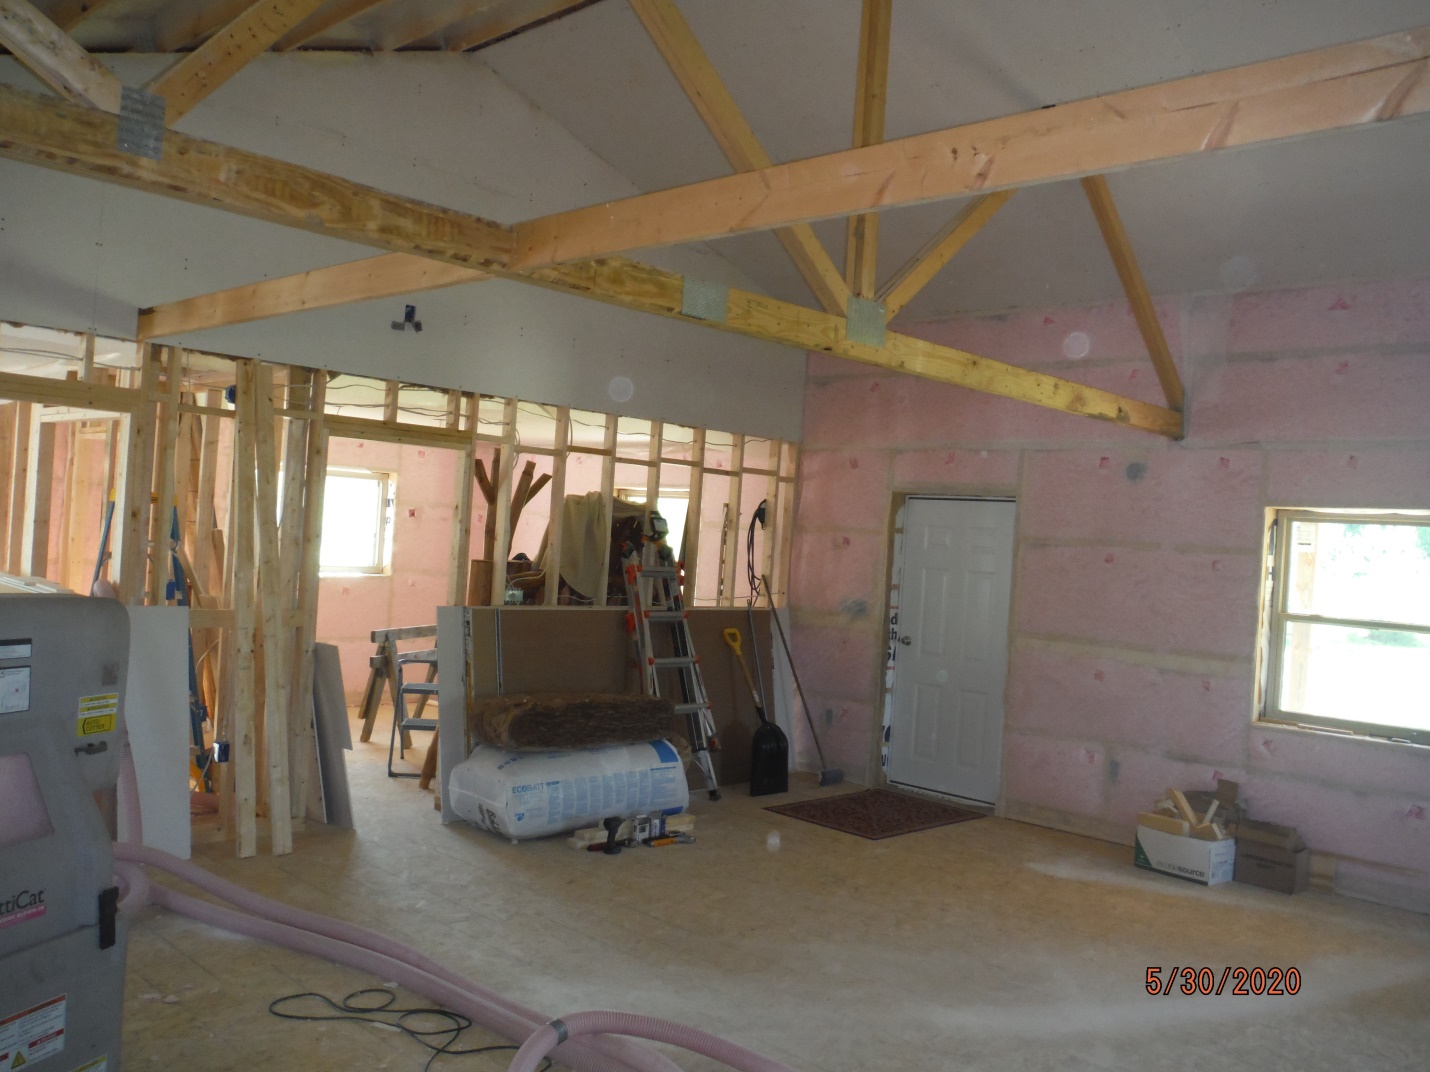
 I am really considering using a Hansen Pole Barn Kit for the shell, but need to figure out how to ensure 60% humidity inside the building doesn’t rot it from the inside out. I know that HVAC Dehumidification will be very import, but so is how to seal the build walls from both the outside and inside, how to insulate the walls and ceiling (especially since we plan to have a flat ceiling thus an attic area where the Ceiling and Roof may need to both be insulated to avoid condensation, etc.
 When it comes to truss space/between truss framing/wall framing, he’s definitely concerned about drywall logistics, OSB logistics (or not), moisture, and labor. And I want to make sure he feels heard and informed before we dump these plans and materials on his plate. I see both sides, but at the end of the day, he’s our builder and I need him to be fully on board before pulling the trigger. Could you help? I’m sure I’m not the first person with this quandary but I’ve also used enough pole barn builders in our area to know that he’s our best option for this project.


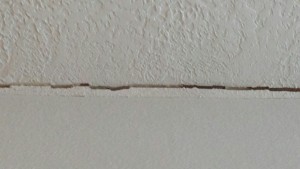 Where two sheets of drywall meet, this seam is your wall’s weakest point. Drywall tapers spread mud and tape on joints to give strength to this area and then add layers of drywall mud to feather seams smooth to the rest of the wall. When a barndominium settles or walls move, drywall seams may crack if there is a “weak link”. One reason for cracking is because the wrong drywall mud type was used to tape drywall seams. Some drywall mud has more adhering ability and is intended to be used in the drywall taping step whereas other types of mud should only be used in finishing. Other drywall mud products are intended only for second or third coats. Some drywall tapers say mesh tape should never be used because it is not as strong as paper tape. Other drywall tapers say mesh tape is fine as long as it is used with quick setting drywall mud.
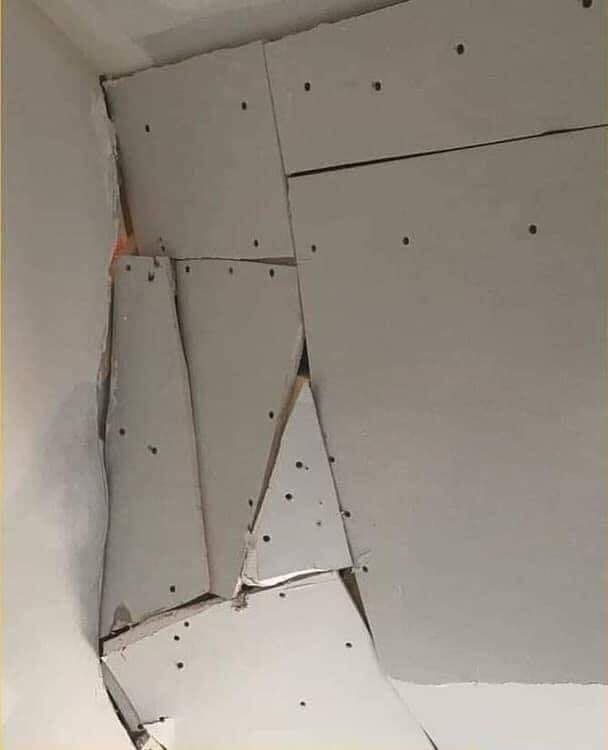
 It turns out horizontal framing lends itself well to vertical application of Sheetrock® and here is why (horizontal being used to describe drywall run long direction left and right):
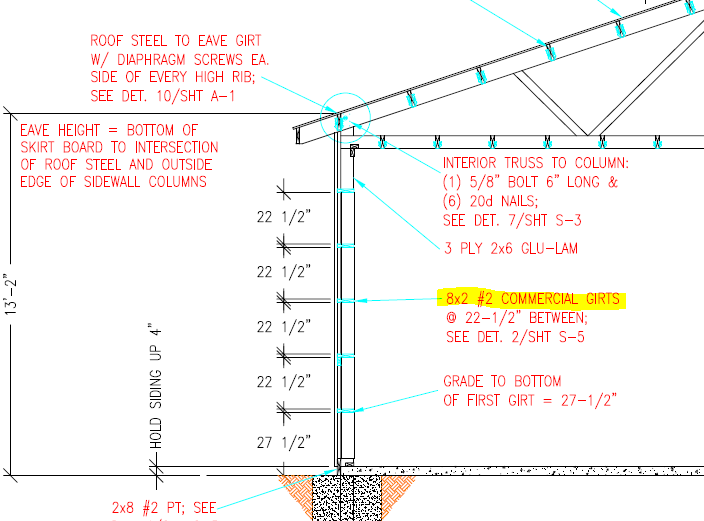
 Pretty straightforward – vertical stud walls will take more lumber. Besides increased material investment, more pieces mean more connections and more labor.
 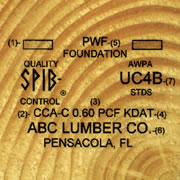 All Hansen Pole Buildings’ structural columns (supporting roof loads) are pressure preservative treated to a minimum UC-4B specification, which is the requirement per the IBC (International Building Code). Even under extreme conditions, these columns should more than adequately support your building not only for your lifespan, but also your grandchildren’s. The longevity of properly pressure preservative treated lumber has been well documented in scientific testing.
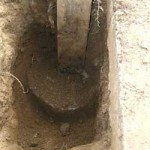


 IBC TABLE 1604.3 DEFLECTION LIMITS addresses the allowable deflection as “l” – the distance being spanned divided by a given unit of acceptable deflection. For exterior walls with flexible finish (such as gypsum drywall) under a wind load, this limitation is l/120. And from Footnote “f” of the table, “The wind load is permitted to be taken as 0.42 times the “component and cladding” loads for the purpose of determining deflection limits herein.


