Unless someone reincarnates Nikola Tesla (and he is sane) chances are good energy costs are not going to decrease. Air sealing your post frame barndominium or shouse increases your comfort by reducing drafts and cycle time your heating and cooling systems are running.
Air sealing your barndominium reduces humidity increasing comfort levels. A drafty barndominium is more than just a waste of natural resources, it also means higher energy bills. Air sealing will automatically lower your energy bills due to less leakage of conditioned air.
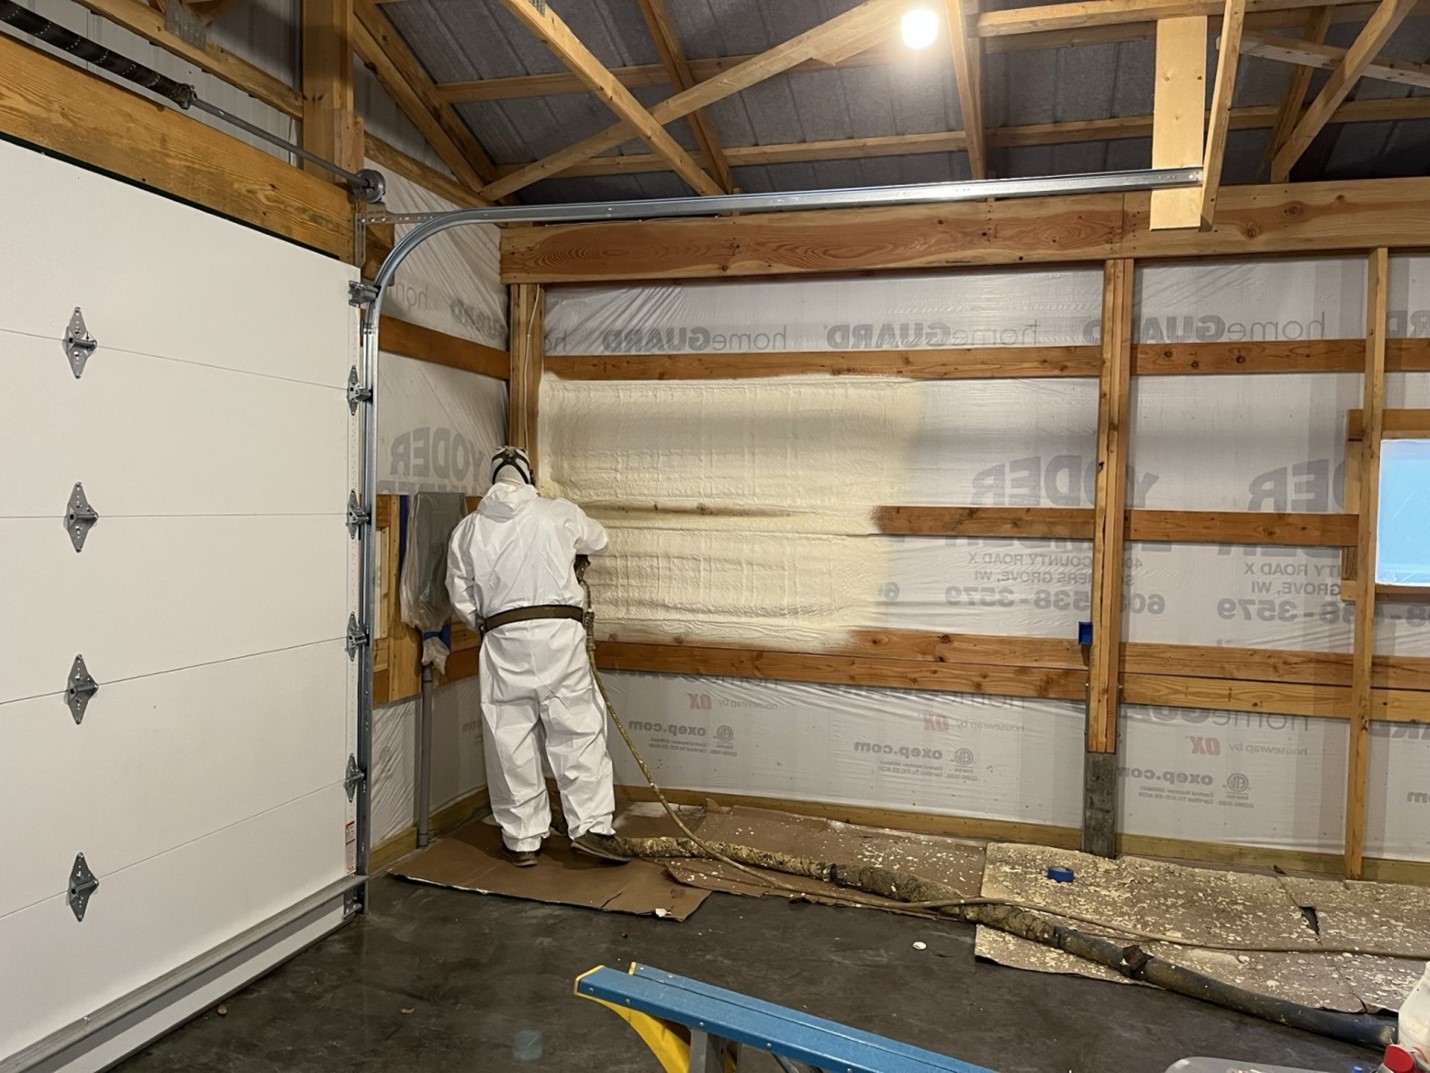
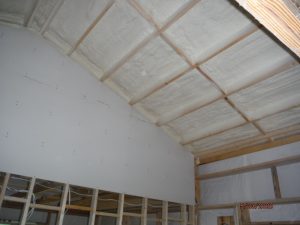 Using two inches of closed cell spray foam directly inside steel siding panels not only air seals exterior walls, as it is an effective vapor barrier, but also provides approximately a R-14 level of insulation. Effective applications also require installing form fitted inside closure strips at top and bottom of every wall steel panel – including window and door openings. Closure strips keep spray foam in your walls rather than oozing out and keeps small crawling and flying critters out.
For those who opt not to utilize closed cell spray foam, air sealing begins with a totally sealed Weather Resistant Barrier (WRB) wrapping all framing before steel siding is applied. For further reading on Weather Resistant Barriers please see: https://www.hansenpolebuildings.com/2016/01/determining-the-most-effective-building-weather-resistant-barrier-part-1/
Care should be taken to effectively use WRBs around openings for windows and doors, as well as utilizing caulking and self-adhesive sealant tape for an airtight seal. Place sill gaskets under all exterior doors. Use spray foam or caulk to fill any gaps between doors and windows and adjacent framing.
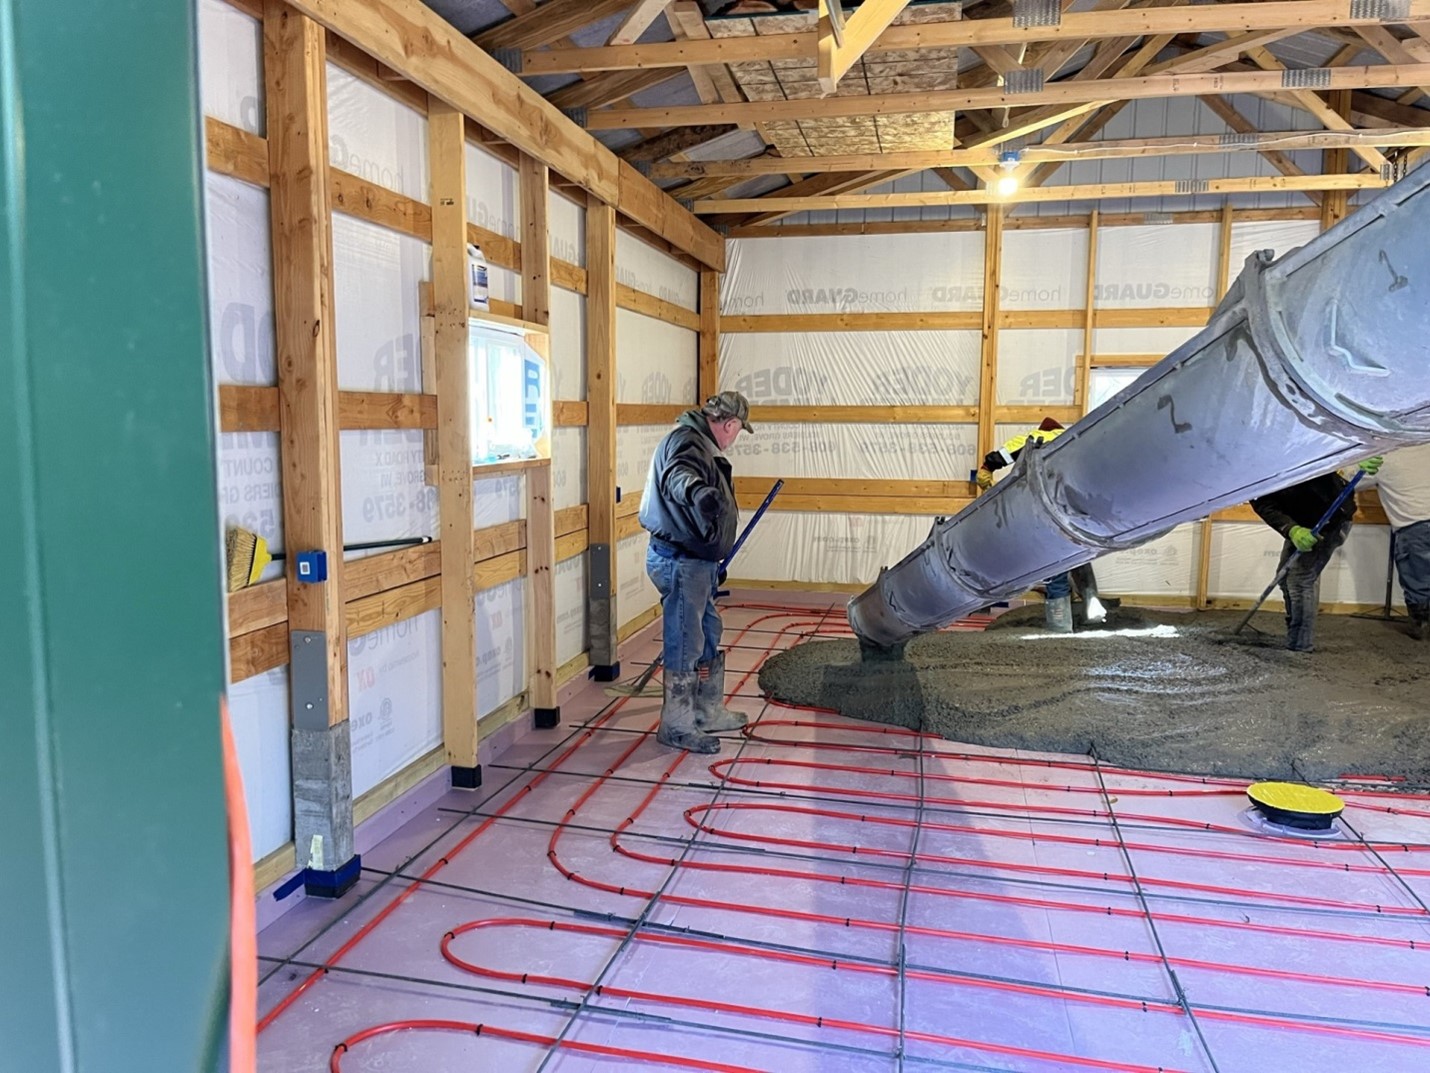
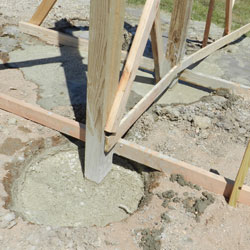
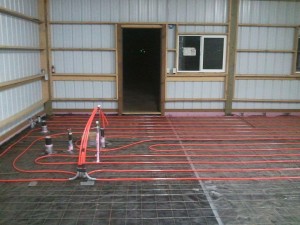 When placing under slab vapor barriers, run up inside of pressure preservative treated splash planks and sealing to top and around columns. Install seal gasket under pressure treated base plate (mud sill) and caulk inside edge to concrete slab.
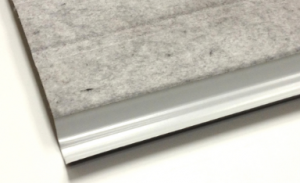
With wall insulation systems other than closed cell, use a clear visqueen vapor barrier on the inside of all framing. Seal every penetration in this vapor barrier.
Before installing interior window and door trims, caulk where trim will meet frames. Make sure door sweeps are installed and the threshold is properly adjusted.
Common infiltration paths include attic access and simply insulating envelope (or shell) isn’t enough. In fact, insulation’s ability to perform is almost cut in “half” if not air sealed first.
Expandable polyurethane is used in areas too wide for caulk. If an area is wider than 1/4″ caulk can fall out of grooves. Acrylic-latex caulk is for all gaps small enough for caulk to function properly such as base plate and seam between floor and wall and wall and ceiling. Fire-rated caulk is non-combustible and for any areas where wires penetrate through base plates, walls, etc. (This is a recently implemented new national code.)
While it seems obvious gaps and crevices in a barndominium should be sealed, most builders either have not yet begun or just recently started utilizing air sealing processes. If hiring a contractor, make certain complete air sealing processes are spelled out in contractual documents – money you will save over your barndominium’s lifespan.
 For sake of discussion we will assume you have a dead attic space and will be insulating directly above a finished ceiling. I would ventilate your dead attic space at the eave (air intake) and the ridge (air exhaust). Make provisions for preventing condensation on the underside of roof steel by having some sort of a thermal break. My personal preference is by using an Integral Condensation Control (
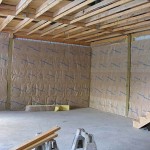
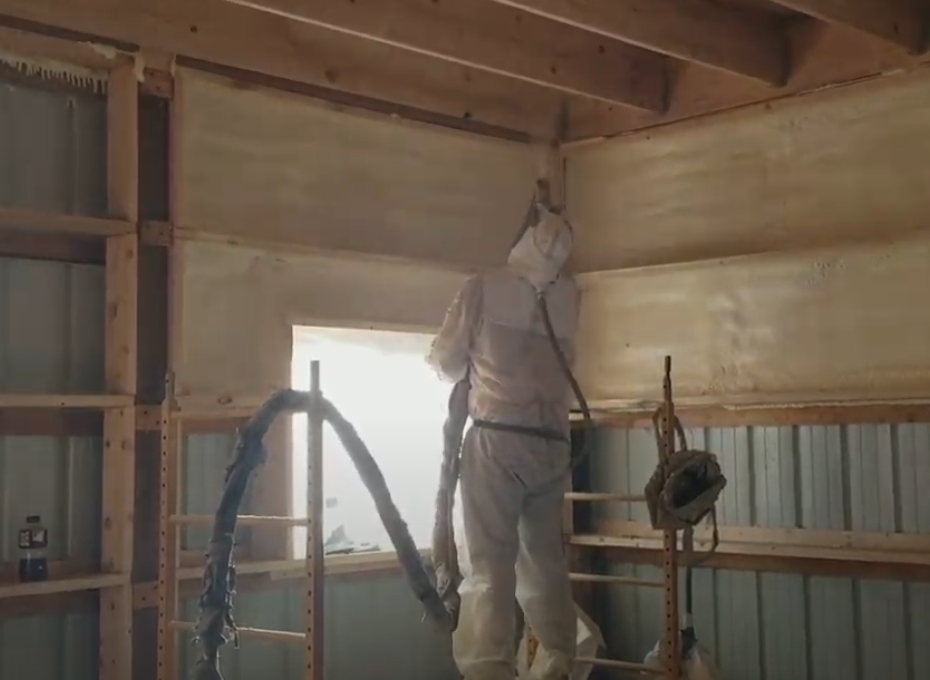 For walls – best results will be from two inches of closed cell sprayed to inside of wall steel, then fill balance of wall cavity with either open cell spray foam, or unfaced batts (ideally stone wool
 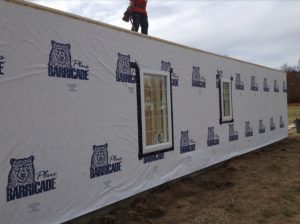 Without a well-sealed high qualify Weather Resistant Barrier (building wrap) between framing and siding, humidity inside wall will follow along with exterior relative humidity to a large extent.
 Nice to see jurisdictions enforcing IECC (International Energy Conservation Code) requirements, as it will result in more energy efficient structures. In Ouray County, you are in Climate Zone 6B. This requires ceiling R-49, wood frame walls of R-20 plus R-5 (or R-13 plus R-10) where second value is continuous insulation and slab edges to have R-10 four feet deep.
 DEAR KURT: Thank you for your investment in a new Hansen Pole Building – be sure to send me lots of progress photos during construction (and of course ones when it is all complete).
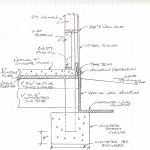 DEAR GREG: Any possible movement would come from either inadequately compacted or loose soil below column footings, inadequate footing diameter, or frost heave. To prevent frost heave, columns footings should be placed at frost depth or deeper and perimeter of slab should be insulated vertically with rigid insulation. In your climate zone, this would entail a four foot ‘tall’ R-10 insulation board. Install on inside face of pressure preservative treated splash plank, with top of insulation even with top of concrete slab. As an alternative, you can insulate slab perimeter per Frost-Protected Shallow Foundation requirements found here (note, slab edge does not have to be thickened or have a stem wall):
  DEAR POLE BARN GURU: Hello Guru! We were wondering if the USDA Rural Development program allows for the construction of a pole barn home? KIRSTYN in LANSDALE
 Engineered post frame (pole barn) houses rely upon their skin (usually steel roofing and siding) being properly installed to provide diaphragms. When material is placed between horizontal wall girts and steel siding to create a vented rain screen assembly, it defeats your building’s structural integrity, unless structural sheathing is applied to wall girts.
  For walls – best results will be from two inches of closed cell sprayed to inside of wall steel, then fill balance of wall cavity with either open cell spray foam, or unfaced batts (ideally stone wool
 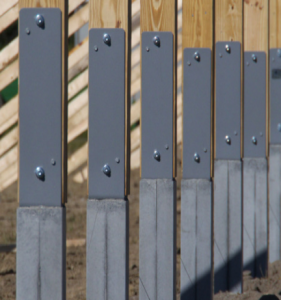 DEAR TIM: Back in my post frame building contractor days we built many a building in and around Medical Lake.
 DEAR ANA MARIA: Well, you have reached out to where you should be, as Hansen Pole Buildings specializes in post frame homes (barndominiums and shouses).
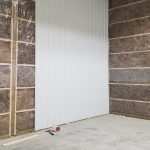 My recommendation would be to place a well-sealed WRB (Weather Resistant Barrier) between all wall framing and siding. Use commercial style bookshelf girts to create an insulation cavity
  Thank you very much for your kind words. My goal is to see to it people avoid making crucial mistakes so they end up with buildings best meeting their wants and needs, and be as ideal as possible – even if they are not Hansen Pole Buildings.
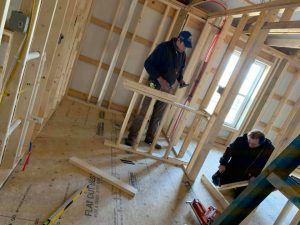 This myth is created and propagated by post frame kit suppliers and post frame builders who do not understand there is a solution – and a very cost effective one (in both labor and materials).
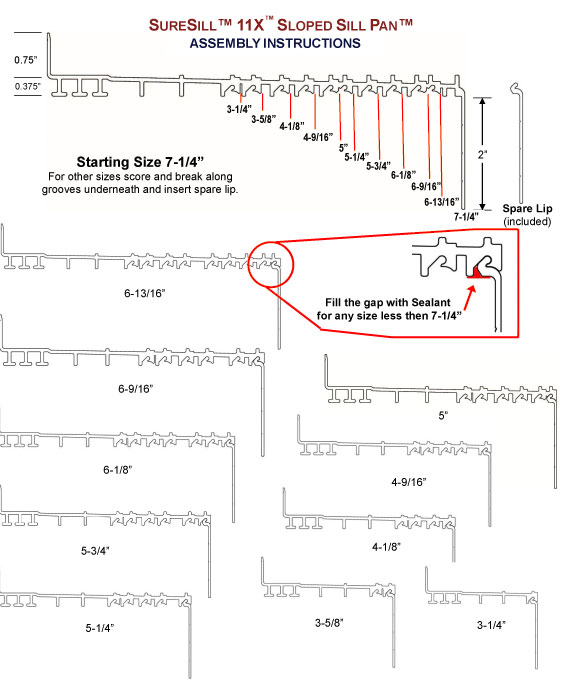

 DEAR JOSEPH: From Hansen Pole Buildings’ Construction Manual, Chapter 2:
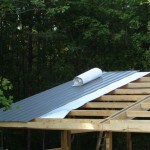
 DEAR PAUL: I am guessing you are talking about concrete poured for a footing pad under the columns.
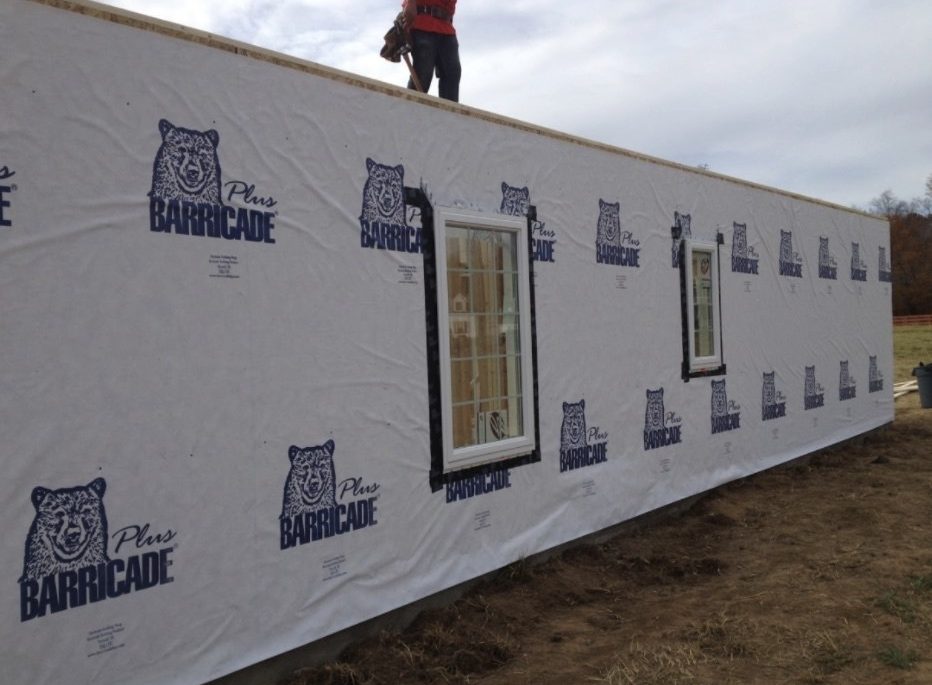
 The purpose of a vapor barrier is to stop warm, moist, indoor air from infiltrating fiber-type insulation (think fiberglass or cellulose) during cold weather and condensing. Visible moisture or frost on the inside of a vapor barrier is either caused by a leaky vapor barrier or moisture migrating into the wall cavity from the outside. Leaky siding can cause this, and it often happens in basements that are apparently leak free. Vapor barriers are essential for any kind of insulation that air can pass through. Never do the really foolish act of slashing a vapor barrier that you find has moisture behind it or forgetting to install a vapor barrier in the first place. Today’s best vapor barriers prevent moisture from moving into wall cavities while also letting trapped moisture escape.
 Once a ceiling has been installed, blow in attic insulation.


