The Dual Splash Plank Dilemma
I’ve never been a fan of stacking splash planks. Even when they are center matched (think tongue and grooved) the two boards never seem to want to bend, twist, warp and/or cup the same direction leading to gaps. Gaps which lead to water getting through and spoiling an otherwise fun place to hang out doing man stuff (okay, girl stuff too) when the weather outside is frightening.
Mike the Pole Barn Guru responds:
Reader CRAIG in MONTGOMERY was less than enjoying this experience. Craig writes:
“What is the best method to waterproof the skirt boards (I have 2) so that snow melt does not leak into my building and on to the concrete slab. The lower green treat board was used as the concrete form then another was stacked on as the lowest exterior purlin. The seam is above ground and visible below the steel.”
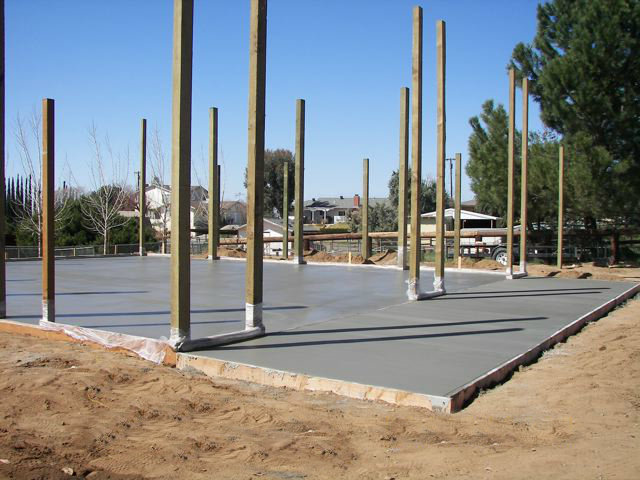 I hate it when this happens – basically the builder used the lower splash plank (aka skirt board) to screed the concrete off from then had to add the upper one in order to have something to attach the siding to. Now you are stuck with the challenge.
I’d look upon this as a multi part solution.
First – seal the leak, a bead of good caulking (check in at the ProDesk of your local The Home Depot for recommendations) placed along the seam will be a beginning. However, this can be seen, so…..
Second – If your building does not have continuous seamless gutters (read more here: https://www.hansenpolebuildings.com/2012/09/rain-gutters/), invest in them. Make sure the downspouts either go into a drain which takes the runoff away from the building, or have significant extensions at the bottom.
Third – If you did number three, add a snow retention system to your roof to keep sliding snow from taking off those brand new gutters. Most gutter companies will not warranty their installs without them.
Fourth – Make sure the grade at the edge of your building is no higher than the bottom of the lower splash plank and slopes away from there at a minimum of a 5% slope.
Do all of these things and the concrete slab inside of your building should be a dry and happy place.
 To reach two hours, you should have two layers of 5/8″ Type X on each side of your framed wall. You also need to insure any rain or snow coming off your roof does not land in your neighbor’s yard. This will entail a slight setback to allow for gutters and you will need a snow retention system on this side of your roof (this is assuming we are discussing an eave side and not an endwall).


