Repairing Rotted Lester Building Poles
Reader KEVIN in OELWEIN writes:
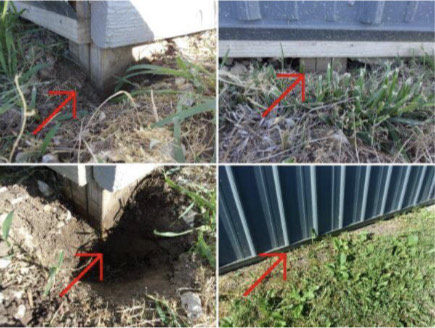
“I own a Lester’s (Company name) pole barn machine storage shed on my farm that was built in the late 1970’s. It needs new metal put on the roof. It is 50′ x 80′ with a concrete floor. Some of the poles are rotting just below the soil surface. About 15% of them. So those poles would need to be replaced top to bottom, or perhaps just the bottoms, before doing any other work on the shed. Are there ways for me to replace or repair these rotted pole bottoms on a standing building? I cannot find any contractors who will do the work. Thank you.”
Mike the Pole Barn Guru says:
Sadly, prior to about mid-1980’s, many treatment plants would do what was known as “.60 or refusal” for CCA pressure preservative treating. This resulted in difficult to treat timbers (such as Douglas-Fir) being basically painted green with preservative chemicals, as only minimal penetration would occur. Even with this, many have survived adequately in service for decades.
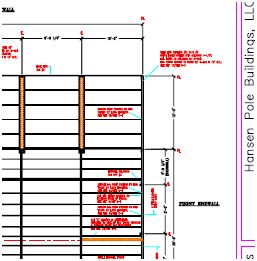
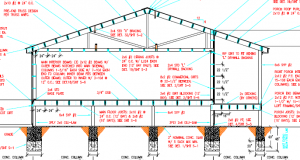
 Provided column holes were not backfilled with pre-mix concrete (they probably were not), you could temporarily support any given deteriorated column above grade, then cut off the column just above top of concrete slab. From outside, excavate around offending column and remove it. Coat cutoff column bottom end with a waterproof sealant, such as an asphalt emulsion. Place a Sturdi-Wall Plus® wet set bracket on bottom of cutoff upper portion of the column. Clean all loose dirt from bottom of excavation. Use an appropriately sized Sonotube® extending down to at least below frost-line and backfill tube with premix concrete. Backfill around exterior of tube with compactable fill, compacting to at least 95%, no less often than every six inches.
For a rough idea of required Sonotube® diameter take roof snow and dead loads (should be 30 psf or less) x 50′ span divided by 2 x post spacing (most agricultural Lester Buildings are posts every 10′) to calculate weight to be supported.
Example: 30psf x 50’/2 x 10′ = 7500#
Most soils will support 2000 psf, so 7500# / 2000# = 3.75 square feet (required area of sonotube).
A 24″ sonotube has an area of 3.14 sft, 28″ would give you 4.27 sft.
A Registered Professional Engineer should be retained to verify adequacy of soil bearing capacity, as well as diameter of tube.
For extended reading on Sturdi-Wall Plus® brackets: https://www.hansenpolebuildings.com/2019/05/sturdi-wall-plus-concrete-brackets/
And some thoughts about Sonotubes®: https://www.hansenpolebuildings.com/2013/11/sonotube/
 Well Jerry, a simple answer is yes, you need to support floor joists at the exterior wall. Beyond this things begin to get more complex and should only be done with a Registered Professional Engineer being involved.
 All proposals and agreements for buildings should mention what Code and Code version is being used. IRC (International Residential Code) and IBC (International Building Code) do have some differences between them. Every three years there is a new Code version published. Each version has latest updated changes due to testing, research and new products being introduced. Your new building should either match your jurisdiction’s adopted Code version or (if no structural permits are required), most recent version.
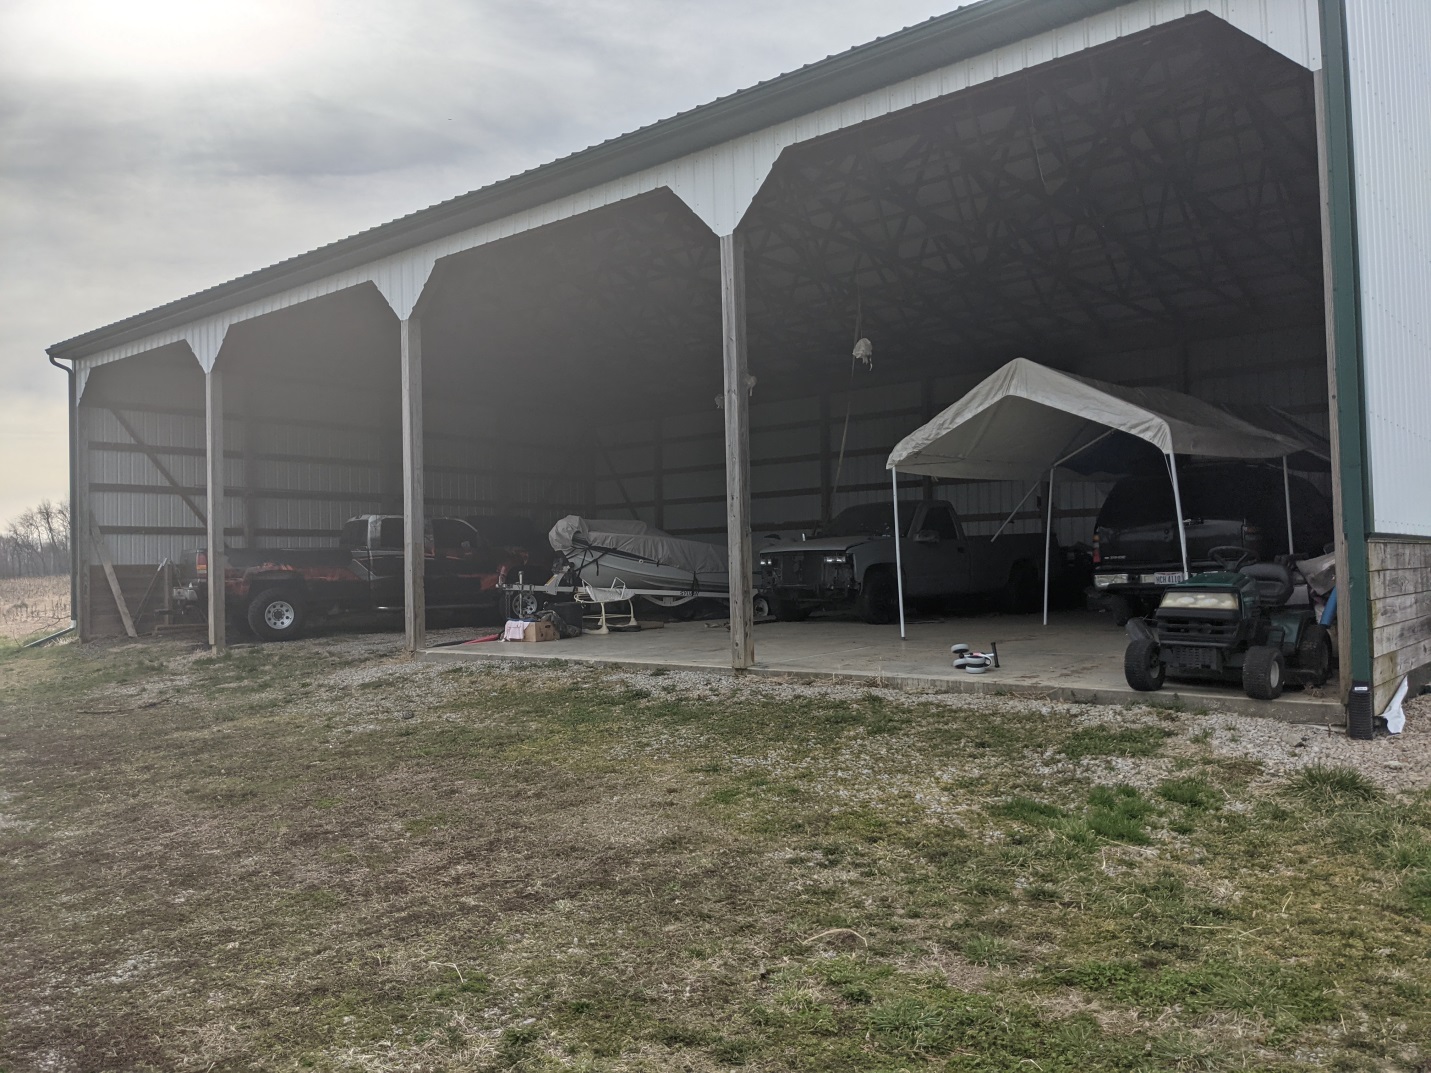
 Mike the Pole Barn Guru responds:
 Provided your building has roof trusses designed to adequately support a ceiling load, your best bet will be to blow in insulation above a flat level ceiling. If you do not have original truss drawings available to determine if they have a bottom chord dead load (BCDL) of three or more, then you will need to find the manufacturer’s stamp placed on truss bottom chords and contact them with your site address. With this information they should be able to pull up records and give you a yes or no. If you are yet unable to make this determination, a Registered Professional Engineer should be retained to evaluate your trusses and advise as to if they are appropriate to carry a ceiling and if not, what upgrades will be required.
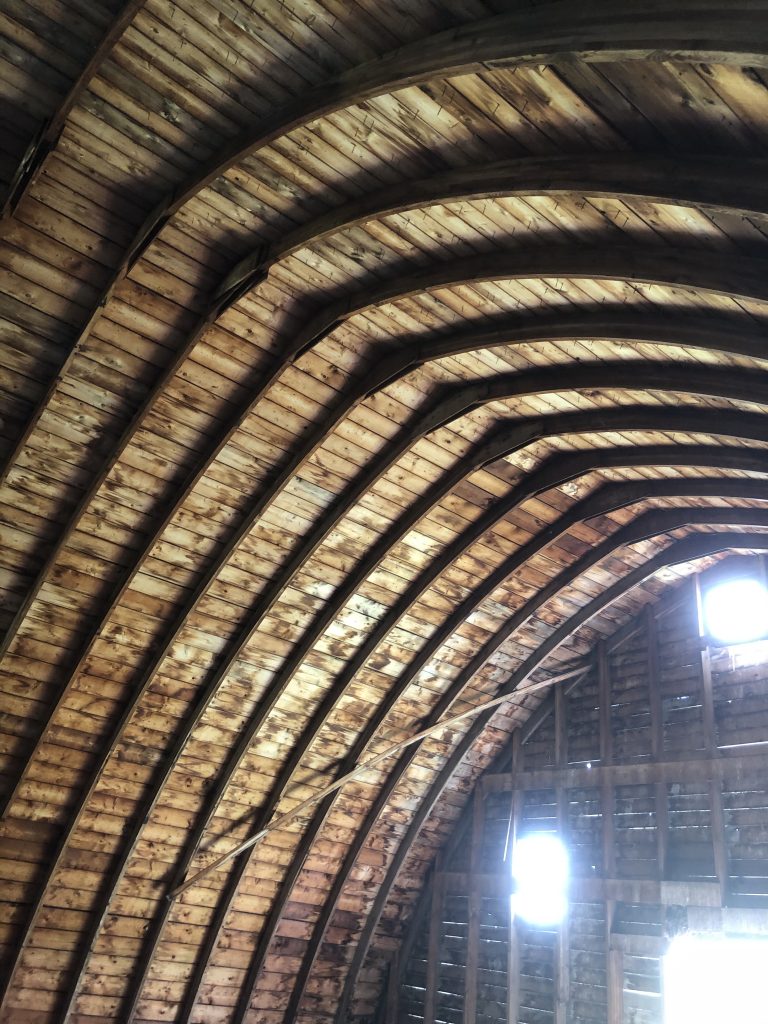
 DEAR POLE BARN GURU:
  DEAR BEN: Thank you very much for your kind words. Due to liability issues we are unable to offer this sort of service. You might try reaching out to one of our independent third-party engineers John Raby (john@raby-assoc.com) to determine if he would have an interest in assisting you.
 When it comes to steel roofing and/or siding we tested actual steel sheeted assemblies to determine shear strength. Our testing led to development of an entirely new screw design to provide maximum system strength (
 And, something no other post frame building kit provider has – a Written Limited Lifetime Structural Warranty on all non-commercial post frame building kits.
  Your Building Department wants an engineered soils report for your site, not an unusual request in much of Colorado, as there are some fairly unstable soils. You will need to contact a Registered Professional Engineer in your area who specializes in geotechnical work (Google – Geotechnical Engineers near me). They will visit your site and do an analysis to determine if it is even capable of being built upon. With this report in hand you can then take this soils report and your proposed building plans to yet another RDP (Registered Design Professional – architect or engineer) who can prepare a set of sealed drawings for your building. “Truss report” being asked for are engineer sealed drawings for prefabricated trusses you will be utilizing to support your building’s roof. You will need to provide your RDP sealed plans to your choice of truss providers, so they can design trusses adequate to support loads detailed within your sealed plans.
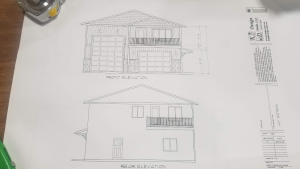
 Gambrel style rooflines are often enticing, they offer the feeling (however not the reality) of getting added space for free. Building your own gambrel barn trusses might appear on the surface like a way to make this even a greater savings.
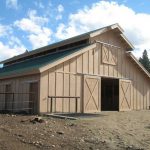
 In your property purchase you have inherited someone else’s lack of planning which has become your problem. The great majority of frost heave potential can initially be solved by proper site preparation – and your building is fairly obviously not on a properly prepared site.