Stucco For My Post Frame Home
Reader SHAWN in WASHINGTON writes:
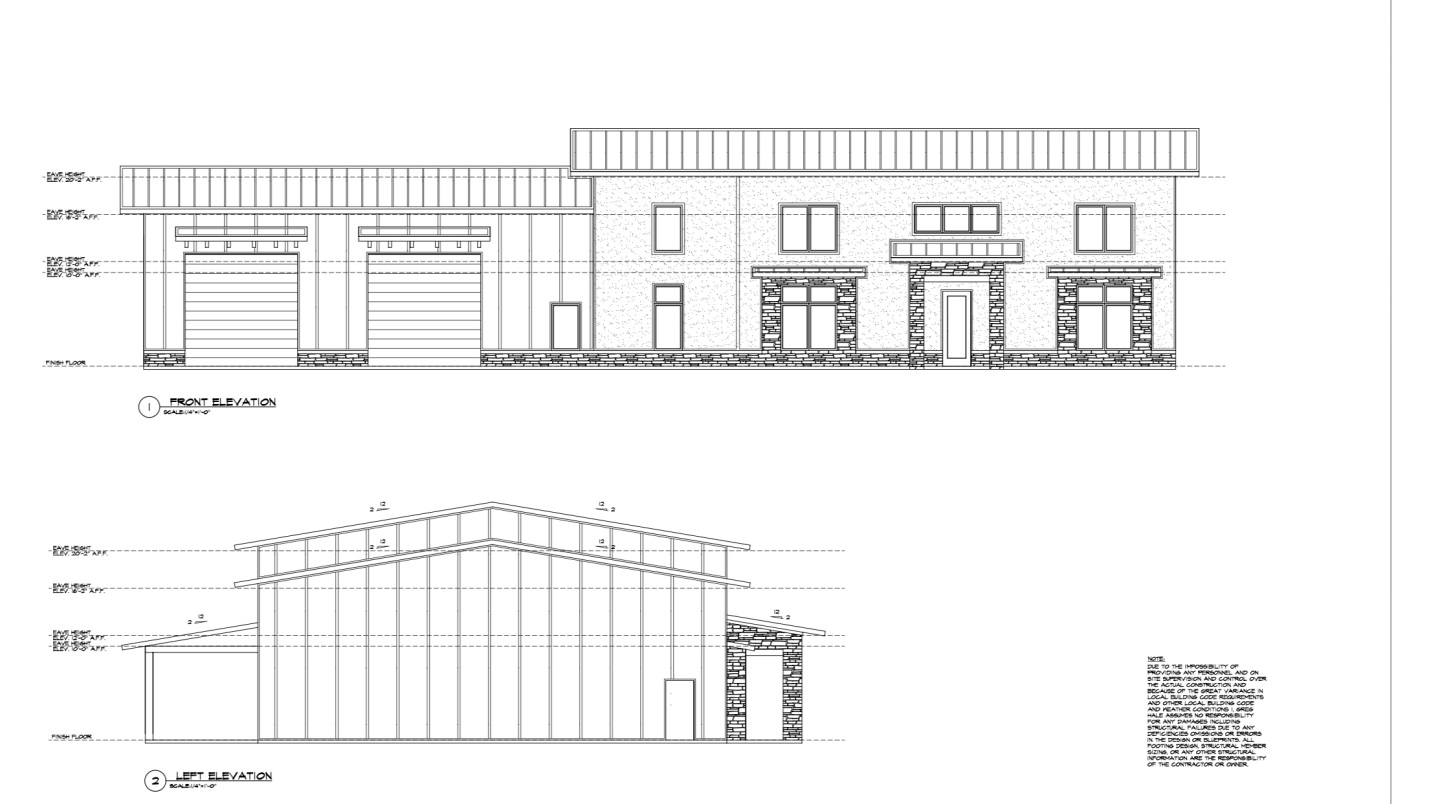
“I’m about to build a 110’x 50′ pole frame house using sono tube piers and wet set brackets. I am wanting to use the 1 coat (lighter weight) stucco on full exterior my question/ concern is what options do Ii have for my grade board contacting earth and also the transition of bottom of stucco on face of grade board? I have so much money in my land that I was really trying to save by not pouring a footer. Galvanized metal grade board? Wrap bottom and face of grade board with a custom j metal trim? Want it to be appealing to the eye with stucco stopping a few inches above ground level and just a few inches of grade board showing. Just want my grade board to last longer than 30-40 years since I will have roughly $600,000 in my house. My initial house design, but have changed it to stucco only with no rock more like other photo.”
Mike the Pole Barn Guru says:
Of concern with your use of stucco, in general, is limiting wall deflection to L/360. This can be accomplished, however it will often require larger dimension and/or higher graded wall columns (often glulaminated). Wall girts will need to be bookshelf style. In order to confirm deflection limits are indeed adequate, your post frame home’s structural plans should only be designed by a Registered Professional Engineer. Failure to meet this high degree of frame stiffness will result in failure of your stucco.
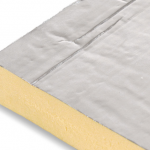
Successful stucco installation obviously requires a solid substrate (typically OSB or plywood). Either of these must be no closer to grade than six inches, unless properly pressure preservative treated (or a material otherwise impervious to decay). You might want to consider sheathing lower four feet of your wall with Foundation Rated (FDN) CDX plywood or cement board, so you can run it even down to grade, if desired.
Your grade board (splash plank) can be special ordered as UC-4B pressure treated. This level of treatment is good in the ground for longer than anyone alive on our planet to witness it failing. Our clients, who have been using stucco, have merely finished the bottom of it with a weep screed and called it a day. In all reality, no one except you is ever going to look at or notice how this is detailed.
 “Mike, I have an existing pole barn (6×6 post with 2’ on center girts ) that has a 4” concrete floor with 10 mil plastic under it. The side walls have 1” XPS insulation on the outside of girt then steel siding with no wrap or barrier. My thought is put Tyvek on inside of girt ( facing same direction as if on outside application ) then put inch and a half XPS DOW insulation against that ( because there’s two bunks already there) then 2×4 frame with batten insulation between them, then 6mil or heavier vapor barrier then OSB. The floor has PEX tubing in it but not hooked up. Is this a proper install? Also I will have to have an engineer check the BCDL as I want to put OSB on the ceiling but would like to know how to insulate the ceiling. There is a one foot fully vented overhang with a ridge vent also. Thank You for the info in advance.
 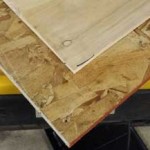 Rated at 44NG (2/3rds of a perm), 7/16 inch OSB sheathing can be a reasonably good vapor barrier, however you may want to consider instead using 3/8″ CDX plywood as it has a 57 NG rating. Do not seal it (paint is a seal) or tape seams and your wall is probably okay.


