This week the Pole Barn Guru tackles reader questions about a building set into a slope with use of post brackets, the possible use of “cross bracing” for wall girts, and understanding pressure treated wood.
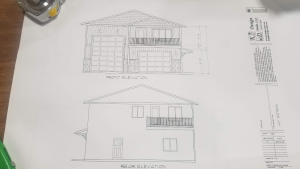
DEAR POLE BARN GURU: I would like to build a 32′ x 48′ 2 story pole building where two of the sides of at least the lower floor are at least partially set into the hillside on the property. I envision the two sides set into the hill to be concrete foundation walls. Sort of a daylight basement. The lower floor would be a woodshop and the upper floor a two bedroom apartment. I am assuming a concrete foundation with Laminated “poles” mounted in brackets as opposed to buried. the “poles” on the two sides set into the hill would be shorter than on the other two sides. With the available space, the two story concept works better than having everything on a single story. Is this even possible? What would a ROM cost for a kit like that cost?
Thank you BILL in WEST RICHLAND
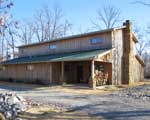
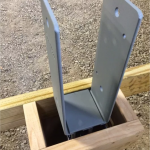 DEAR BILL: Your idea is totally possible. I have done it myself. In my case I had 12 feet of grade change across my building’s 40 foot width. I used ICFs full height on one sidewall and stepping down across rear endwall. Columns on these two walls were mounted using wet set brackets, other two walls had embedded columns. This process could also be used with poured concrete or block walls. We have also developed a system to use columns placed in a permanent wood foundation.
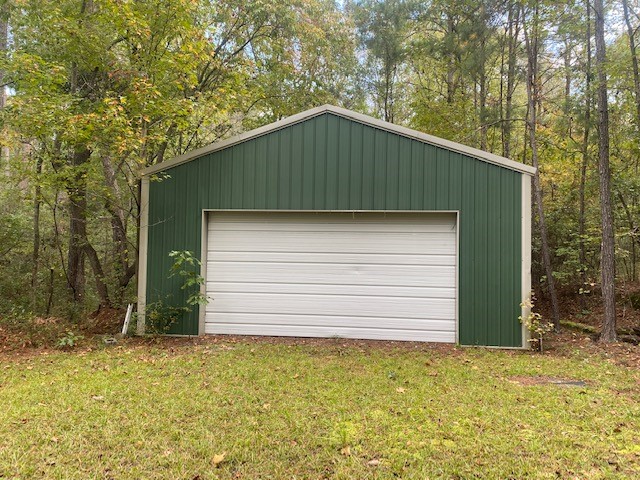
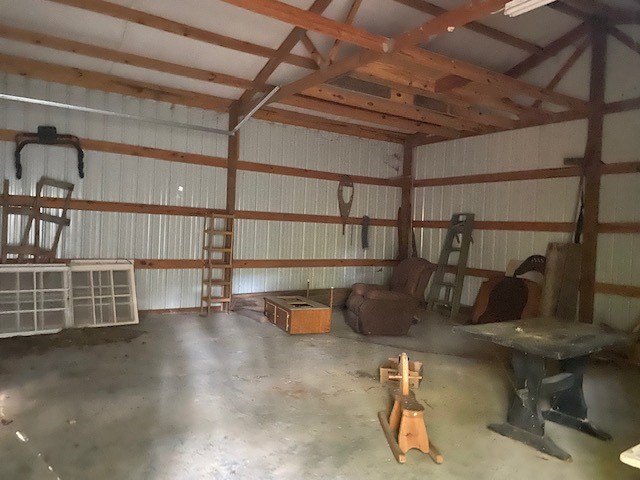
Attached photo is of my own building.
This is being shared with your Hansen Pole Buildings’ Designer who will be reaching out to you shortly.
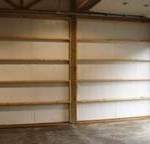
 DEAR POLE BARN GURU: When using bookshelf girts is cross bracing used between posts or are the girts when blocked provide the support? WINSTON in MOULTON
DEAR WINSTON: No cross bracing is required when using bookshelf girts. Once installed (ideally blocked solid to columns at each end) and sheathing (OSB, plywood, structural panels or steel siding) is applied, your wall and girts are more than adequately supported and this assembly is fairly rigid.
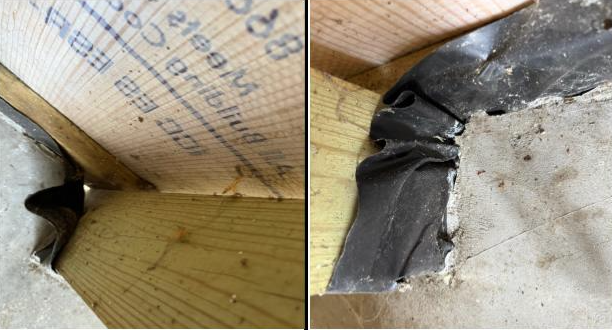
DEAR POLE BARN GURU: I read the article regarding treated wood. I am still a little puzzled as to what treating you would use for ground contact purposes, especially the upright poles. Do you have any other articles regarding this subject or have input you could email me? Much appreciated, thank you. KELLY in VICTOR
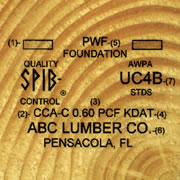 DEAR KELLY: Pressure preservative treated wood standards can be confusing even for lumber dealers, professional builders and building inspectors. For structural building columns, all end tags should have UC-4B marked on them. UC-4B is for “Heavy Duty” use. This American Wood Preservers Association infographic might prove helpful to understanding proper uses for pressure preservative treated wood: www.awpa.com/images/standards/ResidentialInfographic2020.pdf
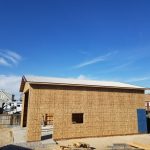
 DEAR POLE BARN GURU: I have built a pole barn with a steel roof and ridge vent and large soffit vents in the eaves. I will be mounting steel roofing sheets as the ceiling and have installed LP smartside board and batten on the walls. I originally intended to have 3″ of closed cell foam sprayed on the interior and on top of the ceiling steel, with the attic open for airflow. Costs are over budget and I have decided to make some soffit protectors and blow in a few feet of cellulose insulation in the ceiling and still do the foam in the walls. Even lower cost, the thought has crossed my mind that since I am planning on sealing up the walls with sheathing and the tops to the rafters are open, it would be easy to blow cellulose insulation into the walls as well and save many thousands of dollars. I think I would have to staple in Tyvek on the exterior side and then apply a large sheet on the interior side before installing the sheathing, making a breathable pocket. The cellulose is treated with borate-based fire retardants and also boric acid so it should keep creatures out. It would save me $5k over foam. What do you think about this concept? JOHN in STOCKTON
 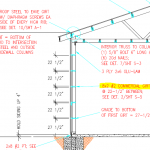 DEAR GAREN: I feel like you are going through a lot of extra efforts (and cost) here. If it were me…. I would frame walls with 2×8 bookshelf wall girts 24 inches on center, extending 1-1/2″ past exterior face of columns. Apply an Omnidirectional housewrap (not Tyvek) between steel siding and wall girts. Use 7-1/4″ Rockwool batts, smart membrane, then sheetrock. Any water vapor in your insulation cavity will pass through housewrap and drain out. Framing with bookshelf girts will limit deflection of sheetrock and should prevent joint cracking.
 To get the most light, place windows on the south wall. Easiest way to frame your exterior walls (interior walls around windows) is to use what we refer to as commercial girts (
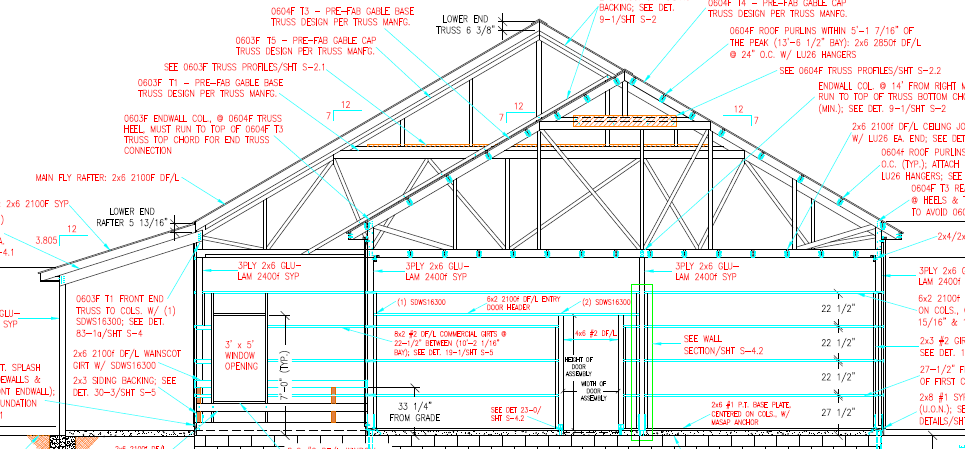
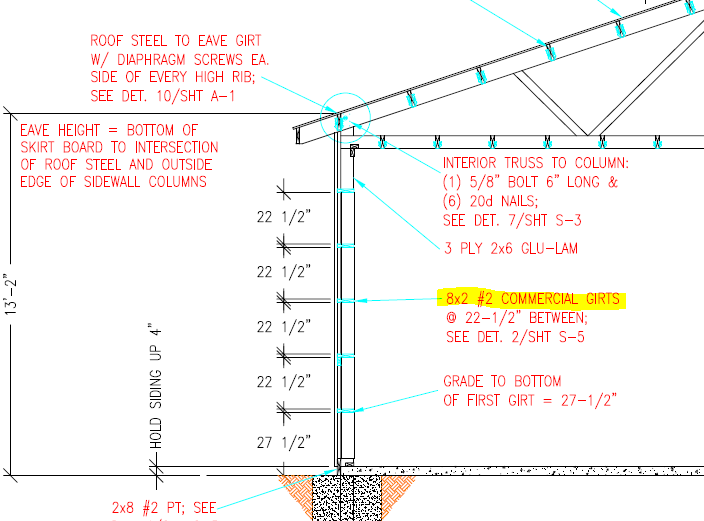
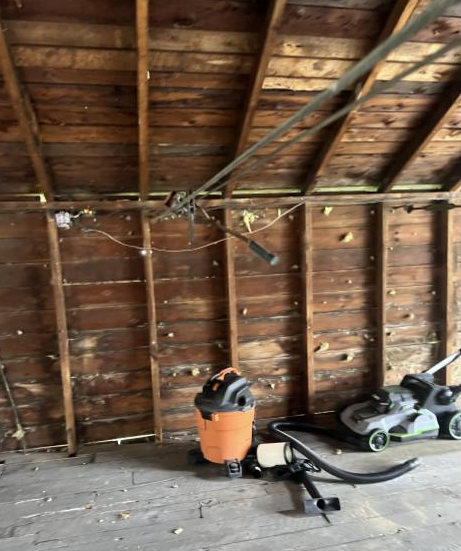
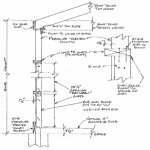
 DEAR POLE BARN GURU: What are the building code standards for the horizontal infill framing between the posts of a post frame buildings, in terms of timber size, horizontal/vertical on center distance. I have seen 2x4s and 2x6s used, usually 24″ o/c vertically. Horizontally, how far can they span horizontally? JOHN in BANDERA
 My most important advantage was a thirst for knowledge. One of my favorite childhood books was 1967’s “The Way Things Work” by Neil Ardley and David McCaulay. I read it cover-to-cover repeatedly. This same thirst for wanting to know how things work led me to Dr. Frank Woeste at Virginia Tech. He challenged me with learning structural calculations involved in what made post frame (pole barn) buildings work.
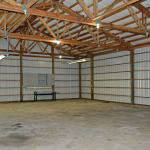 People (both builders and DIYers) do bookshelf girts because they are, at a minimum, over 300% stronger in supporting wind loads than externally mounted girts (based upon 2×6 material of same grade at same spacing). They are also more resistant to deflection by more than 1300%. Moreover, with proper dimensional sizing, they allow for creation of an insulation cavity where clients can do interior finishes without having to add more framing.
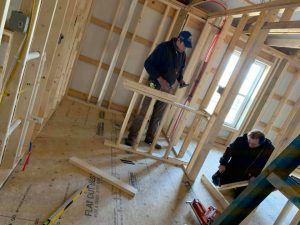 This myth is created and propagated by post frame kit suppliers and post frame builders who do not understand there is a solution – and a very cost effective one (in both labor and materials).
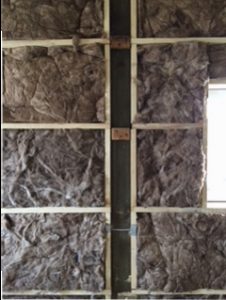 In an ideal dream world every 6×6 column would measure exactly 5-1/2 inches square. However lumber comes from trees, and trees are organic and tend to have a certain degree of variability. Rarely are timbers going to be dried after being milled, other than by nature. As such, they most usually start off being cut slightly over-sized in order to allow for shrinkage hopefully ending up with a 5-1/2 inch dimension.