When Friends Buy Buildings From Others
Long ago, in a galaxy far away……well actually it is in our galaxy.
Jeff and I met roughly 40 years ago, when his mother and my father dated. About 15 years later, I was Jeff’s sponsor when he became a member of Spokane Valley Rotary. In recent years, Jeff invested in a pole building and I was unaware of it until now – when he reached out to me with a challenge.
Jeff writes:
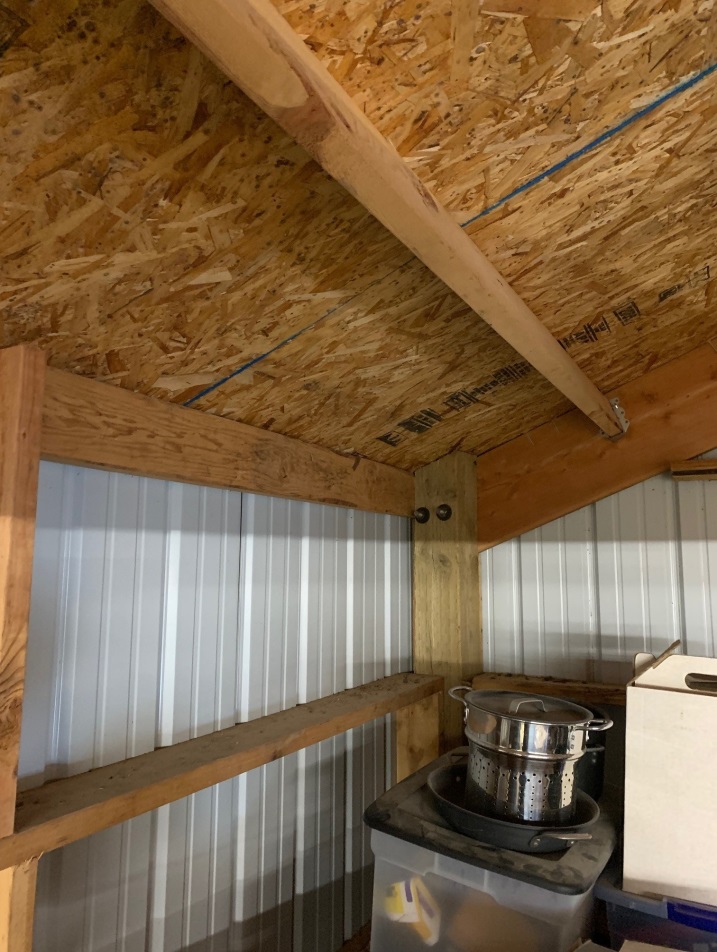
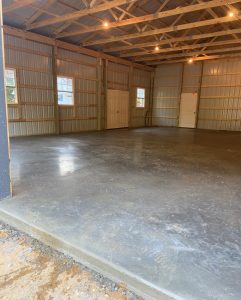
“Hey Mike! I have read the blog a lot and tried my best to understand the insulation issue that seems to get asked of you the most, but I’m just a little slow on understanding. Attached are three pictures of my pole building ceiling that I want to begin insulating. It is 36′ x 40′ with 14′ eaves on a 5×12 pitch. As you can see there is OSB under the steel roofing. The sides are steel from the top down to 4′ where there is OSB and hardiplank siding. Concrete floor. You can see some mold stains from the first year that I did not have a floor poured yet. For the walls I figure I can just use faced fiberglass batt rolled insulation without a vapor barrier then finish with drywall. Not sure about the ceiling. Can I just use rolled insulation? Then drywall or OSB over that? Vapor barrier? Do I need to have the 1″ = 2″ ventilation space between the OSB and the fiberglass? Only one side has the vent opening to the eave, the other side has an open lean-to. Thanks.”
Mike the Pole Barn Guru writes:
If your intent is to insulate between roof purlins with batts, Code requires a minimum one inch air space between insulation and roof deck (in your case OSB) continuous from eave to ridge. There is no way for you to accomplish this, as your building’s purlins block any possible airflow route. Your choice for insulating with a roof plane really comes down to closed cell spray foam. Other issues could be what sort of a dead load your roof system is engineered for. Typically post frame roof trusses are designed for only a five pounds per square foot (psf) top chord dead load with OSB. This would not be adequate to attach OSB, plywood or sheetrock directly to the underside of purlins. Even if trusses have adequate load capacity, your roof purlins appear to be 2×6 and would overly deflect with sheetrock applied – resulting in popped screws and failed taped joints.
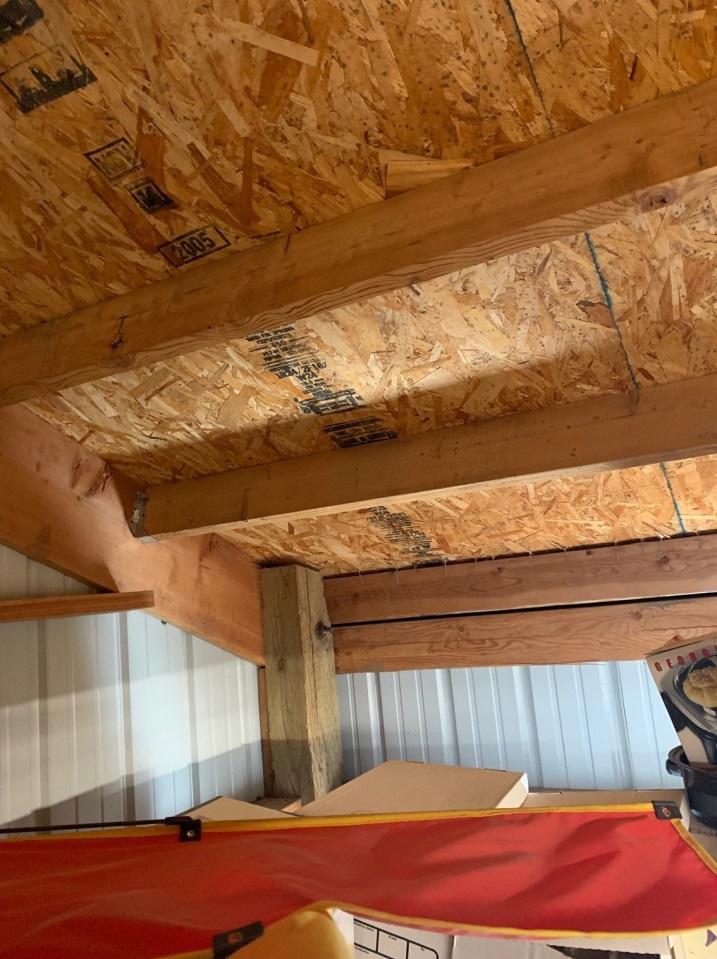
In an ideal world, your roof trusses would have been designed for a 10 psf bottom chord dead load. This would be adequate to support a sheetrock ceiling and fiberglass insulation could be blown in on top of it. If this route is taken, you would need to provide adequate ventilation.
A solution could be to reach out to whomever manufactured your building’s roof trusses and inquire about an engineered repair to increase loading. These repair drawings are usually relatively affordable, however repairs often entail a fair amount of time, effort and materials.

As you have no Weather Resistant Barrier (Tyvek or similar) between wall framing and siding, I would recommend using unfaced rock wool or mineral wool batts as they are unaffected by moisture (unlike fiberglass) with a well-sealed 6mil clear visqueen vapor barrier on inside, then your drywall.
 Your new building investment includes full multi-page 24” x 36” structural blueprints detailing the location and attachment of every piece (as well as suitable for obtaining Building Permits), the industry’s best, fully illustrated, step-by-step installation manual, and unlimited technical support from people who have actually built post frame buildings. Even better – it includes our industry leading Limited Lifetime Structural warranty!
 DEAR POLE BARN GURU:
  DEAR RACHEL: Your question leads me to believe you do not have structural plans for your building. Said structural plans should be prepared by a Registered Design Professional (RDP – architect or engineer) who can expertly determine structural adequacy of all building components, as well as proper connections.
 DEAR DOUGLAS: Your trusses should be shown on your building’s engineer sealed plans. You can provide these to any prefabricated wood roof truss manufacturer (or the ProDesk at your nearby The Home Depot) to get a quote delivered to your building site. If it was my own personal building, it would have a single truss on each endwall, and a double truss every 10 feet bearing directly upon wall columns. I would place 2x purlins on edge between truss top chords, using engineered steel joist hangers to support each end.
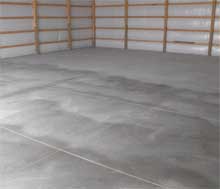 The most important things to avoid cracking where not desired is to have dedicated allowance locations for cracks (e.g. expansion joints or saw cuts should be located every eight to 12 feet for a four inch thick slab), have a properly prepared and well compacted site, eliminate sources of water which would or could flow under the slab, reinforce the slab (by use of one or more of the following – fiberglass strands, wire mesh, rebar) and to have the slab tied into the columns by use of rebar hairpins through the columns. The clean sand between the vapor barrier and the concrete should be moistened prior to the pour as well. Concrete mix with too much water in it will lead to future cracking. It is more work to pour with less water, but the end result will be far better. Keeping the slab well hydrated (water on top of the slab) for the first month after the pour will retard the speed of curing making the slab not only stronger, but also will reduce the cracking.
  Your fence posts rotted off because they were not treated to the same level of treatment as are your building columns. In fact, most fence posts are just dipped in a chemical solution, they are never actually treated under pressure. In many cases, fence posts are peeler cores (the center remaining after logs are peeled for plywood) which will not take a treatment to begin with, or they are a species which does not treat easily (or at all). I recently wrote an article about the lifespan of properly pressure preservative treated wood, which should put a rest to your fears:
  I recommend you consult with a RDP (Registered Design Professional – architect or engineer) who can determine if your building is structurally adequate for the modifications you propose. Post frame buildings with steel siding, which have not been specifically designed for future drywall finish on the inside, often have deflection which is beyond the limitations of the gypsum wallboard – meaning the joints will end up cracking due to too much lateral movement. Chances are good your roof trusses are not designed to support the weight of a ceiling and will require some engineered upgrades in order to do so. You are about to make a big investment into upgrading your building, please do not take my recommendations lightly – as you stated, you do not want to throw good money after bad.
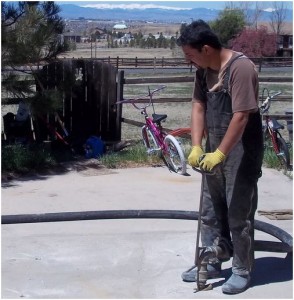 The repair is typically going to be one of two options. The first is what is known as mudjacking or slabjacking. Used for decades, this process involves pumping a flowable (high-slump) cement-based liquid under the slab. The fill material then cures to form a solid concrete subbase.

 Concrete is a porous material which will accept water, moisture, and water vapor readily from the foundation soils beneath pole barns. This moisture can be passing through in the form of water vapor even when the slab floor doesn’t appear to be damp.
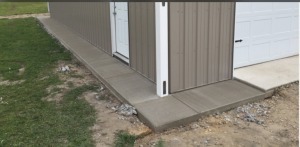 This is not meant to provide the necessary instruction to pour a building slab. Not because the task is beyond a novice’s abilities, although many do contract out this job. Pouring a slab is within most people’s abilities. However, unlike wood framing, which can be corrected if improperly constructed, work on a slab is “set in stone”. Due to this, and the fact so many local codes and practices apply to concrete slabs, I am only touching on this subject. If deciding to personally undertake this task, I suggest talking with local professionals to find out exactly what you are getting into. Have the building inspector (usually a requirement in places requiring a building permit) or a professional inspect work before pouring concrete. If you are less than 100% confident, hire a professional to work alongside you during the concrete pour.


