Do Screws Back Out of Steel Roofing?
I had a question posed of me recently which included: “Where will the water go when the screws back out of my steel roofing”? While I answered the question at hand, I didn’t actually get into the why this might happen, or the solutions.
How to avoid the potential problem completely……use the right part, properly installed and driven into the correct material. Three easy steps, should not be so difficult.
The part – most commonly used screws are a #9 diameter by one inch long. When we tested steel roofing to determine sheer strength these screws pulled out of the framing under a minimal load (so minimal the steel didn’t even have ripples in it from the applied load). You can read more about our testing here: https://www.hansenpolebuildings.com/2012/08/this-is-a-test-steel-strength/.
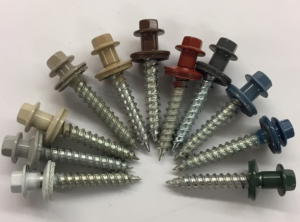 Going to a longer part solved the pull out issues in our testing. We also went to a larger diameter part in our testing, the shank below the screw heading being ¼ inch across, while the threads are a #12. The larger diameter screws also have deeper threads, which means they bite and grip the wood more tightly.
Proper installation – screws which are over or under driven, or driven at an angle are prone to a myriad of problems, all which end in leaks. Over driven screws tend to damage the wood fibers, leaving little solid material to hold the screw. Use a screw gun with a clutch, so screws do not get over driven.
Driving into the right material– what could go wrong? I see folks using OSB or plywood sheathing under roof steel with the idea they can drive the screws into the sheeting and still hold, even when the screw tip misses a purlin. These screws will come back out.
Green lumber (or dried lumber which has been allowed to get wet) will cause screws to be loose as the moisture leaves the lumber once the building is dried inside. Of course green lumber has a myriad of other challenges which can be read about here: https://www.hansenpolebuildings.com/2011/09/499green-lumber-vs-dry-lumber/.
Right part, right screw, right material below – drop the mic and walk off the stage. Three easy steps for proper screw installation and keeping leaks from happening.
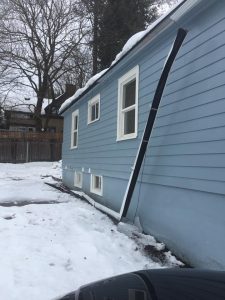 DEAR JAMES: Have you considered investing in a quality gutter system so you do not have to clean them out regularly? Raptor Gutter Guard seemingly is most highly recommended
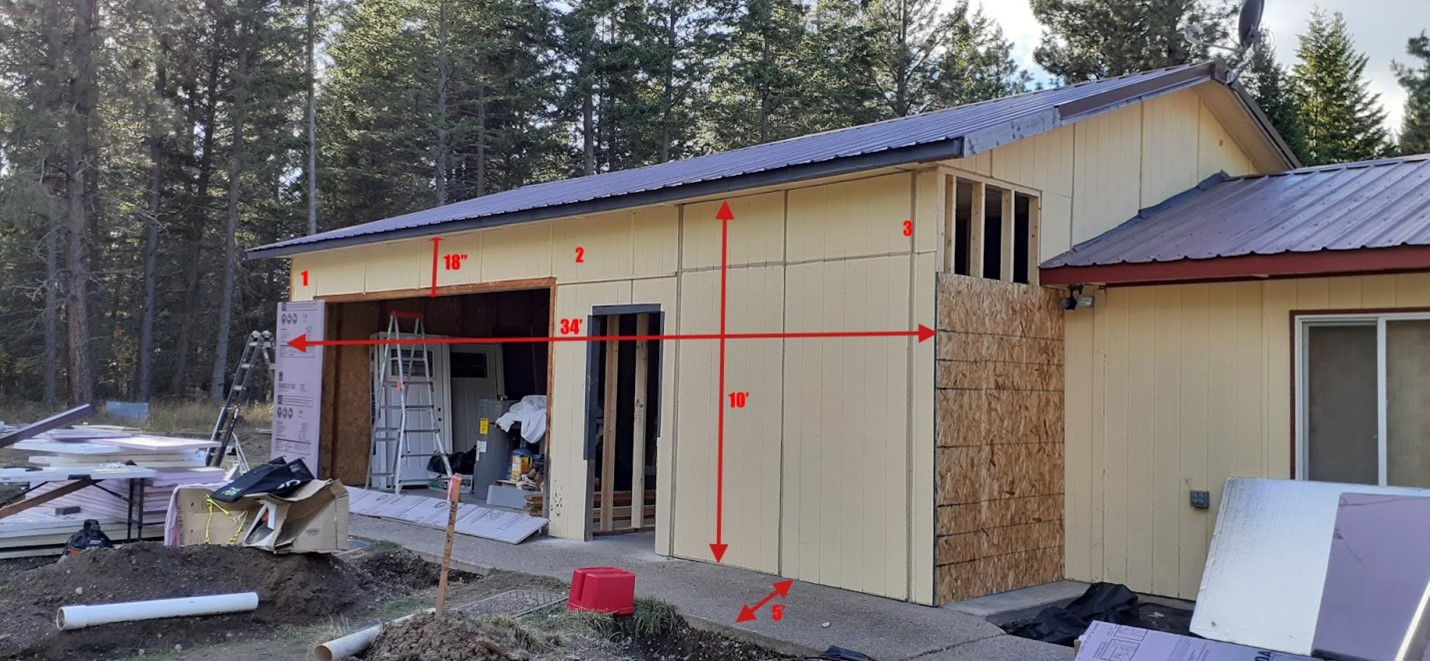
  DEAR POLE BARN GURU: Good afternoon, I have been working with Cory in the design department. He has referred me for some additional information. We are looking at building a 30 wide by 60 long 15 foot sidewall 5/12 Pitch roof pole barn. My husband is being insistent on wanting to put plywood on the entire roof, saying it will make the roof stronger. Thus the entire building stronger. I was wondering if you could address that type of construction versus the construction that would be specked for my area which is upstate New York zip 13736. I appreciate your help and answering this question. KAREN in BERKSHIRE
 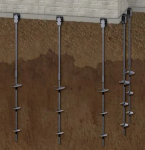 DEAR POLE BARN GURU: I own a helical pier installation company based out of MN, and I have a customer that’s interested in having install helical piers for their upcoming pole shed project. I was reading online that your company has a bracket available and I would like more information on that if possible. I appreciate your time and look forward to hearing from you. CHRIS in ALBERTVILLE