Tag Archives: weld up steel building

Loft in a Weld Up Steel Building

Loft in a Weld Up Steel Building

Reader CINDY in TYLER writes:

“I am constructing the interior of a welded metal house that’s 20x18x12. I am trying to figure out how to add a loft. The building framing is constructed of I-beams and the walls have 2 rows of heavy 8” C-channel per wall, Though the lower C’s will have to be cut for window installation. But the upper C is about the right height for the floor. I only want the loft to be 20×9. I’m going to give you my ideas and would like your response, ideas, thoughts and recommendations please. I have a 20’ piece of steel 8” C-channel that I could run across the building that would finish the square framing, though I don’t weld ad not sure how to best attach it to the walls. After that I can install, with screws, 2×8 along the inside of all the C’s. That will give something to attach joist hangers to which will be installed parallel to the C that was just installed. Does this sound doable and any ideas on how to properly attach the C channel? I was thinking I could cut the top and bottom part that curls, and bend it out of the way and attach some heavy duty angle pieces, but can only attach with 1’s onto the top and bottom of one channel and to the center of another. I would attach with bolts and nuts. Any help will be greatly appreciated. Thank you for all that you do for so many people with your blog.” 

Mike the Pole Barn Guru says:

If you are a regular follower of my blog posts, you will find I am a fan of weld up steel buildings only when they are fabricated from engineer sealed site specific plans with assembly done by a certified welder. While this may not be as important on a low risk shed, as buildings grow in footprint and complexity, it becomes significantly important.

Lofts can prove to be of special concern. They tend to be under designed (unless engineered) and over loaded, resulting in distinct possibilities of catastrophic failure leading to potential injuries (if not fatalities).

Trying to attach steel beams to steel framing members should not be done without an engineer’s design. There is an easier option:

Provided your concrete slab is sufficiently thick, my recommendation would be to frame 2×6 stud walls along each 20 foot side of your proposed loft. Use a pressure preservative treated 2×6 bottom plate. Studs can be 24 inches on center with a double 2×6 top plate.

Proper anchorage for stud wall to a slab has fasteners penetrating at least an inch into concrete. You could use 2-1/2″ Ramset nails.

Personally, I prefer using Tapcon screws 

What you’ll need:

Tapcon screws – Be sure to get 3/16″ x 2-3/4″
ones with hex heads. Don’t try to use a flat-head screwdriver to drive them! 

A hammer drill

Several concrete drill bits

A hex head bit for drill fitting Tapcon head size

How to attach walls using Tapcon screws

Drill pilot hole

Drill a hole through 2×6 bottom plate center, every 16″ to 20″ inches.

Hold the bottom plate in place by standing on it if possible.

Use firm pressure, but don’t push too hard. Save your body, drill will do the work!

If using 2 3/4″ screws, put a piece of tape on bit 3″ from tip. (Drill 1/4″ deeper than depth of anchor plus 1 1/2″ for bottom plate.)

Attach screw

For best results use a hex-head attachment on your power drill to secure screw. (Even the correct size flat-head screwdriver attachment will slip off frequently.)

Start off slowly until you’re through the bottom plate.

Speed up drill and drive anchor deep enough into concrete so the screw head is flush with bottom plate. 

Make sure you have enough drill bits on hand. You’ll go through several as tips eventually wear

Another method of attachment entirely avoids penetrating your concrete – construction out or break off. Repeat this process with each wall section adhesive. Make sure the slab is thoroughly clean and use a polyurethane adhesive. Polyurethane works if there is any moisture in the concrete or bottom plate and it has gap filling properties.

Assuming you will have no loads on loft greater than a 40 psf (pounds per square foot) residential load, 2×8 #2 floor joists can be spaced on top of walls 24 inches on center.                                                                                https://www.southernpine.com/app/uploads/SPtable2_060113.pdf

Use 3/4″ OSB (Oriented Strand Board) or CDX plywood for your floor decking. 

Stick Frame and Some Limitations

Stick Frame and Some Limitations


Perhaps stick built construction’s biggest advantage is builders and tradespeople are very comfortable working in and around stick framing. All registered architects and most building inspectors are very familiar with stick framing. The International Residential Code (IRC) provides a prescriptive ‘cook book’ to follow for adequate structural assembly, within certain limitations. These limitations include, but are not limited to, no story height of greater than 11 feet 7 inches (R301.3), no hurricane prone areas with a design wind speed of 130 mph or greater located south of Virginia, or 140 mph elsewhere (R301.2(5)B), and no ground snow loads over 70 psf (R301.2.3).

IRC802.10.2.1 further limits truss spans to a maximum of 36 feet and building lengths to 60 feet (measured perpendicular to truss span). Trussed roof slopes must be at least 3:12 and no greater than 12:12.

Wood is a very forgiving building material and, even when miscut, replacement material is usually only a short drive away. America’s home building industry has built traditional, wood stick framed homes, on site for decades.

Many builders, architects, carpenters and other subcontractors prefer to work on stick built homes as compared to alternative building systems.  Because traditionally framed houses are so popular, dimensional lumber and stick built framers are readily available.

Another advantage of stick built homes is they allow for a great level of design freedom.  You can design your barndominium with various ceiling heights, angles and curves, niches and other details. Stick framing one to achieve those unique details at a fairly affordable cost.

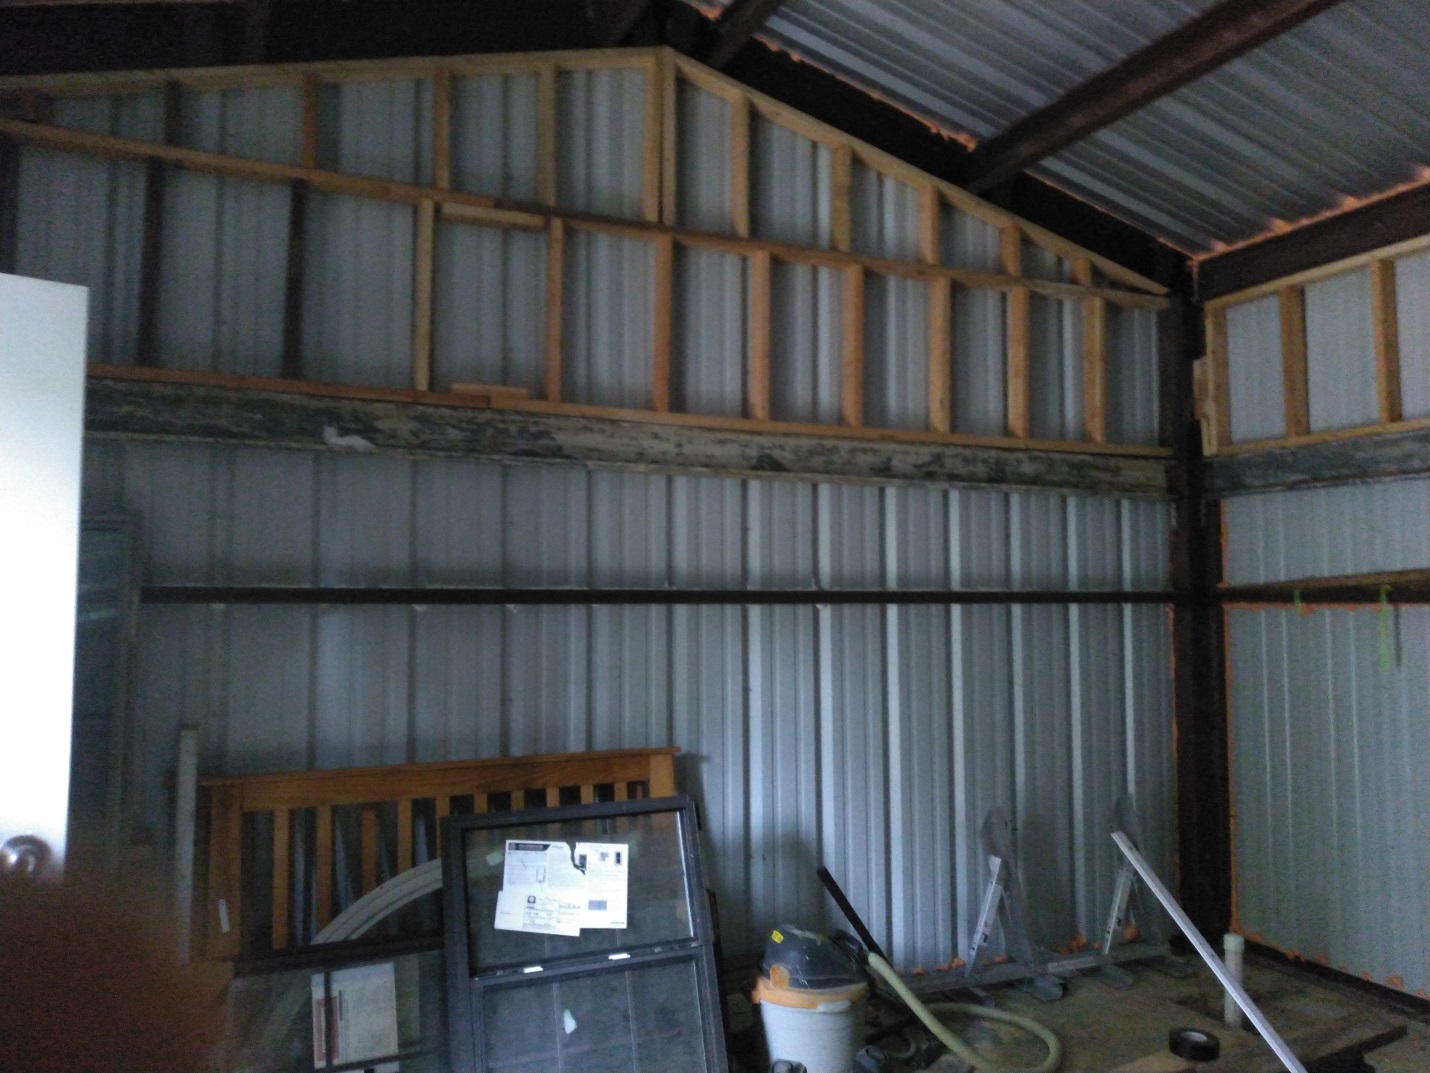
Despite its popularity, stick framing does have some drawbacks. Because stick built homes are assembled outside, over several weeks, framing lumber is subject to outside moisture.
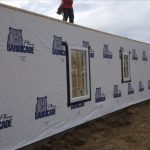
If lumber gets too wet, it can shrink and warp as it dries and cause cracks in the attached drywall.  This shrinking and warping can also make it difficult to properly insulate. To decrease  risks of potential moisture problems, ensure exteriors are covered with an appropriate and well-sealed Weather Resistant Barrier and lumber is properly dried before drywall and insulation are installed.

Another drawback of a stick built home is it usually takes several weeks to complete framing.  Total amount of time it will take will obviously depend on size and complexity of house plans and size, experience and availability of any particular framing crew.

A framing crew must precisely cut, assemble and erect barndominium framing components sometimes in adverse weather conditions.  Working around adverse weather conditions is another challenge with stick framing.

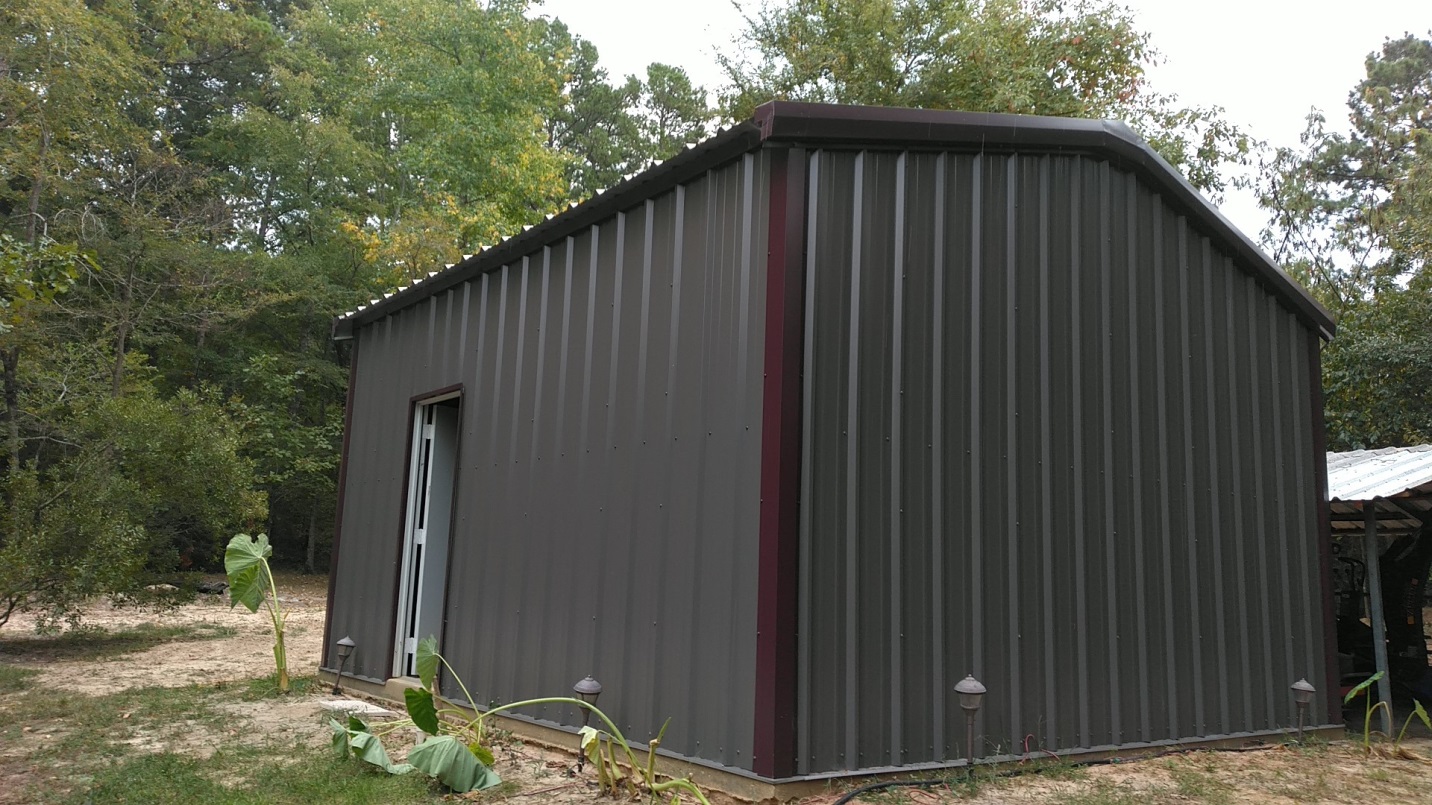
Although site-built, stick framed homes clearly dominate America’s housing market, there are several other ways to build a barndominium’s structure. These include post frame, PEMB (pre-engineered metal buildings), weld up steel and concrete.