My New Riding Arena Has Condensation and Birds
Reader BETH in LEBANON writes:
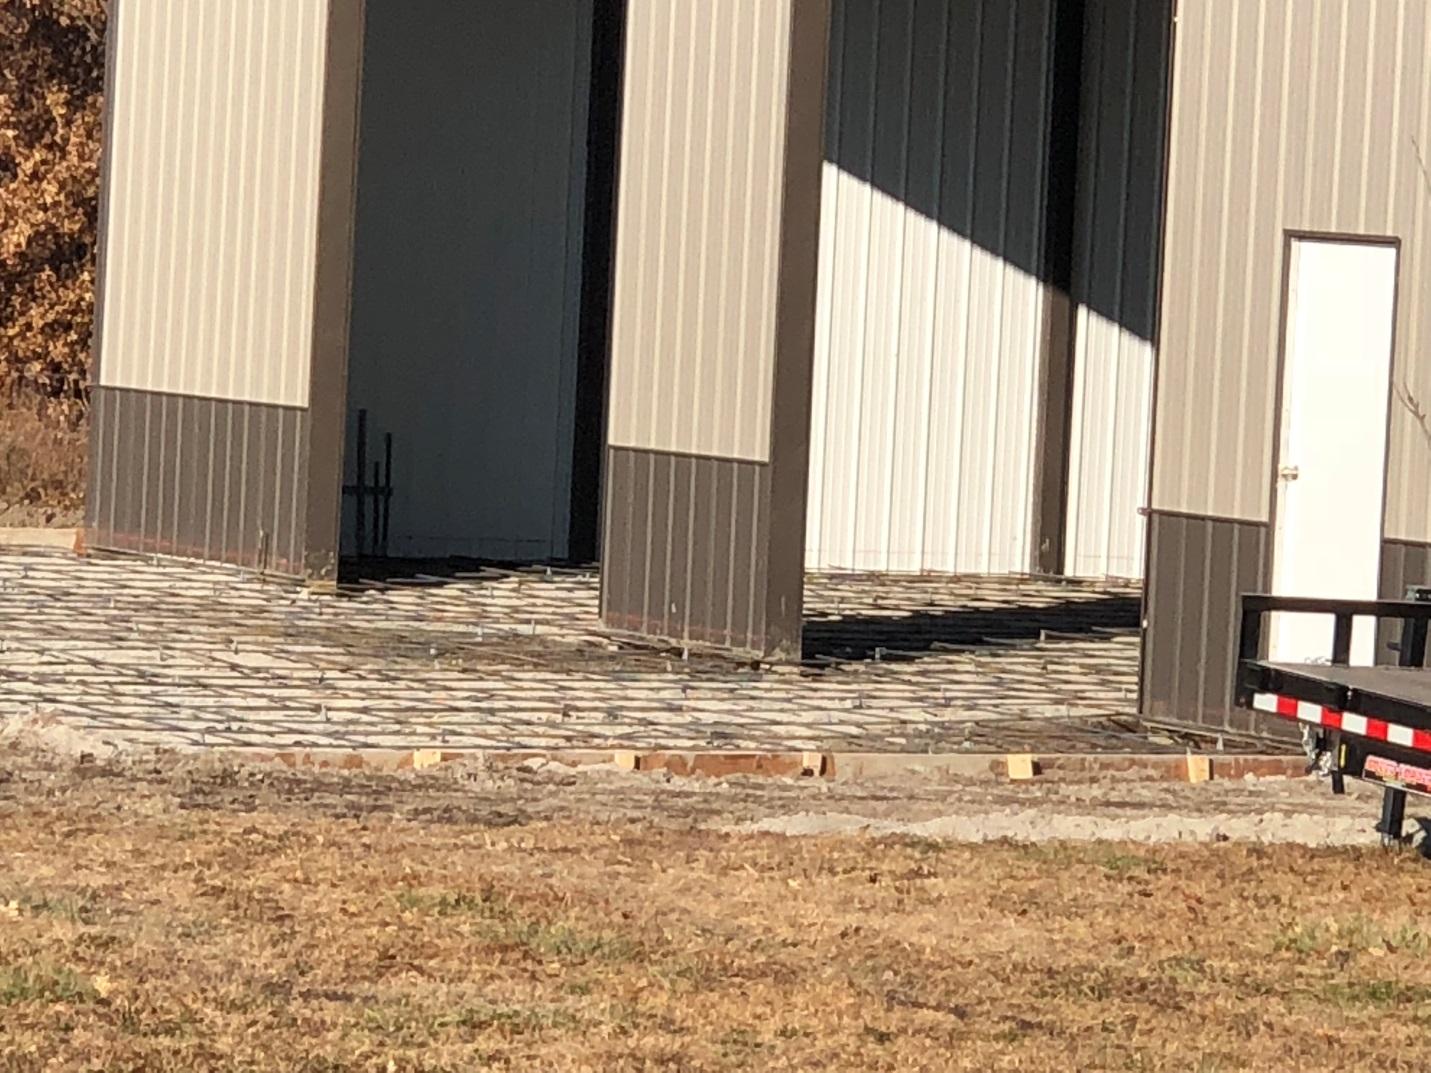
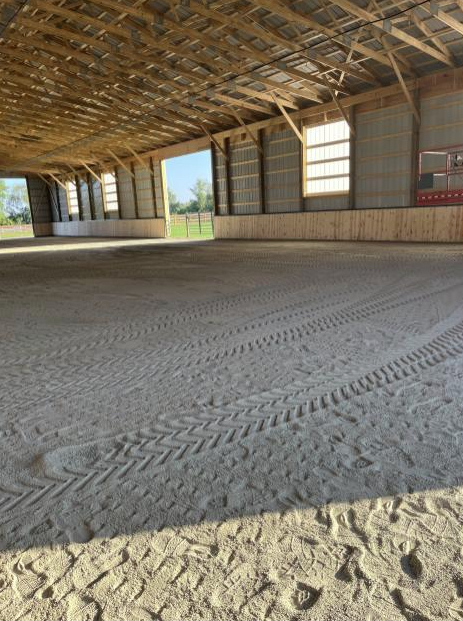
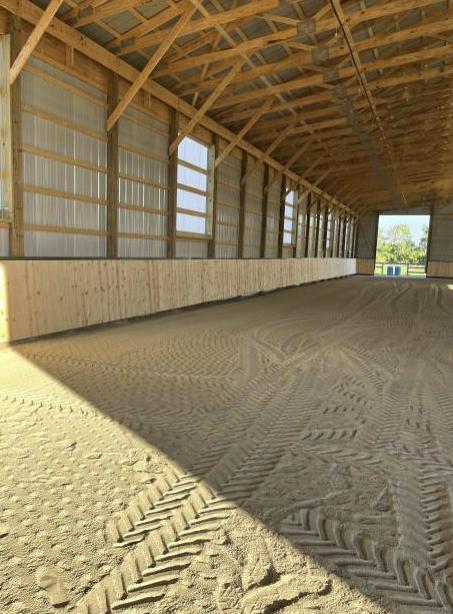
“Last fall I had an indoor riding arena built 70 x 152 x 16 that had a built in vapor barrier. The building has cathedral trusses. This is a stand alone building with no stable attached. I have had condensation in the building, especially at certain times. The floor is crushed limestone. I have experienced a bird problem and am thinking of adding a ceiling and maybe indoor panels to keep the birds out and from roosting. I also had been debating about adding insulation. Here are my questions:1. What recommendations would you have re: condensation issues when I add ceiling and maybe the indoor metal panels? 2. If I did add insulation, what type(s) do you use in this situation to provide best outcome and address condensation? I am trying to understand potential temperature impacts in extreme seasons; if it is in the 90’s outside what can I expect the differential to be inside and same with winter. I realize in winter the footing will impact potential difference due to the size of the cold floor.3. Any other comments/recommendations for this type of facility?”
Your ‘built in vapor barrier’ is most likely not a vapor barrier, but rather an Integral Condensation Control (ICC). Read more about ICCs here: https://www.hansenpolebuildings.com/2020/09/integral-condensation-control-2/
ICCs work well when provided with adequate eave air intakes and ridge exhausts. Without these, you are likely to continue to have condensation issues, even with a ceiling installed.
Your moisture is coming up through your crushed limestone and from your horses. Ideally a heavy vapor barrier (like 15 mil) would have been placed under your limestone to prevent moisture from coming up.
Before putting in a ceiling, you will want to reach out to whoever engineered your building, to make sure you can remove those largely ineffective and possibly negatively impacting knee braces (https://www.hansenpolebuildings.com/2023/10/knee-braces-in-post-frame-buildings/). You also need to verify those trusses will even support a ceiling, as large span pole barn trusses are rarely designed for this extra weight.
In directly answering your questions:
1) Properly vent your attic space, otherwise expect long term problems
2) You need to be able to keep attic air and outside air at same temperature, could take as much as R-60. My preference would be blown in granulated rockwool, as it is unaffected by moisture, however it is heavy compared to fiberglass. Your choice will likely depend upon weight capacity of trusses.
With a steel liner panel ceiling, you may experience condensation on underside of panels, especially if you under insulate. Without an ability to heat and cool, your interior space will be close in temperature to outside – other than summer temperatures will be more like being under a shade tree.
3) In lieu of an under floor vapor barrier, make sure grade outside of building slopes away at least 10 feet in every direction by at least 5%. If you do not have gutters, get them installed, with downspouts running off again no less than 10 feet from building.
 DEAR LINN: There is not a Code requirement for a barrier between trusses and liner panels in your climate zone. If you are considering blowing in cellulose, chemicals in cellulose can react with steel panels to cause premature deterioration, so a barrier should then be used. My first choice would be blown granulated rockwool, second would be fiberglass. Make sure to have adequate eave and ridge ventilation, in correct proportions.
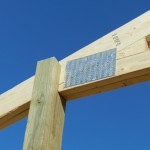 DEAR BRIAN: Thank you for being a reader of my articles. Even with a very low design wind speed, low risk occupancy and a well-protected site, it is unlikely 4×6 columns would be adequate to properly carry design loads, given your eave height. As you are possibly considering utilization of ganged (double) trusses, and will need larger columns anyhow, you may want to consider increasing column spacing to 12 feet on center. Fewer holes to dig, fewer columns to set and your budget will be much happier. In any case, I would encourage you to invest in a fully engineered building – any possible savings you might believe you would attain without engineering, will be quickly eaten up when you have a failure.
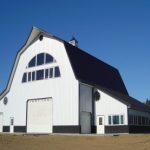 DEAR JOE: My own post-frame building has a 48′ x 60′ main center section. Downstairs has a clearspan floor (yes, spanning 48 feet), with a 16 foot high ceiling. Upstairs is a full living area, again with 16 foot high ceilings. A portion of this upper level also has a small mezzanine. Overall building height at peak of roof is 44 feet. So, in answer to your question – fully engineered post-frame construction lends itself very well to multiple stories (up to three stories and 40′ tall sidewalls, or four stories and 50′ tall sidewalls with fire suppression sprinklers). We have provided over 100 of our buildings to clients in New England states, including a dozen or so in New Hampshire.
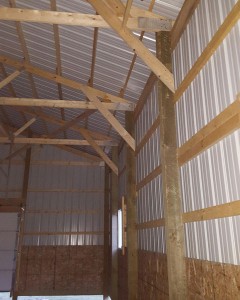 DEAR POLE BARN GURU: Can I remove my knee bracing from the pole barn and put up interior ceiling and wall steel. I have a 60×104 pole barn on an 8″ wide 4′ high concrete wall with wet set braces (6×6 laminated beams. 8′ on center) ceiling is 16′ from floor my knee bracing takes up too much wall storage space. They brought them too far down the wall. About 6′. SEAN in MONTPELIER
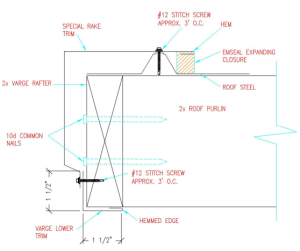 DEAR POLE BARN GURU: How do I trim out a metal ribbed roof panel on a barn with a widows peak? How do I make it match up with the rake trim? While maintaining proper drainage. KEVIN in LINCOLN
 DEAR GREG: Hopefully you have vented eave soffits and ridge cap in correct ratios as lack of ventilation or too much or too little in wrong places can cause challenges (please read more here: