Nightmare From a Local Pole Building Contractor
Reader RICK in OOLTEWAH writes:
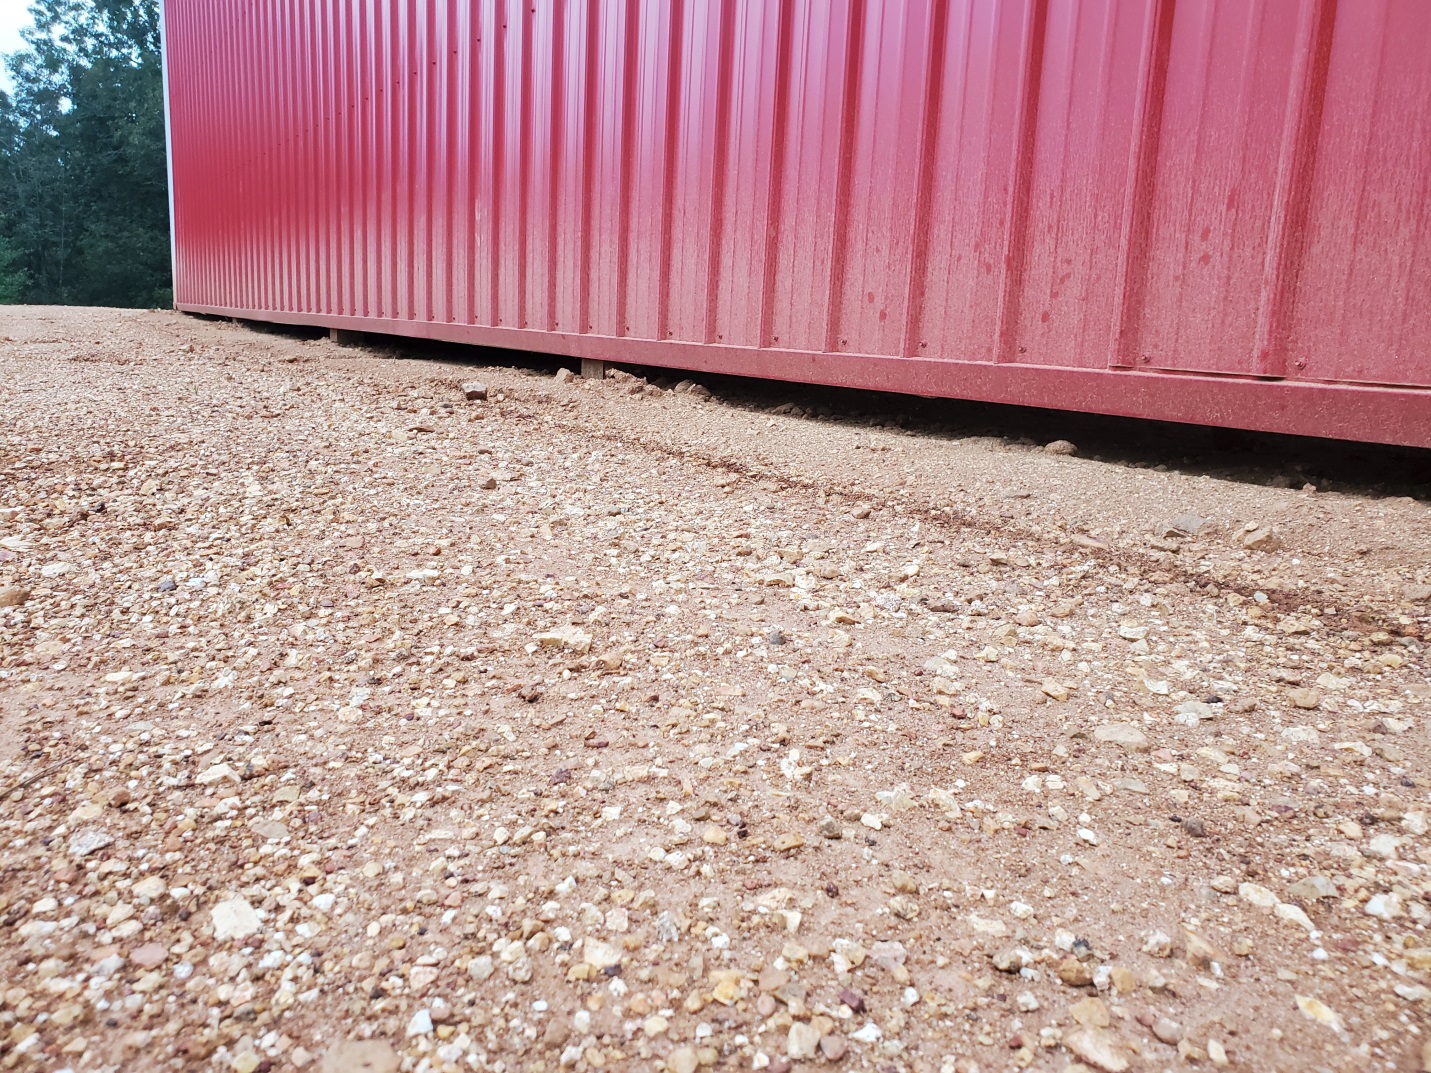
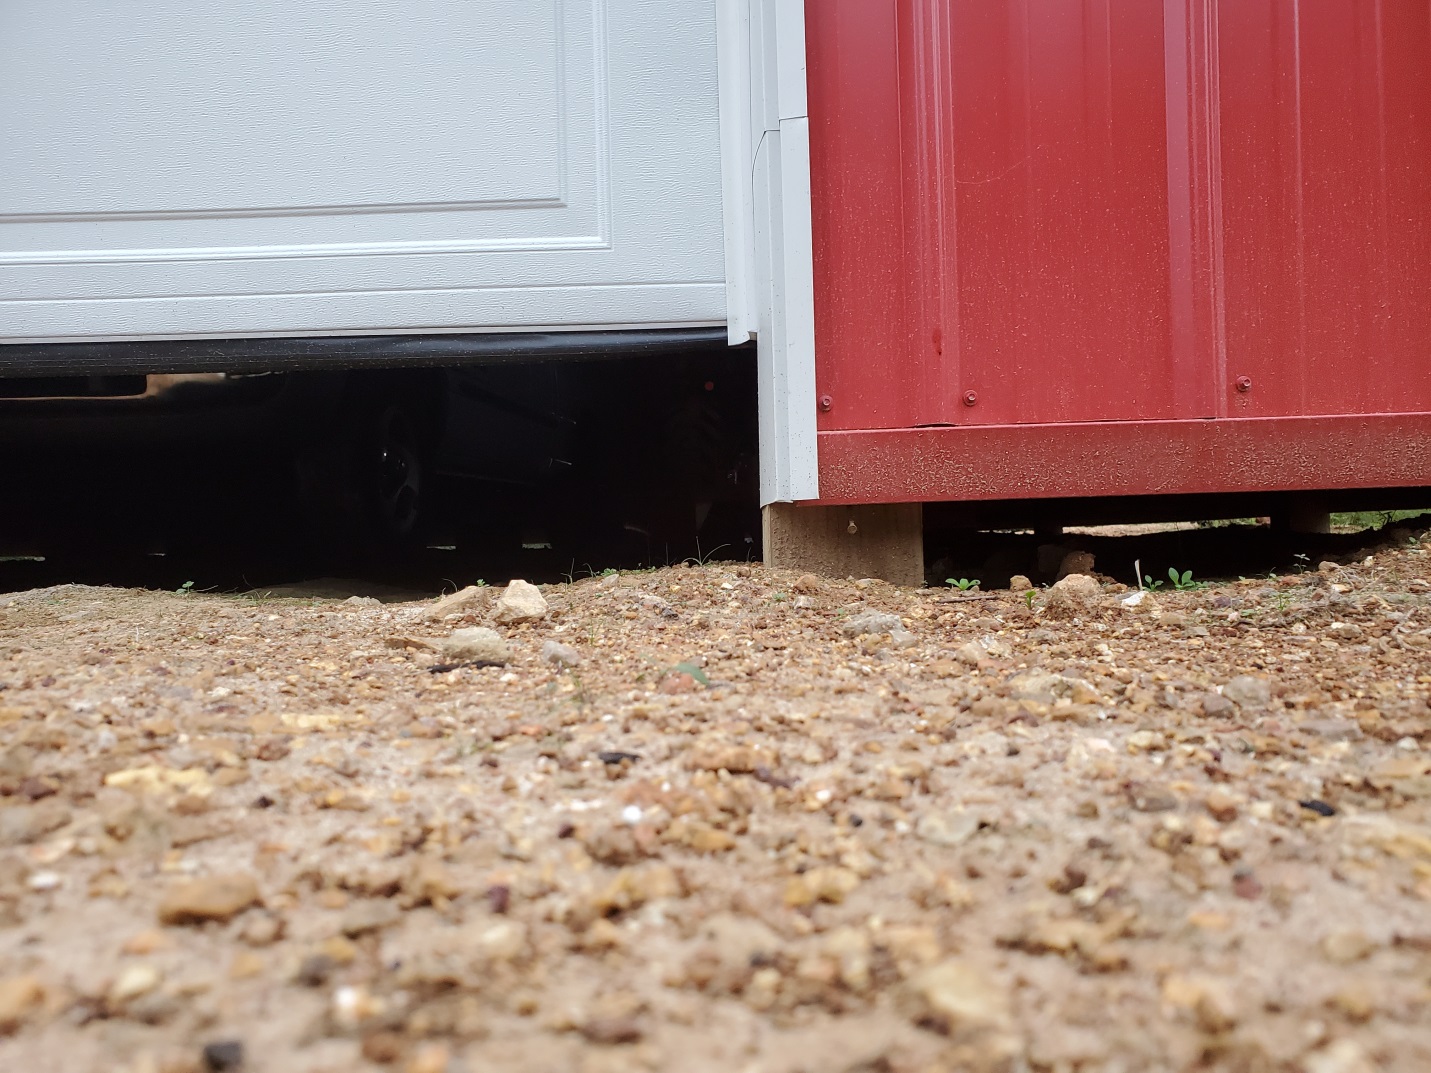
“Regrettably, after going with a local “pole building” contractor I find myself with a semi-completed building and a number of issues (I believe) to work through. The attached photos will hopefully help complete the picture. I was mostly ignorant of the pole building process, best practices, etc., instead just trusting the builder. I’m less ignorant now, thanks to your blog, but my timing could have been much better. I contracted to have a 30x40x12, to be used as a garage/machine shop, built on a leveled dirt pad, to be concreted later. After two months of waiting with said dirt pad ready, through several rainstorms, the contractor sent materials and a crew. They moved quickly, mostly getting the building up in a day. So quickly that no one noticed the standard trusses, not scissor as agreed upon. A 12′ overhead door (again stipulated) was not possible, and a 10’6″ went up in its place. This was a distraction until another hard rain showed water flow directly under the wall, highlighting what I think is the bigger issue. The splash plank has, in places, large gaps underneath (3-6″). By itself not so concerning, but for the fact there is no exposed splash plank on the exterior. The siding and edge trim is run to absolute bottom (nearly to grade). Meanwhile the doors float roughly 8 inches above grade/bottom edge of the trim/splash plank. This leaves a monstrous gap between the overhead when fully down and the highest the grade can go without backfilling against metal. Measurement inside shows exactly 12′ from the TOP of the splash plank to the bottom of the truss. They apparently zeroed out the build from the top of the plank, not the bottom, leaving the better part of 8 inches to make up for in the approach, fill and concrete, and a number of other areas. At this point the contractor has not called in a month, leaving off at “having a guy come install the cupola”. The silver lining for me thus far is I only have 1/3 of the money paid in. Given the way things have gone, I’m in no rush to give him any more, at least without being able to spell out what the problems and solutions are. I keep hoping Im still misunderstanding the process, and am seeing problems where there are none. But if that isn’t the case, what can be corrected and how?”
Mike the Pole Barn Guru says:
You are not alone, thousands of people, just like you, contract to have new buildings erected by “professional” building contractors, only to find what they thought they were getting and what they have received are two different animals. This is just one of many reasons why I encourage people to consider DIY instead – as an average physically able person who will read instructions often ends up with a much nicer finished product than what they would have paid for. If one lacks either time or ability to self-build, it is imperative to know fully what one has ordered and to literally camp out on site to verify work is done as agreed upon.
Hold on to your money tight until all issues are rectified. You do hold the ‘upper hand’ as your building has not been built as stipulated in your contract agreement – it does not have scissor trusses, nor a 12 foot tall overhead door. Rightfully, you could demand and it is likely a court would agree, for said building to be taken down and replaced with what you had ordered.
In order to reach a compromise solution, and provided you can get by with 11’3″ of height going through your overhead door, I would propose this:
Builder to add a 2×4 Pressure Preservative treated to UC-4A or better, below current splash plank.
Overhead door to be changed out to 11’3″ tall (as I can tell from your photos, it appears there is six inches from bottom of your building’s current splash plank to bottom of door).
Builder to fine grade interior to be even with bottom of newly installed treated 2×4.
Builder to grade exterior for 10 feet around building to slope at 5% from bottom of treated 2×4 outward away from building.
While this is not what you agreed upon, it may afford a practical solution to a nightmare you never should have had.
P.S. While crew is onsite, they should replace trim to right of your overhead door opening. Having a splice at this location is both unsightly and dangerous. They should also place a screw on both sides of every high rib of steel siding and roofing at both bottom and top ends of every panel (you will find this will then match manufacturer’s installation instructions).


