Today’s “ask the Pole Barn Guru” addresses reader questions about dragging steel panels over one another during installation, and the effects on the panels, a recommendation to consult a registered design professional in Michigan regarding footings, and if a Hansen Building is a “some assembly required” type of kit.
DEAR POLE BARN GURU: So I am having a building put up. They drug the roof sheets across the other sheets so I’m concerned about the paint being scratched. But my main question is would you consider this acceptable? The picture isn’t the best but hopefully you can see what I’m talking about. I’m not saying what I don’t like as I want an honest opinion. Hopefully they come through. thank you for any advice you can give me. LEE in BEAVER CROSSING

DEAR LEE: This excerpt is from American Building Components 29 gauge steel roofing installation manual (most, if not all steel roll formers should have similar language):
“On job sites, reasonable care should be taken when handling painted surfaces during installation in order to protect the finish. Although the paint coating is tough and provides impact resistance, dragging panels across the surface of one another will almost certainly mar the finish.”
I would not consider dragging panels up a roof to be an acceptable installation. Sadly, your recourse is probably quite limited. It might be possible to have them post a bond to guarantee no adverse effects from panels being drug up roof – however chances are actual damage may not become evident for years, if not decades.
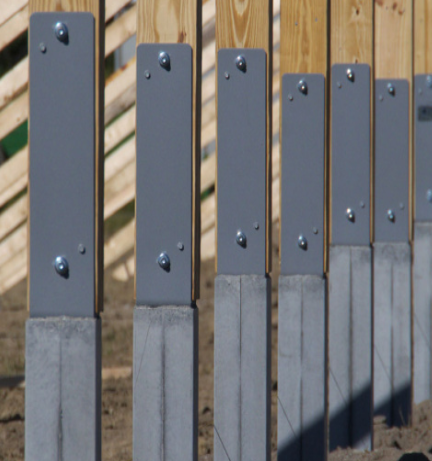
Although it should not affect structural integrity, random placement of screws going up roof leads me to believe installers had little or no prior experience. As you look up roof, screws should appear in a straight line.
DEAR POLE BARN GURU: I’m building a post frame barn and we like it so much as we move on with the project that I’m wanting to use part of the barn as a pole barn home. I used Permcolums 8ft on center and set them on a footer 24×13 inch poured concrete. I need to convince our inspector that the columns on my footings work. He would like a footing between each post. I’m wanting in floor heat and using R10 foam 250 around the sides and under the concrete. Is this a code compliance method? Thanks. KELLY in BROWN CITY
DEAR KELLY: Building Codes allow for residences to be supported by widely spaced piers. There is no structural rationale for a continuous footing or foundation not supporting a continuous load from above. Some jurisdictions in Michigan have enacted “rat wall” ordinances, however there is merit for them being other than concrete: https://www.hansenpolebuildings.com/2012/06/rat-wall/. Here are some methods for rodent protection: https://www.hansenpolebuildings.com/2021/03/rascally-rodents/.
My recommendation would be to engage services of a Registered Professional Michigan engineer who can evaluate your structure as built for structural sufficiency and provide sealed plans. A resource to find one would be: https://nfba.org/aws/NFBA/pt/sp/directory. Select “Designer” under What you are looking for.
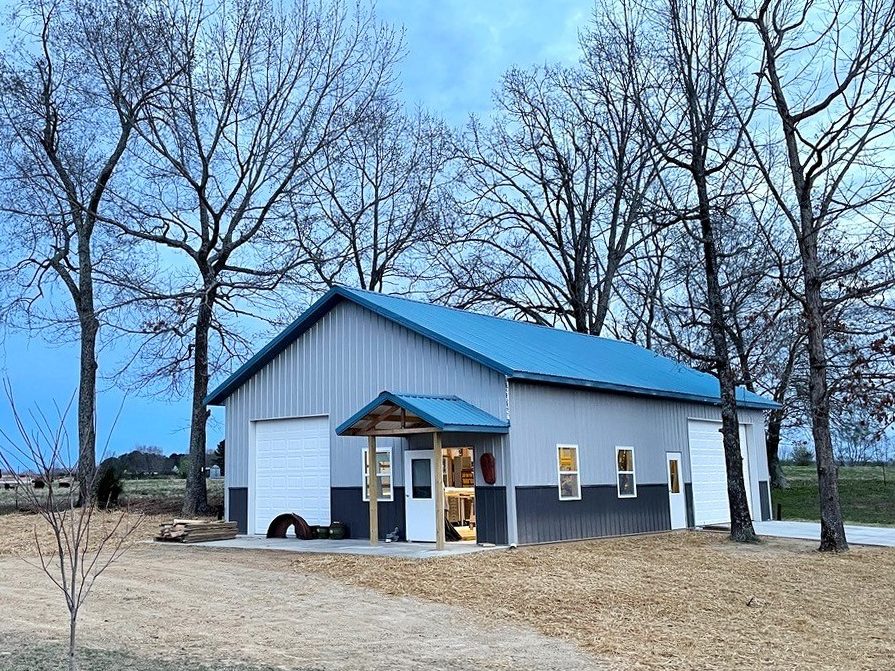
DEAR POLE BARN GURU: Are these pole structures assembled on site or just a “kit-some assembly required”? THOMAS in SEBRING
DEAR THOMAS: They are complete building kits requiring assembly on site.
Your new building kit is designed for the average physically capable person, who can and will read and follow instructions, to successfully construct your own beautiful building shell, without extensive prior construction knowledge (and most of our clients do DIY – saving tens of thousands of dollars). We’ve had clients ranging from septuagenarians to fathers bonding with their teenage daughters erect their own buildings, so chances are – you can as well!
Your new building investment includes full multi-page 24” x 36” structural blueprints detailing the location and attachment of every piece (as well as suitable for obtaining Building Permits), the industry’s best, fully illustrated, step-by-step installation manual, and unlimited technical support from people who have actually built post frame buildings. Even better – it includes our industry leading Limited Lifetime Structural warranty!


