Tag Archives: Windows

Purlin Size Needed, Guidance on Insulation, and Doors and Windows with Kits

This week readers “ask the Guru” about purlins needed to rebuild a salvaged steel building in Iowa, some guidance on insulation due to potential moisture issues, if doors and windows are include in a Hansen Building Kit.

DEAR POLE BARN GURU: I am putting up a building using salvaged steel pillers and trusts. It originally had 2x6x14 purlins. The pillers are spaced every 14 feet. An engineer said I would need 2×12 to handle the load. That seems like overkill as the original building stood for 40 + years without issue. Roof is 4/12 pitch. I am in NW Iowa and I am building on the same area as the original. What is your opinion for trust size. Thank you. DENNIS in FOND

DEAR DENNIS: Your engineer is privy to far more information than I am as to your salvaged building and climactic loads. He or she also is a highly trained professional with at least four years of education and another three years working under direct supervision of a registered engineer. I am going to defer to your engineer (and I am not a registered design professional). If you truly feel something less should be adequate, discuss further with your engineer. It could be higher graded material would allow for a lesser dimension (but may not be less expensive).


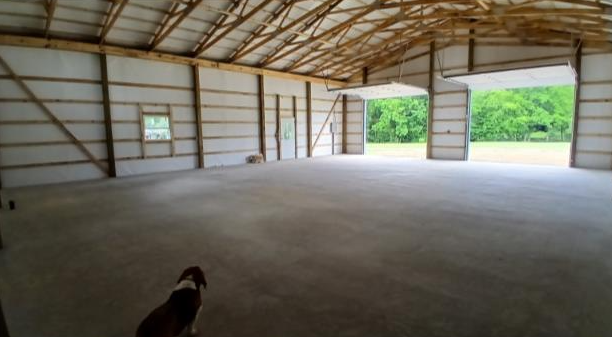
DEAR POLE BARN GURU: I just had a new pole barn built and need further guidance on insulation, thermal barriers, etc. It is a 40x50x14 with 4/12 pitch scissor trusses. It is wrapped with the ThermaGuard radiant side facing out directly under the metal roof and walls. No ceiling planned as the bottom chords of the trusses are only 2/12 pitch. I live in the lower edge of the 4A climate zone (middle Tennessee) and live down in a hollow beside a creek where humidity stays pretty high. I’m concerned about moisture being trapped when I add more insulation and finish the inside since it already has a radiant moisture barrier facing out under the metal. What would be the best way to proceed? Polyiso board, XPS, or Rockwool under the inside, or something else and should I leave an air space in between or radiant barrier on the inside as well? Plan to cover the inside with part metal and the rest OSB or shiplap and will probably leave the roof as is with only more insulation added. Planning a loft across the back wall as well, but no heat or A/C planned as of now. Thank you for any advice on how to proceed. DAVID in BETHPAGE
DEAR DAVID: Welcome to a world where there is no joy, as insulation discussions are best had before construction begins.

Making some assumptions:
You do not want to tear out any of the reflective radiant barrier, you have vented eave overhangs, vented ridge and scissor trusses are designed to support a ceiling.
Install some sort of ceiling and either blow in fiberglass above it, or install Rockwool batts at ceiling level.
Walls add 2×4 bookshelf girts flush to inside of columns and install 7-1/4″ Rockwool batts. Do not leave an air space between batts and barrier.
Your walls will now dry to inside, so you may need to mechanically dehumidify, especially is you do not have an under slab vapor barrier.

 

DEAR POLE BARN GURU: Are doors and windows included in the kits? KEVIN in BANDON

DEAR KEVIN: We typically provide all doors and windows to best meet your wants and needs. This assures you of a proper match between both building code and product fit requirements.

a BONUS PBG for Monday, May 27th — Store Front Windows, Tornados, and Texas

a BONUS PBG for Monday, May 27th — Store Front Windows, Tornados, and Texas

DEAR POLE BARN GURU: I have a customer who is going to have 2×8 and 4×8 store front windows. These window frames need to be as close to the ground as possible. How do I need to build the bottom of the frame for these windows? Thanks JOHN

DEAR JOHN: You could cut out 2x pressure preservative treated splash plank to 1-1/2″ above top of slab (top of pressure treated bottom plate) and rest windows directly on top of bottom plate. This would place windows 1-1/2″ above top of slab.


DEAR POLE BARN GURU: It is tornado season again in mid-America and it reminds me to inquire about how best to be survive when up to 150MPH winds hit my ‘prospective’ post-frame house with on-grade slab. What sort of ‘solution’ does the Guru recommend for the SW corner of the house? Here in Zone 6, traditional houses have a concrete basement and include at least a section of reinforced concrete to provide a ‘safe zone.’ Newer houses built on a slab include a reinforced concrete ‘cave’ inside the house which may also be a utilities room. Thanks for any insights you must have since you also know about tornadoes hitting close to home. BRIAN in LE ROY

DEAR BRIAN: A couple of considerations – first, we can engineer your post-frame home to design wind speeds of 150, 170 or even 200 mph. In most instances, especially with single story buildings, added investments are minimal. Second, there are numerous affordable prefab units (easiest found with a Google search) easily incorporated into any structure.


Hansen Pole Buildings offers metal building and pole barn kits in TexasDEAR POLE BARN GURU: Do you build in the state of Texas. DOUGLAS in MIDLAND
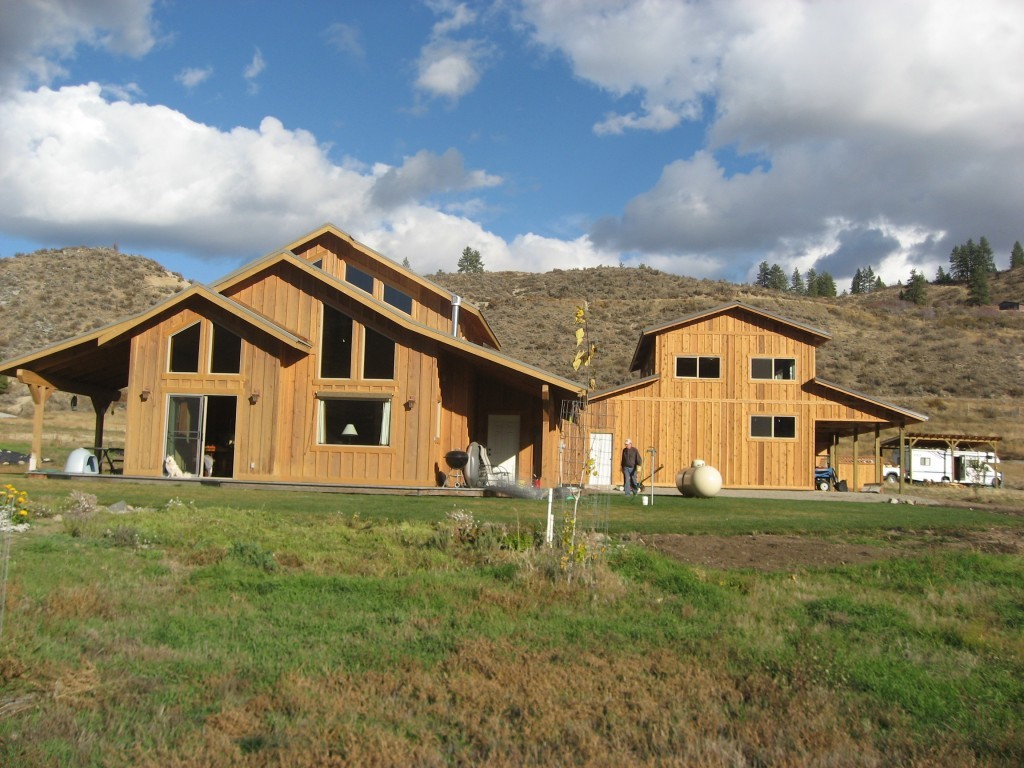
Dear Douglas: Thank you for your interest in a new Hansen Pole Building. While we have provided a plethora of fully engineered post-frame buildings to our clients in Texas, we are not building contractors in any state. Our clients have most built DIY, or hired an erector.

Structural Screws? Pine or Spruce? and How Many Windows?

Today’s Pole Barn Guru addresses questions regarding structural screws for bearing blocks, the strength of pine vs spruce, and adding more windows than plans indicate.

DEAR POLE BARN GURU: How many structural screws should I use in a bearing block for supporting a 2×12 rafter? KENT in OTIS ORCHARDS

DEAR KENT: In case you were unaware, Otis Orchards and several surrounding communities were originally part of a land swindle scheme. Marketed to Easterners with picturesque names such as Otis Orchards, Veradale and Opportunity practically untillable land was sold sight unseen. Those folks were mightily disappointed to find this area as being pretty much high desert gravelly soil covered with glacial moraine!

Back to your question – this connection (as well as all connections for your building) should be detailed on engineered plans provided for your building. Actual number required will be determined by your engineer by calculating imposed wind and snow loads upon this connection, resisted by screws’ holding power. A structural screw’s load capacity will be affected by species of lumber being used as well as depth of penetration into members and direction loads are being applied.
If this has not been addressed on your plans, you need to contact either your engineer or whomever provided you with your building kit package.


DEAR POLE BARN GURU: Could you give me a link or tell me pros and cons of using Pine or Spruce? Half of the load of lumber I ordered is warped, bowed, not usable for purlins. I am considering spruce if it is ok for 10’ and 12’spans. Thank you CALEB in TEXAS

DEAR CALEB: I personally prefer working with SPF (Spruce) as opposed to SYP (Southern Yellow Pine). SYP tends to warp and twist very quickly and is more difficult to drive nails and screws into. SPF is stronger than SYP of an equal grade. You will want to confirm it being okay with your engineer who designed your building plans.


DEAR POLE BARN GURU: I’m wondering about the windows, if we want a lot more than you provide, how are they added in? Is it structurally sound to have walls of windows? MEGAN

DEAR MEGAN: All openings, including windows need to be considered and placed in your third-party independently engineer sealed plans provided with your post frame building kit. While you can have a large number of windows (or openings) in a wall, they do need to be accounted for.


U-factor, not Ewe or You

The State of California has enacted legislation, which goes into effect January 1, 2014, in relation to window U-factors in new construction. Not in California? Beware, what starts in California, often migrates quickly to other locales.

Please note: The term U-value is often incorrectly used ins
tead of U-factor.

Now what the hey is a U-factor?

If it is cold outside and warm inside, the U-factor is the measurement of how quickly the heat from the inside leaks to the outside. The term U-factor or thermal transmittance is used as a standardized measure of how easily a component passes through heat. In technical talk, U-factor is the overall heat transfer coefficient which describes how well a building element conducts heat. It measures the rate of heat transfer through a building element over a given area under standardized conditions. The usual standard is at a temperature of 24 degrees C.; at 50% humidity with no wind (a smaller U-factor is better at reducing heat transfer).

U is the inverse of R in units of BTU/(h°F ft²)

U =  1/R  = QA/ΔT  =  k/L, where k is the material’s thermal conductivity and L is its thickness.

Clear as a window yet?       

The total window U-factor is calculated by area, weighing the contribution of the frame, edge of glass and center of glass. The edge of glass is measured starting from the sightline and going towards the center of glass 2.5”.

Heat is transferred by conduction, convection and radiation. Conduction is like the heat transferring to the handle of a stovetop metal cooking pan. Convection is like the cold air falling and hot air rising causing a convection current in a room. And radiation is like the heat felt from the sun.

How to lower U-factor

The best way to lower U-factor is to reduce conduction, convection and radiation wherever possible.

Starting with the center of glass, low e coatings are used to reduce radiation. Argon gas is injected into the airspace between the glass panes to reduce conduction.

Krypton? Where is Superman?

Krypton gas (although expensive) is sometimes used instead of argon for even lower conduction. For best results balancing conduction and convection, gas filled gaps should be optimized. For argon, the best results are achieved with space a 0.50”. For Krypton, best results are achieved at 0.30”

Suspended films and triple glazing result in substantial reductions in U-value.

The edge of glass U-factor is affected by the aforementioned center of glass selection, the frame selection and the spacer selection. To reduce conduction from the glass to the spacer, either a dual seal or an insulated spacer is recommended. Insulated spacers are the intuitive choice for U-value reduction.  However, improvements in some metal spacers have made the differences almost negligible. This is primarily because although the metal spacer is very conductive, it is also very thin and transfers very little heat in a relative sense.

California’s new standard will mandate a maximum U-factor of .32, which is a very small number in relationship to typically purchased windows, which are usually much higher at around .48.

The quickest way to lower U-factor is to upgrade from dual to triple glazed windows. This does come with a cost.  Without comparing “apples to apples” in size and design of your building, the number of windows, balanced with heating and cooling costs, you will not be able to factor in cost versus benefit.

Heating and cooling is unlikely to get less expensive in future years, and government intervention is likely to force conservation, even if the cost of the conservation is greater than the savings.

Windows – A View To The World

I really, really like windows. They give a view to the world. They can be used for ventilation. Those are good things.

To bring those of you who are just joining my daily blog up to date, I’ve spent this week building a garage – in Happy Valley, Tennessee.  My thanks for the opportunity to get back into the building mode courtesy of my oldest step-son’s father-in-law.  Back to my saga of building in 100 degree heat and nearly 100% humidity….

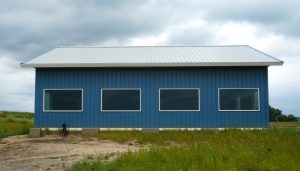
Steve wanted to make certain there was plenty of natural light into his building. So it has six windows. Considering one wall has two 12 foot wide by 9 foot tall doors, it gives an idea of what was going to happen on the other walls.

From a building standpoint – windows are a pain. I will repeat, windows are a pain. Every window on this building took the cutting of two panels of wall steel to fit around it. The cutting was not so much of an issue. For me it was a case of measure about 100 times, before cutting. Every one of the window cutouts worked just perfect, no botched jobs.

The real challenge, is sliding the panels into place around the windows.

For this building, windows with built in J channels were ordered, which I always recommend. There is little more time consuming, or more prone to a future leak, than having to cut steel J channels to fit around windows.

The less than fun part is having to slide the panels into the J channel at the top of the walls, and above and below the windows.  And then getting the overlap of one panel to slide over the underlap of the previously installed panel.

In the past, I’ve used a putty knife placed between the panels to allow the new panel to slide up over the prior panel. In this case, we found a new trick….we had to cut small strips off a few of the soffit panels, so we took the cutoff vinyl strips and used them as sliding skids. Worked out neat and was less trouble than the putty knife method.

Come back tomorrow and I’ll finish up on my construction week for Steve’s new garage.  After a week of sweating in the hot mid-July sun of Tennesee, I’ll be looking forward to getting back to my air conditioned office!