Hansen Pole Buildings’ client (and quickly becoming our good friend) Brett and his lovely bride are self-building their new barndominium at Cumberland Furnace, Tennessee. For those who are like me and rely upon front seat navigator with a GPS on her phone to get anywhere – Brett is mostly West and slightly North of Nashville, roughly just under a two hour drive from our oldest daughter Bailey who lives in Shelbyville.
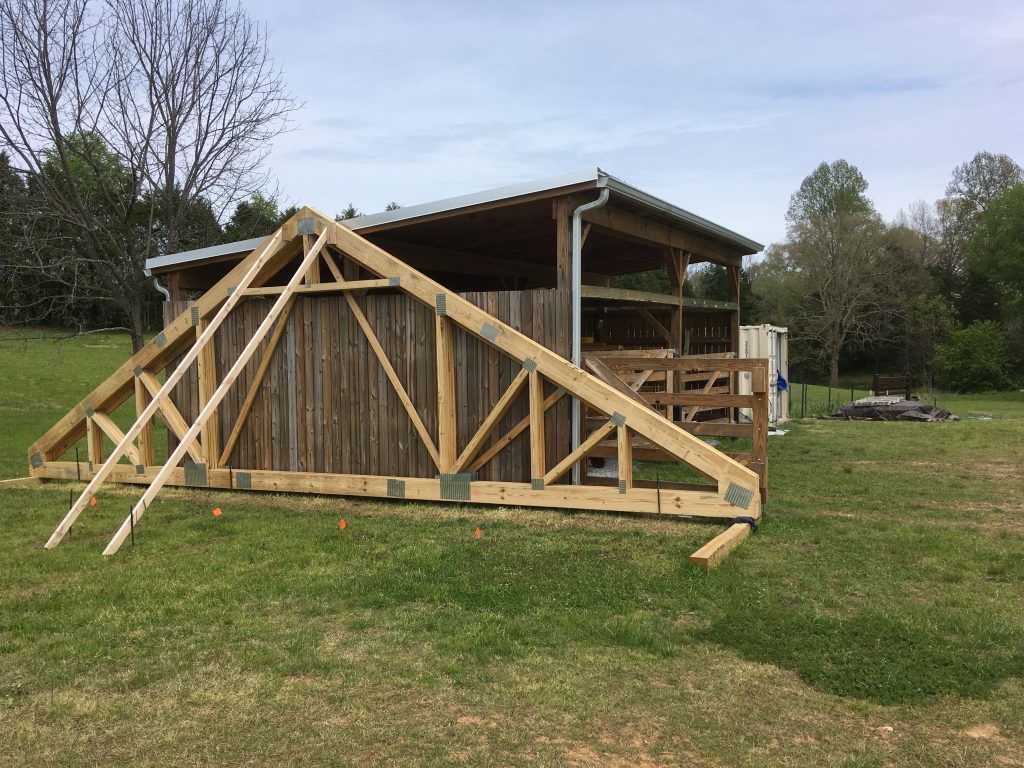
Their building will be 36 feet wide (clearspan) by 62 feet long with an 11 foot eave height. It has a 7/12 roof slope to allow for bonus room attic trusses. It features an eight foot wide wrap around porch across the front endwall and 36 feet down each side.
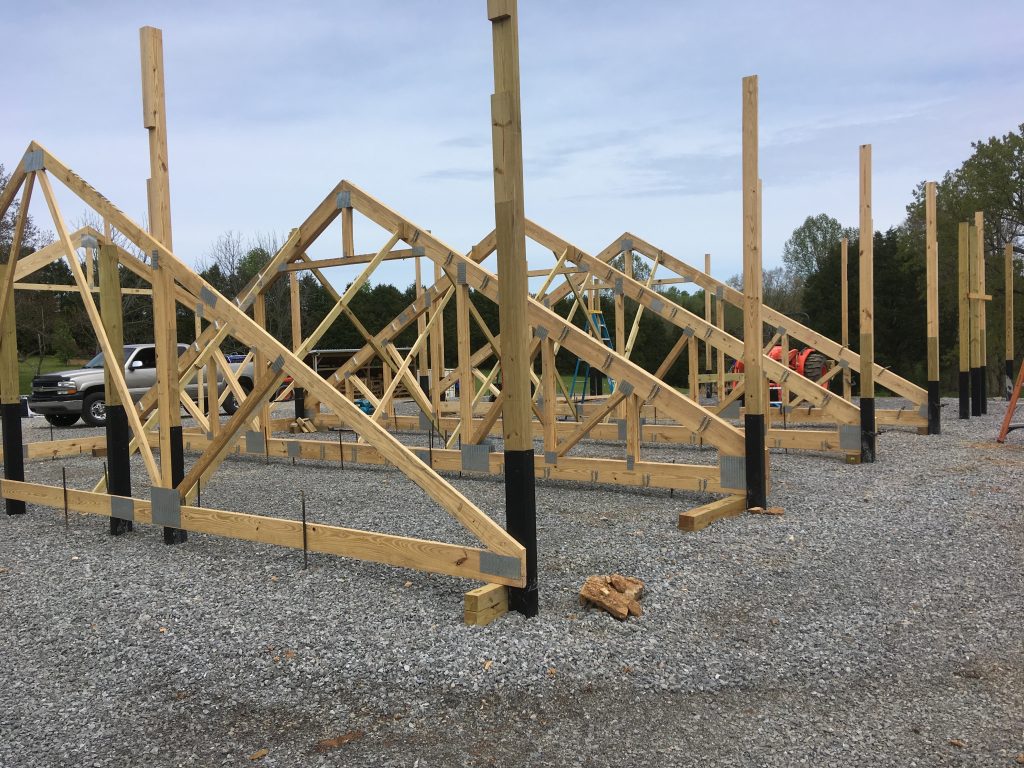
Brett’s barndominium will be plenty stout as it is designed for a 131 mph (miles per hour) design wind speed with an Exposure C (https://www.hansenpolebuildings.com/2012/03/wind-exposure-confusion/). With trusses directly aligned atop sidewall columns up to every 14 feet, besides floor weight, purlins between trusses are designed to support sheetrock as well as standing seam steel over 5/8” CDX plywood and rooftop solar panels.
In one instance his building has a four ply truss. In Brett’s words:
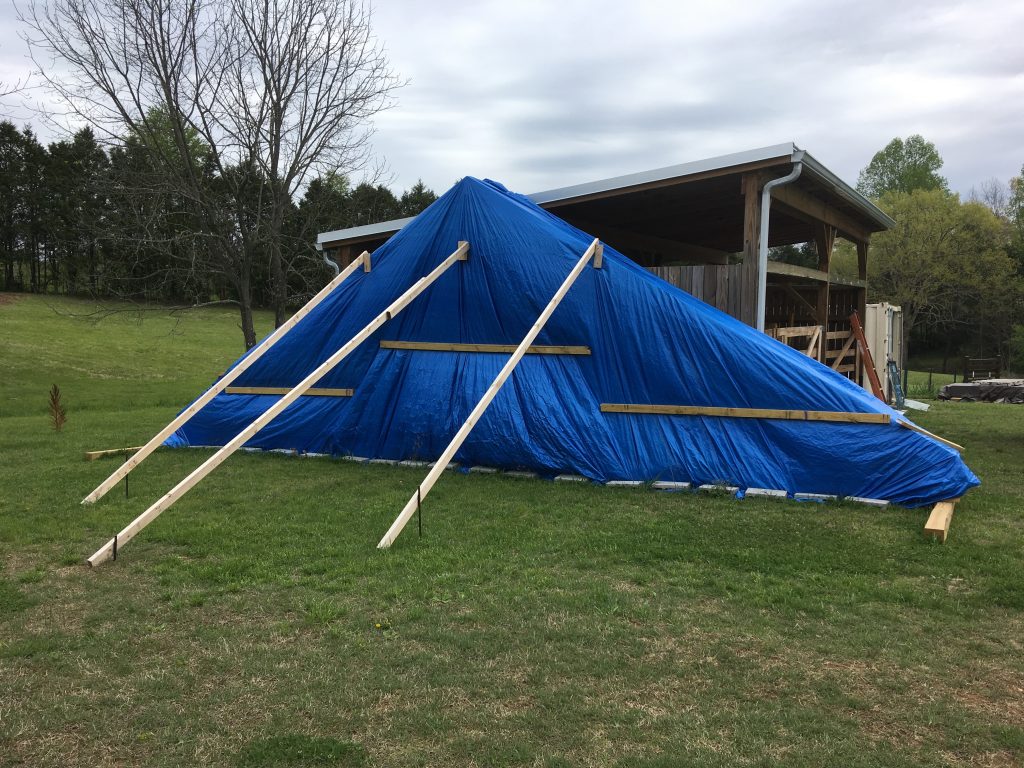
“Also, I wanted tech support to know the use of caulk and adhesive to assemble my attic trusses worked out really well. I also wanted to pass on a tip. Use stout welding clamps to sandwich the material prior to the nailing pattern and make sure all the metal plates are fully pressed into the wood. Levels and string were really important to keep these taller trusses behaving while using metal stakes to keep the bottom chord nice and straight. Once the first truss is good to go, all the other trusses in that series behave really well with welding clamps. These 4-ply trusses were no joke to assemble :-)”
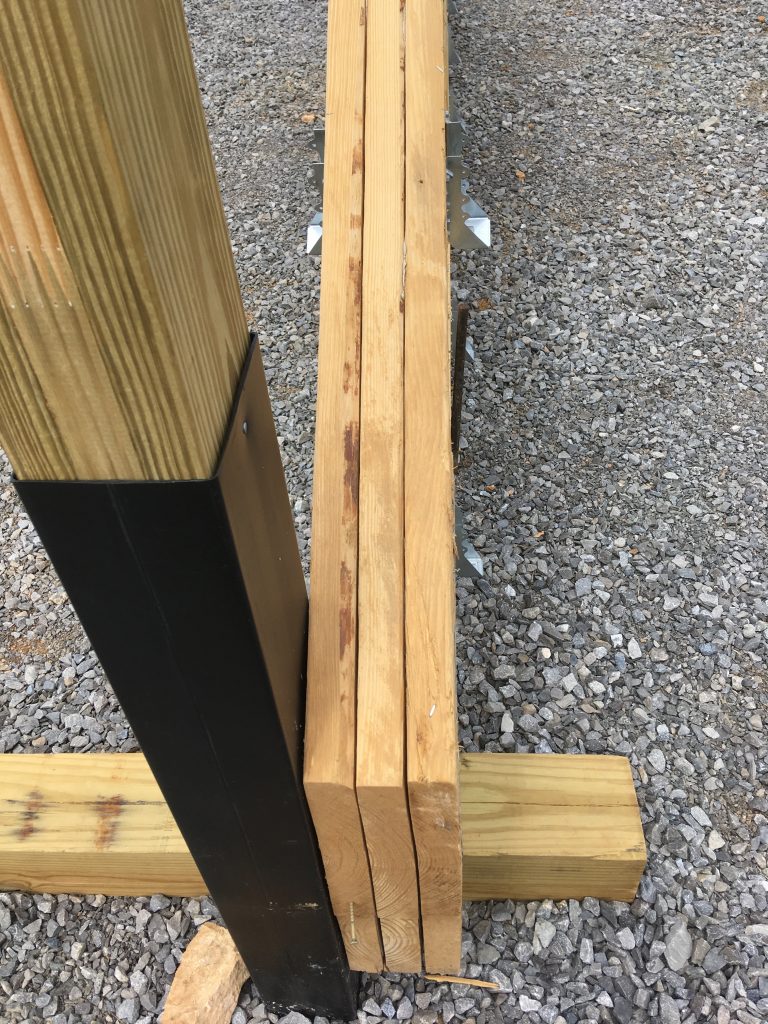
Caulking was utilized between truss plies in order to prevent any warm moist air from inside the building rising between trusses and condensing on underside of roof deck (spaces between purlins will be insulated with closed cell spray foam).
Further Brett adds:
“I am placing the last truss together to complete my last 4-ply set. I can mock up the metal stakes, string line, and I will be using the welding clams/large c-clamps to set the final one in place with the nailing pattern. It will show how the excess caulk and glue has oozed out of each ply. Lastly, the use of a plate level/long level to show how important it is when you have this many ply-s in a set not just horizontal but vertical as well before you nail the second truss together. And because each ply is not light I placed each end of the truss on a portion of 6X6 lumber that was level with the truss each set. (set with a laser level ) Once this is all done and weather cooperates, I will install the joist hangers and finally the bolt pattern for the 4-ply trusses and install them. And to further credit…my best helper was my wife and we managed to put them together ourselves. She has been a trooper 🙂 “
Hopefully we will see more photos from Brett as his barndominium progresses!
P.S. Note how pristine Brett’s jobsite is!


