An Evolution in Laying Out Stair Stringers
Credit for today’s information to Brian Campbell, a finish carpenter and foreman with Solid, based in St. Paul, Minn.
Most carpenters are familiar with laying out stair stringers by stepping them out with a framing square equipped with stair gauges. A common error source with this method is failing to accurately line up framing square at the board edge board as you move from one step to next. Rounded (eased) boards make it hard to align layout lines from step to step. Minor shifts can compound errors. Savvy carpenters will make a tick mark when laying out each step to accurately define exact points where gauges meet board edges, but it’s still easy to wander off, and results in a stringer set not perfectly matching. Sometimes, boards with waney edges throw off square and you end up having to guess at position.
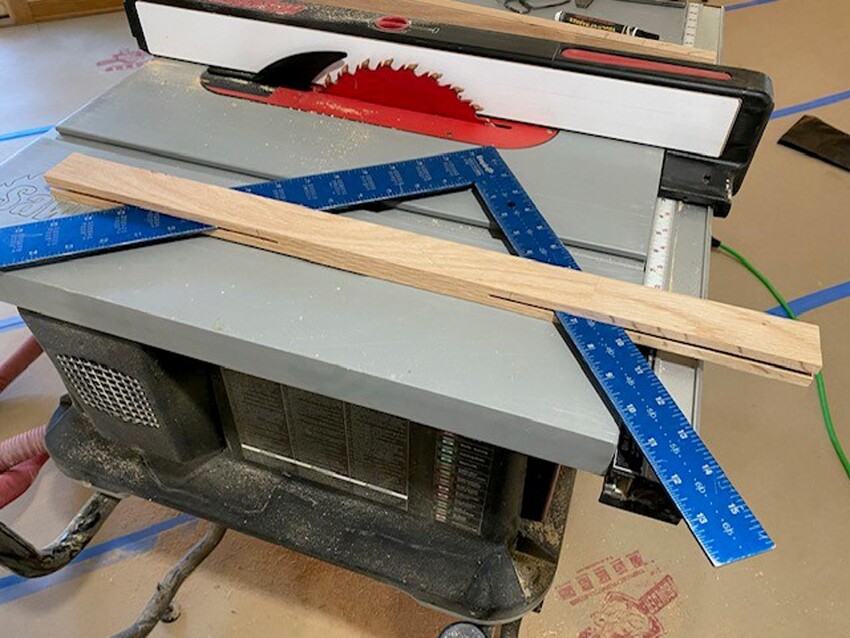
To avoid these problems, I stopped using stair gauges and made a sliding jig I use with a framing square instead (see photo, below). It’s simple to make on a table saw. Square slides in a kerf cut on each end of a 1×2, and I clamp sides together with small C-clamps when stepping off a stringer.
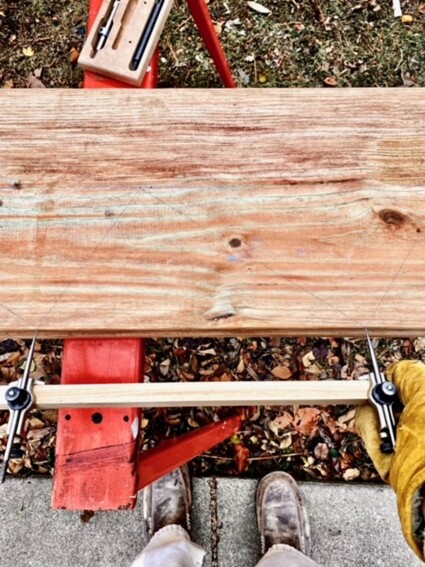
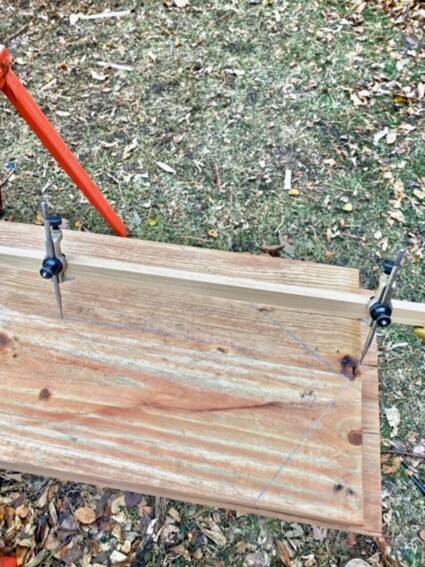
To improve accuracy, I moved to stepping off stringer with trammel points. I set up my trammel points on a board hypotenuse length of stair’s rise and run (square root of rise squared plus run squared), and at first used this trammel set to step off distance along the board edge.
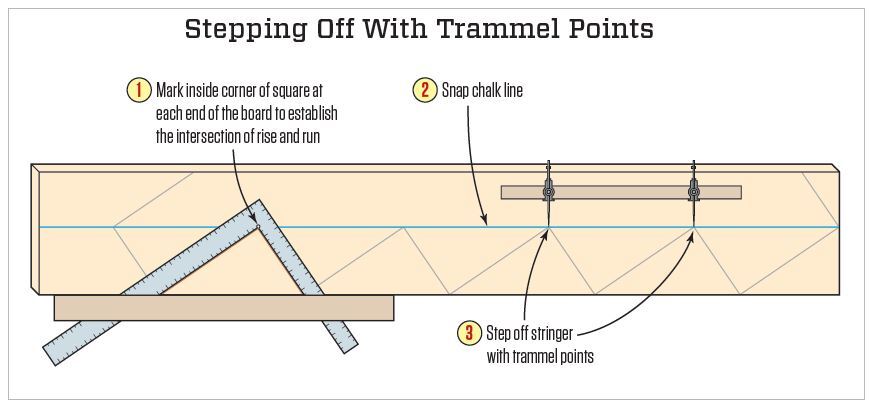
Instead of working from board’s edge, possibly leading to errors, step off a stair stringer with a trammel set, working off a chalk line snapped near board’s middle.
Eventually this process evolved further by avoiding board edge entirely. Instead, work along a chalk line snapped down the stringer’s length. This line passes through each stair step inside corner. Step distance is exactly the same as edge step distance, but using a straight line down stringer middle helps to keep things more consistent.
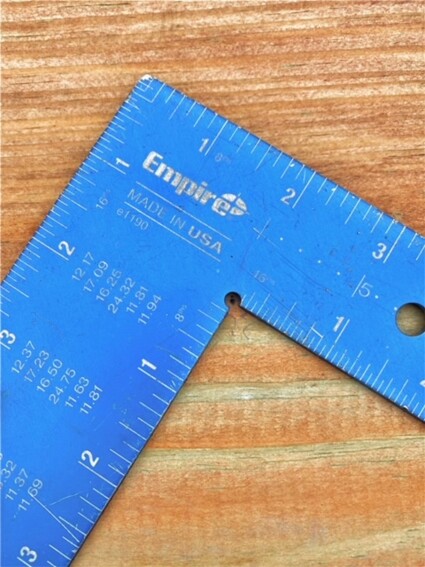
Empire’s framing square has a cut-out milled at inside corner making it easy to line up a trammel point at square’s exact inside corner.
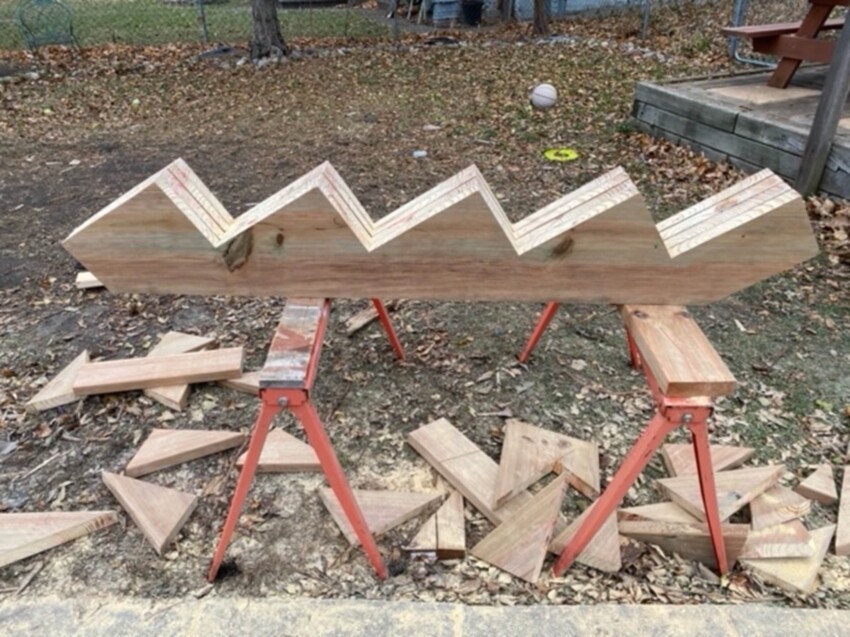
I use this point to define where to snap my line, and after stepping off stair’s inside corners with trammel set, I line square up inscribed trammel points to draw cut lines for each step. This method adds a few movements, but it eliminates minor errors, allowing for a perfect stringer set, even with lumber variations.
.


