Hansen Buildings Pictures
Today’s blog courtesy of one of Hansen Buildings’ owners, J.A.Hansen.
Pictures! I know I can speak for myself and the rest of the Hansen Pole Building staff when I say we love to get pictures emailed to us showing the completed kit, the new building in all its glory.
We get tons of photos of holes, poles being concreted in and even those with trusses being raised into place. But very few of the final building. I can only surmise by the end of the building process the clients are so happy with being done with their building and putting their building into use, pictures are the furthest thing from their minds.
And what about those pictures we do get? There is only one way to explain 75% of the pictures sent to us. Most people are crappy picture takers! I know that’s a bit harsh, but how something so easy gets so messed up is beyond me. So what does it take to get a good picture of a post frame building…or anything else that’s outside?
Follow this step by step process and you’ll take better pictures…of your new pole building, or anything else you want to photograph.
1. Start with choosing a cloudy or even an overcast day. Why not a sunny day? The sun makes shadows on the building so when you get the final picture the siding or steel looks like its a different color. The “other color” is dark and detracts from the beauty of the building. And the portion of the building in the shadows does not look pleasing to the eye. If you have people in your pictures, they are probably squinting and their expressions are not the most pleasing. One sees grimacing instead of smiling.
 2. This step should probably precede step one….choosing a cloudy day. When you finish with putting on the last piece of trim or driving that last nail or screw, clean up the building site! Piles of cut off lumber, discarded pieces of siding or steel, tarps and garbage cans need to be cleaned up and/or moved. They really stand out in a picture and detract from the beautiful building you have just spent countless hours to build. Take an hour or two to clean up!
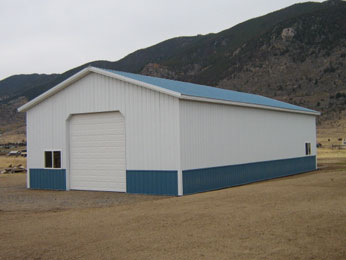
3. Take pictures from several angles. Don’t forget to take a few from a corner, showing two sides of the building. These angled shots are really the best. They make even a small building look grand.
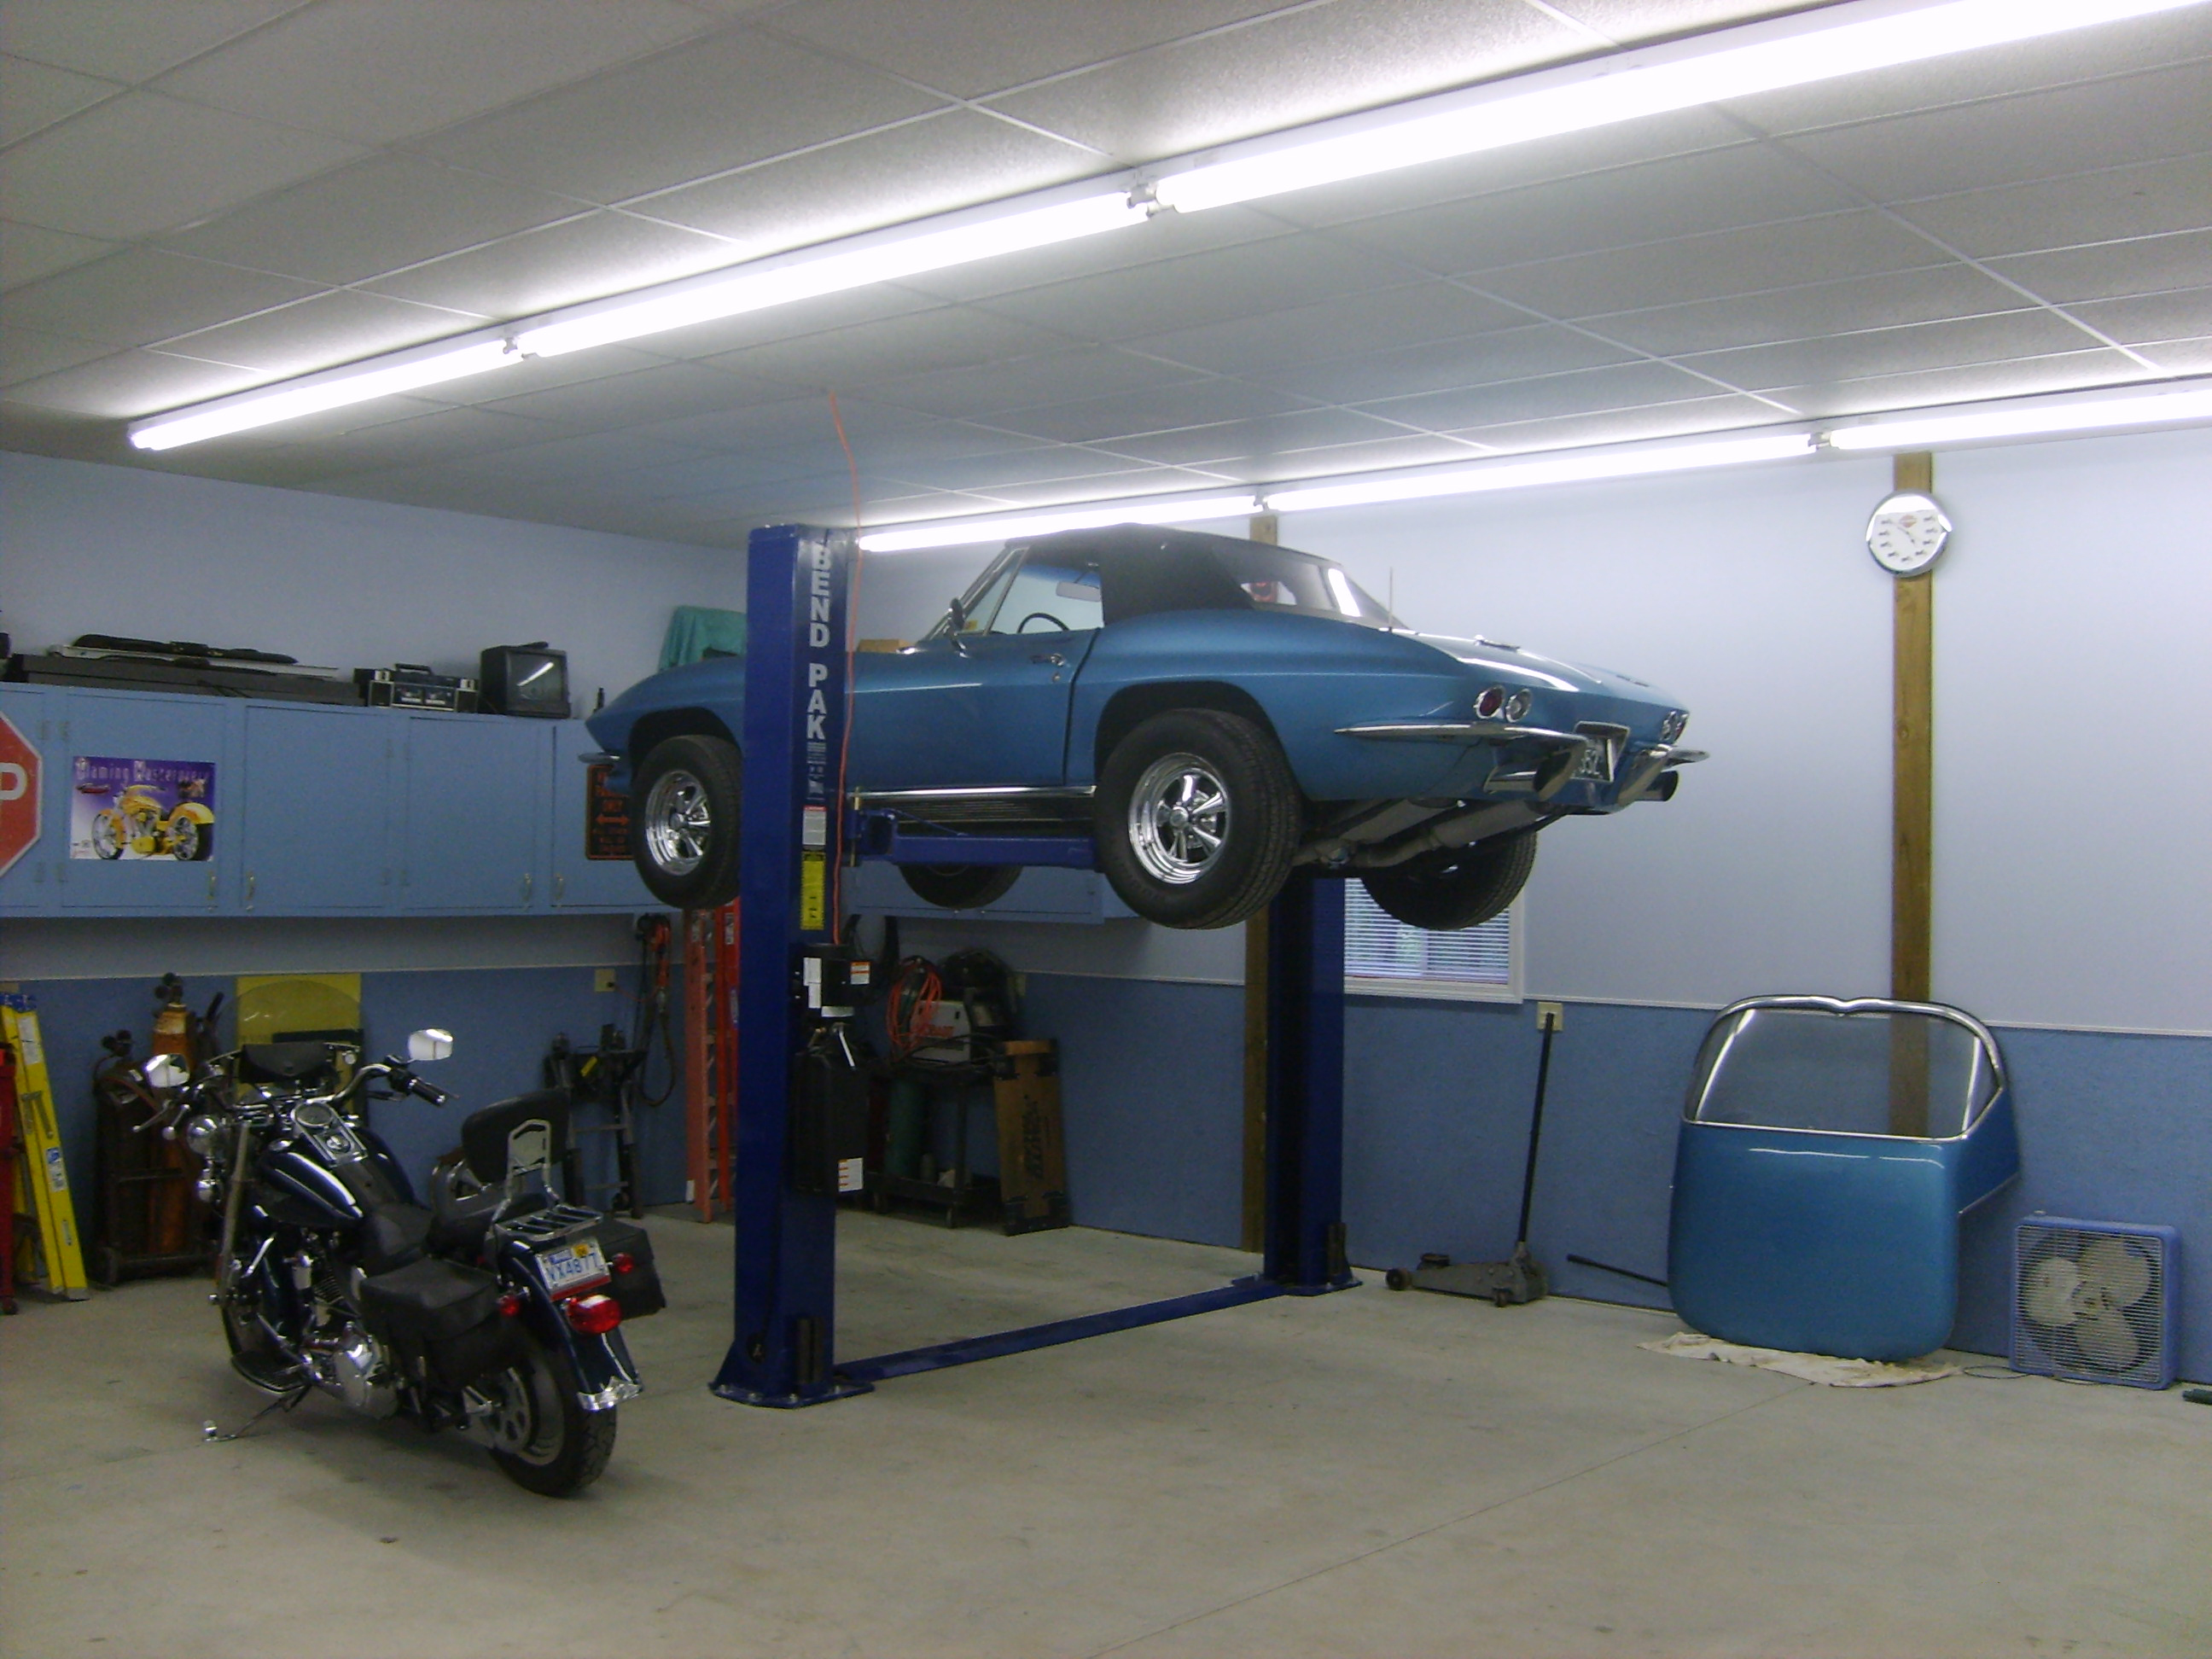
4. Take several pictures with the animals or farm equipment in them showing what the building is being used for. Don’t forget interior pictures! It’s time to show those classic cars or motorcycles which make the building shine! One picture on our website and in the Hansen Buildings’ brochure that’s a favorite of clients, readers and our staff shows a classic car…a Corvette up on a hoist. It makes clients want to have a building to house their favorite “toys” or hobbies.
5. Don’t forget to put people in the pictures. We love to see the smiling faces of the proud building owners…and their family. And please move the pickup sitting in front of the building! We want to see the building, not your favorite truck.
6. Finally…email these pictures to us. We’ve worked hard too…putting your building kit together, scheduling all the deliveries and lending a listening ear when you needed tech support.
You don’t have to be a professional photographer to take pictures that are vivid and tell a story. No matter what you are photographing, following these steps will guarantee pictures which are clean, beautiful and are website or brochure worthy.
Happy picture taking!


