Tag Archives: roof overhangs

Planning Building Dimensions Around Width of Steel Panels

Reader JON in KENNEWICK is working on planning for his new post frame building and writes:

“My question is regarding the size of the steel wall panels. I was watching a pole barn building video on YouTube and the builder, RR Buildings, was talking about sizing the building to correspond with the size of the wall panels. His example was a 120′ long building and using 3′ wide wall panels. Since the building length was evenly divisible by the width of the panels, it would save work due to less cutting. A 120′ building would take 40 full width 3′ panels. Seems to make sense to me but I’m a Noob to all of this and think I might be missing something. Your opinion? Since I am in the planning stages for my building should I take this into consideration? Is 3′ the industry standard for wall panels?

I’d appreciate any input you have. I’m a Nervous Nelly and want to get my building right the first time around.”

Mike the Pole Barn Guru responds:

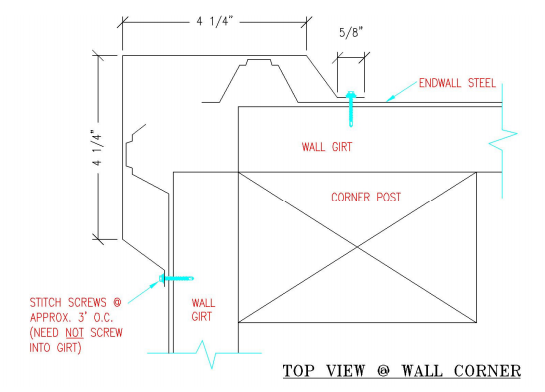
Nearly all through-screwed structural steel roofing and siding panels are manufactured for a three foot net coverage. Each panel has an underlap and an overlap, so you should account for this and ideally go with measurements from outside of column to outside of column in multiples of three. Once framing is added your framed footprint dimensions will increase in length and width by three inches. Begin the first panel on any given corner at 3/4″ past corner column and you will end up when you reach the far end of the wall not having to rip a sheet of steel lengthwise. Plan roof overhangs similarly – if you have eave side walls in a multiple of three, 18 inch overhangs on each end will continue this ease of installation. Besides being quicker and easier to install, it also places a high rib of steel under each corner and rake trim, helping to avoid unintended leaks.

Not every engineer or supplier plans their buildings so carefully – so you will want to verify with any provider how they do measure their buildings.


As to how to best plan the size of your building – ignore what I have just told you and work from building insides outward. Fit everything you want in and then build a box around your functional spaces. Yes, you might end up having to rip a sheet of steel, or several, but it is not impossible.

Stilt Post Frame on Permafrost

I have written previously about post frame design involving concrete slabs on grade in areas of permafrost: https://www.hansenpolebuildings.com/2018/04/post-frame-permafrost/. Today we will venture into a land where “stilts” are a design solution.

Permafrost is loosely defined as soil and/or rock remaining frozen for more than two years. Big trees do not guarantee an absence of permafrost; it might just mean permanently frozen ground or ice is down far enough so soils in those spots can support a larger root system. Only way to be certain of what ground contains is to have a soils test drilling done.

With permafrost, a safe bet is to it avoid it altogether and move to another piece of land. This is easier said than done, particularly because of a scarcity of affordable buildable land. If you decide to build on permafrost, be as strategic as possible. Smaller and simpler structures will tend to fare better than larger, more complicated ones.

Minimal site disturbance is an accepted practice. Trees and ground cover are your best friend. They protect and insulate ground from summer’s heat. A great example is green moss you find on many shaded low-level areas. Moss has a high insulating value, and in many cases if you dig down a couple of feet, ground might still be frozen in middle of summer.

Strategies for construction on permafrost include:

  • As a general rule, organic layer of ground cover provides insulation and should not be removed, as this will increase risks of thawing any frozen ground underneath.
  • Elevate and properly insulate bottom of your post frame building to prevent floor system heat losses from reaching ground underneath, leading to thawing.
  • Use a thick gravel pad significantly wider than post frame building itself (also insulated if possible) to stabilize the ground and spread building loads.
  • Embed columns to a depth able to both support the structure and resist frost jacking from seasonal ground movement.
  • Cut trees sparingly to maximize site shading (while permitting for a fire break).
  • Build a wrap-around porch, which will help shade the ground around and underneath your post frame building.
  • Incorporate large roof overhangs to shed water away from building and provide shade.
  • Install gutters and manage site drainage well away from building.
  • Retain a geotechnical engineer familiar with local soil’s conditions to assist in designing a foundation system adequate to safely support your post frame building on soils specific to your site.
  • Septic systems also must be engineered to function on permafrost, and remember conventional systems might risk thawing the ground.    

More information on permafrost is available at these websites:

If you have a question, contact the Cold Climate Housing Research Center at info@cchrc.org or 1(907)457-3454.

Cantilever Roof Overhangs

Seemingly if it is the strange, unusual or near impossible (although we have been told a few times we can do the impossible) in post frame (pole) building construction, there is a good chance we have been involved in it!

Cantilever Roof OverhangA circumstance which is becoming more and more prevalent is cantilever roof overhangs. When I shop for something big, like a house, car or pole building, I have my eyes wide open when I am driving around. I might spot something which truly catches my eye.

Many of us, I am sure, are familiar with the traditional gabled roofline, peak in the center of the enclosed portion, then a “side shed” roof only attached to one or both sides.

One downside of the cantilever roof overhang is the side shed roof has to have some slope (ideally no less than 3/12 – https://www.hansenpolebuildings.com/blog/2014/11/pitch-breaks/).

In some instances, structural columns at the outside edge of the “shed” are not always desirable. The roof can then be constructed with cantilever roof trusses. I normally do not like to cantilever more than 1/3 of the span of the truss. An example would be using a 36’ span truss, to create a 12’ cantilevered area on a 24’ wide enclosed pole building.

Last summer my friends Sheri and Larry sold the biker bar Cruisers at State Line, ID to another friend of mine, Justin Veo. It still maintains the friendly atmosphere and is always entertaining: https://www.hansenpolebuildings.com/blog/2013/05/pole-building-13/. For those interested, the latest events are posted at: https://www.facebook.com/CruisersBikerBarAndGrill?rf=157713810959122

The reason for my mention of Cruisers is due to the main bar pole building having a cantilever roof overhang along the South (street) side. This area affords a place for picnic tables to be placed out of the sun and inclement weather.

These cantilever roof overhangs can be finished by either running the siding up the main enclosed area roof, or by using colored steel panels or other material as a flat level return back to the main wall.