Open Cell Spray Foam to Roof Steel – When Insulation is Done Wrong
Reader JOSH in FARMINGTON writes:
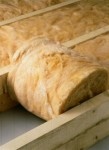
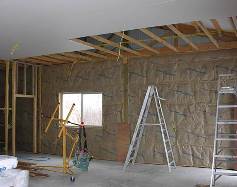
“I recently had a pole barn built and after doing a lot of research, went with 5″ of open cell under the roof and on the gables. I did not have any kind of vapor barrier, as I was worried the weight of the foam would cause it to sag and create air gaps where moisture could accumulate. I checked with the metal supplier to confirm it would not cause warranty issues and they said it would not. I am somewhat 2nd guessing the open cell, but I did it because I want to make sure I see any leaks that might occur from the exposed fasteners. I have not insulated the walls yet as I wanted to get all the electrical done. My plan was I would spray low expansion foam at the top and bottom of the metal sheets because right now there are no foam seals so you can actually see daylight even with the metal rat guards. To seal these up I want to use Great Stuff Pond & Stone foam. It’s black to match the trim in case it pushes out, it’s waterproof, it’s low expansion, and it’s UV rated. Then I was going to put 1.5″ foam board between the purlins, sliding it behind the posts. Following up with covering both with another sheet of 2″ foam board and use tape at the seams and some more foam at the posts. My thought is this would create a good vapor barrier, but I’m second guessing that now. For one reason, I don’t know how I’d seal things up above the header. They used a double 2×10 on each side of the post to act as the header. I do not plan to put a ceiling up and I will have a split system with a gas furnace installed soon to keep the space tempered between 60-80. I’ll heat it up or cool it down as needed when I’m using it. Do you see any issues with this setup? I’m a little worried about not having a vapor barrier on the roof. In Arkansas, we have all seasons, but it stays pretty muggy.”

My first concern is your open cell spray foam against roof steel. You have an application here I would never recommend. Open cell spray foam allows moisture to pass through, so you are going to end up with moisture condensing on underside of roof steel. I do not have a solution at hand for this – perhaps whoever installed your spray foam has some ideas.
As you propose to insulate your walls, you are creating a vapor barrier – meaning your walls will ‘dry to inside’ – adding even more moisture to potentially cause a problem in your open cell roof insulation. I would remove steel siding from a wall at a time, then install a well-sealed housewrap. Fill insulation cavity with rockwool batts (as it is not affected by moisture), with an interior vapor barrier. Walls will now dry to outside.
Chances are you are going to need to mechanically dehumidify your building in order to minimize condensation from moisture hitting roof steel.
 Thank you for your kind words, they are much appreciated. Provided your client will not be doing closed cell spray foam on walls, use house wrap between girts and wall steel. For his roof, housewrap is totally incorrect, as it allows moisture to pass through and become trapped between wrap and roof steel – potentially causing premature degradation. If your client is not closed cell spray foaming directly to roof steel, then order your roof metal with an Integral Condensation Control factory applied (Dripstop, Condenstop or similar)
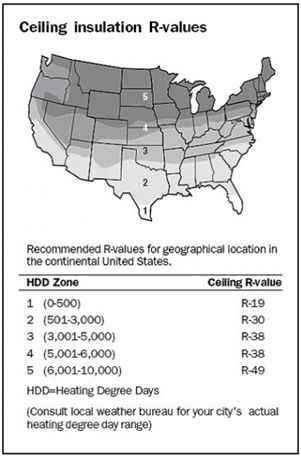
  DEAR POLE BARN GURU: Hi Mike, I built a 32’X40’X12′ pole building, (Shop) I used 1 1/2″ foam board on the inside walls, (on the inside of the girts) I can’t decide how I should insulate the underside of the roof. I have had a couple Spray Foam guy’s quote it , that’s pricy. Of course, the best R Value etc. at the most reasonable price is what I am looking for. In some of your post you have mentioned Rockwool that has gotten my attention. I see they make it up to R30. One thing that sticks in my mind is, my builder suggested not to use an insulation that will give insects a place to live. What would be your suggestion for underside of Roof insulation. Thank you. JIM in SPRING HILL
 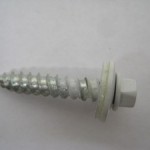 DEAR POLE BARN GURU: What screw is best for installing metal panels on the ceiling to wood trusses. MICHAEL in WENTZVILLE
 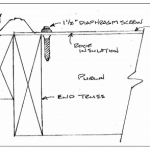 DEAR POLE BARN GURU: Should the screws for exposed fastener metal panel roofing COMPLETELY penetrate the 1/2″ plywood decking/substrate? STEVE in WARREN
 DEAR TIM: Header beam (aka truss carrier) requirements can be determined by a Registered Professional Engineer and are based upon this formula:
 DEAR RICK: Code will not allow you to place batt insulation between your purlins unless you have at least an inch of continuous airflow above from eave to ridge. Impossible to do given orientation of roof purlins.
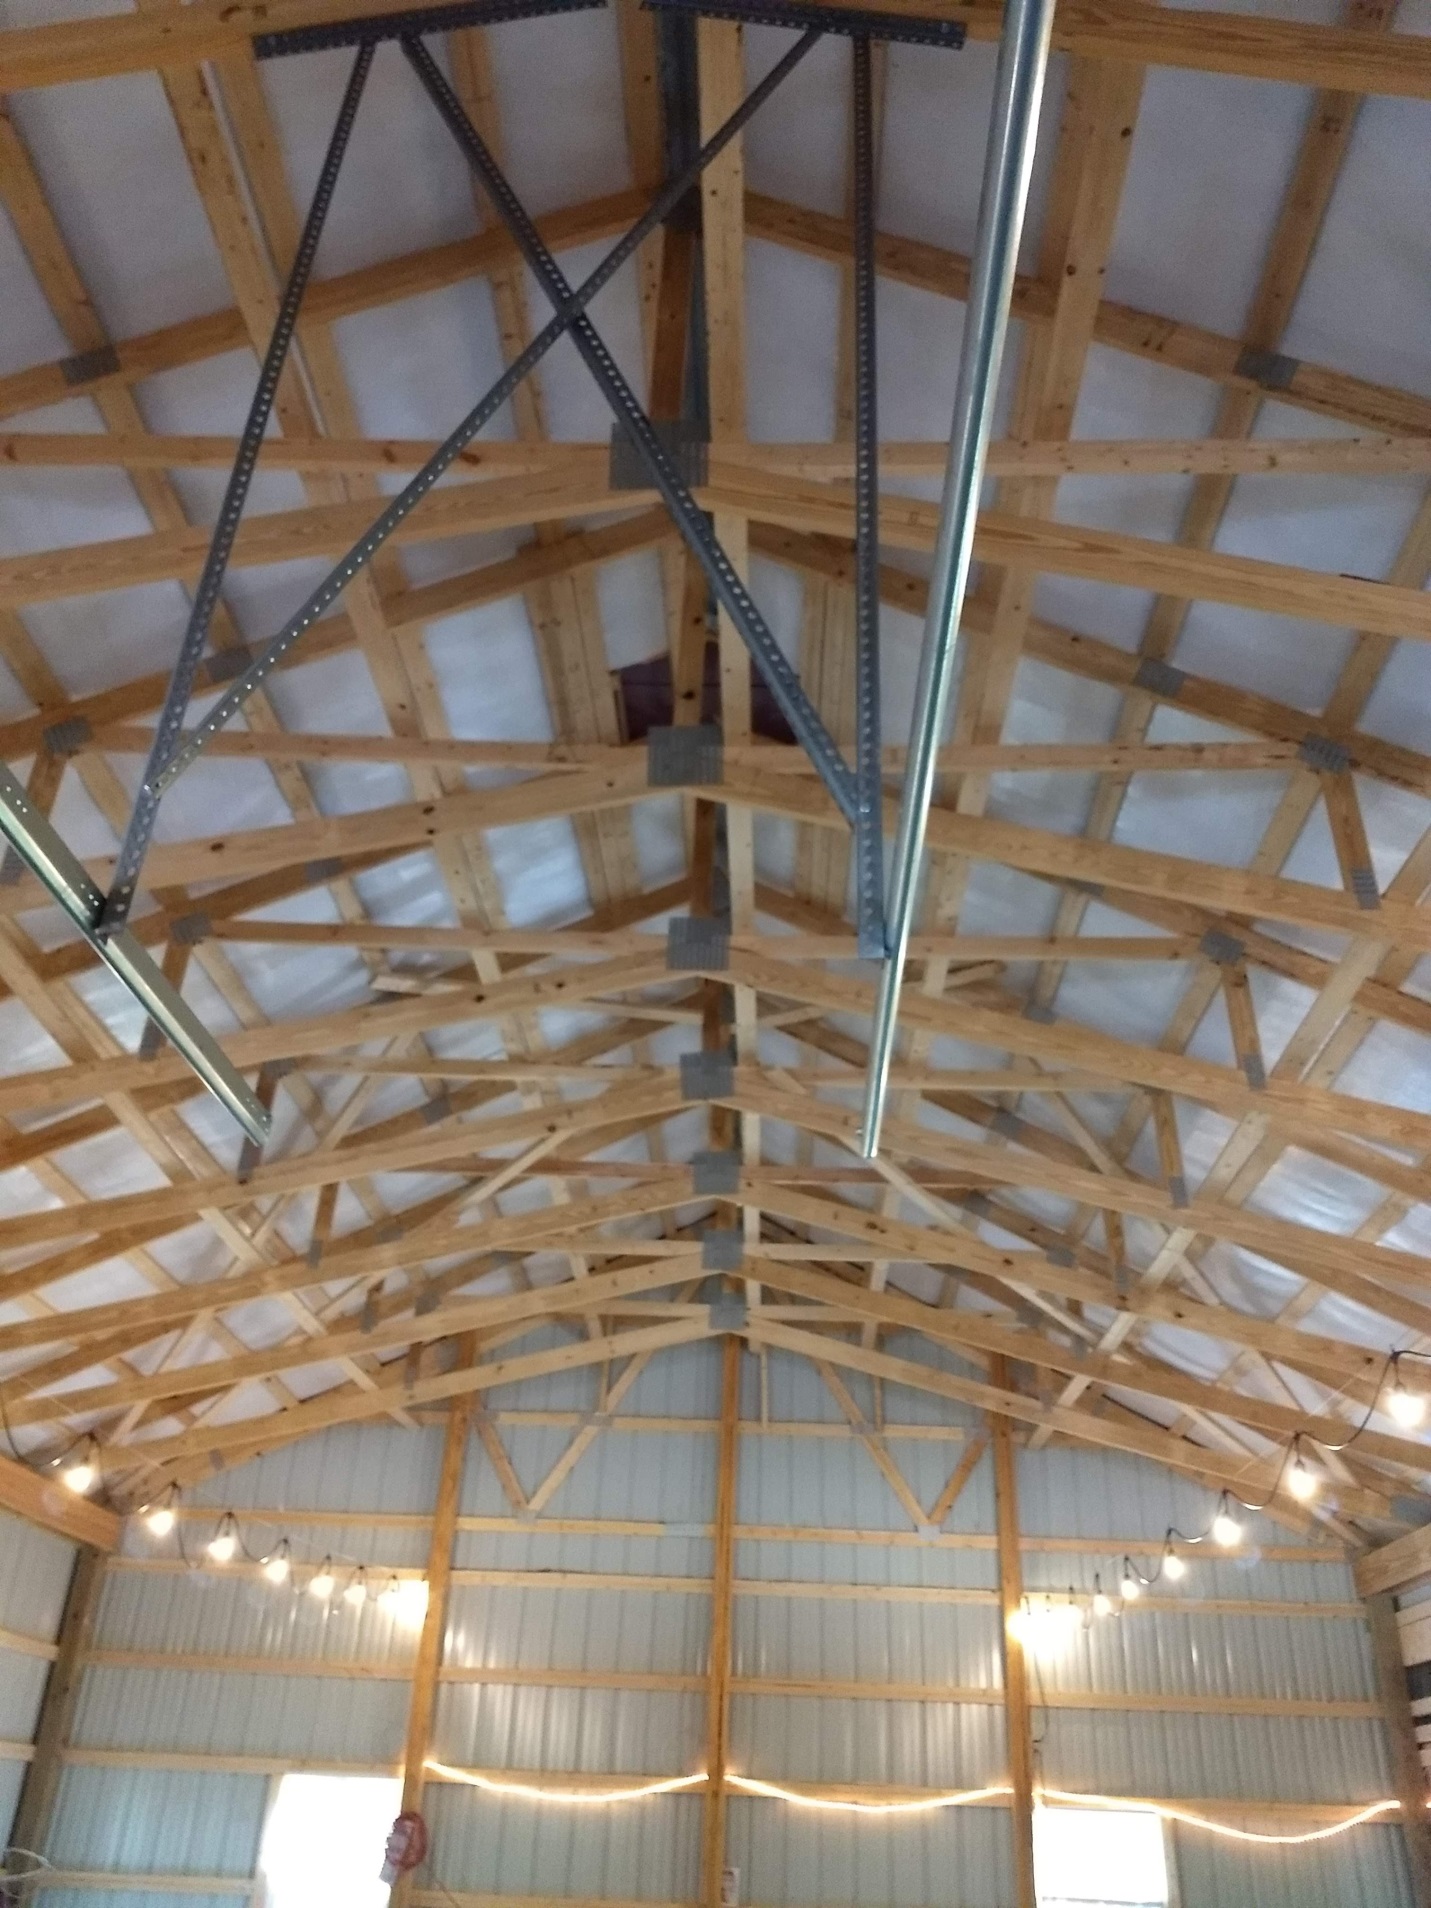


 DEAR POLE BARN GURU:
 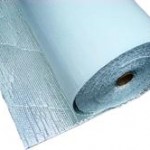 DEAR MARSHALL: Please keep in mind the Reflective Radiant Barrier under your roof steel is a thermal break designed to control condensation from occurring on underside of your roof steel, it is not insulation and has a R value of roughly one (R = 1). If you block off all vents, you may need to mechanically dehumidify your space in order to reduce moisture inside. Alternatively, should you install a ceiling and insulate above it, you would need to appropriately vent dead attic space to prevent roof system mold and mildew.
 Although our buildings are designed for an average literate English speaking person to successfully construct their own building (most of them do, and do a wonderful job – because they will read and follow instructions), for those who do need an erector, in many areas we can provide contacts for you to vet.
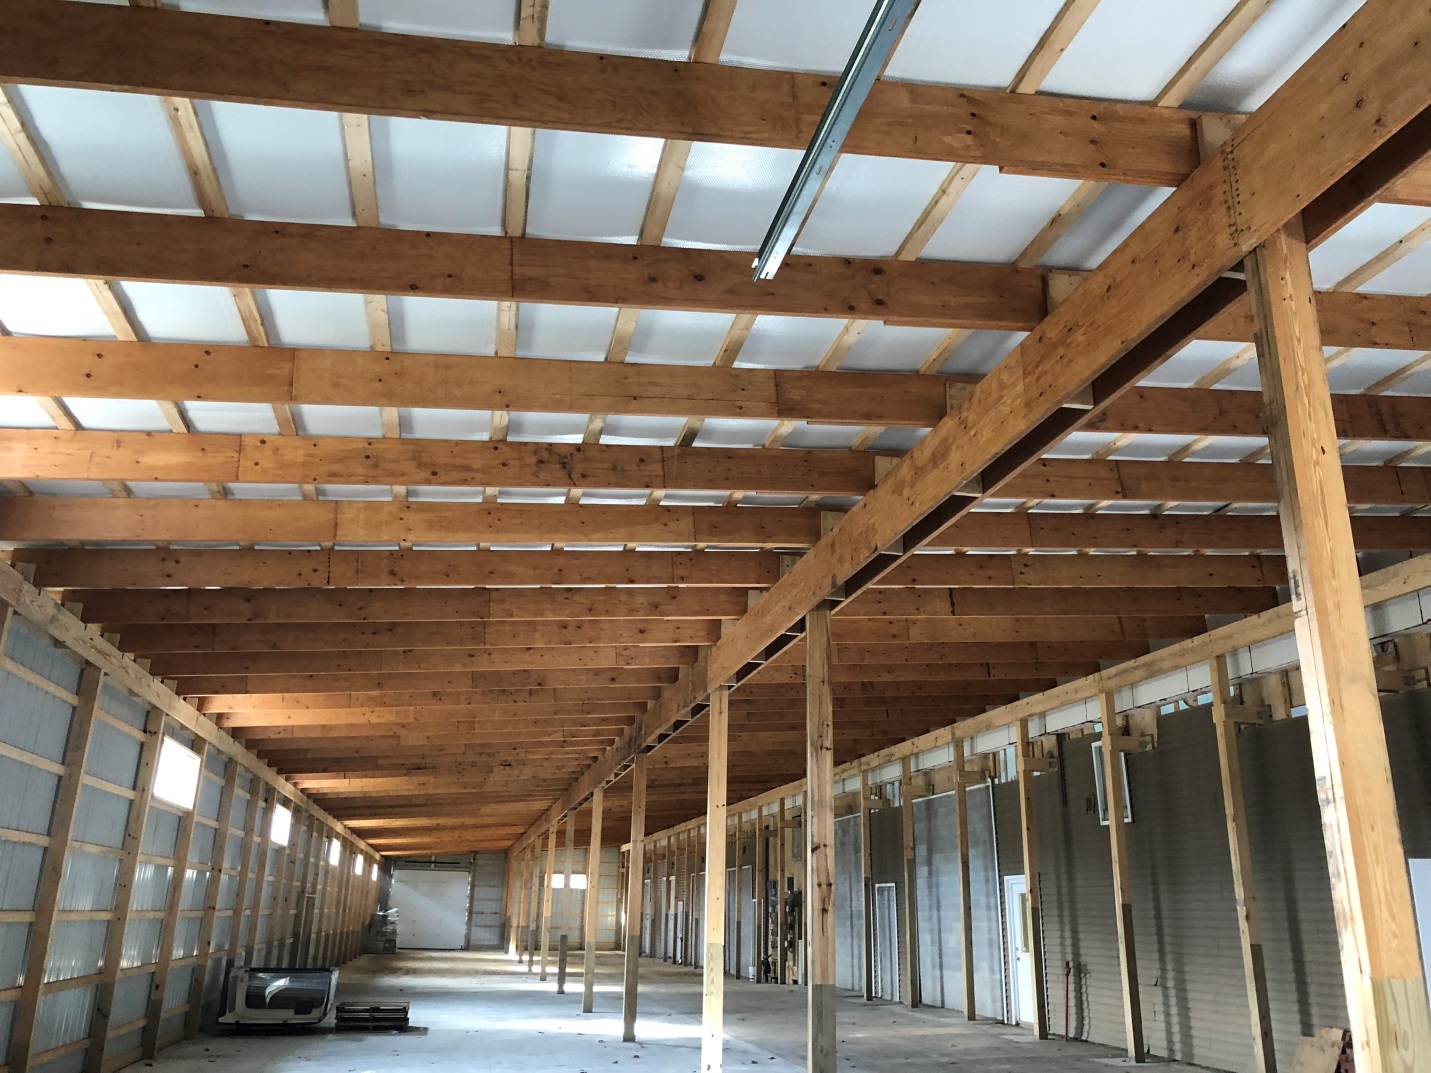 DISCLAIMER: This is NOT a Hansen Pole Building
 This area can be reduced by finishing off the ceiling (with my personal preference being gypsum wallboard) and blowing in insulation above the ceiling – along with having a properly ventilated attic space. To give a rough idea of the volume of space differentials on a 40 foot wide by 60 foot long by 12 eave height building, having the most typical roof slope (4/12), about 25,000 finished cubic foot of area is to be conditioned with the ceiling, as opposed to nearly 34,000 cubic feet otherwise.
 Welcome to Ask the Pole Barn Guru – where you can ask questions about building topics, with answers posted on Mondays. With many questions to answer, please be patient to watch for yours to come up on a future Monday segment. If you want a quick answer, please be sure to answer with a “reply-able” email address.
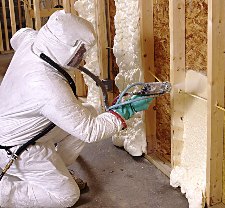 For starters, keep in mind (by Code) spray foam insulation cannot be left exposed, it has to be covered with inflammable material – like gypsum wallboard. Gypsum Wallboard is not as flexible as steel, so it has deflection criteria which mean upsizing the roof purlins from 2×6 to 2×8, or changing the column spacing to 10’ on center(o.c.). In the end, when I priced it out the change to 10’ o.c. was less costly, adding only about $900.