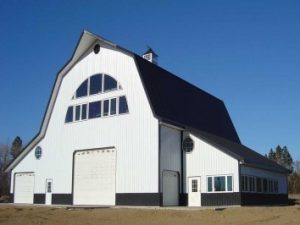
Will My Minnesota Shouse Require Frost Footings?
Reader CHAD in JANESVILLE writes:
“I am planning on building a shouse or barndominium some may call. I am doing 5″ cement with a heated floor throughout. My hope was not to bury any poles but to anchor them on top of the slap. Do you recommend front footings or will I be same as long as I am heated?”
My lovely bride and I happen to live in a post frame shouse just four hours West of you (and you are welcome to come for a visit)! In our instance, we used embedded columns, as I fully believe they will outlive my grandchildren’s grandchildren (for reading on lifespan of properly pressure preservative treated wood https://www.hansenpolebuildings.com/2020/09/pressure-treated-post-frame-building-poles-rot/).
 Now we do have a fair number of clients using wet set brackets, keeping their building columns above ground (https://www.hansenpolebuildings.com/2019/05/sturdi-wall-plus-concrete-brackets/).
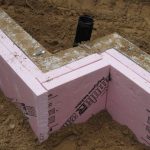
These brackets need to be either placed into a continuous footing and foundation system, a thickened edge slab on grade or concrete piers. Any of these should extend below frost line, unless provisions are made to thermally isolate them from effects of frost.
The U.S. Department of Housing and Urban Development Office of Policy Development and Research has been so kind as to publish a plethora of information on Frost-Protected Shallow Foundations, (while not specific to post frame construction) would apply to any structural building system. Heat transfer truly doesn’t care how you put a structure together, just so long as thermal resistance issues are taken care of adequately.
Those who are considering Frost-Protected Shallow Foundations should peruse this information: https://www.huduser.gov/publications/pdf/fpsfguide.pdf, and utilize it to determine requirements for insulation R values, as well as depth vertical insulation boards should be placed and width of horizontal insulation extending out from your building.
Whatever your choice is, you should have structural plans sealed by a Registered Professional Engineer to verify system adequacy.
 In many cases it may be possible for an engineered truss repair to be made, to upgrade load carrying capacity of truss bottom chords to a minimum of five psf. I’m sorry to say, this is not free. Truss company’s engineer will need to put his or her license on the line in designing a “fix” for trusses designed for a load other than is now intended. It’s not same as designing original trusses. If you think about it, redesigning and augmenting something you have built, is always more time consuming (and brain challenging!) than first time around. His time and expertise are not without a charge. It’s not usually “much”, like a couple hundred dollars. Then there is cost of materials to do repairs. This will be final out-of-pocket expense if you are doing truss repairs yourself. If not, a contractor’s charge must be added. All totaled, it could run you anywhere from a couple hundred dollars to over a thousand or more.
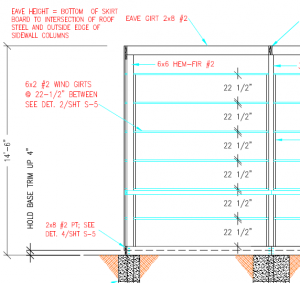 First, a question is hiding a building exterior pressure preservative treated skirt board (aka splash plank). Simple answer is yes, building is already designed so this can be done. Skirt board should be placed per engineer sealed building plans, showing drip edged base trim bottom four inches above grade. This allows for a nominal four inch thick (finished thickness 3-1/2”) sidewalk, driveway, landing or other concreted areas to be poured against exterior of splash plank, coming in ½ inch below bottom of drip edge. Any such pours should be along a grade sloping sufficiently away from building a minimum slope of 2%, to keep water from pooling against building.
 DEAR ERIC: I’d do a Frost Protected Shallow Foundation using embedded columns with a concrete footing below and a bottom collar which would be 24 inches or more below grade. I’d backfill the inside of the vertical insulation with sand and pour a slab on grade. Read more here:
 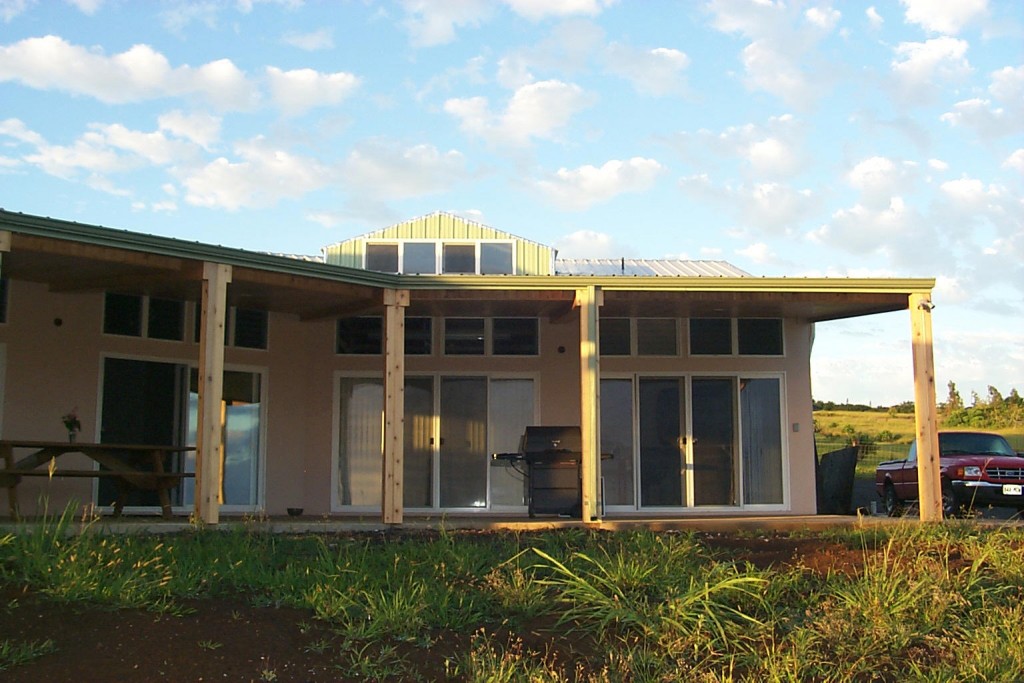 DEAR MARC: We’ve provided many post frame building kits to the Hawaiian Islands and our system is set up so all pressure preservative treated lumber is automatically selected for buildings going to Hawaii. Generally buildings for Hawaii are shipped in containers from the Port of Seattle, as shipping costs are lower than obtaining the components on the islands.